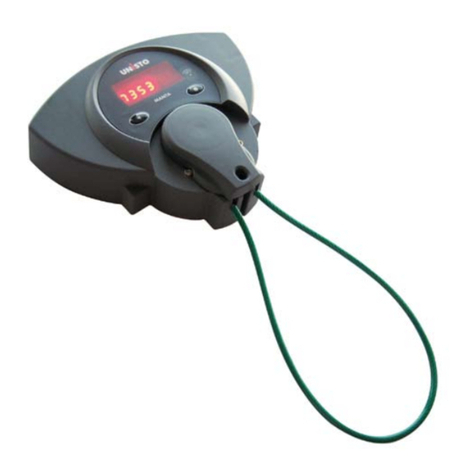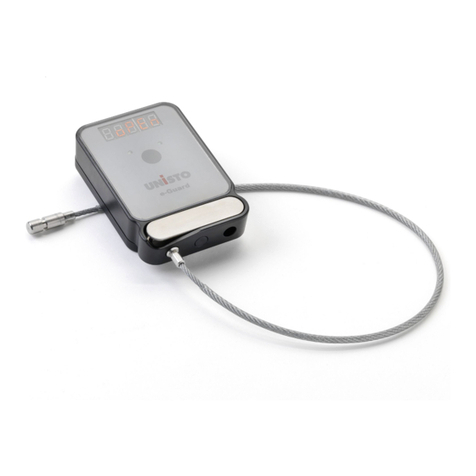
Missing hasp
When the hasp is missing the e-Gu-
ard does not show or generate num-
bers. Only a single point is shown on
the right side of the display.
4 - - Cb
5 - - 1d
6 - - bb
During the reboot the mac-address
is shown on the display splitted in 6
segments. For example:
1 - - E7
2 - - 1A
3 - - E9
The full mac-address is
E7.1A.E9.CB.1D.BB
MAC Adress
To display the mac-address unplug
and plug the battery.
Warranty
Warranty Policy for Unisto Electronic Seals Policy for Unisto
Electronic Seals
General
The warranty commences on the date of sale. For custo-
mers the warranty will expire 12 months from this date.
This commencement date can be found on the delivery
note received with the goods, on the sales invoice or
alternatively by reading the production code from the serial
number on the back of the product i.e. H2520 would be
week 25 / year 2020.
It is mandatory that the serial number is still intact on the
product when requesting a warranty repair. Failure for this
could result in the product being deemed out of warranty.
Products covered under the Unisto warranty may be
repaired or replaced in the following ways:
a) by replacing components with either new or parts that
are equivalent to components, which have been discon
tinued
b) with an equivalent product which may have been
subject to prior use
c) with a new unit Repair procedure is according to the
current easy repair process. All defective products must
firstly be returned to the nearest Unisto Site. Repairs
may only be carried out at the Unisto site. Our aim is
to repair or replace faulty units within 10 working days
upon receipt of the units in UCH. Carriage will be paid
for warranty repairs dispatched, not collected, only.
During the warranty period Unisto will replace or repair
products at its own discretion.
2. Unisto Extended Warranty
Warranty extension of another 12 months can be purcha-
sed on the date of purchase only. That will lead into a
maximum warranty period of 24 month starting from
date of sale. Unless any other exclusions or requirements
have been specified, the standard warranty policy will
apply.
3. Exclusions
The warranty does not apply to products where:
a) the serial number is removed or tampered with.
b) the product is damaged or rendered defective as a result
of accident, misuse, abuse, contamination, and improper
or inadequate maintenance.
c) the product has been modified or serviced by anyone
other than Unisto.
d) the product has not been fitted/used in accordance with
the fitting instructions
e) the unit is outside the warranty time period detailed
above.
4. Outside Warranty
Units that fall outside the warranty period may be repaired
by Unisto at the customers’ discretion. Repair procedure is
according to the current easy repair process.
No carriage is included. An easy repair charge is applied for
this service: Charges apply according to the latest repair
order Form. 96
Please note: Charges do apply regardless of the fault.
Should any of the exclusions listed above under paragraph
3 apply, then an additional charge may be made on top of
the easy repair charge. This will be quoted separately, and
will be dependent on the type of fault discovered. In addi-
tion Unisto will not normally repair a standard unit, which
is deemed uneconomical to repair. Repairs or replacement
parts are warranted to be free of defect in materials or
workmanship for 3 months. Our aim is to repair or replace
faulty units within 10 working days after custom clearance.
5. Annex
These terms and conditions supersede any prior
agreements. No change to the conditions of this Limited
Warranty is valid unless it is made in writing and signed by
responsible product manager of Unisto Switzerland. Unisto
reserve the right to amend this document at any time.
Horn (Switzerland), 17th December 2020
Correct disposal:
The responsable disposal of Unisto e-Guard serves
to protect public health and the environment. Please
do not dispose of end-of-life lithium powered Unisto
e-Guard together with your regular household or
business waste. Please take them to appropriate WEEE
compliant electrical recycling centres or to designated
battery and small electricals drop-off sites in your
community.
Warnings:
• Apply and use Unisto e-Guard as described in this
manual (scan the QR code on first page)
• Do not try to recharge the battery, or expose to heat
above 100 C, risk for fire, explosion and severe burn
hazard.
• Wrong connection of the battery pack connector will
ruin the electronics!
• Moist in the battery compartment could ruin the
electronics!
• A qualified person only should replace the battery,
the cable and do the intialisation!
• Do not pressure wash.
• Do not drill holes or hammer the product.
• Only certified original cables can be used.
• Only the special battery pack from Unisto can be used.


