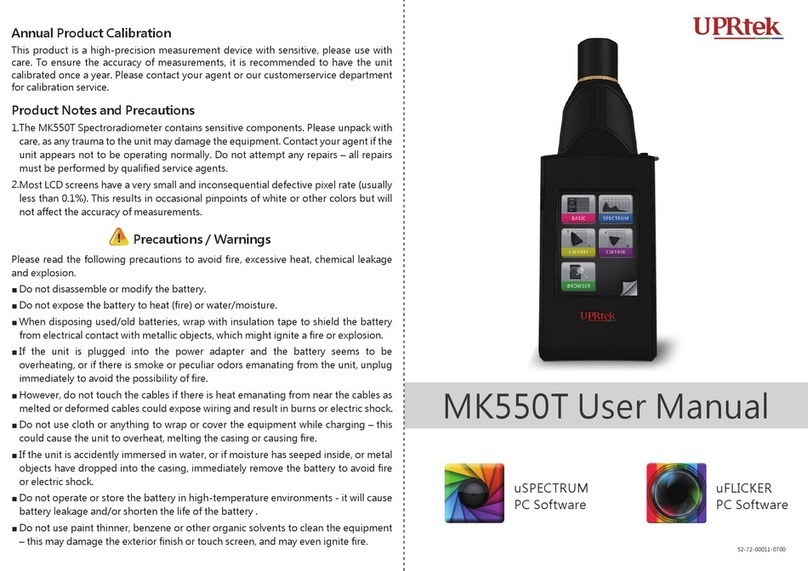
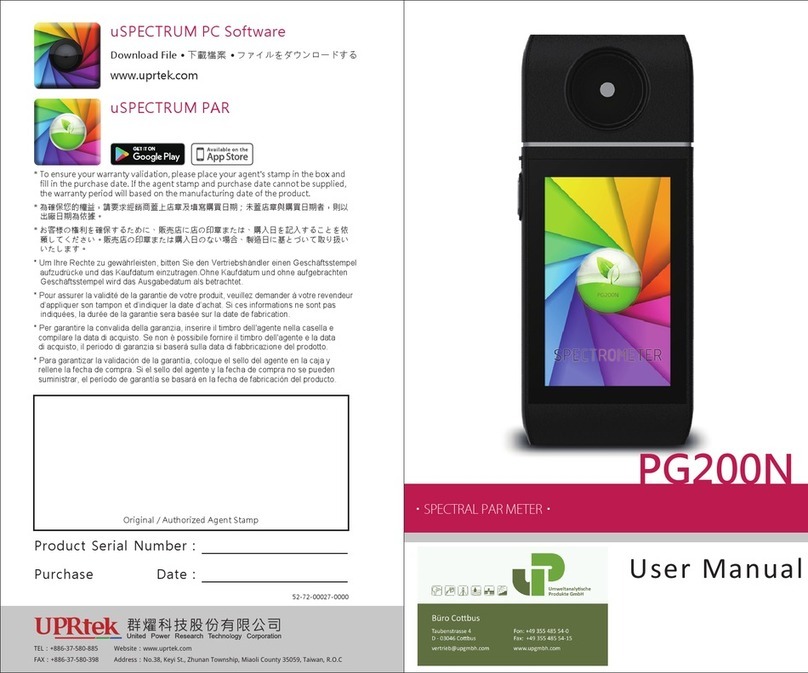
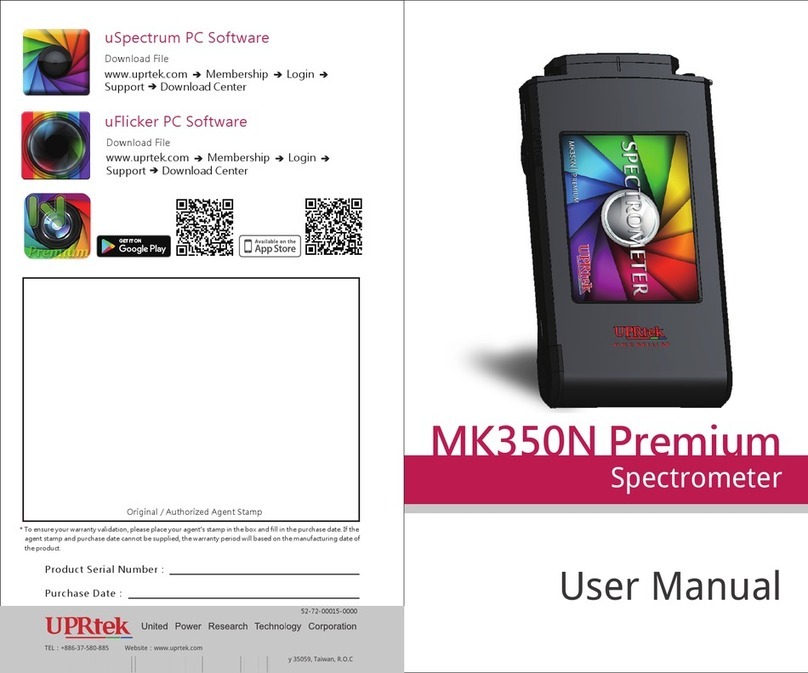
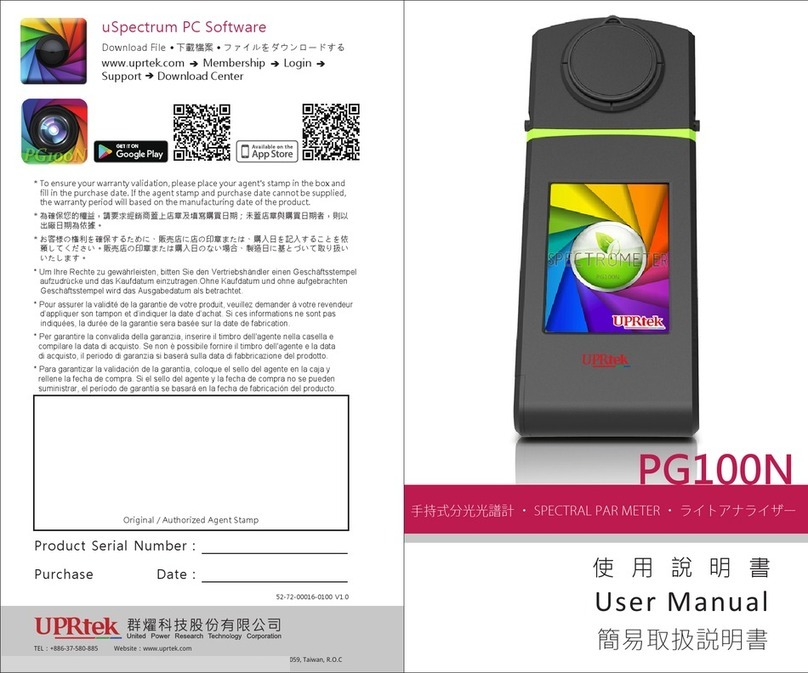
UPRtek PG200N User manual

使用說明書
User Manual
簡易取扱説明書
手持式分光光譜計・SPECTRALPARMETER・ハンディタイプ分光光度計
PG200N
Original / Authorized Agent Stamp
Product Serial Number:
Purchase Date:
52-72-00027-0100 V2.0
* To ensure your warranty validation, please place your agent's stamp in the box and
fill in the purchase date. If the agent stamp andpurchase date cannot be supplied,
the warranty period will based on the manufacturing date of the product.
* Um Ihre Rechte zu gewährleisten, bitten Sie den Vertriebshändler einen Geschäftsstempel
aufzudrücke und das Kaufdatum einzutragen.Ohne Kaufdatum und ohne aufgebrachten
Geschäftsstempel wird das Ausgabedatum als betrachtet.
* Pour assurer la validité de la garantie de votre produit, veuillez demander à votre revendeur
d’appliquer son tampon et d’indiquer la date d’achat. Si ces informations ne sont pas
indiquées, la durée de la garantie sera basée sur la date de fabrication.
* 為確保您的權益,請要求經銷商蓋上店章及填寫購買日期;未蓋店章與購買日期者,則以
出廠日期為依據。
* お客様の権利を確保するために、販売店に店の印章または、購入日を記入することを依
頼してください。販売店の印章または購入日のない場合、製造日に基とづいて取り扱い
いたします。
Download File 下載檔案 ファイルをダウンロードする
uSPECTRUM PC Software
uSPECTRUM PAR
* Per garantire la convalida della garanzia, inserire il timbro dell'agente nella casella e
compilare la data di acquisto. Se non è possibile fornire il timbro dell'agente e la data
di acquisto, il periodo di garanzia si baserà sulla data di fabbricazione del prodotto.
* Para garantizar la validación de la garantía, coloque el sello del agente en la caja y
rellene la fecha de compra. Si el sello del agente y la fecha de compra no se pueden
suministrar, el período de garantía se basará en la fecha de fabricación del producto.
TEL:+886-37-580-006 FAX:+886-37-585-308 Website:www.uprtek.com
Address:5F., No.38, Keyi St., Zhunan Township, Miaoli County 35059, Taiwan, R.O.C

Overview
1
1.1 Product Overview
1.2 Packing Contents
1.3 Appearance Introduction
1.4 Annual Product Calibration
1.5 Product Notes and Precautions
01
02
03
04
04
...........................................
...........................................
................................
............................
.....................
How to use this product
2
2.1 Preparation before Using
2.2 Taking a Measurement
2.3 Setup Items in OPTION
05
11
13
...............................
...................................
..................................
Measurement mode
3
3.1 BASIC Mode
3.2 SPECTRUM Mode
3.3 PPFD Mode
3.4 PPFD SPECTRUM Mode
3.5 CIE Mode
3.6 LOGGING Mode
3.7 GRID Mode
3.8 COMPARE Mode
3.9 BROWSER Mode
15
18
19
21
22
23
25
28
33
...................................................
..........................................
....................................................
...............................
........................................................
.............................................
.....................................................
............................................
...........................................
Measurement settings
4
4.1 Measurement Settings
4.2 Continuous Measurement Settings
35
39
....................................
................
Appendix
6
6.1 General Attributes 44..........................................
To get more information related to operation,
firmware upgrade and warranty terms; online
application for correction and repair service,
please visit www.uprtek.com to download the
complete version.
Table of contents Table of contents
Others
5
5.1 Connecting with Mobile APP
5.2 Connecting with uSPECTRUM
5.3 Troubleshooting
40
41
43
..........................
.......................
..............................................

01
1.1 Product Overview
Your Spectral PAR Meter PG200N is a palmtop photon meter
that measures range of light sources in multiple modes. It may
measure PPFD(Photosynthetic Photon Flux Density) of plant
light source Spectral PAR Meter PG200N comes with 4.3"
touch control screen. User friendly smart interface enables fast
and easy use of this product. Removable optical sensor design
enables remote measuring and keeping measurements in SD
card.
Automatic shutter function added to improve measurement
accuracy. The optical sensor of the second generation Spectral
PAR Meter is equipped with IP66 Ingress Protection Rating.
Connect this product to a PC by USB cable enables easy data
management with exclusive software.
02
1.2 Package Contents
Please ensure the following are included in the package of this
product: In case of any flaw and/or loss please call the dealer or
this Company for help.
Protection Bag Screen Wiper
Case PG200N
Spectral PAR Meter
User Manual
Screws
USB Cable
Screwdriver
Power Adaptor 3M Type-C USB Cable
(remote measurement)
MicroSD Card
Sensor Head Stand Bracket
Warranty Card

03
1.
2.
If the system crashes, press the power key for 3 seconds to turn off
the system.
If the problem sll can’t be fixed, use a pen to press the reset key
to turn off the system.
1.3 Product Introduction
Measure key
Sensor cover
4.3" Touch panel Power key
Dustproof cover
Type C USB port
Optical sensor
Power on LED
MicroSD card slot
Reset key
Tripod
screw hole
Safety lock
Screw hole
(To fix sensor head
stand bracket)
04
1.4 Annual Product Calibration
As the product is a high-precision instrument, please use it cauously. To
ensure the accuracy of measurements, annual calibraon is recommended.
Please consult the agent or the customer service department for the
calibraon service.
1.5 Product Notes and Precautions
PG200N Spectrometer is a high-precision instrument. Please unpack with care.
Any vibraon or collision may cause instrument damage. If the product doesn’t
work normally or needs repair, don’t aempt any repairs. All repairs must be
performed by the authorized customer service agent.
Most LCD screens have a very small and inconsequenal defecve pixel rate
(usually less than 0.1%). This results in occasional pinpoints of white or other
colors but will not affect the accuracy of measurements.
1.
2.
■
■
■
■
■
■
■
■
■
Do not disassemble or modify the baery.
Do not expose the baery to heat (fire) or water/moisture.
When disposing of used/old baeries, wrap with insulaon tape to shield the
baery from electrical contact with metallic objects, which might ignite a fire or
explosion.
If the unit is plugged into the power adapter and the baery seems to be
overheang, or if there is smoke or peculiar odors emanang from the unit,
unplug immediately to avoid the possibility of fire.
Do not touch the cables if there is heat emanang from or near the cables as
melted or deformed cables could expose wiring and result in burns or electric
shock.
Do not use cloth or anything to wrap or cover the equipment while charging – this
could cause the unit to overheat, melng the casing or causing fire.
If the unit is accidently immersed in water, or if moisture has seeped inside, or
metal objects have dropped into the casing, immediately remove the baery to
avoid fire or electric shock.
Do not operate or store the baery in high-temperature environments. Thisi will
cause baery leakage and/or shorten the life of the baery.
Do not use paint thinner, benzene, or other organic solvents to clean the
equipment. This may damage the exterior finish or touch screen and may even
ignite a fire.
Please read the following precauons to avoid fire, excessive heat, chemical leakage
and explosion :
Precautions / Warnings
05
2.1 Preparing Before Use
1.
2.
3.
4.
Charge the baery for 6 hours before using it for the first me.
To prevent power outage during use, check whether the red light
has turned off (fully charged) according to the instrucons given on
the next page (Item1). Once the spectrometer is turned on, keep
an eye on the baery charge indicator at the upper right corner of
screen.
If your baery drains quickly aer being fully charged, it needs to
be replaced. Please contact your dealer.
Baery life varies with baery age and usage. A new baery
typically lasts about 5 hours aer a full charge.
2. A flash symbol displays at upper
right corner of the LCD screen
during charging and disappears
aer it is fully charged.
Charging method
Connect the charger and USB cable to the Type C USB port of
this product to start charging.
1. While powered OFF, the red indicator will light up during
baery charging; the red indicator will go off once the
spectrometer is fully charged.
06
2.1 Preparing Before Use
Open the dustproof cover and insert the MicroSD card in the
specified direcon.
Press to remove MicroSD card
12
Installing MicroSD card
Measurement data may be saved in Excel (xls) format and image
data (spectrum and chromacity coordinates diagram) may be
saved in JPG format in the MicroSD card with capacity at 1GB or
more.
1. The SD card features a card latch design to prevent it from coming
loose. You may feel that the SD card is stuck when it is inserted in
or removed. In this case, pull or push it a lile harder to get it in
place or removed. To remove SD card: Press it as shown in step ①
and pull it out aer ejecng as shown in step ②.

07
2.1 Preparing Before Use
Connect opcal sensor to console
To install the sensor head in the opposite direcon, switch off
the power before doing so. As in the figure below, unlock the
sensor head and the body first by pushing the safety locks both
outward. Turn the sensor head to the opposite direcon and insert
it to the body and then lock them by pushing the safety locks
both inward. Switch on the power again aer correctly installed.
or
+ +
1
2
3
08
2.1 Preparing Before Use
1.
2.
3.
Opcal sensor and console are paired before shipment to you. DO
NOT use either of the two with any other PG200N Spectrometer. If
you have more than one PG200N Spectrometer, DO NOT swap
opcal sensor between instruments.
Power off the spectrometer before installing or uninstalling opcal
sensor from console.
Run background calibraon aer turning power on and before
taking measurements.
As shown in the figure below, when using the USB TypeC cable
to perform long distant measurements, please switch off the
power first before connect to the cable and ghten the screws
of the cable connected to the sensor head.

09
3
2
4
1
3Confirm that the cap is covered and then select the “ ”
OK buon.
Dark calibraon
2.1 Preparing Before Use
Press the power buon and the blue indicator will light
up, and the boot screen will appear on the screen.
Perform dark calibraon by following the steps displayed
on the screen. When the “Dark calibraon” dialog
window appears, select the “ ” OK buon.
Once the message "Dark calibraon finished" appears,
click ""OK and you will be returned to the main menu.
Precauons on opcal
sensor installaon
Make sure the opcal
sensor latch is well
connected to console.
10
2.1 Preparing Before Use
2
Once date is set, press “”
Yes to exit to setup opon
page.
3
Once me is set, press “”
Yes to exit to setup opon
page.
4
Click “OPTION” icon.
Set up date and me
Set up date and me before taking any measurements.
Press “Date” and “Time”
to supdate sengs.
1

11
2.2 Basic Measurement
Measurement
Click “BASIC” mode to
enter measurement page.
1Point opcal sensor to light source to be tested.
32
Press the measurement buon at the boom
center of the LCD screen or the measurement
key on the le hand side of the spectrometer to
take a measurement (You can press measurement
key at both sides).
This product beeps once aer
measurement is done and
displays results on screen.
12
Save measurement data
1 2
Press the “Save file” buon at
lower right corner.
3
2.2 Basic Measurement
.JPG
JPG file name:
IMGYYYY_MMDD_HHMMSS
( year ) (month)(day) (hour/min/seconds)regular
▲You may save measurement screen in “BASIC mode”,
“SPECTRUM mode”, “PPFD mode”, “PPFD SPECTRUM
mode” and “CIE 1931.1976 mode”.
.xls
EXCEL file name:
ESPDYYYY_MMDD_HHMMSS
( year ) (month)(day) (hour/min/seconds)regular
▲You may save entire source data.
Measurement data is
now saved in the MicroSD
card. You may note down
file name if necessary.

13
■Backlight Seng ■Power Saving Seng ■Language Seng
■ Date Seng ■ Time Seng
2.3 Setup Items in OPTION
Click OPTION icon in main screen to set up this product.
Next
page
Back to
main menu
Capacity of SD card displays
once it is inserted. In case
message "Please insert SD
card" displays after a SD
card has been inserted the
one you have inserted may
be failed to be identified by
this product.
+/-:Adjust key
14
■ Check Version
■ USB Mode Seng
■ Check Storage Device
Please refer 5.2 for USB
mode setup.
2.3 Setup Items in OPTION
Previous
page
Charge left
1. You cannot set up baery. The screen remains intact aer you tap
it.

15
Integration mode
:Auto
:Manual
Level
function
Capture function
:one time
:Continuous
:Continuous measurement in progress
3.1 BASIC Mode
Charge left
:Charging
:Charge left indicator
:Low charge indicator
Click “BASIC” icon in main screen to display measurement
readings.
1. Please use PG200N Thermal-Hygro cable along with PG200N for
temperature(°C) and relave humidity(%RH) measurements.
16
Click the item to be changed.
21
Default item changed. Follow
the same steps to change
other default items.
43
List of available items displays,
click down arrow key “” to
scroll down to next page.
3.1 BASIC Mode
Customize the four measurement items in BASIC mode.
The 5 items on the Basic list can be customized with different
units of measure according to your preference.
Click items to be shown in
posion ①. Click “ ” key at
boom of screen to back to last
page without selecng any item.

17
3.1 BASIC Mode
Shows the angle of
inclination of the X
and Y axes
Back to
measurement page
Resetbutton Calibrationbutton
Level funcon
Click on the g sensor icon on the top-right of the screen to check
the level status of the opcal sensor.
18
Indicate peak wavelength
in range of 350∼800nm.
The strongest energy value
in range of 350∼800nm.
Click “SPECTRUM” icon in main menu to display spectrum in
range of 350~800nm.
3.2 SPECTRUM Mode

19
3.3 PPFD Mode
Click “PPFD” icon in main menu to validate Photosynthec
Photon Flux Density (PPFD). Measuring range is 350~800nm. In
addion, items and ranges to measure can also be customized;
instrucons are shown in the figure.
Customize the four measurement
items in PPFD mode.
Click the item to be changed.
1
Changeablemeasurementitem
2
Click items to be shown in
posion ①. Click “ ” key at
boom of screen to back to last
page without selecng any item.
Default item changed. Follow
the same steps to change
other default items.
3
20
3.3 PPFD Mode
Customizing measurement range
1. Press the “PFD-custom” item.
2. Select the start and end values in order to change the range.
3. Use the keyboard to input the values; press “OK” when completed.
4. Press the confirm buon “” to complete the sengs for
changing the range.
5. Return to the measurement page and the yellow value under
“PFD-custom” is updated based on the customized range.
1 3
4
2
5

21
3.4 PPFD SPECTRUM Mode
PPFD spectral mode provides five reference spectrums:
1. Chlorophyll a, 2. Chlorophyll b, 3.β-Carotene, 4. Phytochrome
A-red and 5. Phytochrome A-far red. The range of the reference
spectrums is 350~750nm.
Reference spectrum seng
21
Return to the measurement
page and the display of the
reference spectrum has changed.
43
Enter the measurement seng
screen and press the “Reference
Spectrum” item.
Select the required reference
spectrum and press “OK”.
Press the “Sengs” buon at
the boom of the screen.
22
3.5 CIE Mode
Click “CIE” icon in main screen to validate CIE 1931 and CIE 1976
chromacity coordinates chart.
Click chromacity coordinates chart to switch between CIE1931
/ CIE1976.

23
Uses connuous measurement to measure the various values
and saves them automacally in Excel format.
Set up operaon condions
Press the “ ” seng buon at the boom of the screen to
set the Integraon mode, Integraon me, interval and counts
in order; press the “ ” buon at the boom of the screen
when completed to return to the measurement screen and
start performing measurement.
3.6 LOGGING Mode
1
3
2
Exposure mode can
have exposure me set
up in manual mode only.
The range of measurement
interval is 00 (hour):00
(minute):10 (seconds)
~23:59:59.
The range of connuous
measurement count is:
1~9999999 mes.
■ Integraon mode ■ Integraon me ■ Interval ■ Counts
4Seng complete; return to the
measurement screen.
24
3.6 LOGGING Mode
Measurement Point opcal sensor to light source
to be tested.
1
2
3
The Count opon will reset to its
default sengs aer measurement
is done.
4
Icon at the upper right corner
spins continuously in case the
continuous measurement is in
progress.
The count field displays
balance of measurements.
This means that the
connuous measurement
has started.
To stop connuous measurement
in between, please press the“ ”
stop buon.
Press the measurement buon at boom center of screen or the
measurement key at le hand side to measure. (You can press
measurement key at both sides.)

25
3.7 GRID Mode
Click”GRID”icon in main menu to collect the data from different
posions and provide the average, maximum, minimum,
uniformity, and, diversity values on – Lux, PPFD, PFD, PFD-B,
PFD-G, PFD-R, PFD-UV, and, PFD-FR.
ID number – the maximum
number of data is 100.
The PPFD value of this ID
The PFD value of this ID
The average PPFD value of
total measurements.
The average PFD value of
total measurements.
26
3.7 GRID Mode
1 32
Measurement
Aer press the measurement buon at boom center of
screen or the measurement key at le hand side, the ID filed
will switch to the next ID number in sequence (1-100).
...
ID seng
1. Press the “ID” item.
2. Use +/- key to adjust the ID number.
3. Return to the measurement page, the ID number is updated.

27
3.7 GRID Mode
Return to the measurement
page and the grid data is reset.
1 2
43
Enter the measurement seng
screen and press the “Reset
grid” item.
Press “OK” Yes to reset the
grid data.
Press the “Sengs” buon at
the boom of the screen.
Reset the Grid data
28
3.8 COMPARE Mode
The Compare item allows you to compare two measurements
side by side. You can compare two consecuve measurements
or compare a measurement against historical data (SD card).
SPECTRUM
PPFD
SPECTRUM
PPFD
BASIC
When you press the COMPARE
icon (on Home Screen), the
COMPARE Menu will display,
which is similar to the Home
Screen. You can tap any of
the icons depending on what
type of data you want to
compare.
1. The examples in the following pages only describe how to compare
data in the BASIC screens, - comparing SPECTRUM, PPFD, PPFD
SPECTRUM data are similar.

29
3.8 COMPARE Mode
Compare two consecuve measurements
2
1
34
Select the BASIC icon. The le
column and right column will
represent the data you are
comparing.
First, tap the le column.
A yellow border will appear
around the le column.
Point the PG200N to a light
source and take a measurement.
The measurement data
will fill the le column.
30
3.8 COMPARE Mode
56
7
Next, tap the right column.
A yellow border will appear.
The new data will fill the right
column. You can now compare
the two measurements.
Take another measurement.

31
3.8 COMPARE Mode
Compare against historical data
To compare against historical data
( saved on SD Card ), first tap
either the le or right column,
and then tap the “ ” Folder
icon in the lower right corner.
1. The list items in the COMPARE screen (e.g. CCT, CRI, LUX etc.) is the
same list configured for the BASIC Screen. If you change the list
items on the BASIC screen, it will also change on the COMPARE
screen.
The data will appear
in the column you
selected.
Select the “Load file”
and press “OK”.
A file browser appears
showing the files on the
SD card. Select one of
the Excel files.
1
2
3 54
Press the “Folder” buon
at lower right corner.
32
3.8 COMPARE Mode
Spectrum data comparison sengs
It is also possible to see the relave
difference between the spectrum data
between the first measurement and
the second measurement.
1
23
Press the “Sengs” buon at the
boom of the screen.
Press the “Compare mode” item. Press "OK" to save sengs and
exit to measurement setup page.

33
The Browser (on Home Screen) allows you to review historical
data that was previously saved to the MicroSD card.
Press the “BROWSER”icon.
21
A file browser will show the
files on the MicroSD card.
If you select an excel file, a
review menu will be displayed.
Back to main menu
Previous page
Next page
Return to the previous
folder
3.9 BROWSER Mode
34
Back to select
browsing mode
Previous file
Next file
Return to the MicroSD
card file page
Press any of the icons to
review the data.
43
Displaying the data of excel
file.
3.9 BROWSER Mode

35
4.1 Measurement Settings
In mode of “BASIC”, “SPECTRUM”, “PPFD”, “PPFD SPECTRUM”,
“CIE”, “GRID”, “COMPARE” you can press the “ ” seng
buon at the boom of the screen to perform detailed sengs.
Next
page
Back to
measurement page
Previous
page
36
About auto save:
1.
2.
Measurements are auto saved (Excel + JPG) in case this operaon
is set on. In case there is no SD card inserted when measurement
is running, this product prompts warning messages while keep on
measuring.
Measurements are saved only by clicking Save icon in case this
operaon is set off.
4.1 Measurement Settings
■ Keyboard ■Save format ■Auto save
You may opt to save
measurement data of
Excel file only or both
Excel and JPG files.
This opon is turned on can
be file naming when you
saving measured data.
Opt to select auto save
measurements or not.
■ Decimal speparator ■Reset grid ■Compare mode
This funcon will only be
displayed under GRID mode.
Select dot/comma to set
the decimal separator of
the measurement data.
This funcon will only be
displayed under COMPARE
mode.
Other manuals for PG200N
1
Table of contents
Other UPRtek Measuring Instrument manuals

UPRtek
UPRtek MK550T User manual

UPRtek
UPRtek MK350D Dimensions and installation guide

UPRtek
UPRtek MK350D User manual

UPRtek
UPRtek MK350S PREMIUM Dimensions and installation guide

UPRtek
UPRtek MK350N PREMIUM User manual

UPRtek
UPRtek MK350N PLUS Dimensions and installation guide

UPRtek
UPRtek PG200N User manual

UPRtek
UPRtek MK350S PREMIUM User manual

UPRtek
UPRtek MK350D Dimensions and installation guide

UPRtek
UPRtek MF250N Dimensions and installation guide