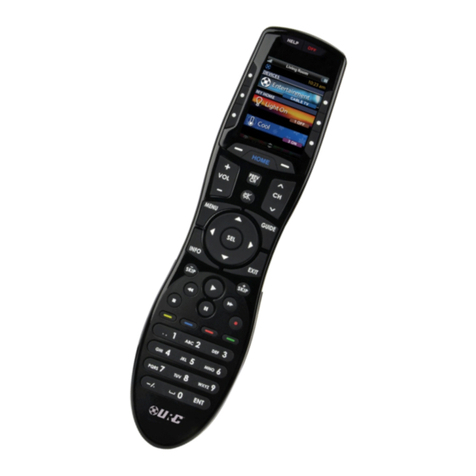
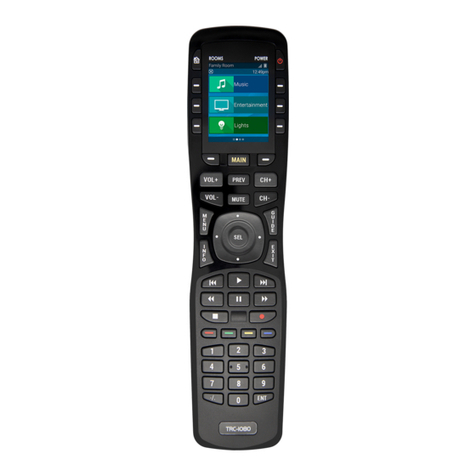
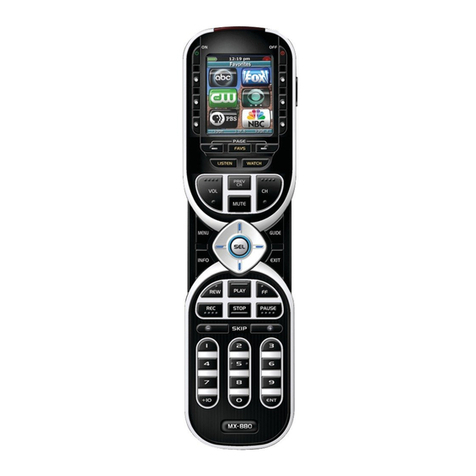
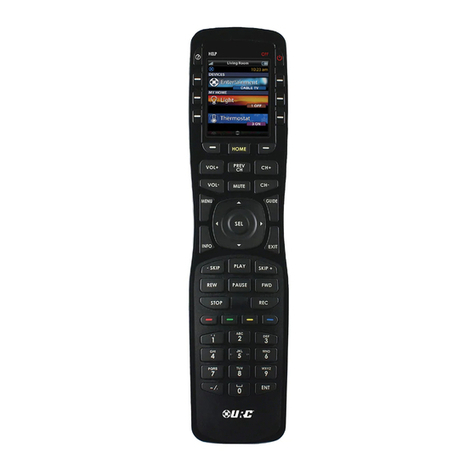
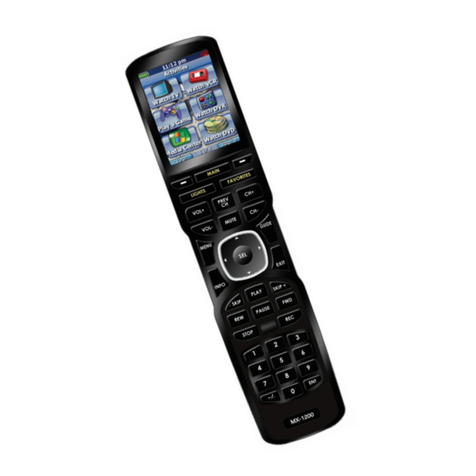
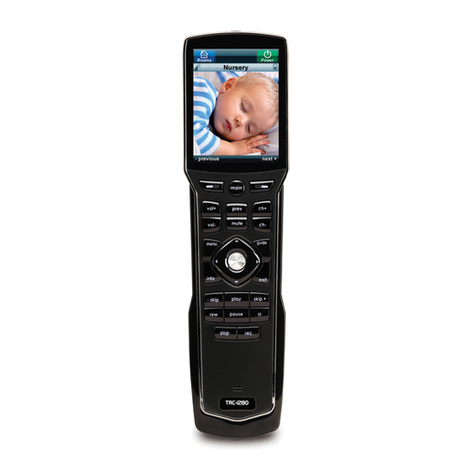
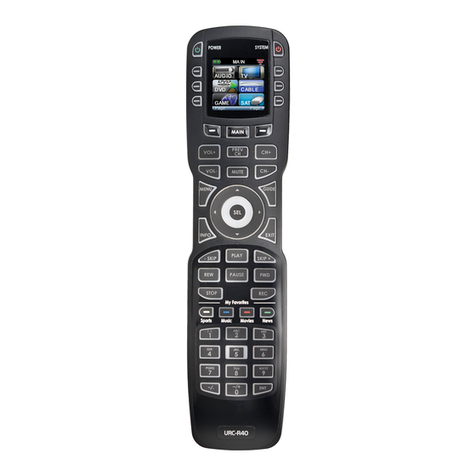
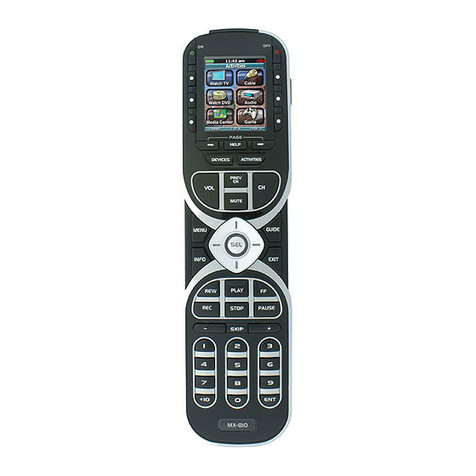
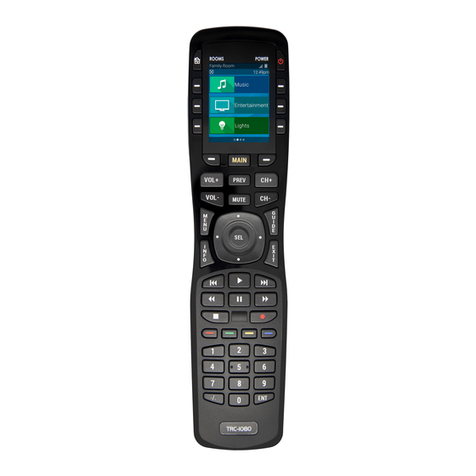
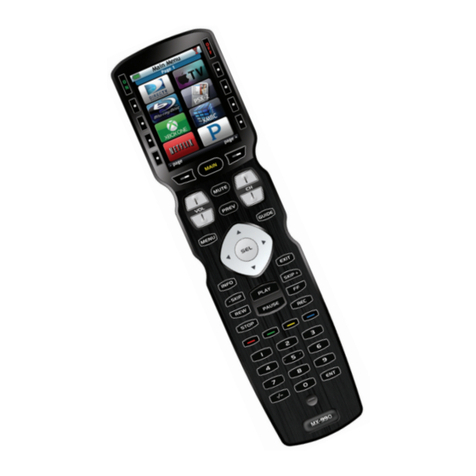
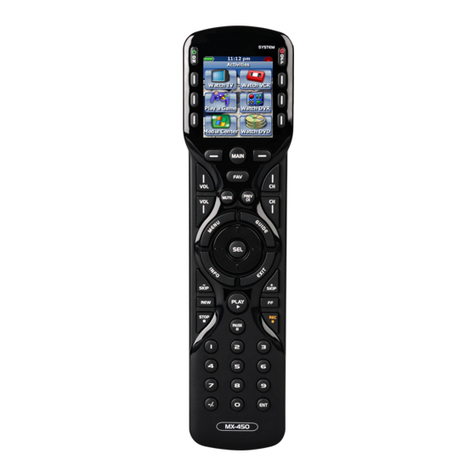
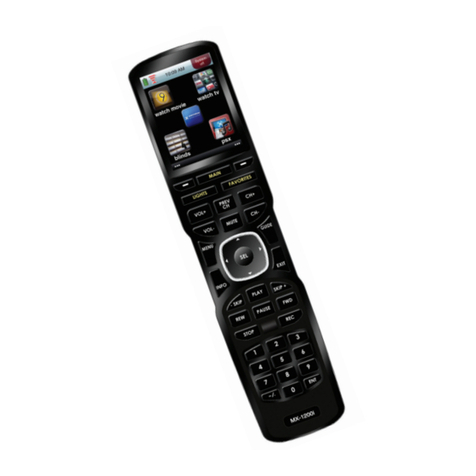
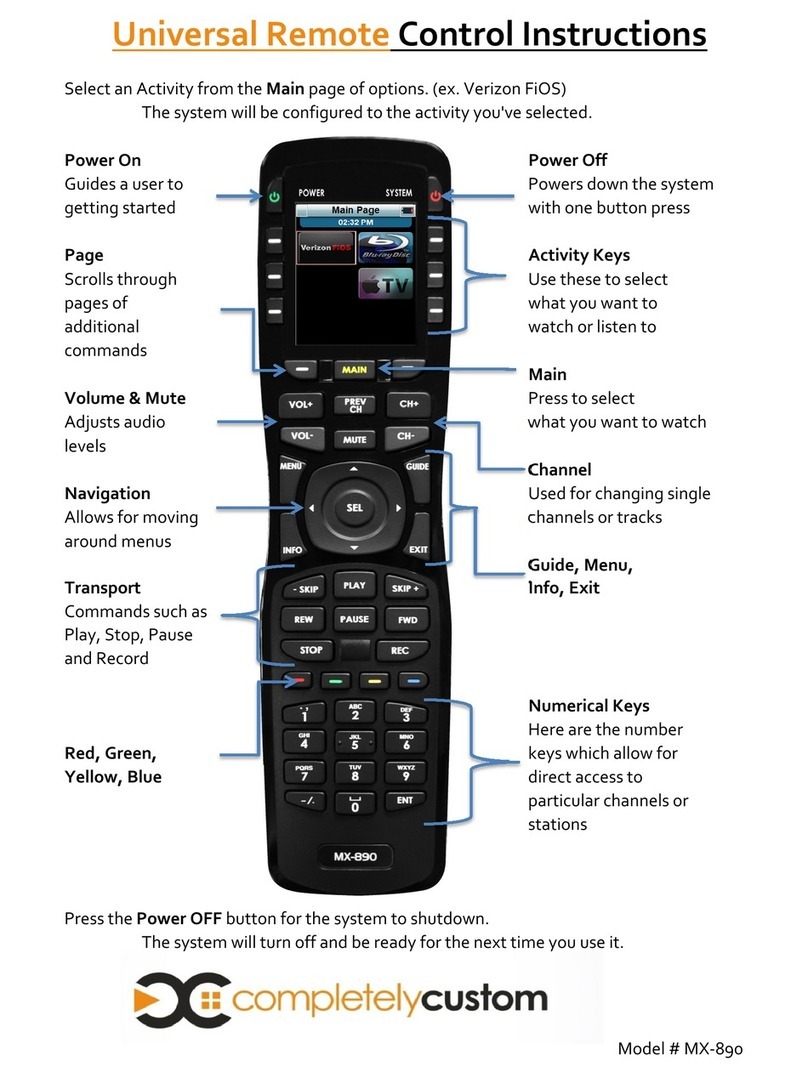
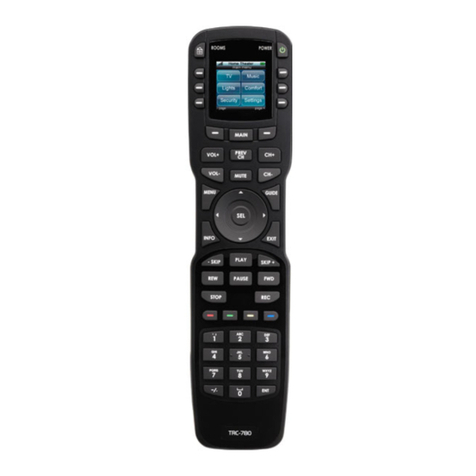
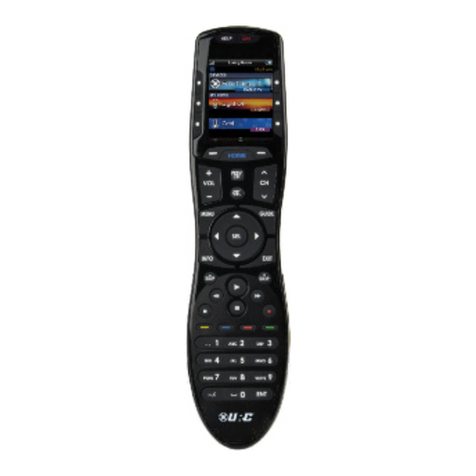
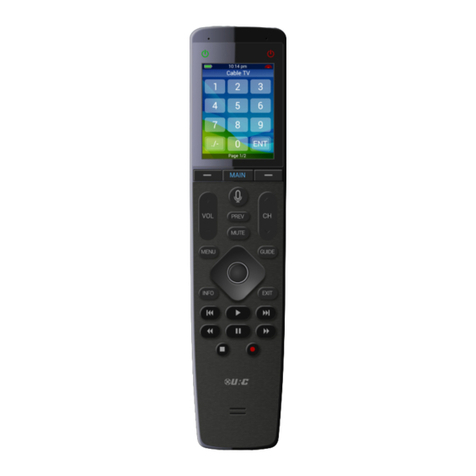
URC COMPLETE CONTROL MX-4000 User manual

MX-4000
Owner’s Manual
Complete Control MX-4000
Owner’s Manual

Complete Control MX-4000
Owner’s Manual
Rev 1.1
Table of Contents
Introducing the MX-4000
Thank you for purchasing URC’s MX-4000 touchscreen remote
control. Its easy and intuitive use will help simplify your life while
adding control of more things than you thought are possible.
Online Support:
Visit the URC Home Page for product information, owner’s
manuals, and support contact information.
Contact Support:
For questions or assistance, please contact your custom integrator/
programmer.
My Installer/Programmer
Features & Benets............................................................................... 1
Parts ....................................................................................................... 2
Connecting the Battery Pack ............................................................... 3
Using the Charging Cradle ................................................................... 3
Using the MX-4000 ................................................................................ 4
Using Voice Control .............................................................................. 6
Displaying the Setup Menu................................................................... 7
WiFi Setup .........................................................................................8
Voice Assistant ...............................................................................14
Sleep Timers ...................................................................................32
Event Timers ...................................................................................33
Date & Time.....................................................................................34
Power...............................................................................................35
Brightness.......................................................................................36
Button Beep ....................................................................................37
Pickup..............................................................................................38
System.............................................................................................39
Factory Default ...............................................................................40
Specications ...................................................................................... 41
Limited Warranty Statement............................................................... 42
Technical Suppor t
Toll Free: 800-904-0800
Main: 914-835-4484
techsupport@urc-automation.com
H o u r s : 9 : 0 0 a m - 5 : 0 0 p m E S T M - F
1
Complete Control MX-4000
Owner’s Manual
Table of Contents
Features & Benets
• IR/RF Device Control: The MX-4000 can directly control every
IR device in your home. You can also use RF to control devices
located in dierent rooms by integrating an MRF base station.
• Quick Connect Wi-Fi: When woken up, the remote connects to
the wireless network (2.4 GHz) for control via a Voice Assistant.
• Voice Assistant Ready: Enable the built-in Amazon Alexa
service to send commands verbally from the remote by pushing
the press-to-talk microphone button.
• User Interface Customization: Each Main Menu button can be
customized for activities, such as watching TV or listening to the
radio. These activities can contain multiple commands (macros)
which enable a single button press to turn the needed devices
ON or OFF.
• Complete Control PC Editor: The MX-4000 is programmed
using advanced conguration software called Complete
Control. To fully automate an audio/video system, the
programmer must have a detailed knowledge of each component
and how the system connects and operates.

3
Complete Control MX-4000
Owner’s Manual
Table of Contents
Connecting the Battery Pack
A battery is included in the box when shipped from the factory. Press the
spring lock down to unlock and remove the cover. Place the battery
into the battery compartment, making sure to align the contacts on the
battery with the contacts within the MX-4000’s battery compartment. The
battery snaps into place when aligned properly. Replace the battery
cover.
Using the Charging Cradle
Plug the USB power adapter into a power outlet and the USB-C cable
into the rear of the charging cradle. Gently place the MX-4000 into the
cradle, so that the remote automatically aligns itself to the contacts on
the charging cradle. The status light immediately illuminates.
It is possible to connect the USB-C cable directly into the bottom of the
MX-4000.
There are three (3) status light conditions:
• Red: Indicates that the remote’s battery is charging
• Blue: Indicates that the remote’s battery is o the charging dock
• White: Indicates that the remote’s battery is fully charged

4
Complete Control MX-4000
Owner’s Manual
Table of Contents
Using the MX-4000
The Main Menu pages display activities and/or devices. Press the Main
Button to access the Main Menu. Larger systems may have more than
one (1) page. Press the Page buttons on either side of the Main button
to view additional Main Menu pages.
Although the MX-4000 is programmed with custom layouts and devices,
there are persistent buttons that maintain a steady function:
A. Power On/O: With a single press of either button, the Complete
Control system turns the device On (Left) or O (Right).
B. Capacitive Touch Screen: The specic function of each button is
linked to the screen icon associated to the LCD screen. These
buttons are used to select activities, devices, functions, navigate,
and more. Speak with your custom integrator for more details.
C. Page Left/Right: These buttons are used to navigate through the
various Main Menu and Device/Activity Menu pages.
D. Main: By default, this button returns the user to the previous
menu.
E. Vol+, Vol-, & Mute: Used to increase, decrease, or toggle the
mute status of the active audio device’s volume level.
F. CH+, CH-, & Prev: CH+ & CH- are used to change a Cable/SAT
channel up or down. The Prev button returns to the device’s
previous channel or can be used to return the user to a previous
menu.
G. Microphone: Select this button to interact with the programmed
voice service assistant. When pressed, the microphone activates
and listens to your verbal commands. The microphone is shut o
when the button is no longer pressed.
A
B
C
D
G
E
F

5
Complete Control MX-4000
Owner’s Manual
Table of Contents
H. Navigation Keys: Comprised of up, down, left, and right. These
buttons are used to navigate through the menus and/or device
screens.
I. Select: Center button of navigation keys, used to conrm
selections displayed on a viewing device.
J. Menu: Displays the on-screen menu of the active device.
K. Guide: Displays the channel guide for the device’s on-screen
display.
L. Info: Displays channel information for the device’s on-screen
display.
M. Exit: Closes out any open menus or guides on the display or
returns to the previous menu.
H
I
J
K
L
M
Using the MX-4000 (cont’d)

6
Complete Control MX-4000
Owner’s Manual
Table of Contents
Using Voice Control
The MX-4000 has the capability of using Amazon Alexa Voice Assistant
to control activities and devices programmed within the Alexa system.
For instructions on how to enable the Alexa Voice service, refer to page
14.
The MX-4000 preserves your privacy with a push-to-talk button on the
remote control. This means the Alexa Service is only listening when you
want it too.
Issuing Voice Commands
Voice Commands can be issued easily and intuitively with the push-
to-talk button.
This button removes the need to say “Alexa…”.
Press-n-hold the button and say phrases such as…
• “Set living room temperature to 72 degrees.”
• “Turn on patio lights.”
• “Turn o kitchen lights.”
• “And many more…”
The MX-4000 does not support the following Amazon Alexa features:
• Audio Playback via Amazon Music, Audible, or other music
services.
• Alexa Drop-In, calls, or video calls
• Graphical feedback from Alexa

7
Complete Control MX-4000
Owner’s Manual
Table of Contents
Displaying the Setup Menu
The Setup Menu allows users to congure or change certain behaviors
and features of the MX-4000.
Enter the Setup Menu by pressing and holding the Main and Select
(see image at the right) buttons for greater than ve (5) seconds.
Use the touchscreen to access the Setup Menu options.
To return to a previous page press the left page button (at the left of
Main Menu). Press the Main or Exit button to return the remote to the
Main Menu.
The Setup Menu times out
after sixty (60) seconds and
returns the MX-4000 to the
system’s Main Menu.
• Wi-Fi
• Voice Assistant
• Sleep Timers
• Event Timers
• Date & Time
• Power
• Brightness
• Sound
• Pickup
• System
• Factory Default
PRESS & HOLD

8
Complete Control MX-4000
Owner’s Manual
Table of Contents
WiFi Settings Menu
The Wi-Fi Settings menu is used to connect the MX-4000 to the
user’s preferred local area network settings once connected.
Follow these instructions to congure the Wi-Fi for the MX-4000:
1. From the Setup Menu, select Wi-Fi.
2. The Wi-Fi menu has three options:
• Wi-Fi Search
• My Networks
• Advanced Settings
1
2

9
Complete Control MX-4000
Owner’s Manual
Table of Contents
WiFi Settings Menu (cont’d)
Wi-Fi Search
The Wi-Fi Search opens the Searching of Networks notication and
then lists the available network connections:
1. Select Wi-Fi Search from the Wi- menu.
2. The Wi-Fi Search notication will pop-up while the MX-400
searches for available networks.
1
2

10
Complete Control MX-4000
Owner’s Manual
Table of Contents
WiFi Settings Menu (cont’d)
Wi-Fi Search (cont’d)
3. A completed Wi-Fi search will display:
A. The name, signal strength and Wi-Fi channel number of
each discovered Wi-Fi network signal.
1. Shows the signal strength, a lock indicating that
the network requires a password and a green check
indicating that it is the assigned network.
2. Shows the signal strength and a lock indicating
that the network requires a password.
3. Shows the signal strength, a lock indicating that
the network requires a password and arrows indicating
that WPS is available.
B. Along the right sight of the menu page, there will be a List
Scroll Indicator which reects the relative position of the list
items displayed in the UI as a fraction of the total list size.
The Indicator will change positions as the user navigates
along the list to reect the position of the on-screen list
items relative to the entire list.
C. At the extreme right side of the list screen are the
Up and Down arrows that allow the user to navigate the
list.
4. Select your preferred access point from Step 3 and select
Connect.
A
B
C
1
2
3
3
4

12
Complete Control MX-4000
Owner’s Manual
Table of Contents
WiFi Settings Menu (cont’d)
My Networks
The My Networks menu displays a list of SSID’s that have been
added to the MX-4000 using the Wireless Search or the Add Other
methods.
To select an available SSID added to the MX-4000:
1. Select My Networks from the Wi- menu.
2. Use the radio buttons to select the desired network.
3. You will be giving four options:
•Connect - forces a connection to the selected access point
and closes the access point options notication.
•Delete - removes the selected access point from the
preferred list and closes the access point options
notication.
•Move Up - allows the user to move the indicated network
access point up one space on the My Networks List.
•Move Down - allows the user to move the indicated
network access point down one space on the My Networks
List.
1
2
3

13
Complete Control MX-4000
Owner’s Manual
Table of Contents
WiFi Settings Menu (cont’d)
Advanced Settings
The Advanced Settings shows the MX-4000's current network
settings.
To view the MX-4000's current network settings:
1. Select Advanced Setting from the Wi- menu.
2. The network setting are now displayed, select on Change
Settings to make changes.
3. The Ipv4 Setup page gives you the option to choose DHCP or
Static. Choosing Static will require you to enter the IP Address,
Subnet Mask, Gateway and DNS.
1
2
3

14
Complete Control MX-4000
Owner’s Manual
Table of Contents
Voice Assistant Setup
This option allows you to integrate your Amazon Alexa Voice
Assistant and Comcast Xnity voice module with the MX-4000.
Amazon Alexa Voice Assistant setup
Follow these instructions to enable the Alexa Voice Assistant service.
Once enabled, use the push-to-talk button to issue vocal commands
to the Alexa system:
1. From the Settings Menu, select Voice Assistant.
2. Select Alexa Voice Assistant.
1
2

15
Complete Control MX-4000
Owner’s Manual
Table of Contents
Voice Assistant Setup (cont’d)
Amazon Alexa Voice Assistant setup (cont’d)
Voice Assistant Settings
After setup, the Voice Assistant menu oers a few features to
customize how the remote interacts with Alexa.
• Login: Selecting Login will begin the Alexa login and
authentication sequence.
• Logout: Selecting Logout removes Alexa integration from
the remote. The Mic button no longer functions with Alexa
until it has been congured again.
• Audio Settings: Allows for Voice Volume and the Audio
Cue levels to be adjusted.
• Alexa’s Language: Allows for Alexa’s language/accent to
be set to one of a variety of options.
3

16
Complete Control MX-4000
Owner’s Manual
Table of Contents
Voice Assistant Setup (cont’d)
Amazon Alexa Voice Assistant setup (cont’d)
Voice Assistant Settings
After setup, the Voice Assistant menu oers a few features to
customize how the remote interacts with Alexa.
Login
1. Selecting Login will begin the Alexa login and authentication
sequence.
2. Select Get Started to proceed with the login and authentication
process. Selecting Go Back will take you to the Alexa Voice
Assistant Menu.
1
2

17
Complete Control MX-4000
Owner’s Manual
Table of Contents
Voice Assistant Setup (cont’d)
Amazon Alexa Voice Assistant setup (cont’d)
3. You will now be prompted with a code to enter on your
smartphone, computer or tablet at amazon.com/code.
4. Select Next when you are asked if you are ready to use Alexa
and to try some things.
3
4
Other manuals for COMPLETE CONTROL MX-4000
1
Other URC Remote Control manuals
Popular Remote Control manuals by other brands

now!
now! RGB instruction manual

Larson Electronics
Larson Electronics LEDB-6R-M-WR-WF-SP3100 instruction manual

AirScape
AirScape AS-RMT-FM Operation guide

weinor
weinor BiEasy 15M Go! operating instructions

Webasto
Webasto Telestart T91 Operating and servicing manual

Sony
Sony RMF-YD001 operating instructions