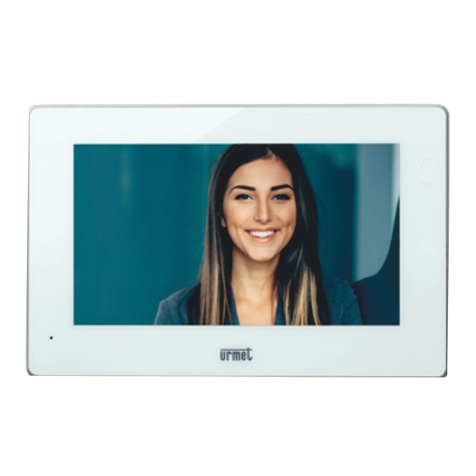
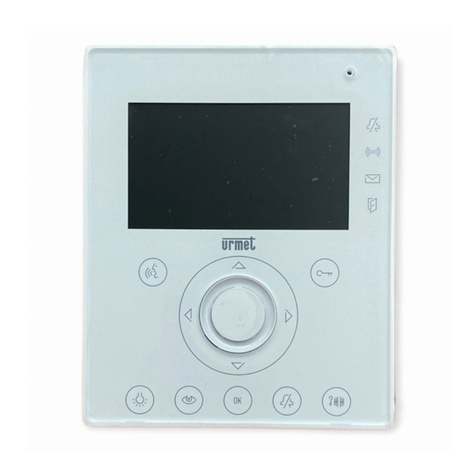
manuals.online logo
Brands
  1. Home
  2. •
  3. Brands
  4. •
  5. urmet domus
  6. •
  7. Intercom System
  8. •
  9. urmet domus Nexo 1708/1 User manual

urmet domus Nexo 1708/1 User manual

Other manuals for Nexo 1708/1

1

Other urmet domus Intercom System manuals

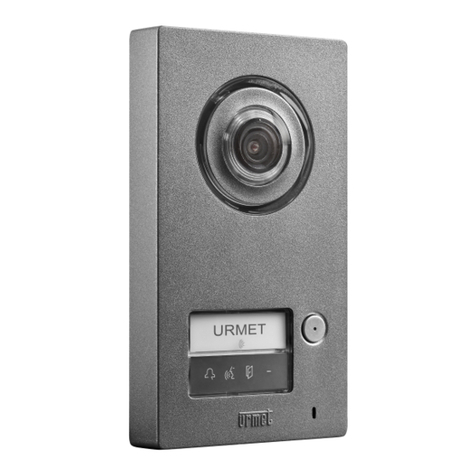
urmet domus iPercom VOG 5+ 1761/15 Installation and operation manual

urmet domus

urmet domus iPercom VOG 5+ 1761/15 Installation and operation manual

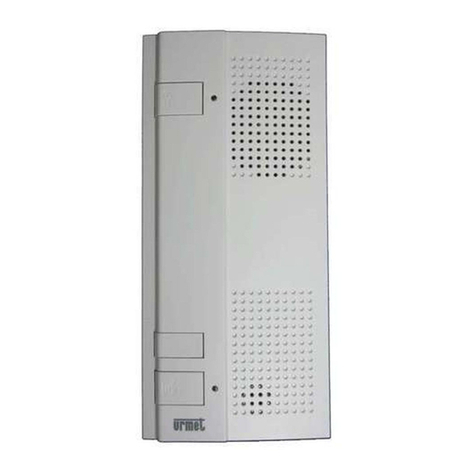
urmet domus 1708 User manual

urmet domus

urmet domus 1708 User manual

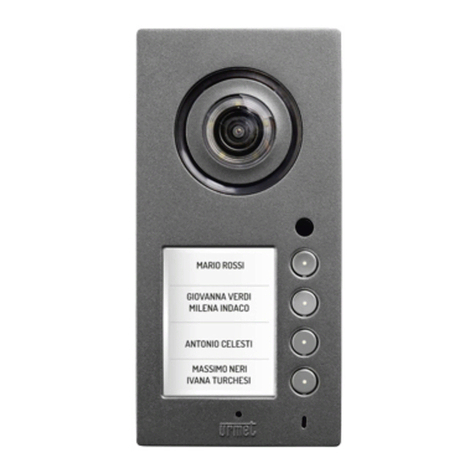
urmet domus IPercom  elekta steel  1060/18 User manual

urmet domus

urmet domus IPercom elekta steel 1060/18 User manual

urmet domus 1051/025 User manual

urmet domus

urmet domus 1051/025 User manual

urmet domus IPerCom User manual

urmet domus

urmet domus IPerCom User manual

urmet domus 1083 User manual

urmet domus

urmet domus 1083 User manual

urmet domus IMAGO 1707/1 User manual

urmet domus

urmet domus IMAGO 1707/1 User manual

urmet domus Miro Instruction Manual

urmet domus

urmet domus Miro Instruction Manual

urmet domus 1760 Installation and operation manual

urmet domus

urmet domus 1760 Installation and operation manual

urmet domus 2VOICE 1083/783 Installation and operation manual

urmet domus

urmet domus 2VOICE 1083/783 Installation and operation manual

urmet domus mikra2 1722/95 Instruction manual

urmet domus

urmet domus mikra2 1722/95 Instruction manual

urmet domus ATLANTICO 1702/1 User manual

urmet domus

urmet domus ATLANTICO 1702/1 User manual

urmet domus SIGNO 1740 Instruction Manual

urmet domus

urmet domus SIGNO 1740 Instruction Manual

urmet domus IPERVOICE SYSTEM User manual

urmet domus

urmet domus IPERVOICE SYSTEM User manual

urmet domus iPerTAlk 1375 Instruction manual

urmet domus

urmet domus iPerTAlk 1375 Instruction manual

urmet domus Brave NUDV S2 Troubleshooting guide

urmet domus

urmet domus Brave NUDV S2 Troubleshooting guide

urmet domus 1083/40 User manual

urmet domus

urmet domus 1083/40 User manual

urmet domus IPERCOM 1761 User manual

urmet domus

urmet domus IPERCOM 1761 User manual

urmet domus 1760 Installation and operation manual

urmet domus

urmet domus 1760 Installation and operation manual

urmet domus 2VOICE 1083 Guide

urmet domus

urmet domus 2VOICE 1083 Guide

urmet domus 1750/1 User manual

urmet domus

urmet domus 1750/1 User manual

urmet domus 1043/550A User manual

urmet domus

urmet domus 1043/550A User manual

urmet domus Note 2 1723/71 Instruction manual

urmet domus

urmet domus Note 2 1723/71 Instruction manual

urmet domus 1722 User manual

urmet domus

urmet domus 1722 User manual

Popular Intercom System manuals by other brands

Videx VRDK1 (25H) Technical manual

Videx

Videx VRDK1 (25H) Technical manual

Auta COMPACT VISUALTECH manual

Auta

Auta COMPACT VISUALTECH manual

Aiphone LC-10S instructions

Aiphone

Aiphone LC-10S instructions

Aiphone PD-1 instructions

Aiphone

Aiphone PD-1 instructions

Aiphone JF-DVF-HID-I instructions

Aiphone

Aiphone JF-DVF-HID-I instructions

Comelit 4893M Technical manual

Comelit

Comelit 4893M Technical manual

MGL Avionics V16 manual

MGL Avionics

MGL Avionics V16 manual

SSS Siedle BVI 750-0 Installation & programming

SSS Siedle

SSS Siedle BVI 750-0 Installation & programming

Alpha Communications STR QwikBus TT33-2 Installation, programming, and  user's manual

Alpha Communications

Alpha Communications STR QwikBus TT33-2 Installation, programming, and user's manual

Monacor ICM-20H instruction manual

Monacor

Monacor ICM-20H instruction manual

Logenex A202CR Installation & programming

Logenex

Logenex A202CR Installation & programming

Quantum QR5 Installation and programming manual

Quantum

Quantum QR5 Installation and programming manual

EVGA XR1 quick guide

EVGA

EVGA XR1 quick guide

CyberData 011211 series Installation quick reference

CyberData

CyberData 011211 series Installation quick reference

Vidos duo M1021 user manual

Vidos

Vidos duo M1021 user manual

Savant DOR-SMS-00 Deployment guide

Savant

Savant DOR-SMS-00 Deployment guide

SSS Siedle BTSV 850-03 operating instructions

SSS Siedle

SSS Siedle BTSV 850-03 operating instructions

Dahua VTO Series quick start guide

Dahua

Dahua VTO Series quick start guide

manuals.online logo
manuals.online logoBrands
  • About & Mission
  • Contact us
  • Privacy Policy
  • Terms and Conditions

Copyright 2025 Manuals.Online. All Rights Reserved.

Описание
Новое цветное абонентское видеоустройство NEXO порадует эффективностью
и внешним видом. Видеомонитор объединяет усовершенствованные технологии и
отличные характеристики.
Эффект присутствия
Отличительной чертой этого видеомонитора является качественное цветное
изображение on-line с регулированием цвета, громкости звука и контрастности.
Большой 7-дюймовый экран транслирует происходящее во всем спектре.
Разрешение 320*280 позволяет узнать посетителей в лицо.
Удобство иэффективность
Прибор легко монтируется, в случае замены им предыдущего монитора не
понадобится вспомогательных инструментов. Это видеоустройство отличает
функциональность, а отдельная кнопка отпирания замка минимизирует усилия
потребителя.
Телеком СБ
1708/1 Видеомонитор цветного изображения
NEXO инструкция
Совершенство стиля
Благодаря ультратонкому корпусу, большому экрану и гармоничному дизайну,
видеомонитор станет эффектной деталью для прихожей. Коробка, не выступающая
над стеной, поможет создать иллюзию монолитности общего вида.
Характеристики
oШирина 200 мм, высота 136 мм, толщина 24,5 мм;
oДисплей TFT цветной, 7 дюймов с OSD;
oМатериал пластик;
oСовмещаем с системой прямой адресации, системой 826, 1032 ScaiBus, 1038
DIGIVOICE (через адаптер 1038/67);
o2 кнопки дополнительных функций;
oМонтажная коробка 60мм, без выступания над стеной;
oНапряжение 18В±2В, потребление тока max450 мА, в режиме ожидания – 0 мА;
oТемпературный режим 0 – +50°С, влажность ≤ 80%.
Телеком СБ
NEXO HANDS-FREE COLOUR 7” VIDEO DOOR
PHONE Ref. 1708/1
Nexo video door phone is a hands-free video door phone equipped
with a 7” colour display (to activate the communication, shortly press
the audio button).
The device has been designed for analogue video door phone
systems with coaxial cable and electronic call; for further details, see
the section “Products application field” in the technical manual of
door phone-video door phone products in the site www.urmet.com.
Display colour and brightness adjustment can be performed with the
OSD menu, while call tone and loudspeaker volume adjustment with
the specific trimmers placed on the bottom side of the device.
The buttons used for audio activation, electric lock activation and
additional services are on the front side.
Nexo is installed in generic flush mount boxes (Ø 60 mm or mod. 503)
using the suitable bracket. Wiring is simplified by means of a suitable
card provided with terminal blocks and pre-cabled flat cables, that
must be connected to the video door phone.
SPECIFICATION
The main characteristics of the video door phone are:
Flat 7” LCD colour video module.•
Call/communication volume adjustment by trimmers:•
rear view
conversation volume
(internal loudspeaking)
call volume
Dedicated door lock release button.•
2 additional buttons for auto-on function or activation of additional•
relays for electric loads activation (if properly connected).
Brightness and colour adjustment with OSD menu (on screen•
display) with buttons placed in monitor right side.
Video standard automatic selection according to input signal•
frequency.
10 11 12 13 14
15
16
17
1234
5
6
7
8
9
front view
rear view
7” TFT-LCD display1.
2Additional button2.
Additional button3.
Door lock release button4.
Audio enabling/disabling button5.
Microphone6.
7. Button : used to decrease colour and brightness
Menu button: if pressed, if the display shows an image, it8.
activates the menu used to adjust colour and brightness
9. Button : used to increase colour and brightness
Potentiometer used to adjust conversation volume (internal10.
loudspeaker) - Vol. 2
Potentiometer used to adjust call volume - Vol. 111.
8-pin connector for connection to the system12.
Locking hook13.
9-pin connector for connection to the system14.
Call loudspeaker15.
Conversation loudspeaker16.
Jumper for 75 Ohm termination resistor insertion17.
TECHNICAL SPECIFICATION
Power supply voltage:.................................................. 18 Vdc +/- 2 V
Max. current consumption: ..................................................... 450 mA
Current consumption in standby:................................................ 0 mA
Power consumption when operative:...........................................<8 W
Liquid crystal display:................................................................ 7” TFT
Screen dimensions:.........................................................155 x 87 mm
Video resolutions:................................................... 320H x 280V lines
X1,X2 and Y1,Y2 contact max. range: .................... 100 mA @ 18 Vdc
Working temperature range:..................................................0 ÷ 50 °C
Max. humidity:............................................................................ <80%
Dimensions (w x h x d): ......................................200 x 136 x 24,5 mm
NEXO HANDS-FREE COLOUR 7” VIDEO DOOR PHONE
SPECIFICATION - TECHNICAL SPECIFICATION
Телеком СБ
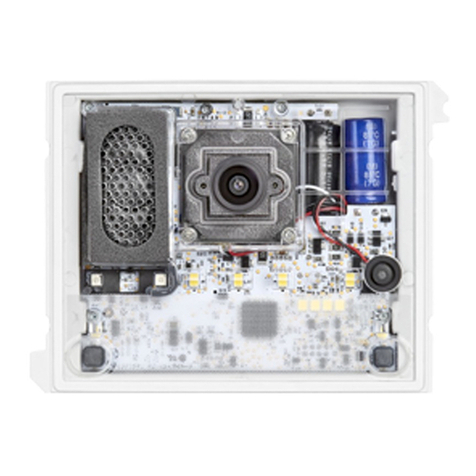
TERMINAL PINS DESCRIPTION
RT
R2
V4
Secondary video door phone power supply positive
Video door phone power supply positive
Composite video signal for in-out connection of a
second video door phone (if not present, insert The
75Ohm resistor by moving the termination jumper)
V5 Video signal ground
V3 Composite video signal
R1 Video door phone power supply negative
R3 Video quite power-on
CA Call signal
2
6
1
10
9
Microphone signal
Power supply ground
Loudspeaker signal
Power supply ground
Door lock release button activation
Y2
}
Additional button terminal pins (*)
Y1
X1
}
Additional button terminal pins (*)
X2
(*) for electric loads activation use a relay box.
Jumper If the video door phone is installed at the end of a line, the
jumper must be in 75 Ohm position, otherwise in ∞position
(default)
OPERATION
ANSWER TO A CALL
After a call coming from a video door phone unit, the video door
phone rings and shows the visitor image. To activate communication,
press the button (5).
To end communication, press again the button (5).
Audio can be activated only if the display is on.
ELECTRIC LOCK ACTIVATION
The electric lock connected to the door unit can be activated at any
time by pressing the suitable button (4).
BRIGHTNESS AND COLOUR ADJUSTMENT
During auto-on or after a call has been received:
Press Menu button to access brightness adjustment, then press•
for adjustment.
Press Menu button to access colour adjustment, then press•
for adjustment.
Press Menu button for the third time to exit from settings.•
INSTALLATION
WALL-MOUNTED VERSION
Fix the bracket to a flush mount box at the indicated distance;•
Connect the connectors to the video door phone and to provided•
terminal board card;
Connect the terminal board card to the system;•
Insert the video door phone in the bracket.•
4cm 4cm
3cm
2cm
terminal
board card
Distance to
be observed
Ø 60mm box
503 box
DISASSEMBLY
To remove the video door phone from the bracket press the locking
hook and rotate the monitor.
12
3
NEXO HANDS-FREE COLOUR 7” VIDEO DOOR PHONE
TERMINAL PINS DESCRIPTION - OPERATION - INSTALLATION
Телеком СБ