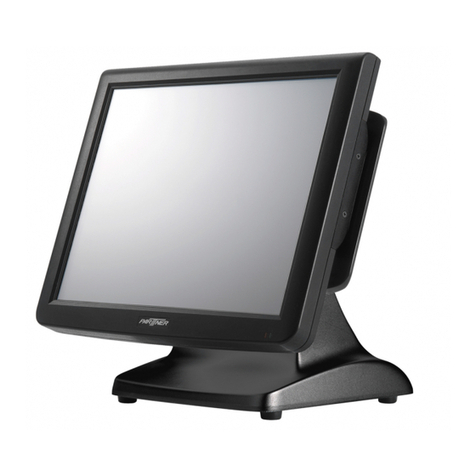
UTC RETAIL 3100 Series Instruction Manual

3100 Series™ is a registered trademark of UTC RETAIL 11680012 Rev A
2009 UTC RETAIL. All rights reserved.
3100 Series
Touch Screen POS Workstation
INSTALLATION GUIDE: MAGNETIC STRIPE READER (MSR)
Congratulations on your purchase of UTC RETAIL’s
innovative 3100 Series Touch Screen POS Workstation with its
Magnetic Stripe Reader (MSR). The 3100 Series MSR installs
quickly and easily on the side of the main workstation unit.
This Installation Guide was prepared by UTC RETAIL for use
by technical experts who assemble POS systems using 3100
Series products.
This document may not be used for any purpose other than its
intended use. This document must be downloaded in its
entirety; it may not be reproduced, stored or transmitted in part
without the prior written permission of UTC RETAIL. All
attempts have been made to ensure that the information
presented in this document is correct. No liability, expressed or
implied, will be assumed by UTC RETAIL, its dealers, or
affiliates, for damage resulting from the use of this information.
Safety Precautions for Installation
WARNING: Access to Internal Components
All access to internal components of the 3100 Series unit is restricted to Authorized Service Personnel only. Opening
the case or service by anyone else will automatically void the warranty on this product.
CAUTION
Damage to the logic module components may occur if AC power is not removed from the product prior to attaching
any accessories.
CAUTION
Once installed, DO NOT use the MSR as a carrying handle when moving the 3100 Series from location to location.

11680012 Rev A 2 © 2009 UTC RETAIL
Installing the Magnetic Stripe Reader
The 3100 Series Magnetic Stripe Reader (MSR) easily installs on the side of the LCD Touch Screen.
Install the Magnetic Stripe Reader (MSR) as follows:
1. Prepare the Machine
If Windows is running, shut it down as you would shutdown a PC. When the 3100 Series is off, unplug the power cord. Rotate
the unit 90° clockwise so its left side is facing you. Lay the 3100 Series Workstation face down on a soft surface, being careful
not to scratch the LCD monitor or its bezel.
2. Remove the MSR connector cover
On the rear, left side of the LCD display, remove
the screws (2) holding the plastic cover. See
picture right. Remove the plastic cover. There are
3 screw holes; see picture below.
MSR cover plate removed
MSR jack cover plate
3. Connect the MSR
Lay the MSR, with its molded Swipe icon face
down, on the table top next to the 3100 Series
workstation. Using a screw from Step 2 above,
attach the single black ground wire to the middle
screw hole. Orient the meta
l screw terminal on this
ground wire so it is inline with the 3 screw holes.
The screw terminal cannot be left hanging over the
edge of the MSR mounting location. The cable
bundle with the white plug is the data cable.
Holding the white plug so the black w
ire is to your
left and the red wires to the right, plug the data
cable into the data jack – see the photo on the
right.
Align the top and bottom grooves in the MSR unit
with the guide rails on the LCD bezel and slide it
into position, making sure the ground wire and
data cable assembly are not pinched against the
bezel wall.
Ground wire
screw
Data cable plug
and jack
Black
wire

© 2009 UTC RETAIL 3 11680012 Rev A
3. Insert and tighten screws
Insert and tighten the two black screws provided
with the MSR unit to secure the MSR housing to
LCD bezel.
Set the 3100 Series workstation upright, plug in
the power cord and turn the machine on.
Installing the Magnetic Stripe Reader Software Drivers
The 3100 Series MSR sends data to your POS application via the serial interface and the MSR drivers. The drivers the MSR
requires are dependent on your POS application. The MSR can operate as a keyboard-mode device or as an OPOS device. You
cannot operate in keyboard-mode if you have OPOS drivers and software installed on a 3100 Series POS workstation. Drivers for
the MSR can be downloaded from the UTC RETAIL website at www.utcretail.com. Look for “Drivers and Support” under the
Hardware Solutions tab. The drivers and test software are also on the 3100 Series hard drive in the Drivers folder within the My
Documents folder.
MSR Keyboard-mode Driver
1. The MSR device MUST be installed onto the 3100 Series POS workstation prior to software driver installation. See
“Installing the Magnetic Stripe Reader” above.
2. On the Windows Start Menu, under All Programs, start the MagSwipe Configuration Utility. If the program is missing,
install it from the C:\Drivers\ID Tech MSR\MagSwipe Configuration Software folder .
3. Click the Select Reader Interface button. Under "First, Establish Communication...", click the blue button showing the
interface having two cables spliced together (not the 9-Pin serial port cable nor the USB cable). The button will turn
green and have a check mark. Under "Specify the comport, " PS/2 Keyboard port will be selected. Click Continue and
you will hear the MSR's high pitched beep.
4. Click the Check Current Reader Settings button; the MSR will beep and a page will fill with data regarding the MSR's
configuration. Click OK to close the window. The Change Basic Reader Settings and Change Advanced Reader
Settings functions on the left side of the main program window allow you to customize the MSR's configuration. Do
not modify the settings unless you are confident of your abilities. On the Utility’s main window, click Exit to close the
application.
5. Test the MSR by running the Windows Notepad application and swiping a credit card (up to 3-tracks) through the
MSR. The icon on the front face of the reader shows you how to orient the card's magnetic stripe. The card data will
appear in Notepad. Close Notepad to destroy the information. The MSR device is now ready to be used with your POS
software.
6. The volume of the tone from the MSR when it is reading the card may be changed or eliminated from a selection on the
Change Basic Reader Settings section of the MagSwipe Configuration Utility on your machine.
MSR OPOS Driver and Demo Software
1. The MSR device MUST be installed onto the 3100 Series POS workstation unit prior to software driver installation or
removal. See “Installing the Magnetic Stripe Reader” above.
2. The OPOS driver and the demonstration software are on the 3100 Series hard drive. Open the C:\Drivers\ID Tech
MSR folder . There are two OPOS folders inside, one for the OPOS driver, the other for the OPOS Demo software.
Mounting
screws
11680012 Rev A 4 © 2009 UTC RETAIL
3. To install the ID Tech PS/2 OPOS Driver, open the C:\Drivers\ID Tech MSR\OPOS Driver folder and run setup.exe.
Click the Run or Next or Yes buttons as they appear, selecting the Typical installation and accepting the default
Program folder suggested. When presented, click Finish and allow the 3100 Series workstation to restart.
4. After Windows restarts, install the ID Tech OPOS Demonstration Software. Step 2 above explains where the software
is located. Open the ID Tech OPOS Demo Software folder and run setup.exe. Select the Next or Yes or Finish buttons
whenever they appear.
5. On the Windows Start Menu , in the ID TECH OPOS folder, select ID TECH MSR OPOS Test Program to start the
software. At the top of the page, in the drop down list box, select PS/2 KB:IDTECH_MMII_PS/2KB. On the left side
of the main screen, click the Open button. The MSR will beep and some of the boxes will have data inserted into them.
6. Click the Claim button and the MSR will beep again. On the Control tab to the right, ensure the checkboxes for
DeviceEnabled and DataEventEnabled are checked.
7. Back on the left of the window, select the CheckHealth... button. Select InterActive and OK. Swipe a credit card (up to
3-tracks) and the data will appear in the data boxes. Close this window.
8. Open Notepad and swipe your credit card. No data will appear. You cannot run the MSR as an OPOS device and in
keyboard mode at the same time. The OPOS software is overriding the keyboard driver. Close Notepad and Exit the
OPOS DEMO MagSwipe Software. To once again enable the MSR as a keyboard device, the OPOS DEMO MagSwipe
Software must be removed using the Add or Remove Programs function located in the Control Panel. Once this
software is uninstalled, card swipes will appear in Notepad or your keyboard-mode software.
Service and Technical Support
Assistance and customer service are available from your dealer or authorized service provider. If your dealer or service provider
cannot answer your questions or provide satisfactory service, call UTC RETAIL Technical Support. When calling for assistance
or service information, please be ready to provide the model number and serial number of the Magnetic Stripe Reader. This
information is found on a sticker located on the inside of the MSR device by its USB cable. If the MSR device needs to be
returned to a repair facility, please use the original packing material and shipping carton.
For assistance, service, and warranty information, contact:
UTC RETAIL
100 Rawson Road
Victor, NY 14564
Phone: 1.800.349.0546 or (585) 924.9500
Fax: (585) 924.1434
www.utcretail.com
Other manuals for 3100 Series
2
Table of contents
Other UTC RETAIL Touch Terminal manuals

UTC RETAIL
UTC RETAIL 2250 User manual

UTC RETAIL
UTC RETAIL 3100 Series User manual

UTC RETAIL
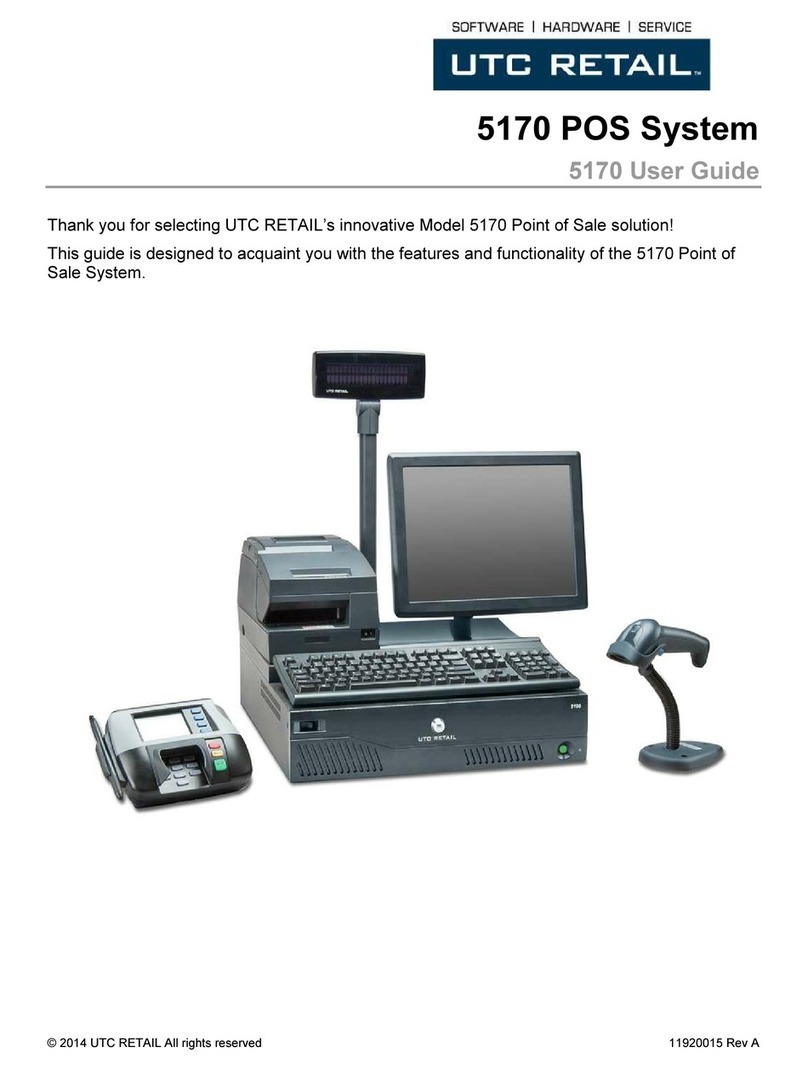
UTC RETAIL 5170 User manual

UTC RETAIL
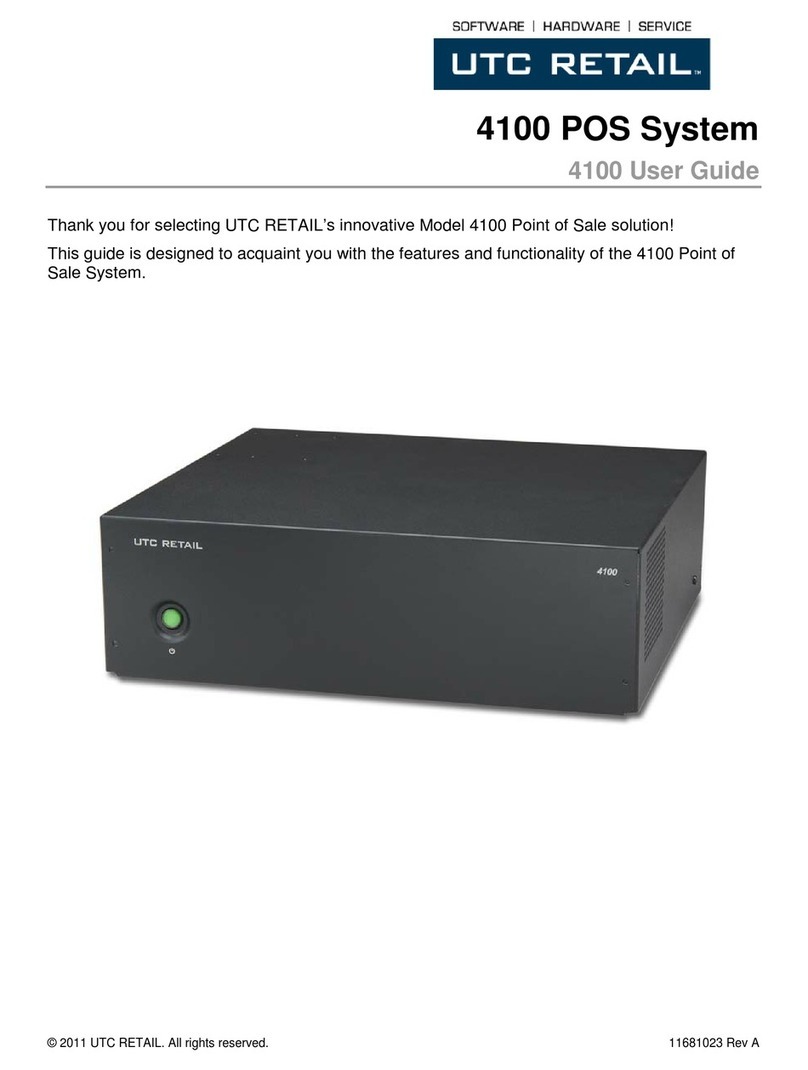
UTC RETAIL 4100 User manual

UTC RETAIL
UTC RETAIL 2250 User manual

UTC RETAIL
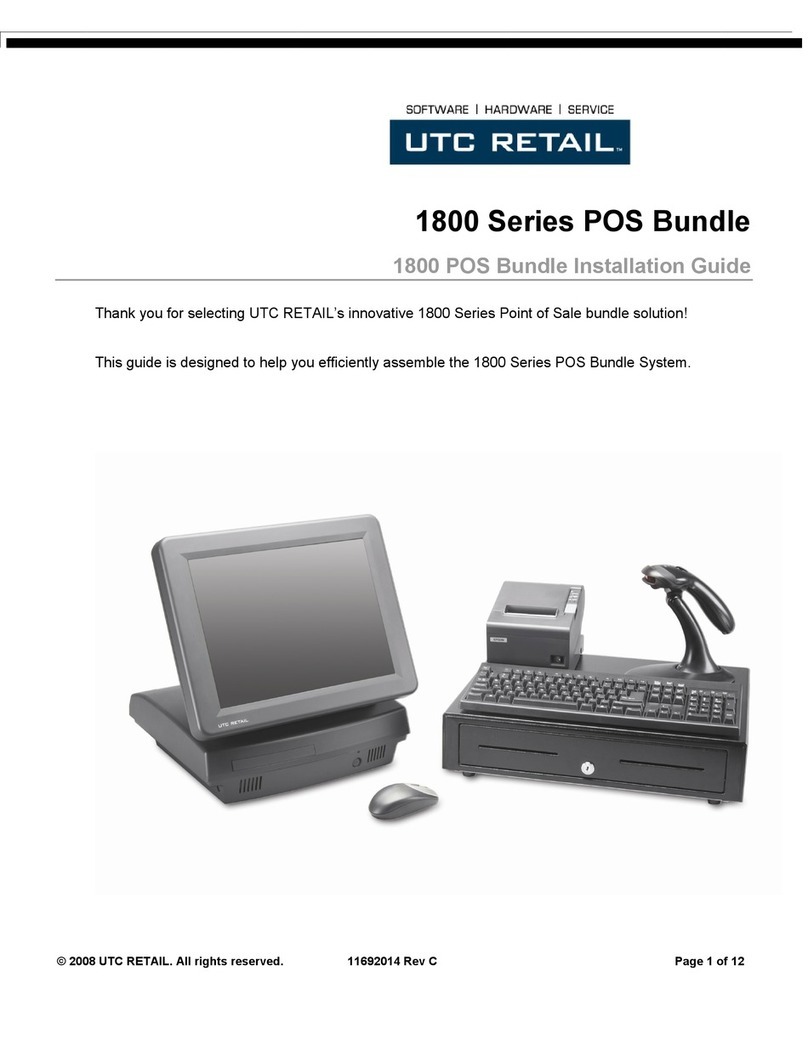
UTC RETAIL ultimatouch 1800 series User manual

UTC RETAIL
UTC RETAIL 2170 User manual

UTC RETAIL
UTC RETAIL 3100 Series User manual

UTC RETAIL
UTC RETAIL 2200 Series Back Office Workstation Bundle... User manual

UTC RETAIL
UTC RETAIL T6100 User manual