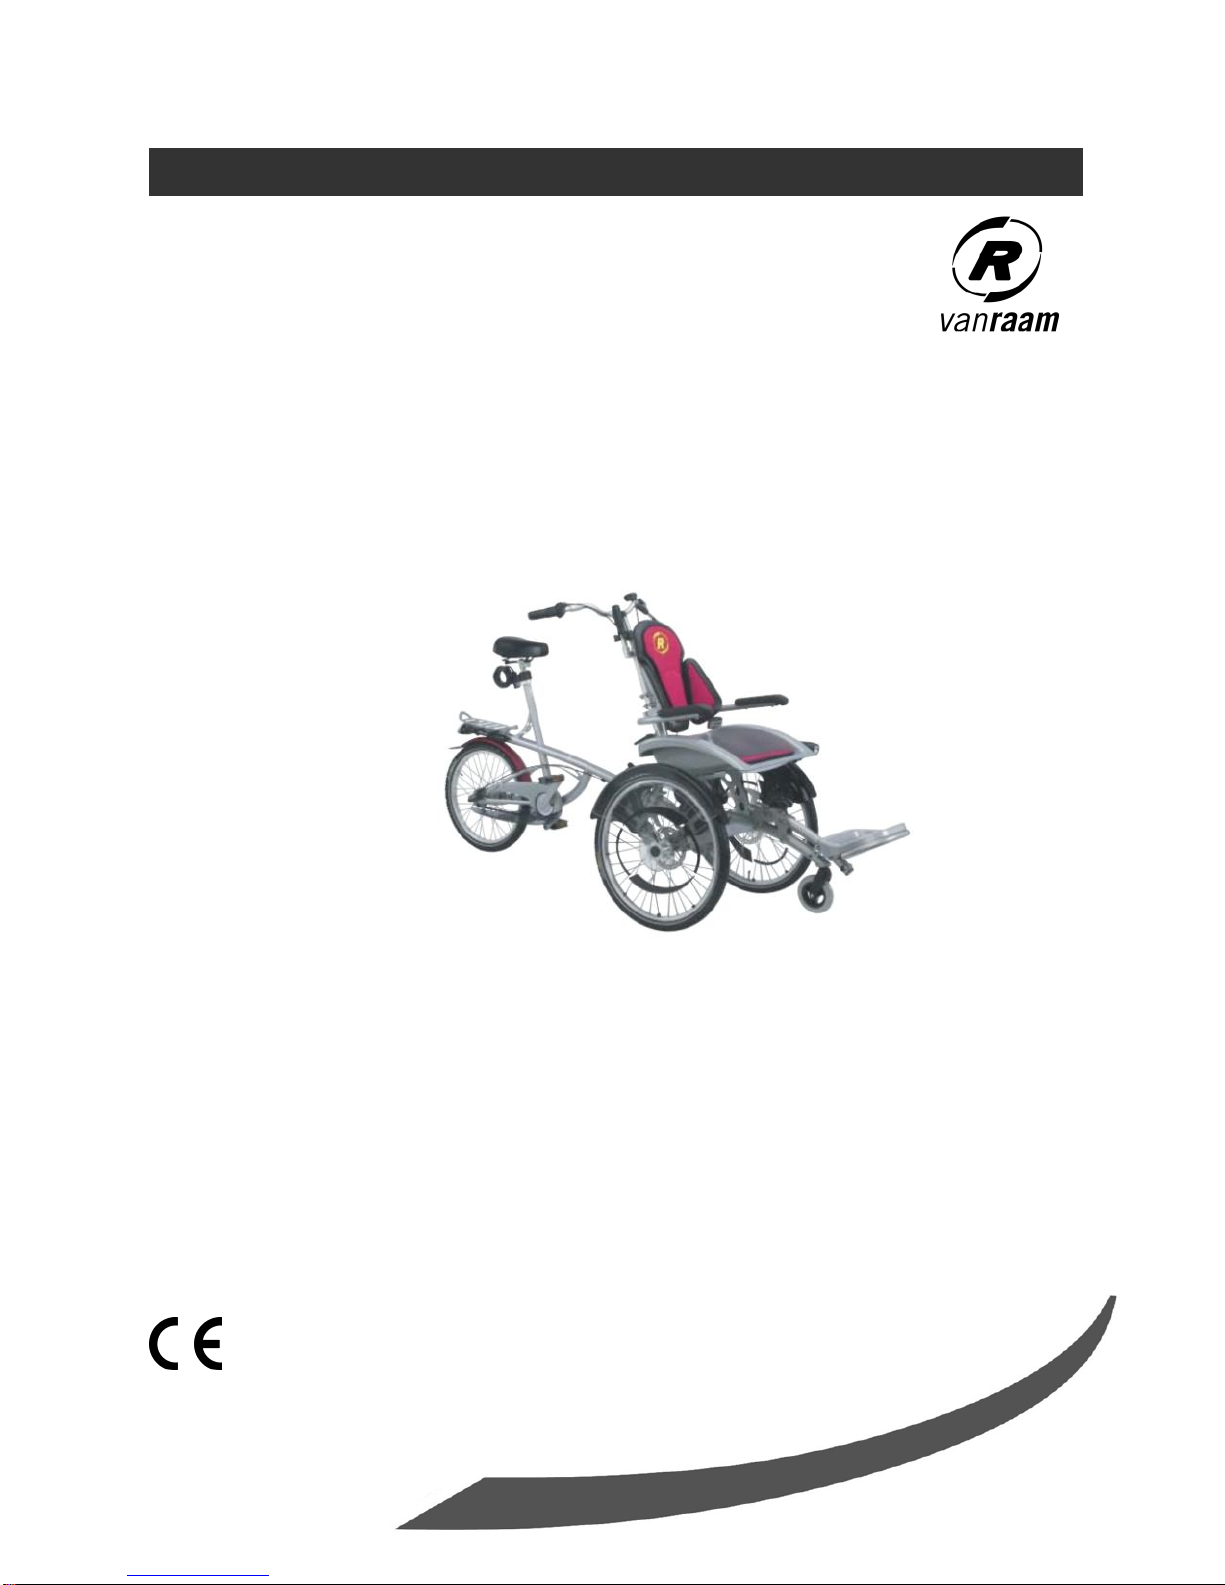
Vanraam O-Pair User manual
Other Vanraam Bicycle manuals

Vanraam
Vanraam VeloPlus3 User manual

Vanraam
Vanraam Easy Rider 3 User manual

Vanraam
Vanraam O-Pair User manual

Vanraam
Vanraam Twinny User manual

Vanraam
Vanraam Balance User manual

Vanraam
Vanraam Funtrain User manual

Vanraam
Vanraam Easy Rider 3 User manual

Vanraam
Vanraam Twinny User manual

Vanraam
Vanraam VeloPlus3 User manual

Vanraam
Vanraam Tavara Balance User manual

Vanraam
Vanraam Easy Sport User manual

Vanraam
Vanraam Husky User manual

Vanraam
Vanraam Fun-2-Go User manual

Vanraam
Vanraam Tavara Balance User manual

Vanraam
Vanraam Velo-Plus2 User manual

Vanraam
Vanraam City Walking aid Technical manual

Vanraam
Vanraam Easy Go User manual

Vanraam
Vanraam Chat Assembly instructions

Vanraam
Vanraam Fun-2-Go User manual

Vanraam
Vanraam Chat User manual