manuals.online logo
Brands
  1. Home
  2. •
  3. Brands
  4. •
  5. Velleman
  6. •
  7. Soldering Gun
  8. •
  9. Velleman VTSS20 User manual

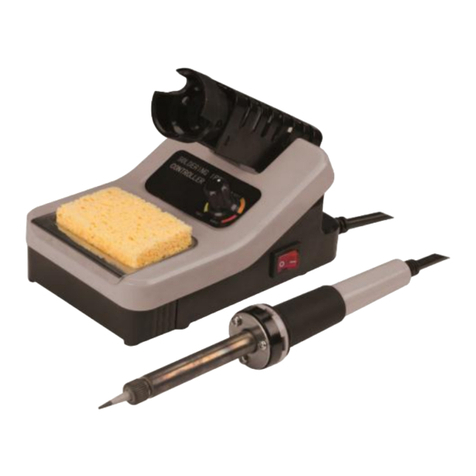
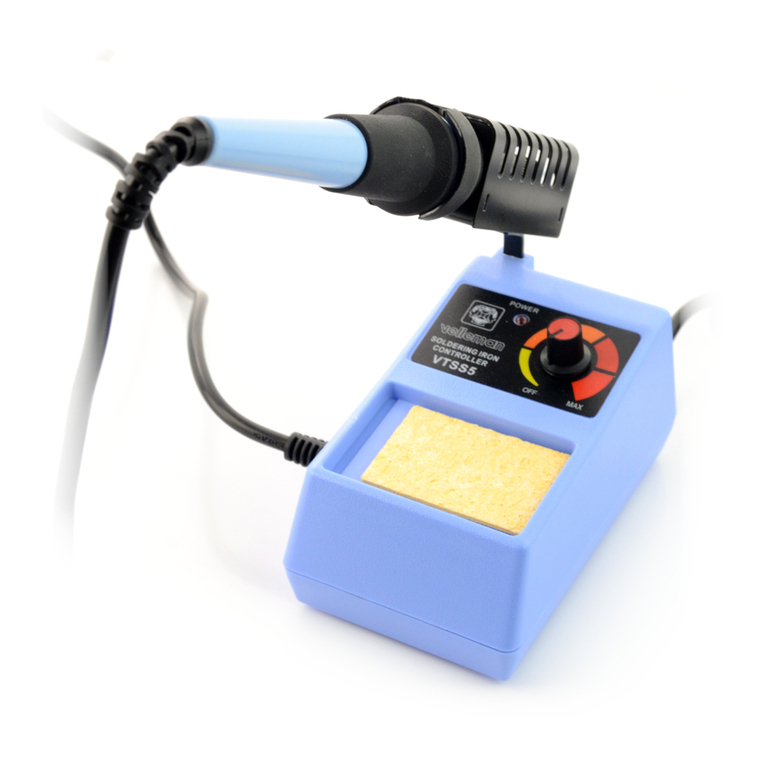
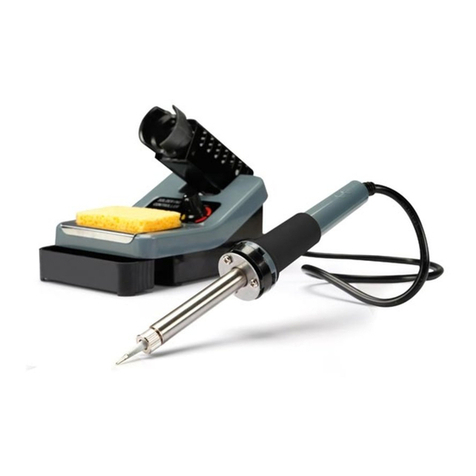
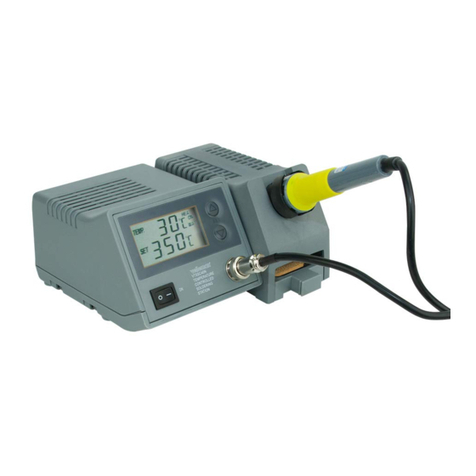
Velleman VTSS20 User manual

VTSS10 / VTSS20 / VTSS30
TEMPERATURE-CONTROLLED
SOLDERING STATIONS
VTSS10
150°C
-
450°C
VTSS20
150°C
-
420°C
VTSS30
160°C
-
480°C
VTSS10 / VTSS20 / VTSS30_v2 VELLEMAN2
Description / Omschrijving / Description
The temperature controlled
soldering station contains a
sophisticated circuitry that controls
the temperature between 150°C and
480°C
(VTSS10 : 150°C - 420°C,
VTSS20 : 150°C - 450°C,
VTSS30 : 160°C - 480°C).
The difference between the real
temperature and the desired
temperature is less than 10°C,
thanks to its temperature caption
which is fast and precise. The
resistance is supplied with a
security tension of 24V via a
transformer. The bit is completely
isolated from the current. The
control circuitry that is completely
electronic guarantees that there can
not be danger to destroy
components that are sensible at
static charges.
Het Velleman soldeerstation met
elektronische temperatuurregeling
bevat een gesofisticeerde
schakeling die de gebruiker in staat
stelt de soldeertemperatuur
trappeloos te regelen tussen 150°C
en 480°C
(VTSS10 : 150°C - 420°C,
VTSS20 : 150°C - 450°C,
VTSS30 : 160°C - 480°C).
Hierbij blijft de afwijking t.o.v. de
ingestelde temperatuur kleiner dan
10°C, dankzij de gevoelige en snel
reagerende temperatuursensor in de
stift van de soldeerbout. Het
verwarmingselement wordt via een
transformator met een veilige 24V
spanning gevoed, terwijl de stift
volledig van het net gescheiden is.
De volledig elektronische sturing
van het station zorgt ervoor dat
voor statische ontladingen
gevoelige componenten geen
gevaar lopen tijdens het solderen.
La station à souder à température
contrôlée Velleman contient un
circuit sophistiqué qui permet de
régler la température entre 150°C et
480°C
(VTSS10 : 150°C - 420°C,
VTSS20 : 150°C - 450°C,
VTSS30 : 160°C - 480°C).
La différence entre la température
réelle et la température demandée
est de moins de 10 ° C, grâce à son
capteur de température rapide et
précis. La résistance est alimentée
par une tension de sécurité de 24 V
via un transformateur. La pointe
est complètement isolée du courant.
Le pilotage complètement
électronique garantit qu’il n’y a pas
de danger de détruire les
composants sensibles aux charges
statiques.
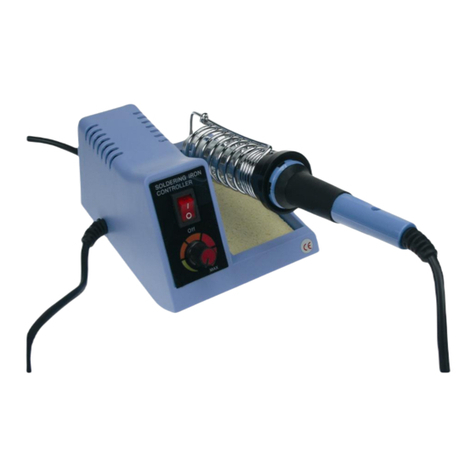
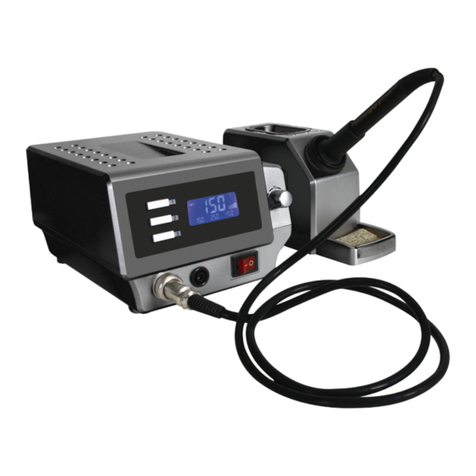
VTSS20 LED bar display VTSS30 Digital display
VTSS10 / VTSS20 / VTSS30_v2 VELLEMAN3
48W
150°C - 450°C
Without temperature readout
VTSS10
TEMPERATURE CONTROLLED
SOLDERING STATION
1 Mains switch Netschakelaar Interrupteur de réseau
2 Temperature control Temperatuursinstelling Réglage de température
3 Sponge Spons Eponge
4 Iron stand Soldeerbouthouder Support
5 Fuse holder Zekeringhouder Fusible
6 Power on/off indication Aan/uit aanduiding Indication arrêt / marche
7 Silicon tube Siliconenkabel Fil en caoutchouc à la silicone
8 Handle Handvat Poignée
9 Anti-slip rubber Anti-slip rubber Caoutchouc antidérapant
10 Heating element and temperature
caption Element en temperatuursensor Résistance et capteur de
température
11 Bit Stift Pointe
12 Bit holder Stifthouder Support de la pointe
VTSS10 / VTSS20 / VTSS30_v2 VELLEMAN4
48W
150°C - 420°C
LED bar indication
VTSS20
TEMPERATURE CONTROLLED
SOLDERING STATION
1 Mains switch Netschakelaar Interrupteur de réseau
2 Temperature control Temperatuurinstelling Réglage de température
3 Sponge Spons Eponge
4 Iron stand Soldeerbouthouder Support
5 Fuse holder Zekeringhouder Porte fusible
6 Earth connection Aardaansluiting Dispositif de mise à la terre
7 Temperature readout Temperatuuruitlezing Indication de température
8 Silicon tube Siliconenkabel Fil en caoutchouc à la silicone
9 Handle Handvat Poignée
10 Anti-slip rubber Anti-slip rubber Caoutchouc antidérapant
11 Heating element and temperature
caption Element en temperatuursensor Résistance et capteur de
température
12 Bit Stift Pointe
13 Bit holder Stifthouder Support de la pointe
VTSS10 / VTSS20 / VTSS30_v2 VELLEMAN5
48W
160°C - 480°C
DIGITAL indication
VTSS30
TEMPERATURE CONTROLLED
SOLDERING STATION
1 Mains switch Netschakelaar Interrupteur de réseau
2 Temperature control Temperatuurinstelling Réglage de température
3 Sponge Spons Eponge
4 Iron stand Soldeerbouthouder Support
5 Fuse holder Zekeringhouder Porte fusible
6 Earth connection Aardaansluiting Dispositif de mise à la terre
7 Temperature read-out Temperatuuruitlezing Indication de température
8 Silicon tube Siliconenkabel Fil en caoutchouc à la silicone
9 Handle Handvat Poignée
10 Anti-slip rubber Anti-slip rubber Caoutchouc antidérapant
11 Heating element and temperature
caption Element en temperatuursensor Résistance et capteur de
température
12 Bit Stift Pointe
13 Bit holder Stifthouder Support de la pointe
VTSS10 / VTSS20 / VTSS30_v2 VELLEMAN6
Working temperatures / Bedrijfstemperaturen /
Températures d'utilisation
A well chosen temperature is
essential for good soldering. When
the temperature is too low, it will
give weak soldering. When the
temperature is too high, the fluid
agent will evaporate. High
temperature can also destroy
components. With a correct
temperature you are almost sure to
have a good soldering. The most
used solder has 60% Sn and 40%
Pb (60/40).
In this table you will find several
temperatures for this alloy with
different applications.
Een correcte soldeertemperatuur is
essentieel voor een goede
soldeerverbinding. Bij een te lage
temperatuur vloeit het soldeer niet
goed, en resulteert in broze lassen,
terwijl bij een te hoge temperatuur
het vloeimiddel verdampt,
waardoor het soldeer te weinig tijd
krijgt om te vloeien. Het spreekt
vanzelf dat een te hoge ook de
componenten onherstelbaar kan
beschadigen. Met een correcte
temperatuur en een goede
soldeertechniek is men bijna altijd
zeker van een goede las.
De meest gebruikte soldeerlegering
is een 60 % tin en 40 % lood
legering (60/40). Onderstaande
tabel toont de ideale temperaturen
voor deze legering bij verschillende
toepassingen.
Une température idéale est
essentielle pour des bonnes
soudures. Une température trop
basse donne des soudures fragiles,
une température trop haute fait
évaporer l’agent fluidifiant et
détruit parfois les composants.
Avec une température idéale on est
presque sûr de réussir une bonne
soudure. La soudure la plus utilisée
consiste de 60 % d'étain et 40 % de
plomb (60/40).
En dessous on donne les
températures pour cet alliage avec
différentes applications.
Fusion point
Normal use
Industrial production
Desoldering (little joints)
Desoldering (big joints)
Smeltpunt soldeer
Normaal gebruik
Productielijn gebruik
Desolderen (kleine verbindingen)
Desolderen (grote verbindingen)
Point de fusion
Emploi normal
Production industrielle
Dessouder (petits joints)
Dessouder (grands joints)
215°C
270°C - 300°C
320°C - 380°C
315°C
400°C
Handling of the bit / Behandeling van de stift /
Traitement de la pointe
The bit is made of a copper kernel,
protected with a steel coating. De bijgeleverde stift bestaat uit een
koperen kern, beschermd door een
stalen mantel.
La pointe est composée d'un noyau
en cuivre, protégé d'un manteau en
acier.
VTSS10 / VTSS20 / VTSS30_v2 VELLEMAN7
Some advices / Enkele wenken / Quelques conseils
Let the bit always tinned. Clean
before usage.
Usage for a long time at high
temperatures will cause
premature wear.
Never clean the bit with abrasive
materials.
The corrosion of the bit can be
removed with a very fine emery
cloth (600-800) or with
isopropylene alcohol. After
cleaning, immediately heat and
tin the bit.
After 20 hours of usage (or after
each week) it is necessary to
remove the bit to clean the
possible corrosion.
Never use fluid agents
containing chlorine or other
corrosion products ; the solder
with resin is perfect suited for
the job.
Moisten the sponge only with
water.
Zorg ervoor dat de stift steeds
vertind is wanneer de bout niet
gebruikt wordt. Wrijf ze schoon
voor gebruik.
Langdurig gebruik op hoge
temperatuur resulteert in
vroegtijdige slijtage van de stift.
Reinig de stift nooit met
schurende materialen of vijlen.
Eventuele oxideafzetting op de
stift kan best verwijderd worden
met zeer fijn schuurlinnen (600-
800) of isopropylalcohol. Na
reiniging onmiddellijk de stift
opwarmen en vertinnen.
Na 20 h gebruik (of minstens
elke week) is het aangeraden om
de stift te verwijderen om
eventuele oxideafzetting in de
bout te verwijderen.
Gebruik geen chloorhoudende
of bijtende vloeimiddelen.
Veilig zijn harshoudende
vloeimiddelen.
Gebruik voor het bevochtigen
van de spons enkel zuiver water.
Laisser la pointe étamée.
Nettoyer avant usage.
Utilisation prolongée à haute
température donne une usure
rapide.
Ne jamais nettoyer la pointe
avec des matériaux abrasifs.
La corrosion de la pointe peut
être enlevée avec une toile émeri
très fine (600-800) ou à l’alcool
isopropylène. Après nettoyage il
faut chauffer et étamer la pointe
tout de suite.
Après 20 heures d’usage ( où
chaque semaine) il est nécessaire
de démonter la pointe pour
enlever la corrosion éventuelle.
N’utilisez pas d’agents
fluidifiants à chlore ou corrosif ;
la soudure à la résine est idéale.
Mouillez l’éponge seulement
avec de l’eau.
Maintenance / Onderhoud / Entretien
Let the bit cool down before
cleaning up the bit or before
replacing it.
The bit can be removed by
loosening the knurled thumb nut.
After removing the bit, the oxide
layer that is possibly formed can be
removed.
When cleaning the bit, watch out
for your eyes. Replace the bit and
nut the screw manually up. Do not
use too much power. Too much
power could break the element. The
station can be cleaned with a damp
cloth. Do not use solvents and take
care that the liquid does not enter
the device.
Laat de bout volledig afkoelen
alvorens de stift te reinigen of te
vervangen!
De stift kan verwijderd worden
door de gekartelde moer los te
draaien.
Na het verwijderen van de stift kan
men de stifthouder schoonblazen
om eventuele oxideafzetting te
verwijderen. Let op voor de ogen
tijdens het schoonblazen. Plaats de
stift terug en draai de moer
handvast aan. Te hard aandraaien
kan het element beschadigen. De
rest van de soldeerbout en het
station kan met een licht vochtige
doek gereinigd worden. Gebruik
geen oplosmiddelen en laat geen
vloeistof in het toestel dringen.
Laissez refroidir complètement la
pointe avant de la nettoyer ou de la
remplacer.
On sait enlever la pointe en
tournant la vis crénelée
Après avoir enlevé la pointe on sait
enlever la couche d’oxyde qui s’est
formée éventuellement.
Faites attention aux yeux. Montez
de nouveau la pointe et serrez la
vis à la main. Utiliser trop de force
peut abîmer l'élément. La station
peut être nettoyée avec un chiffon
humide. N’utilisez pas des solvants
et faites attention à ce que le
liquide n’entre pas l’appareil.

VTSS10 / VTSS20 / VTSS30_v2 VELLEMAN8
Spare Parts / Reserve Onderdelen / Pièces de rechange
Ordercode
BIT16 spare bit 1.6mm vervangstift
1.6mm
pointe de rechange
1.6mm
BIT32 spare bit 0.8mm vervangstift
0.8mm
pointe de rechange
0.8mm
BIT64 spare bit 0.4mm vervangstift
0.4mm
pointe de rechange
0.4mm
VT-SSI spare soldering
iron 48W / 24V vervangsoldeerbo
ut 48W / 24V fer à souder de
rechange
48W / 24V
Safety Instructions / Veiligheidsinstructies / Prescriptions de sécurité
Incorrect use of this tool may cause
fire.
Be cautious when using this tool in
places where inflammable products
are stored.
Heat can cause fire to inflammable
products even when they are not in
sight.
Do not use the tool in an explosive
atmosphere.
Place the tool back in its stand in
order to let it cool down before
storage.
Verkeerd gebruik van dit toestel
kan brand veroorzaken.
Wees voorzichtig wanneer u dit
toestel gebruikt in ruimtes met
brandbare stoffen.
Hitte kan brandbare stoffen doen
ontbranden, ook al zijn deze
stoffen niet zichtbaar.
Vermijd het toestel te gebruiken in
ruimtes met een ontplofbare
atmosfeer.
Laat de soldeerbout in de houder
afkoelen voordat u hem opbergt.
Une utilisation incorrecte de
l’appareil peut causer un incendie.
Soyez prudent lorsque vous
utilisez cet appareil en présence de
produits inflammables.
La chaleur peut enflammer les
produits inflammables, même s’ils
ne sont pas visibles.
Évitez d’utiliser l’appareil dans
une atmosphère explosive.
Placez le fer dans son support et
laissez-le refroidir avant de la
ranger.

Other manuals for VTSS20

2

This manual suits for next models

2

Other Velleman Soldering Gun manuals

Velleman vtss5 User manual

Velleman

Velleman vtss5 User manual

Velleman VTSSC70 User manual

Velleman

Velleman VTSSC70 User manual

Velleman vtssc50n User manual

Velleman

Velleman vtssc50n User manual

Velleman VTDESOL4 User manual

Velleman

Velleman VTDESOL4 User manual

Velleman vtss5 User manual

Velleman

Velleman vtss5 User manual

Velleman VTSS20 User manual

Velleman

Velleman VTSS20 User manual

Velleman VTSSC10N User manual

Velleman

Velleman VTSSC10N User manual

Velleman VTSSC40N User manual

Velleman

Velleman VTSSC40N User manual

Velleman VT-SSD User manual

Velleman

Velleman VT-SSD User manual

Velleman vtssc50n User manual

Velleman

Velleman vtssc50n User manual

Velleman VTSS4 User manual

Velleman

Velleman VTSS4 User manual

Velleman HRJA004 User manual

Velleman

Velleman HRJA004 User manual

Velleman VTSSC79 User manual

Velleman

Velleman VTSSC79 User manual

Velleman VTSSC78 User manual

Velleman

Velleman VTSSC78 User manual

Velleman VTSSD6 User manual

Velleman

Velleman VTSSD6 User manual

Velleman VTSS20 User manual

Velleman

Velleman VTSS20 User manual

Velleman VTSSC60 User manual

Velleman

Velleman VTSSC60 User manual

Velleman VTSSC74 User manual

Velleman

Velleman VTSSC74 User manual

Velleman VTSSC71 User manual

Velleman

Velleman VTSSC71 User manual

Velleman VTSS110 User manual

Velleman

Velleman VTSS110 User manual

Velleman VTSSC72 User manual

Velleman

Velleman VTSSC72 User manual

Velleman vtssc50n User manual

Velleman

Velleman vtssc50n User manual

Velleman VTSS4NSET User manual

Velleman

Velleman VTSS4NSET User manual

Velleman VTSS4N User manual

Velleman

Velleman VTSS4N User manual

Popular Soldering Gun manuals by other brands

Steren CAU-275 instruction manual

Steren

Steren CAU-275 instruction manual

Tenma at90dh user manual

Tenma

Tenma at90dh user manual

Hakko Electronics FX-100 instruction manual

Hakko Electronics

Hakko Electronics FX-100 instruction manual

CO/Tech 18-3524 instruction manual

CO/Tech

CO/Tech 18-3524 instruction manual

Jula 213-021 operating instructions

Jula

Jula 213-021 operating instructions

Elenco Electronics SL-5K Assembly and instruction manual

Elenco Electronics

Elenco Electronics SL-5K Assembly and instruction manual

Pace MBT 301 Operation and maintenance guide

Pace

Pace MBT 301 Operation and maintenance guide

Performance Tool W2019A owner's manual

Performance Tool

Performance Tool W2019A owner's manual

Xytronic LF-1680 instruction manual

Xytronic

Xytronic LF-1680 instruction manual

Weller HAP 1 operating instructions

Weller

Weller HAP 1 operating instructions

Oki MFR-DSI user guide

Oki

Oki MFR-DSI user guide

Pro's Kit SS-955 user manual

Pro's Kit

Pro's Kit SS-955 user manual

Pro's Kit SS-979B user manual

Pro's Kit

Pro's Kit SS-979B user manual

Pro's Kit SN-396 manual

Pro's Kit

Pro's Kit SN-396 manual

XTRONIC 3060-XTS instructions

XTRONIC

XTRONIC 3060-XTS instructions

XTRONIC 4040-PRO-X instructions

XTRONIC

XTRONIC 4040-PRO-X instructions

Xytronic LF-855D operating manual

Xytronic

Xytronic LF-855D operating manual

jbc AL-2A user manual

jbc

jbc AL-2A user manual

manuals.online logo
manuals.online logoBrands
  • About & Mission
  • Contact us
  • Privacy Policy
  • Terms and Conditions

Copyright 2025 Manuals.Online. All Rights Reserved.