manuals.online logo
Brands
  1. Home
  2. •
  3. Brands
  4. •
  5. Verano
  6. •
  7. Accessories
  8. •
  9. Verano V296 Santos User manual

Verano V296 Santos User manual

Awning cassette
V296 Santos
Installation manual
www.samsondoors.co.uk
0800 328 6250
www.samsondoors.co.uk
0800 328 6250
www.samsondoors.co.uk
1794-150413(1)EN
Installation manual awning V296 Santos
Content
1. Awning
2. Side caps 2x
3. Wall supports 2x
4. Center support(s) (with an awning bigger than 400 cm)
5. Locking bolts 2x, provided with nuts
6. Control
a. Electrical: Switch and plug
b. Remote controlled: Remote control and plug
2
2
1
3
3
4
1
Necessary tools
• Drilling machine
• Support drill 10/14 mm
• Crosshead screwdriver
• Socket wrench 10/13/17
• Keyset
• Tapeline
• Plumb rule
• Pencil
In case of electrical control:
• Nippers
• Flathead screwdriver
www.samsondoors.co.uk
0800 328 6250
www.samsondoors.co.uk
0800 328 6250
www.samsondoors.co.uk
1794-150413(1)EN
Installation manual awning V296 Santos
2
Specications V296 Santos
Wall mounting Sizes in mm
130
80
25
20
42
46 56 31
11,5
133
25
141
133
175
12
175
258
267
141
133
258
175
130
55,75
25
46,35
10,50
80 25
130
120 18
83,85
11,50
108,50
17,33
37
12,25
72,35
175
23,1 23,1
Front view wall support
Front view ceiling support Top view ceiling support
10°
0cm
100cm
200
cm
300
cm
20°
30°
Projection 300cm 350cm
5°
40°
70°
Ceiling mounting
Projection
Width (W)
Minimum 2500 mm Maximum 6000 mm
Ceiling mounting
Minimum width per fabric projection
2500 2900
3000 3400
3500 3500
Projection [mm] Minimum awning width [mm]
Awning section
Awning section
www.samsondoors.co.uk
0800 328 6250
www.samsondoors.co.uk
0800 328 6250
www.samsondoors.co.uk
1794-150413(1)EN
Installation manual awning V296 Santos
3
Sliding door
When the awning is fully open, it hangs down under the angle. Therefore we advise to keep at least 30 centimeters
between the window frame and the awning in a situation with sliding doors to the outside. When possible, it is advisable
to hang the awning higher than 30 centimeters above the window frame..
Important before mounting
1
2
3
4
5
rollaag
min. 30 cm
General warning
Mounting the Verano® product yourself is at your own risk. Only use this instruction as a tool and for the mounting of this
specic Verano® product. If you cannot mount the product yourself, you can always opt for professional mounting. The
mounting team of Verano® is pleased to help you.
Be careful for damages
Don’t use a knife or any other sharp object when opening the packing. This may cause damage to the content of the pac-
kage. Put the content of the package on a so surface. Be careful when drilling, falling drill cuttings can cause damages.
Check if the window frame or façade is at and smooth.
Check the mounting height
Make sure that you have enough mounting height on your façade to place the awning. Above the wall support (mounting
support) have to be 5 rows of stones to prevent to much pressure on the façade. This is not oen the case with a house-
extension. It is recommended to drill the mounting hole in the h stone (minimum) measured from the top.
Wall strips
When there are fewer than ve rows of stones above the wall support, wall strips have to be used. These strips divide the
forces over a bigger wall surface when the walls are to weak. View page 11 for extensive instructions.
Attention! Make sure there is no mounting point in the soldier course. These are oen half stones.
soldier course
www.samsondoors.co.uk
0800 328 6250
www.samsondoors.co.uk
0800 328 6250
www.samsondoors.co.uk
1794-150413(1)EN
Installation manual awning V296 Santos
1.1 Marking the holes
Mark the holes for the wall supports (A) and potential for
the intermediate support (B) on the wall. These holes need
to be aligned level, horizontal and vertical, according to the
sizes X and Y in gure 1.1.
Attention! Size X is the width of the awning without side
covers. Make sure that there are at least two holes in the
middle of a stone. View gure 1.2.
If necessary, use an alignment string.
X = width of the awning without side covers.
Y = height of the window frame plus a minimum of 30 cm.
A = wall support, always use four bolts.
B = center support, with an awning bigger than 400 cm.
4
X
Y
ABA
g. 1.1 Placing wall supports
1. Mounting wall supports
1.2 Drilling the holes
Drill the mounting holes. Our advise is to drill with a 14
millimeter masonry drill in case of a wall made of concrete
or stone. Use matching plugs and bolts of high quality.
Mount the wall supports (A) and potential the intermediate
support(s) (B) and tighten the bolts.
View gure 1.2.
Attention! Mount only the mounting plate from the
center support. The adjustable part will be placed
later on.
1.3 Drilling the hole for control
If you want to connect your wall control on the inside, measure the place of the control hole carefully. This depends on
your personal preference and situation.
Drill inwards with a 10 millimeter drill. When drilling through the wall, it is advisable to place a shelf against the inner side
of the wall to prevent damages to the wall.
g. 1.2 Mounting the wall supports
www.samsondoors.co.uk
0800 328 6250
www.samsondoors.co.uk
0800 328 6250
www.samsondoors.co.uk
1794-150413(1)EN
Installation manual awning V296 Santos
2.1 Placing the awning
1. Hang the awning in the wall supports (A). View gure 2.1 and 2.2.
2. Make sure that the awnings is mounted level. If not, correct this.
3. Slide the adjustable part (B2) of the center support to its place in the mounting plate (B1). Make sure that de adjustable
part falls in the back of the slot of the awning. View gure 2.3.
4. Install the adjustable part (B2) with adjusting bolt #10 and adjusting bolt #13.
5
2. Mounting the awning
B
A
A
#10
#13
B1 B2 B2
#10
#13
B1 B2 B2
g. 2.1 Hanging the awning
g. 2.2 Detail wall support A
g. 2.3 Detail wall support B
www.samsondoors.co.uk
0800 328 6250
www.samsondoors.co.uk
0800 328 6250
www.samsondoors.co.uk
1794-150413(1)EN
Installation manual awning V296 Santos
2.2 Securing the awning
1. Slide the locking block over the wall support (A). View gure 2.4.
2. Secure the awning by screwing the locking block with the included screw.
3. Repeat this on the other side of the awning.
Attention! The awning may never be opened before the locking blocks are applied.
1 2
g. 2.4 Detail locking block
AA
6
www.samsondoors.co.uk
0800 328 6250
www.samsondoors.co.uk
0800 328 6250
www.samsondoors.co.uk
1794-150413(1)EN
Installation manual awning V296 Santos
7
3. Electrical wall control
TIP! Luting the hole
In a situation of an electric wire to the inside, we advise to lute the hole where the wire enters. This in order to prevent
moisture from slipping to the inside. Attention! Do this both on the inside and outside.
3.2 Standard factory adjustment
The motor control is standard set.
View the included instruction for the motor and the possible remote control for more information.
blue
brown
blue black
brown
brown
yellow/green
blue
brown
yellow/green
blue
black
brown
brown
yellow/green
yellow/green
blue
brown
blue black
brown
brown
yellow/green
blue
brown
yellow/green
blue
black
brown
brown
yellow/green
yellow/green
g. 3.1 Motor le (seen from the outside) g. 3.2 Motor right (seen from the outsid
3.1 Connecting the wall control
Follow the steps below:
1. Check the position of the motor (le or right) seen from the outside.
2. When you have the control inside, rst feed a cable through the hole in the wall that you drilled earlier.
3. Connect the four-conductor cable of the motor and the three-conductor cable with plug according to the
scheme below.
4. Insert the plug in the power socket.
5. The awning is now connected. Before you continue the installation, check if the awning correctly unrolls itself.
www.samsondoors.co.uk
0800 328 6250
www.samsondoors.co.uk
0800 328 6250
www.samsondoors.co.uk
1794-150413(1)EN
Installation manual awning V296 Santos
8
4.1 Connecting the remote control
Follow the steps below:
1. If you have the power inside, please rst enter the cable through the hole you drilled earlier.
2. Mount the plug regarding to the following color scheme:
• Brown 220V
• Blue 220V
• Yellow/Green Grounding
• Black Don’t connect
• White Don’t connect
• Orange Don’t connect
3. Insert the plug in the power socket.
4. The sun awning is now controllable with the programmed remote control.
Before you continue, please check if the awning rolls in and out correctly.
TIP! Luting the hole
In a situation of an electric wire to the inside, we advise to lute the hole where the wire enters. This in order to prevent
moisture from slipping to the inside. Attention! Do this both on the inside and outside.
4. Remote control
www.samsondoors.co.uk
0800 328 6250
www.samsondoors.co.uk
0800 328 6250
www.samsondoors.co.uk
1794-150413(1)EN
Installation manual awning V296 Santos
9
5.1 Standard factory adjustment
The height of the front bar is standard set between 1,80 meter and 1,90 meter at a mounting height of 2,70 meter.
5.2 Adjusting the incline angle
When you want to adjust the awning other than the factory adjustment, follow the steps below:
1. Role the awning out by using the wall switch or remote control.
2. The slope of the awning can be determined with the help of an allen bolt which can be found on the le and right
beneath the mounting bracket. View gure 5.1.
Li the front bar while loosening, so that the allen moves easily.
3. Release the front bar to determine if the angle is to your liking.
4. Repeat this, when necessary, on the other side of the awning and check if the front bar is still hanging straight.
g. 5.1 Location allen bolt le
5. Incline angle
www.samsondoors.co.uk
0800 328 6250
www.samsondoors.co.uk
0800 328 6250
www.samsondoors.co.uk
1794-150413(1)EN
Installation manual awning V296 Santos
6.1 Placing the valance
Follow the steps below to place the valance. View gure 6.1.
1. Remove on one side the cover of the front bar. The fabric tendon is stored in the front bar.
2. Slide the fabric tendon in the valance on the open side of the fabric.
3. Slide the valance carefully in the therefore intended recess. Please guide the valance carefully to prevent tears!
4. Place the cover on the front bar.
6. Valance
1234
g. 6.1 Placing the valance
7. Finishing the awning
When the awning is adjusted, the side covers can be clicked to the le and right side of the awning.
The awning is now fully installed.
g. 7.1 Mounting the side covers
10
www.samsondoors.co.uk
0800 328 6250
www.samsondoors.co.uk
0800 328 6250
www.samsondoors.co.uk
1794-150413(1)EN
Installation manual awning V296 Santos
Wall strips must be used at a situation with less than ve rows of stones above the mounting place. The strips divide the
power over a bigger wall surface, so that the wall can carry more weight. View gure 8.1
8.1 Mounting the wall strips
Follow the steps below when mounting the wall strips (view gure 8.1 and 8.2):
1. Mount the wall brackets on the wall strips as high as possible. In this mounting, it is suicient to use two bolts because
the wall strip carries the weight of the awning.
Attention! The le wall strip is turned 180 degrees pertaining to the right wall strip.
8. Wall strips
LINKSRECHTS
531 264
g. 8.1 Using the wall strips
g. 8.2 Mounting the wall strip right
11
LEFT RIGHT
www.samsondoors.co.uk
0800 328 6250
www.samsondoors.co.uk
0800 328 6250
www.samsondoors.co.uk
1794-150413(1)EN
Installation manual awning V296 Santos
2. Measure the strips carefully on the wall. Keep the placing of the wall brackets on the strips and width size X in
gure 1.1 in mind. The wall strips need to be levelled horizontal and vertical. The mounting holes need to be in the
middle of the stone. If desired use a align cord. Mount the wall strips tight to the wall.
3. Mount the xation block beneath the wall strip. This block is needed for xing the cover.
4. Place the cover on the lower part of the wall strip. You rst need to cut this to the right size.
5. Mount the cover on the xation block in the bottom of the wall strip.
6. The mounting of the wall brackets on the wall strips is ready. You can now continue with the placing of the awning.
8.2 Mounting the wall strip on an centre support
In a situation with one or more centre supports, the wall strip needs to be mounted rst. Mind open patio doors. When
preferred, you can cut the wall strip custom.
12
www.samsondoors.co.uk
0800 328 6250
www.samsondoors.co.uk
0800 328 6250
www.samsondoors.co.uk
1794-150413(1)EN
Installation manual awning V296 Santos
9.1 Mounting the ceiling brackets
The awning can also be mounted to the ceiling using ceiling brackets (view gure 9.1).
1. Mount the mounting brackets to the ceiling brackets.
2. Measure the ceiling brackets on the ceiling. Please mind the placing of the wall brackets to the ceiling brackets and
width size X in gure 1.1.
3. Mount the ceiling brackets including the mounting brackets to the sealing. Always use four bolts!
4. Follow the instructions from page four in this instruction manual.
9.2 Using ceiling brackets
You can use the ceiling bracket in two ways. View option A and B in gure 9.2. Option A is mostly used for xing.
9. Ceiling mounting
4 x
M12
4 x
M10x70
AB
g. 9.1 Ceiling mounting
g. 9.2 Using ceiling brackets
13
www.samsondoors.co.uk
0800 328 6250
www.samsondoors.co.uk
0800 328 6250
www.samsondoors.co.uk
A high quality cloth is integrated into your chosen
screen. In view of optimal quality we have chosen a high
technology production process in which every step of
the production is strictly selected. By way of automation,
permanent checks, laboratory tests and finely detailed
after-care, nothing is left to chance. This allows us to
guarantee the resistance as well as the strength and
durability of the colours of your screen for many years to
come.
Starting with a completely pigmented poly-acryl material,
which gives it its exceptional quality, our screens have
the advantage of total monitoring during the production
process. In spite of all this there may be small irregularities
in your screen that are difficult to detect and impossible
to avoid. They are inherent in all technical materials but
do not reduce the technical presentation and durability
of your screen.
Waffling, chalk stripes, small pleats next to the seam or
in the middle of the screen or nap can appear. The retailer
cannot be held responsible for these irregularities.
Cable motor: if broken off, cannot be guaranteed.
User information
These small irregularities have no effect whatsoever on the quality of the screen and do not constitute the screen being
replaced. However do inform us if you notice any irregularities in colour fastness, decay or resistance, in fact in any of the basic
characteristics of our 2-year guarantee.
Wave forming
Next to the seams, caused by the
unavoidable tension difference in
rolling up.
Fold stripes/ chalk stripes
A fold caused during the
manufacture, can show a darker
stripe by light reflection. This is
mostly noticeable in lighter
coloured blinds.
Wave forming or wrinkle forming
All technical materials can display
these symptoms in the middle of
a canvas. They are especially
noticeable with backlight through
the difference in light reflection.
www.samsondoors.co.uk
0800 328 6250
www.samsondoors.co.uk
0800 328 6250
www.samsondoors.co.uk

Other Verano Accessories manuals

Verano Odense V640 User manual

Verano

Verano Odense V640 User manual

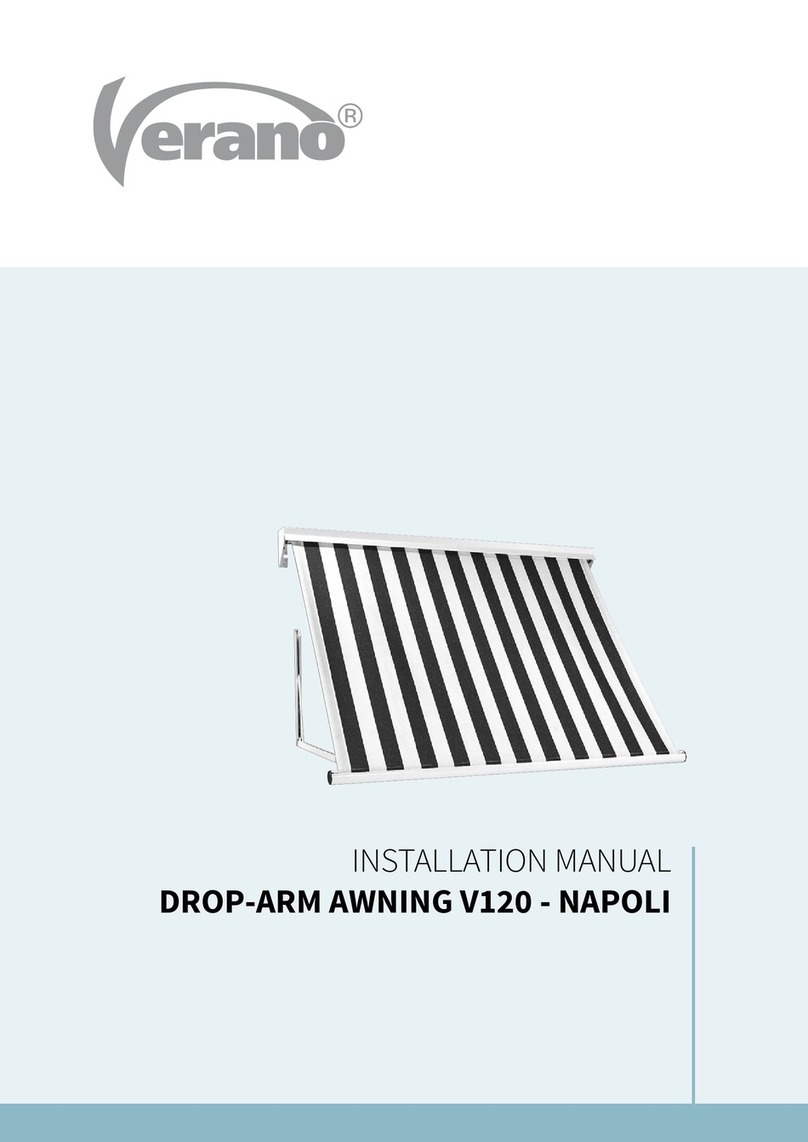
Verano DROP-ARM AWNING V120 NAPOLI User manual

Verano

Verano DROP-ARM AWNING V120 NAPOLI User manual

Verano V880 RAPOLLO User manual

Verano

Verano V880 RAPOLLO User manual

Verano V480 Cannes User manual

Verano

Verano V480 Cannes User manual

Verano VERANDA V905 - ISEO User manual

Verano

Verano VERANDA V905 - ISEO User manual

Verano V610 Oslo User manual

Verano

Verano V610 Oslo User manual

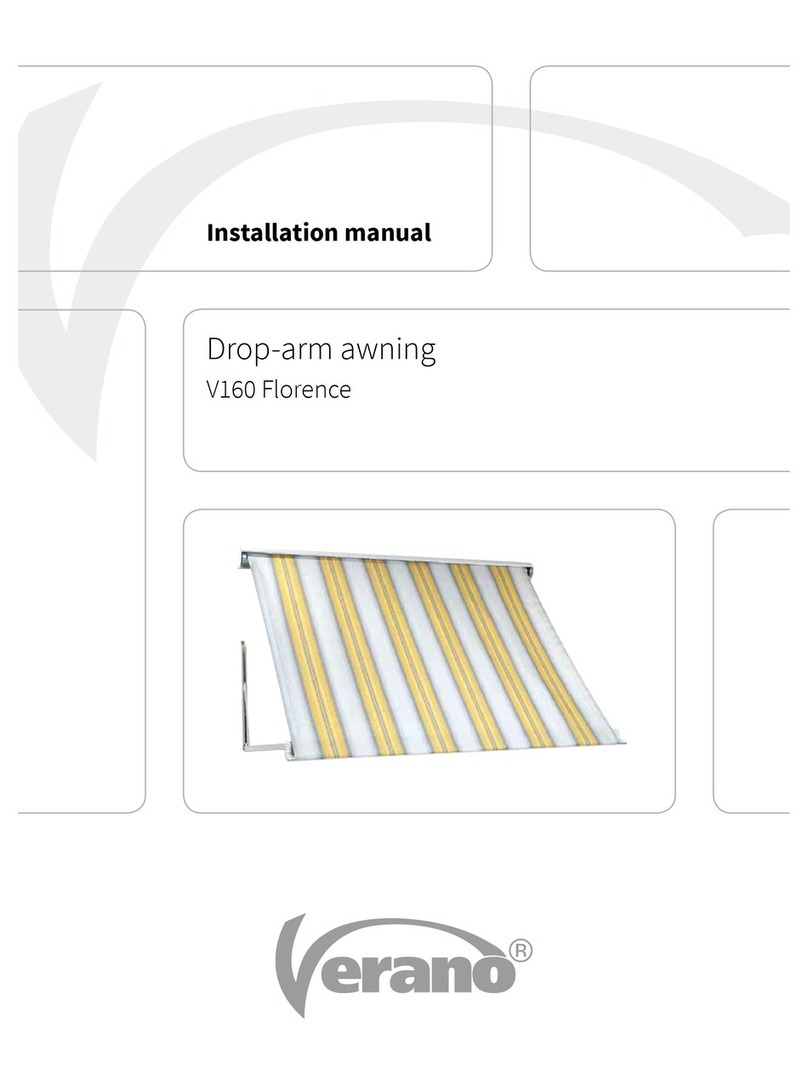
Verano V160 Florence User manual

Verano

Verano V160 Florence User manual

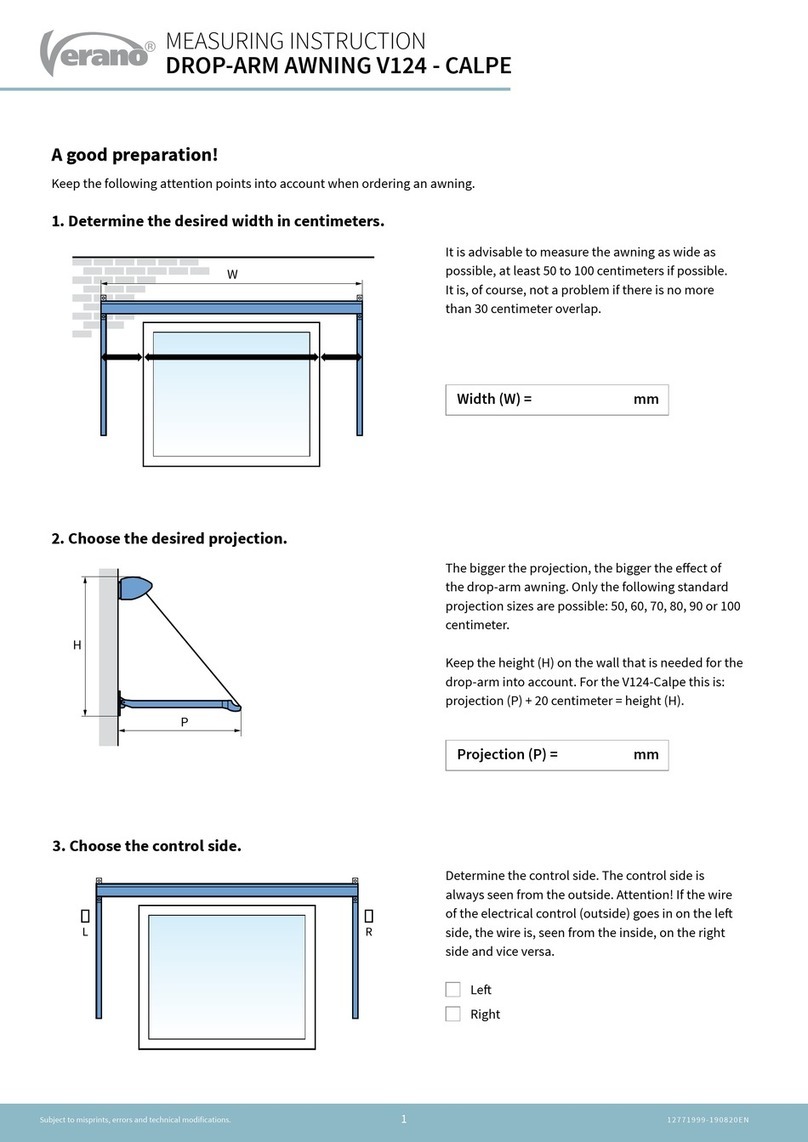
Verano V124 - CALPE User manual

Verano

Verano V124 - CALPE User manual

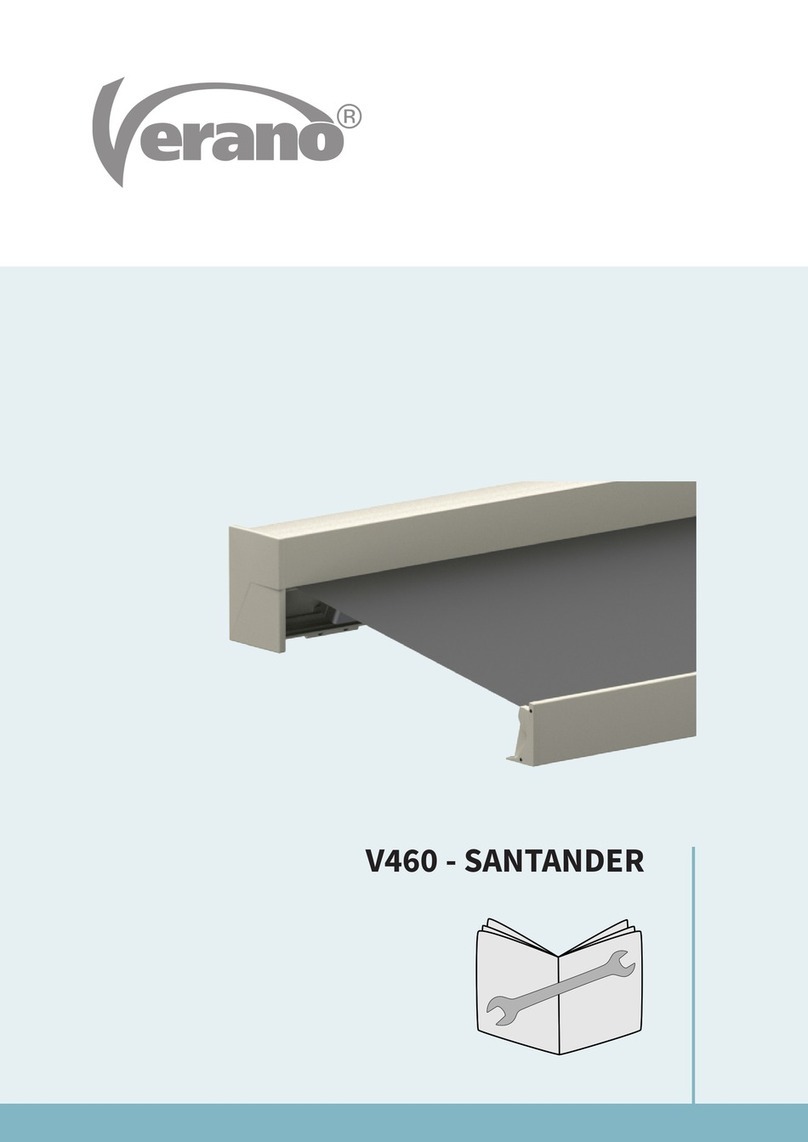
Verano V460 SANTANDER User manual

Verano

Verano V460 SANTANDER User manual

Verano V805 CORTONA User manual

Verano

Verano V805 CORTONA User manual

Verano Mallorca Special V150 User manual

Verano

Verano Mallorca Special V150 User manual

Verano V225 Porto User manual

Verano

Verano V225 Porto User manual

Verano V124 - CALPE User manual

Verano

Verano V124 - CALPE User manual

Verano V612 HAMAR User manual

Verano

Verano V612 HAMAR User manual

Verano V255 Salou User manual

Verano

Verano V255 Salou User manual

Verano V285-RECIFE User manual

Verano

Verano V285-RECIFE User manual

Verano V360 User manual

Verano

Verano V360 User manual

Popular Accessories manuals by other brands

Honeywell Lyric RF6GB installation instructions

Honeywell

Honeywell Lyric RF6GB installation instructions

MaxAir Trampolines 7' x 14' flybed tramp Installation instructions & user guide

MaxAir Trampolines

MaxAir Trampolines 7' x 14' flybed tramp Installation instructions & user guide

Festo SDE1 Series operating instructions

Festo

Festo SDE1 Series operating instructions

Leuze electronic HRT 25B Long Range quick start guide

Leuze electronic

Leuze electronic HRT 25B Long Range quick start guide

Ives 25 installation instructions

Ives

Ives 25 installation instructions

RIEKER Flex H6MM user guide

RIEKER

RIEKER Flex H6MM user guide

Bticino 92/12 quick start guide

Bticino

Bticino 92/12 quick start guide

Steren BAT-PBAA4/RECYKO user manual

Steren

Steren BAT-PBAA4/RECYKO user manual

Sunsky EA1200 Fast operation manual

Sunsky

Sunsky EA1200 Fast operation manual

stefani ZONDA C Instructions for assembly, use and maintenance

stefani

stefani ZONDA C Instructions for assembly, use and maintenance

Intermatic InTouch CA9000 instructions

Intermatic

Intermatic InTouch CA9000 instructions

SurfLink Media Start guide

SurfLink

SurfLink Media Start guide

Festo SBSi manual

Festo

Festo SBSi manual

Clas Ohlson 98202 GB BS instruction manual

Clas Ohlson

Clas Ohlson 98202 GB BS instruction manual

Heatcraft Bohn PRO3 Installation and operation manual

Heatcraft

Heatcraft Bohn PRO3 Installation and operation manual

sauermann CA 310 quick start guide

sauermann

sauermann CA 310 quick start guide

Manitowoc K00119 Instalation instructions

Manitowoc

Manitowoc K00119 Instalation instructions

Banner Q4X Series quick start guide

Banner

Banner Q4X Series quick start guide

manuals.online logo
manuals.online logoBrands
  • About & Mission
  • Contact us
  • Privacy Policy
  • Terms and Conditions

Copyright 2025 Manuals.Online. All Rights Reserved.