1779-160404(2)Drukfouten, fouten en technische wijzigingen voorbehouden.
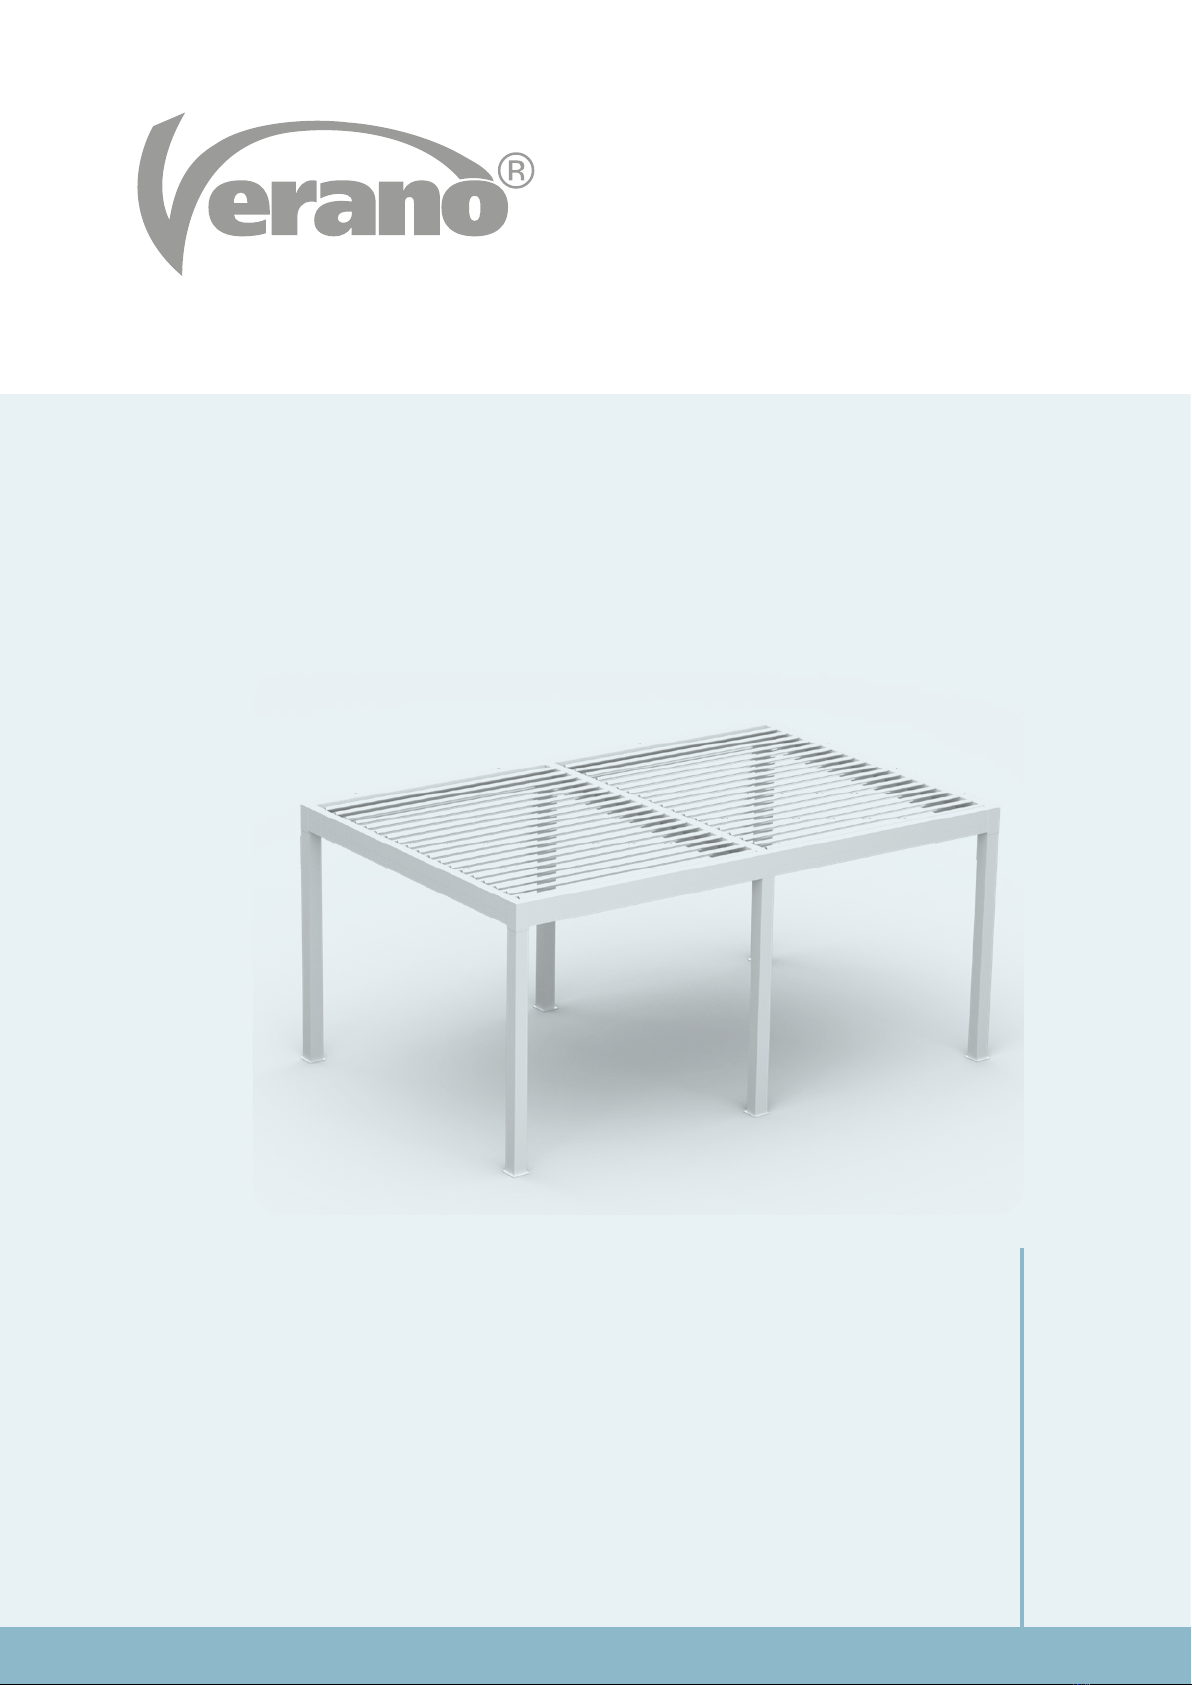
MONTAGE-INSTRUCTIE LOUVERED ROOF V880 - RAPALLO
12822086-191127EN
5
Subject to misprints, errors and technical modifications.
H
P
W
P
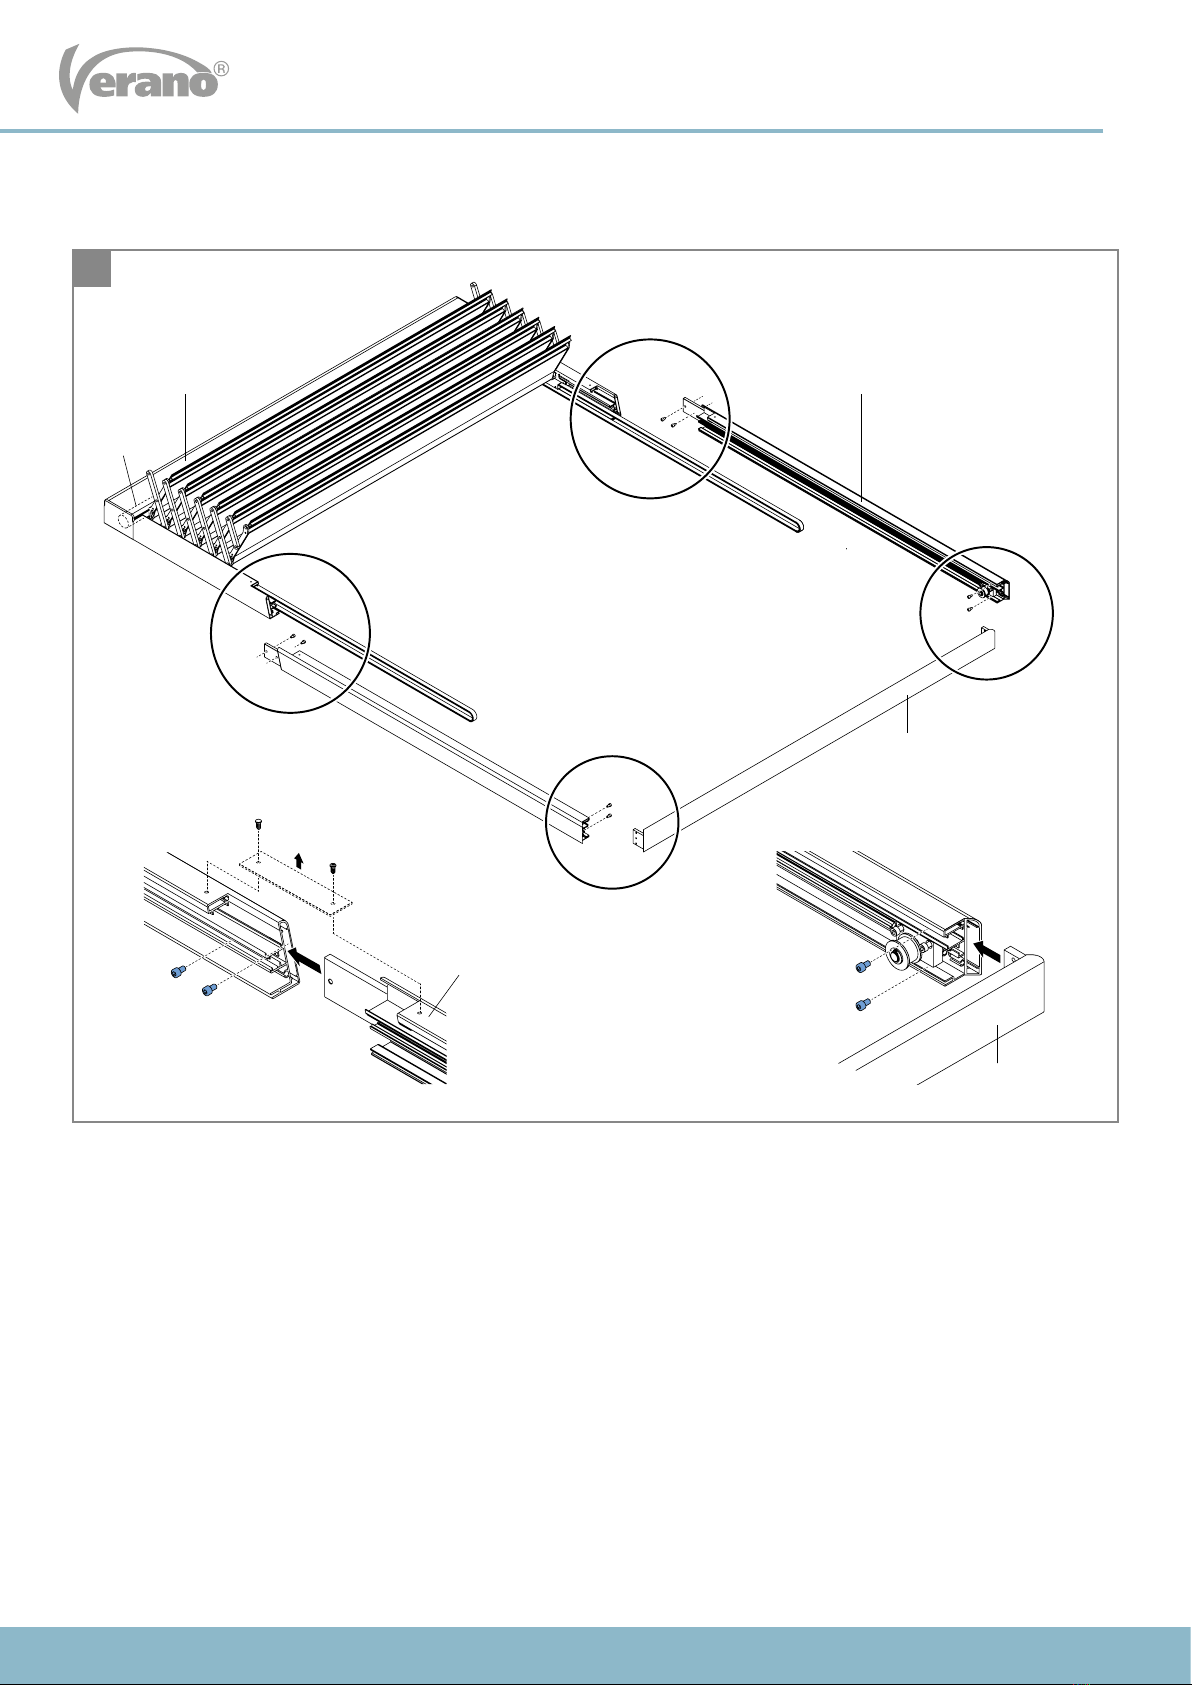
W
H
Warning!TheV880-Rapallois
seenasapergola.Therefore,the
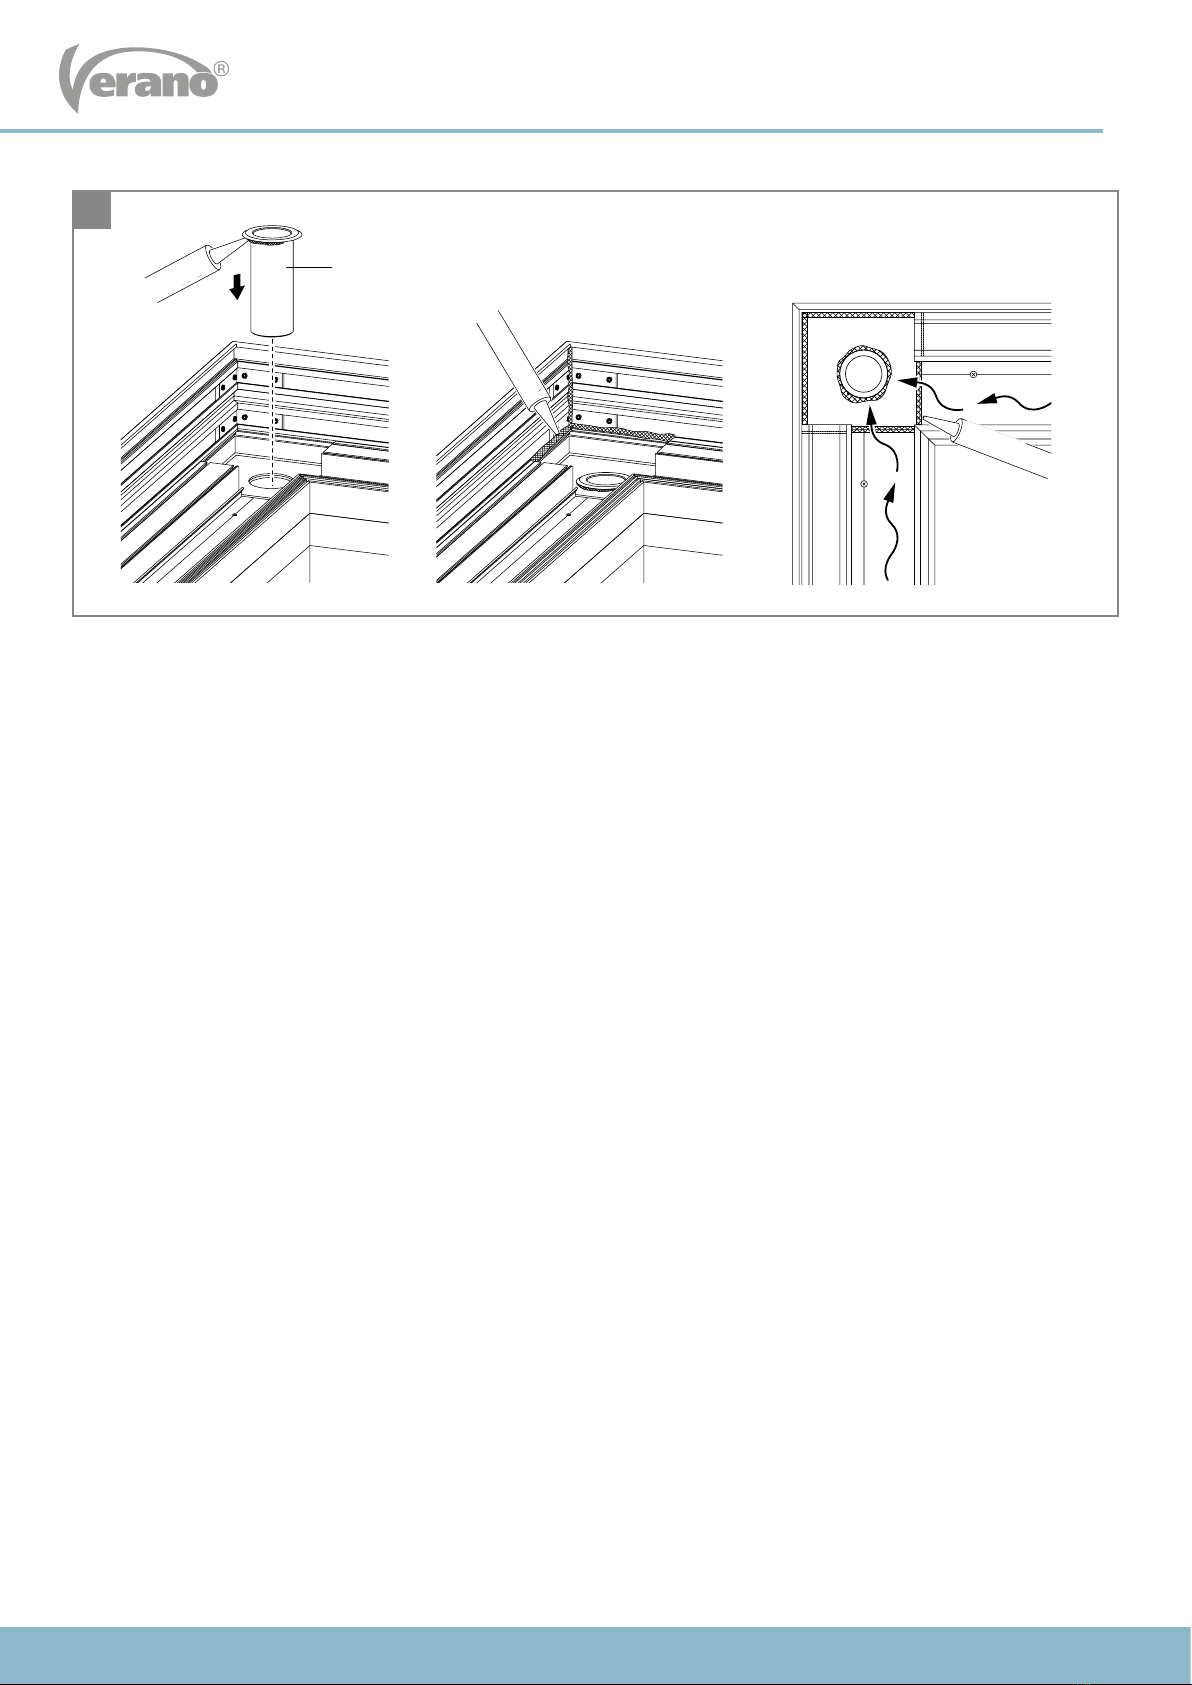
roof needs to be open during
snowfall.
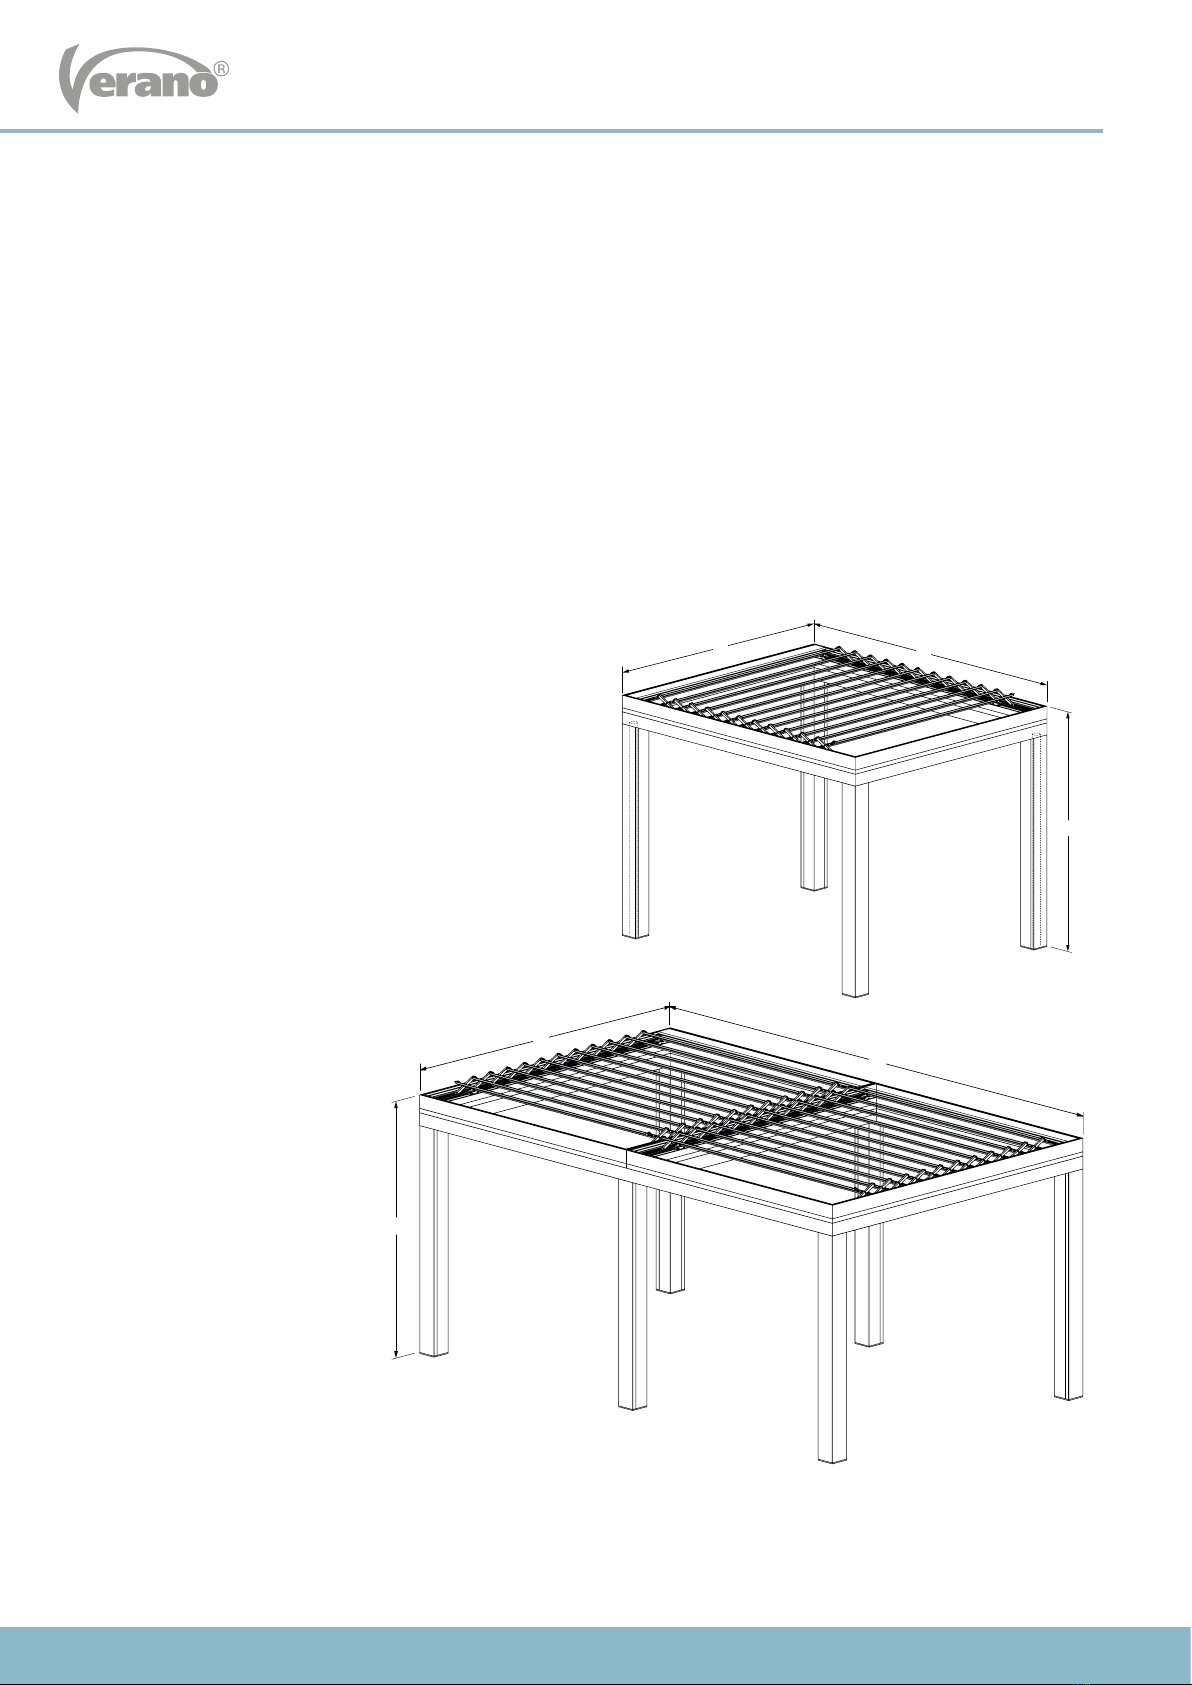
B = width
P = projection
H = height
Comment water drainage
Iftheroofissmallerthan4000x4000[mm],thedrainageispreparedintwocornerposts(diagonalpositioned).
Iftheroofislargerthan4000x4000[mm],thedrainageispreparedinallcornerposts,butdesiredinallposts.
Iffaçadeinstallationischosen,extrawaterdrainageisnecessaryinseveralposts.Positioninginconsideration.
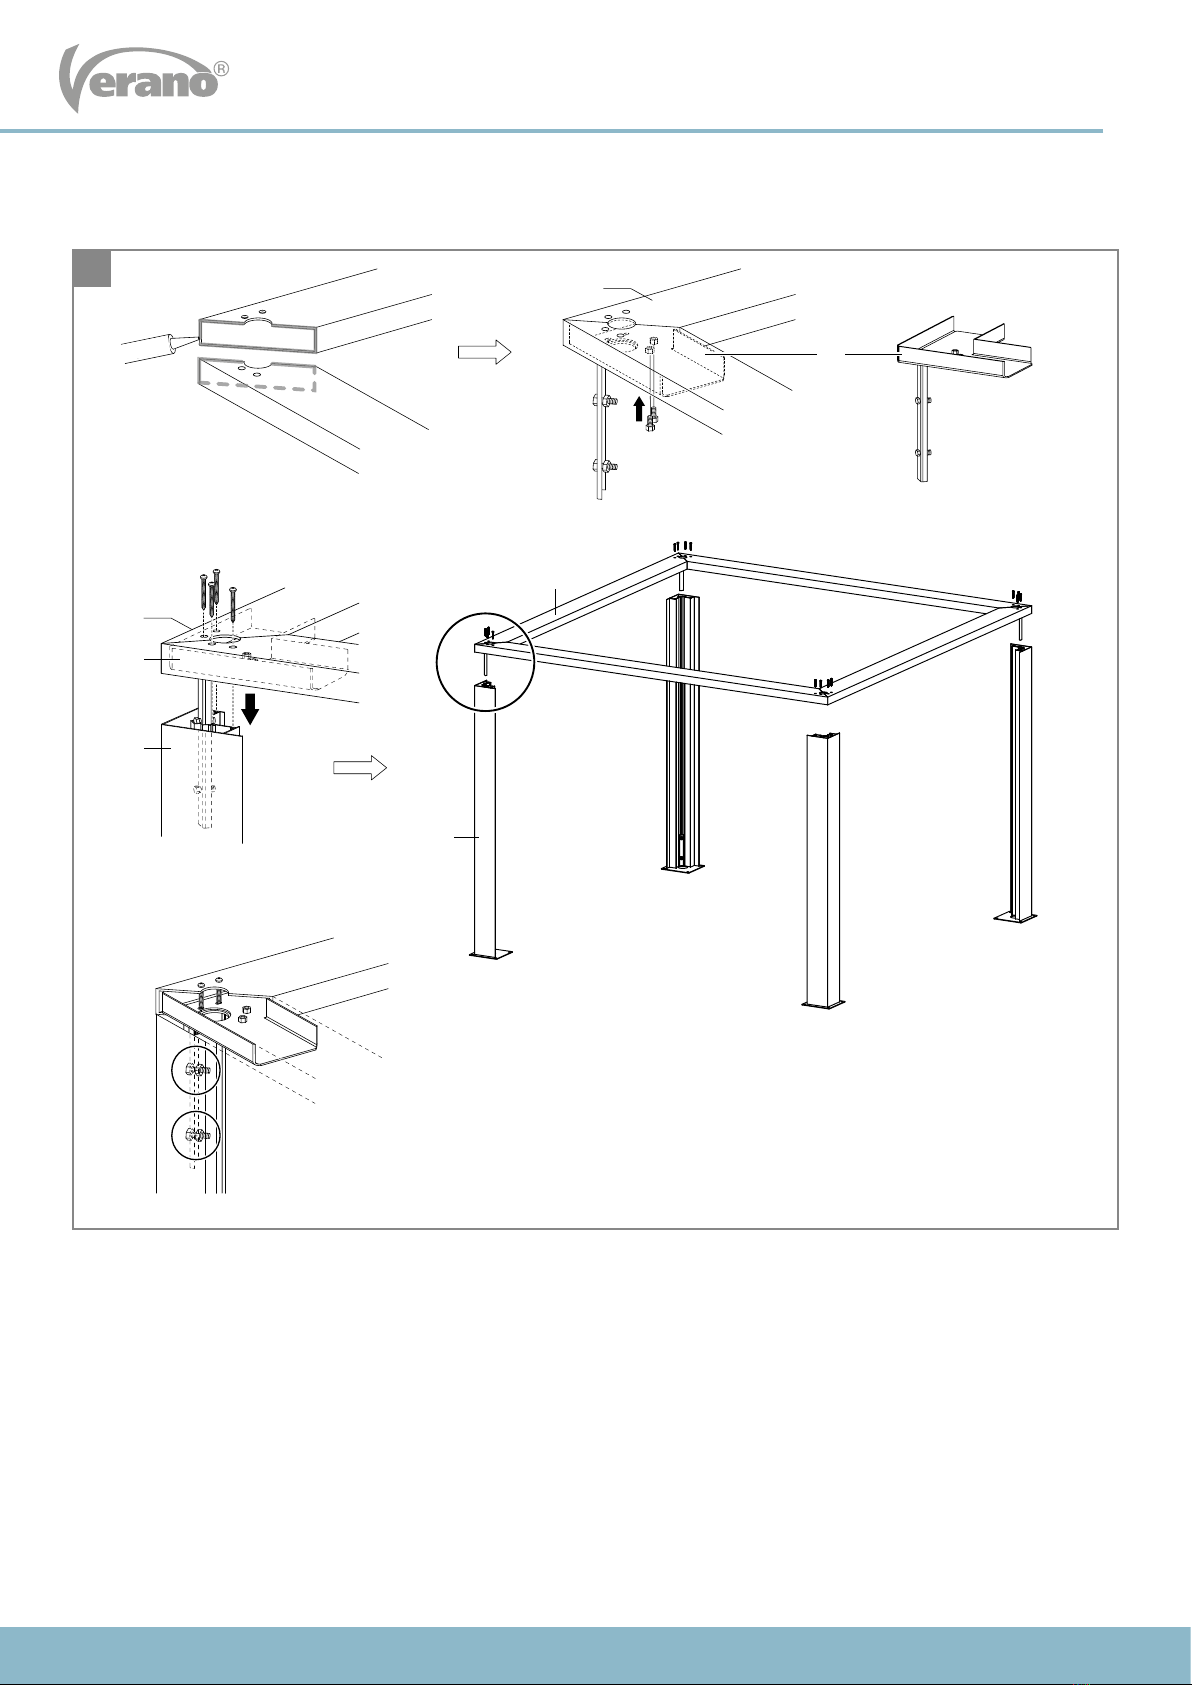
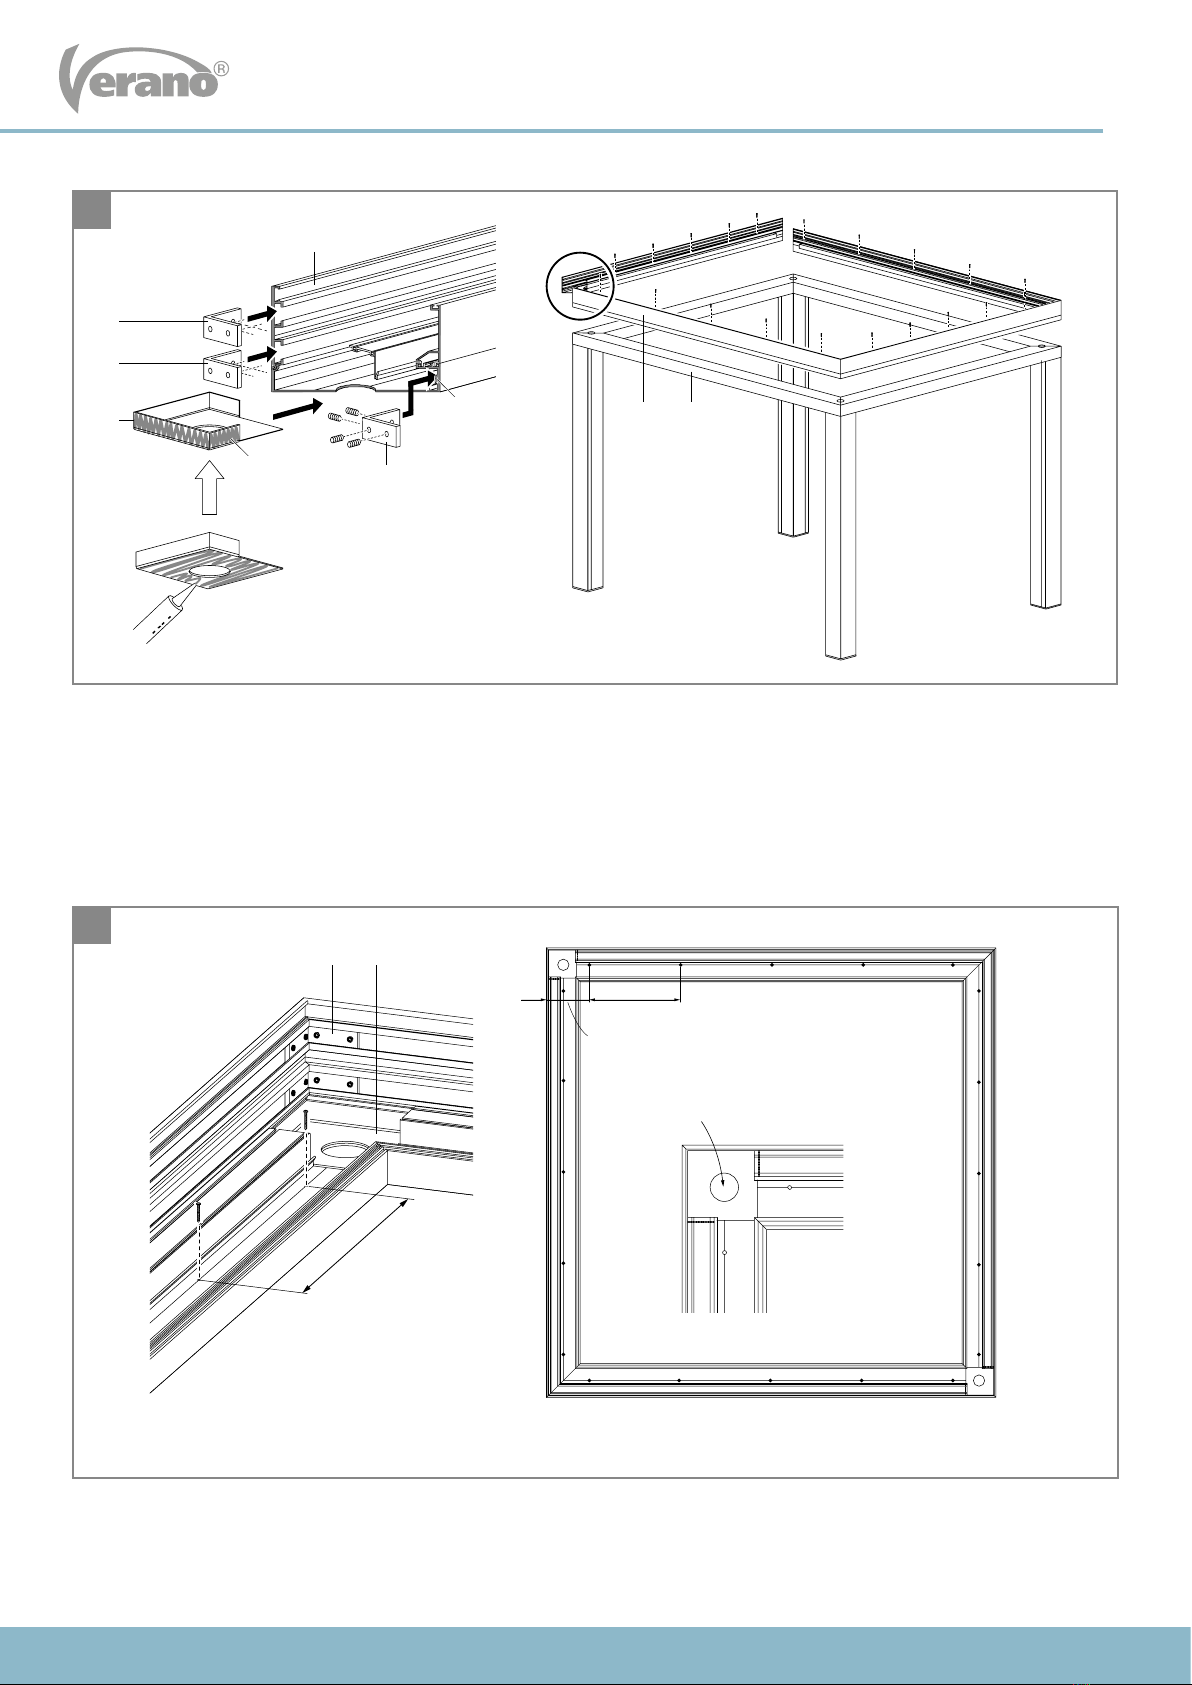
Single louvered roof
1. Gutterprole
2. Gutterclickprole
3. Click-framegutterprole
4. Gutter connection
5. Corner plate
6. Casingprole
7. Cornerreinforcementcasingprole/post
8. Louvered roof with motorbox
9. Lateral guides
10. Rearprole
11. Coverprole
12. Rubber
13. Gutter outlet
14. Drain-pipe Ø 50 mm
15. Clamp drain-pipe
16. Post
17. Post cover
18.Fillingprolepost
19. Base plate
Connected louvered roof
20. Intermediatevessel-prole
21. Intermediate post
22. Cap intermediate post
23. Fillingproleintermediatepost
24. Footplate intermediate post
Partslist