manuals.online logo
Brands
  1. Home
  2. •
  3. Brands
  4. •
  5. Vinsetto
  6. •
  7. Indoor Furnishing
  8. •
  9. Vinsetto 921-643V80 User manual

Vinsetto 921-643V80 User manual

EN_IMPORTANT, RETAIN FOR FUTURE REFERENCE: READ CAREFULLY.
FR_IMPORTANT:A LIRE ATTENTIVEMENT ET À CONSERVER POUR CONSULTATION
ULTÉRIEURE.
ES_IMPORTANTE, LEA Y GUARDE PARA FUTURAS REFERENCIAS.
PT_IMPORTANTE, RETER PARA REFERÊNCIA FUTURA: LEIA ATENTAMENTE.
DE_WICHTIG! SORGFÄLTIG LESEN UND FÜR SPÄTER NACHSCHLAGEN AUFBEWAHREN.
IT _ IMPORTANTE! CONSERVARE IL PRESENTE MANUALE PER FUTURO RIFERIMENTO E
LEGGERLO ATTENTAMENTE.
US_CA
IN230200023V01_GL
US CA C000000
UK C000000
DE C000000
IT C000000
FR C000000
ES C000000
IN230200023V01_GL_921-643V80_921-643V90
1
2
120
3
120
4
120
5
120
6
120
7
EN_Do not confuse similar screws.Do not tighten bolts fully until all parts are connected!
FR_Ne pas confondre des vis similaires.Ne serrez pas les boulons à fond tant que toutes les
pièces ne sont pas connectées!
ES_No confunda tornillos similares.No apriete los tornillos completamente hasta que todas las
partes están conectadas!
PT_Não confundir parafusos semelhantes. Não apertar completamente os parafusos até que
todas as peças estejam encaixadas!
DE_Verwechseln Sie ähnliche Schrauben nicht.Ziehen Sie die Schrauben erst fest an, wenn alle
Teile verbunden sind!
IT_Non confondere le viti simili.non serrare completamente i bulloni fino a tutte le parti non sono
ancora collegate!
NOTE
6*10
A 1 B 1 C 2
D 1 E 1 F 5
G 1 I 1
H 5 J 1
K10 L 4 M 3
N 4 O 4 P 1
6*20 8*20
8*40
8
02
01
9
04
03
10
06
05
Input voltage AC100-240 V
Input AC frequency 50-60 Hz
Output voltage 12 V
Output current 0.5/1 A
Output power 30 W
Average active efficiency 85 %
Efficiency at low load (10 %) 76.58-72.73 %
No-load power consumption 0.074-0.104 W
Done
11
Prior to use, please firstly connect controller, and
then connect the power plug. Touch the power
switch lightly, the product starts working. When
stopping using it, please firstly turn off the controller
and then pull out the adapter plug from the outlet.
1.The product is Kneading massager. Pull through it,
it is in standby state. Users can realize the function
control through the hand controller.
2.“Power” key: soft on-off key. In the standby state,
press the start key, the power indicator lamp LED is
normally on, press it again, it enters the standby
state.
3.“Time” key: the default preset time of the product
is 5-15 minutes,After it is used for 5-15 minutes,
the product w i l l shut down automatically for
protection.
4.“Mode” key: Product setting A-B two direction
selection, switch the direction and press this button.
Avant l'utilisation, veuillez d'abord connecter le
contrôleur, puis la fiche d'alimentation. Appuyez
légèrement sur l'interrupteur d'alimentation, le
produit commence à fonctionner. Lorsque vous
cessez de l'utiliser, éteignez d'abord le contrôleur,
puis retirez la fiche de l'adaptateur de la prise.
1) Le produit est un masseur à pétrissage. En le
tirant, il est en état de veille. Les utilisateurs peuvent
contrôler les fonctions par le biais de la manette.
2. touche "Power" : touche de mise en marche et
d'arrêt. En état de veille, appuyer sur la touche de
démarrage, le voyant lumineux d'alimentation est
normalement allumé, appuyer à nouveau, il entre en
état de veille.
3. touche "Time" : le temps prédéfini par défaut du
produit est de 5 à 15 minutes,Après une utilisation
d e 5 à 1 5 m i n u t e s , l e p r o d u i t s ' é t e i n t
automatiquement pour des raisons de protection.
4. touche "Mode" : Sélection de deux directions pour
le réglage du produit A-B, changez la direction et
appuyez sur cette touche.
12
A n t e s d e u s a r, p o r f a v o r, p r i m e i r o l i g a r o
controlador, e depois ligar a ficha de alimentação.
Tocar levemente no interruptor de alimentação, o
produto começa a funcionar. Quando parar de o
utilizar, por favor, primeiro desligue o controlador e
depois retire a ficha do adaptador da tomada.
1. o produto é massajador de amassar. Puxar
através del e, está em estado de espera. Os
utilizadores podem realizar o controlo da função
através do controlador manual.
2. tecla "Power": tecla "soft on-off". No estado de
espera, prima a tecla "start", o LED indicador de
e n e r g i a e s t á n o r m a l m e n t e a c e s o , p r i m a - o
novamente, entra no estado de espera.
3 Tecla "Time": o tempo predefinido do produto é de
5-15 minu t es,After é utili zado durante 5-15
minutos, o produto desliga-se automaticamente
para protecção.
4. tecla "Mode": Definição do produto A-B selecção
de duas direcções, mudar a direcção e premir este
botão.
Antes de utilizarlo, conecte primero el controlador y,
a continuación, el enchufe. Toque ligeramente el
interruptor de encendido para que el producto
empiece a funcionar. Cuando deje de utilizarlo,
apague el mando y desenchufe el adaptador de la
toma de corriente.
1.El producto es un masajeador amasador. Tire de
él, está en estado de espera. Los usuarios pueden
controlar las funciones a través del mando.
2. Tecla "Power": tecla de encendido y apagado. En
el estado de espera, pulse la tecla de inicio, el LED
indicador de encendido se enciende normalmente,
pulse de nuevo, entra en el estado de espera.
3. Tecla "Tiempo": el tiempo predeterminado del
producto es de 5-15 minutos, después de 5-15
m i n u t o s d e u s o , e l p r o d u c t o s e a p a g a r á
automáticamente para su protección.
4. Tecla "Modo": Ajuste del producto A-B selección
de dos direcciones, cambie la dirección y pulse este
botón.
13
Prima dell'uso, collegare prima il controller e poi la
spina di alimentazione. Toccando leggermente
l'interruttore di alimentazione, il prodotto inizia a
funzionare. Quando si smette di usarlo, si prega di
spegnere prima il controller e poi di estrarre la spina
dell'adattatore dalla presa di corrente.
1. Il prodotto è un massaggiatore per impastare. Se
lo si tira, è in stato di standby. Gli utenti possono
contro llare le fun zioni attrave rso il con troller
manuale.
2. Tasto "Power": tasto soft on-off. Nello stato di
standby, premendo il tasto di avvio, il LED della spia
d i a l i m e n t a z i o n e è n o r m a l m e n t e a c c e s o ;
premendolo di nuovo, entra nello stato di standby.
3. Tasto "Time": il tempo predefinito del prodotto è di
5-15 minuti; dopo un utilizzo di 5-15 minuti, il
p r o d o t t o s i s p e g n e a u t o m a t i c a m e n t e p e r
protezione.
4. Tasto "Modalità": Impostazione del prodotto:
s e l e z i o n e di du e d i r e z i o n i A - B , ca m b i a r e la
direzione e premere questo tasto.
Vor dem Gebrauch schließen Sie bitte zuerst das
S t e u e r g e r ä t a n u n d s t e c k e n S i e d a n n d e n
Netzstecker ein. Berühren Sie den Netzschalter
leicht, das Produkt beginnt zu arbeiten. Wenn Sie
aufhören, es zu benutzen, schalten Sie bitte zuerst
das Steuergerät aus und ziehen Sie dann den
Adapterstecker aus der Steckdose.
1. das Produkt ist ein Knetmassagegerät. Wenn Sie
es durchziehen, befindet es sich im Standby-Modus.
Die Benutzer können die Funktionen über den
Handregler steuern.
2. "Power"-Taste: Soft-On-Off-Taste. Im Standby-
Zustand, drücken Sie die Start-Taste, die Power-
Anzeige-LED ist normalerweise auf, drücken Sie es
erneut, es geht in den Standby-Zustand.
3. "Ti m e"-Tast e: Die vorei n gestell te Zeit des
Produkts ist 5-15 Minuten, nachdem es für 5-15
M i n u t e n v e r w e n d e t w i r d , w i r d d a s P r o d u k t
automatisch zum Schutz ausgeschaltet.
4. "Modus"-Taste: Produkteinstellung A-B zwei
Richtung Auswahl, wechseln Sie die Richtung und
drücken Sie diese Taste.
14

This manual suits for next models

1

Other Vinsetto Indoor Furnishing manuals

Vinsetto 920-075V90 Installation guide

Vinsetto

Vinsetto 920-075V90 Installation guide

Vinsetto 921-374 Installation guide

Vinsetto

Vinsetto 921-374 Installation guide

Vinsetto 921-609V00 User manual

Vinsetto

Vinsetto 921-609V00 User manual

Vinsetto 921-171V70 User manual

Vinsetto

Vinsetto 921-171V70 User manual

Vinsetto 920-076V70 Installation guide

Vinsetto

Vinsetto 920-076V70 Installation guide

Vinsetto 921-599 Installation guide

Vinsetto

Vinsetto 921-599 Installation guide

Vinsetto 920-076V90 Installation guide

Vinsetto

Vinsetto 920-076V90 Installation guide

Vinsetto 920-071V90 User manual

Vinsetto

Vinsetto 920-071V90 User manual

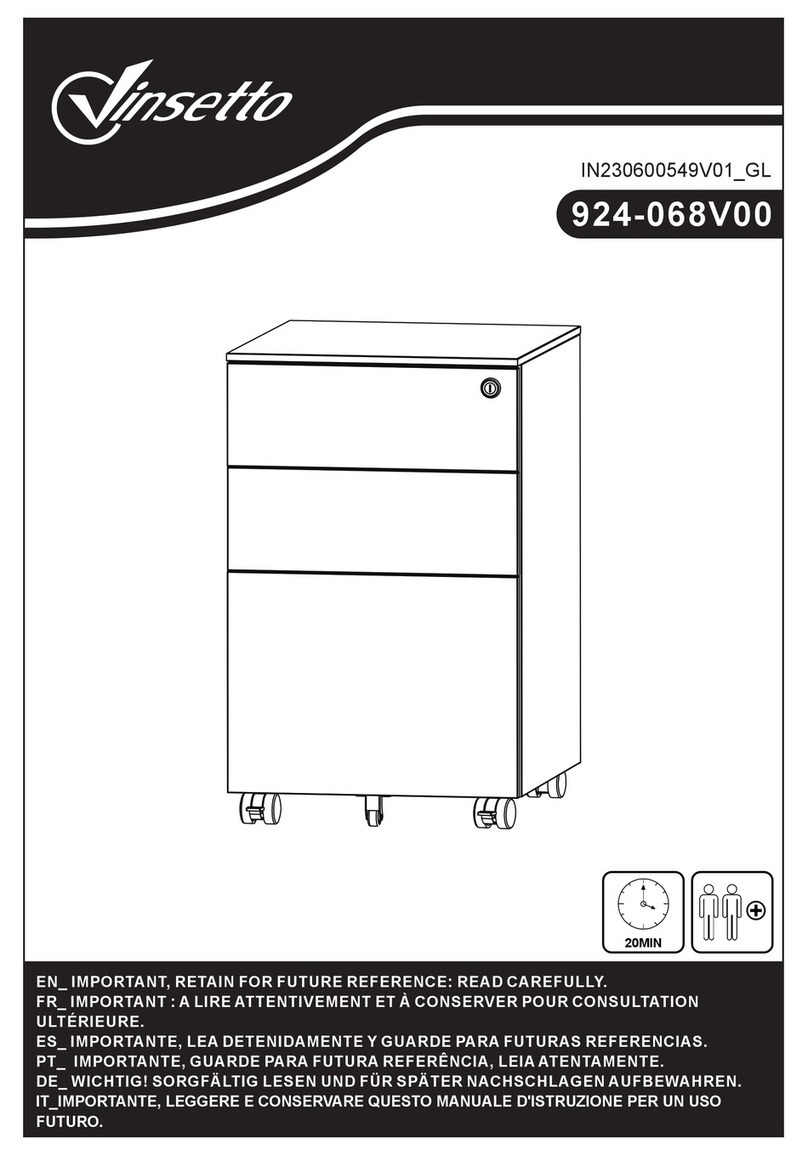
Vinsetto 924-068V00 User manual

Vinsetto

Vinsetto 924-068V00 User manual

Vinsetto 921-511 Installation guide

Vinsetto

Vinsetto 921-511 Installation guide

Vinsetto 924-065V01 User manual

Vinsetto

Vinsetto 924-065V01 User manual

Vinsetto 924-009 User manual

Vinsetto

Vinsetto 924-009 User manual

Vinsetto 924-032 Installation guide

Vinsetto

Vinsetto 924-032 Installation guide

Vinsetto 921-641V80 User manual

Vinsetto

Vinsetto 921-641V80 User manual

Vinsetto 921-478 User manual

Vinsetto

Vinsetto 921-478 User manual

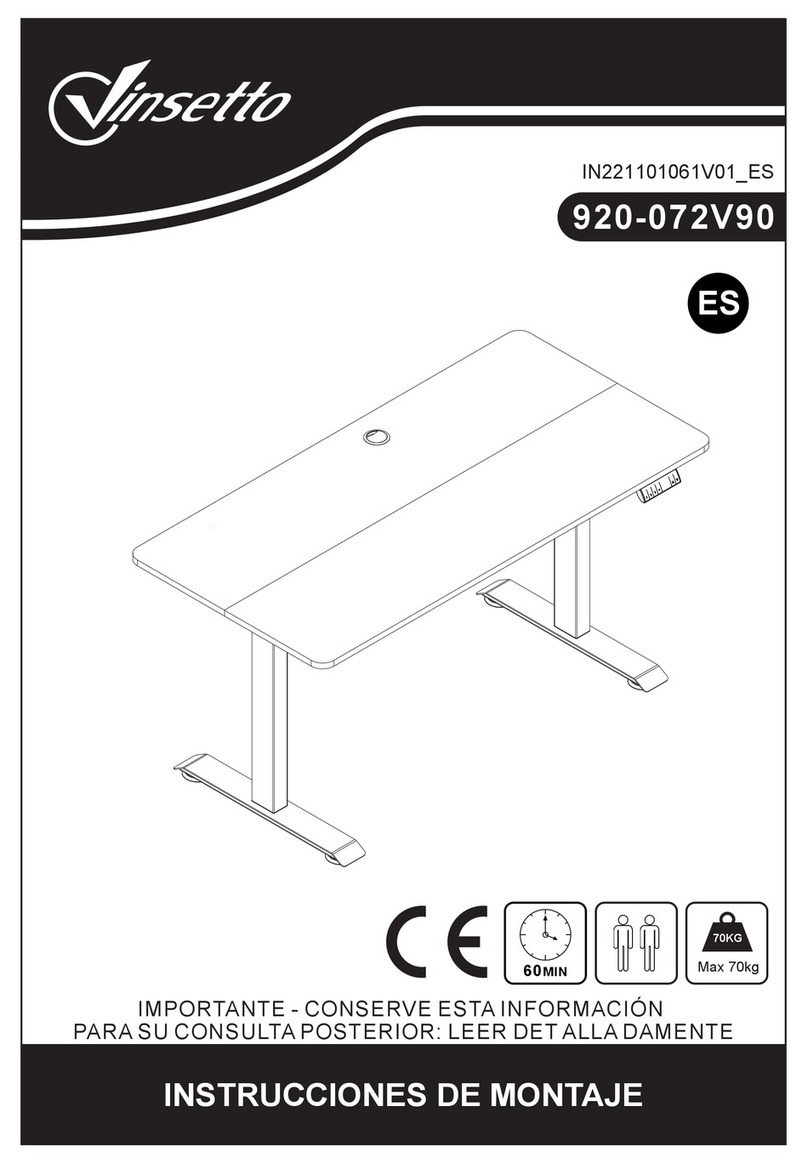
Vinsetto 920-072V90 User manual

Vinsetto

Vinsetto 920-072V90 User manual

Vinsetto 923-042 Installation guide

Vinsetto

Vinsetto 923-042 Installation guide

Vinsetto 921-531 Installation guide

Vinsetto

Vinsetto 921-531 Installation guide
Vinsetto 921-533 Installation guide

Vinsetto

Vinsetto 921-533 Installation guide

Vinsetto 924-067V00 User manual

Vinsetto

Vinsetto 924-067V00 User manual

Vinsetto 921-435 User manual

Vinsetto

Vinsetto 921-435 User manual

Vinsetto 920-072V81 Installation guide
Vinsetto

Vinsetto 920-072V81 Installation guide

Vinsetto 924-047 User manual

Vinsetto

Vinsetto 924-047 User manual
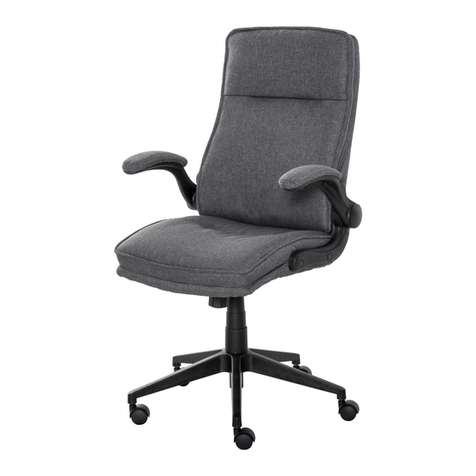
Vinsetto 839-672V00 User manual

Vinsetto

Vinsetto 839-672V00 User manual

Popular Indoor Furnishing manuals by other brands

Meblik Wardrobe Scandi 150 manual

Meblik

Meblik Wardrobe Scandi 150 manual

Forte COMT131B Assembling Instruction

Forte

Forte COMT131B Assembling Instruction

RiverRidge Monroe 06-186 Assembly instructions

RiverRidge

RiverRidge Monroe 06-186 Assembly instructions

Rompa 15781 manual

Rompa

Rompa 15781 manual

Alice's Home CAHYA IRAWCHRX2 Assembly

Alice's Home

Alice's Home CAHYA IRAWCHRX2 Assembly

Southern Enterprises HZ349300TX Assembly instructions

Southern Enterprises

Southern Enterprises HZ349300TX Assembly instructions

KEUCO Plan 32922 0001 Series Mounting instruction

KEUCO

KEUCO Plan 32922 0001 Series Mounting instruction

Opera Classic Installation and user guide

Opera

Opera Classic Installation and user guide

Manfroi HOVER TV Unit Assembly instructions

Manfroi

Manfroi HOVER TV Unit Assembly instructions

hernest H100025 user manual

hernest

hernest H100025 user manual

Jegs 555-81445 Assembly guide

Jegs

Jegs 555-81445 Assembly guide

Costway CB10430 manual

Costway

Costway CB10430 manual

Cooper Lighting PM114cbi Specification sheet

Cooper Lighting

Cooper Lighting PM114cbi Specification sheet

HOME RETAIL GROUP OSCAR 395/3604 Assembly lnstructions

HOME RETAIL GROUP

HOME RETAIL GROUP OSCAR 395/3604 Assembly lnstructions

Amart Furniture JULIUS 64358 Assembly instruction

Amart Furniture

Amart Furniture JULIUS 64358 Assembly instruction

Bontempi TAVOLO MILLENNIUM 20.36 Assembly instructions

Bontempi

Bontempi TAVOLO MILLENNIUM 20.36 Assembly instructions

Arthur Berndt Emilia 35 Assembly instructions

Arthur Berndt

Arthur Berndt Emilia 35 Assembly instructions

Living Essentials Daisy Jewelry Cabinet BMSWWH0116 Assembly instruction

Living Essentials

Living Essentials Daisy Jewelry Cabinet BMSWWH0116 Assembly instruction

manuals.online logo
manuals.online logoBrands
  • About & Mission
  • Contact us
  • Privacy Policy
  • Terms and Conditions

Copyright 2025 Manuals.Online. All Rights Reserved.