manuals.online logo
Brands
  1. Home
  2. •
  3. Brands
  4. •
  5. Viper
  6. •
  7. Floor Machine
  8. •
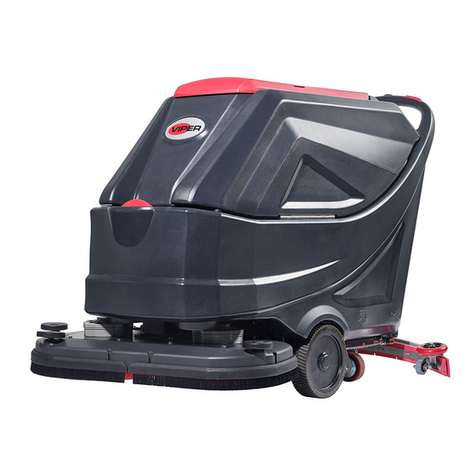
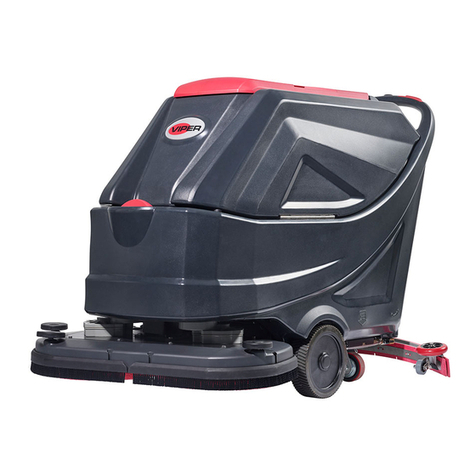
  9. Viper AS6690T User guide

Viper AS6690T User guide

Other manuals for AS6690T

3

This manual suits for next models

2

Other Viper Floor Machine manuals

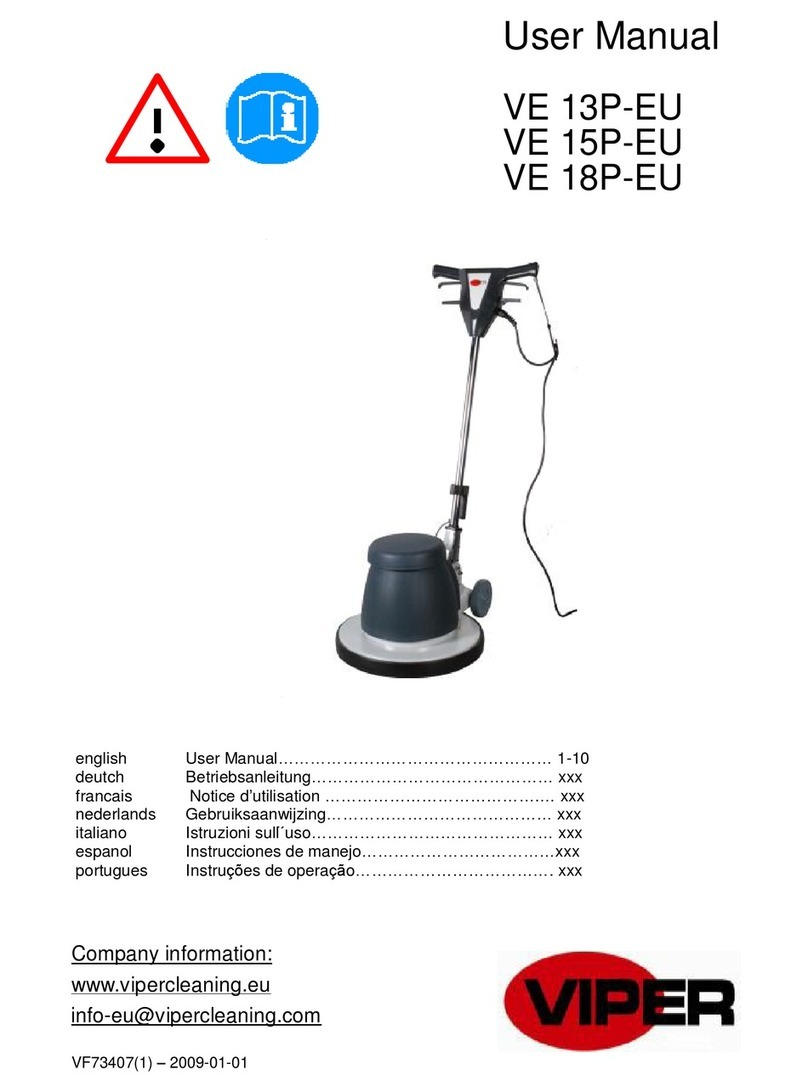
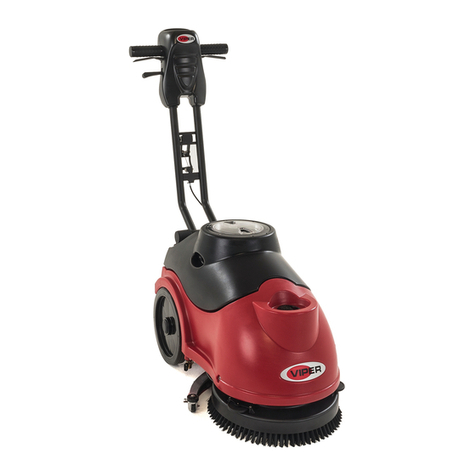
Viper AS430B User guide

Viper

Viper AS430B User guide

Viper AS4325B User manual

Viper

Viper AS4325B User manual

Viper AS1050R User manual

Viper

Viper AS1050R User manual

Viper VE 17P-EU User manual

Viper

Viper VE 17P-EU User manual

Viper VR-ACF User manual

Viper

Viper VR-ACF User manual

Viper AS6690T User guide

Viper

Viper AS6690T User guide

Viper VN1500 User manual

Viper

Viper VN1500 User manual

Viper VN1715 User manual

Viper

Viper VN1715 User manual

Viper AS530R User guide

Viper

Viper AS530R User guide

Viper Dragon DR2000DC Dust Control User manual

Viper

Viper Dragon DR2000DC Dust Control User manual

Viper AS710R User manual

Viper

Viper AS710R User manual

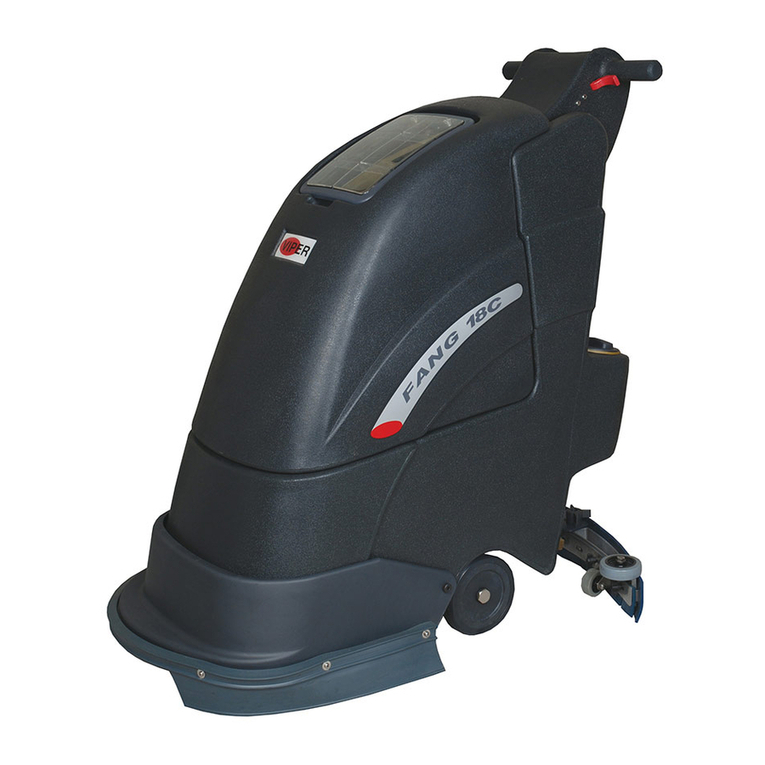
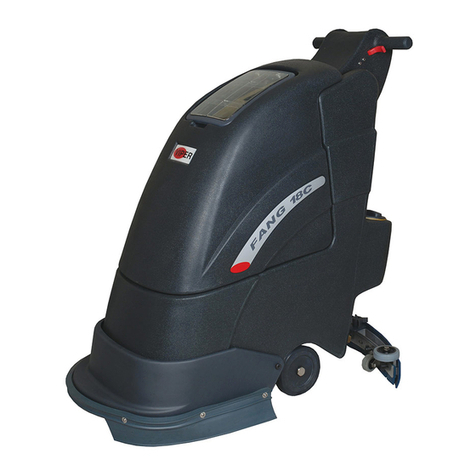
Viper SCRUBBER FANG 18C User manual

Viper

Viper SCRUBBER FANG 18C User manual

Viper Fang15B User manual

Viper

Viper Fang15B User manual

Viper VE 13P-EU User manual

Viper

Viper VE 13P-EU User manual

Viper FANG 20 User manual

Viper

Viper FANG 20 User manual

Viper AS4335C User guide

Viper

Viper AS4335C User guide

Viper AS380/15C-EU User manual

Viper

Viper AS380/15C-EU User manual

Viper DR1500H-EU User manual

Viper

Viper DR1500H-EU User manual

Viper VE 17 HS P User manual

Viper

Viper VE 17 HS P User manual

Viper AS380/15 User guide

Viper

Viper AS380/15 User guide

Viper AS380/15B-EU User manual

Viper

Viper AS380/15B-EU User manual

Viper FANG 20 User manual

Viper

Viper FANG 20 User manual

Viper VN1715 User manual

Viper

Viper VN1715 User manual

Viper Fang 20HD User manual

Viper

Viper Fang 20HD User manual

Popular Floor Machine manuals by other brands

Tennant 2510 Operator's manual

Tennant

Tennant 2510 Operator's manual

Nilfisk-Advance Advance SC370 17B Instructions for use

Nilfisk-Advance

Nilfisk-Advance Advance SC370 17B Instructions for use

BETCO PB24 Operator's manual

BETCO

BETCO PB24 Operator's manual

Numatic ET 4045 Owner's instructions

Numatic

Numatic ET 4045 Owner's instructions

Mytee 8070 Mytee-Lite instructions

Mytee

Mytee 8070 Mytee-Lite instructions

Kärcher B 140 R manual

Kärcher

Kärcher B 140 R manual

Nilfisk-Advance SW 750 Service manual

Nilfisk-Advance

Nilfisk-Advance SW 750 Service manual

IPC CT51-71 BT quick guide

IPC

IPC CT51-71 BT quick guide

Tornado Marathon 2000 98190 Operation & maintenance manual

Tornado

Tornado Marathon 2000 98190 Operation & maintenance manual

Windsor ADMIRAL Admiral 8 Specifications

Windsor

Windsor ADMIRAL Admiral 8 Specifications

Numatic TTB 1117/100 Owner's instructions

Numatic

Numatic TTB 1117/100 Owner's instructions

Tennant 8210D Operator's manual

Tennant

Tennant 8210D Operator's manual

Nobles Frontier Operator and parts manual

Nobles

Nobles Frontier Operator and parts manual

lavina 21-X user manual

lavina

lavina 21-X user manual

KENT Edge 28B Service manual

KENT

KENT Edge 28B Service manual

Tennant 215 Operator and parts manual

Tennant

Tennant 215 Operator and parts manual

Windsor BDP 51/2000C operating instructions

Windsor

Windsor BDP 51/2000C operating instructions

Nilfisk-Advance Warrior 34RST How-to guide

Nilfisk-Advance

Nilfisk-Advance Warrior 34RST How-to guide

manuals.online logo
manuals.online logoBrands
  • About & Mission
  • Contact us
  • Privacy Policy
  • Terms and Conditions

Copyright 2025 Manuals.Online. All Rights Reserved.

Use and maintenance
Operating guidelines AS6690T / AS7690T / AS7190TO series
Turn on the key and verify there is enough battery
power to complete the work. Charge batteries
if required.
Install the squeegee using the thumb nuts.
Attach squeegee hose.
Remove the red cover and fill the tank with water, max
temperature 40C/104F. Add appropriate low foaming
detergent. Maximum tank capacity 85L/22Gal. Check
solution level with red ball on the side of the machine.
Disc version: install the brushes/pad holders manually, then press the One button start icon to enable scrubbing.
The deck will lower automatically, and the vacuum will start.
Orbital version: attach a pad to the fixed pad holder, press the One button start icon and the deck will lower
automatically.
Use the handle to lower or raise the squeegee to
the floor. Adjust the squeegee angle with the knob
to maximize solution pickup performance if necessary.
Pressing either of the red safety switches and the
black reverse button together will put the machine
into reverse.
Press the Floor Finish Removal icon (orbital only) for
removing finish: pad pressure will be set to maximum,
solution flow will be set to minimum & machine speed
will be held at 1.0 km/h (0.6 mph).
On the disc version, the brush/pad holder can be
removed automatically by raising the deck and then
pressing the click off icon.
Press the One button start icon and then press and
hold any of the two red safety switches to activate
the machine.
Use the turtle/rabbit knob to adjust the speed of
the machine.
Press the + or – buttons to increase / decrease the
water flow rate and/or brush pressure.
March 2020
Maintenance
March 2020
Operating guidelines AS6690T / AS7690T / AS7190TO series
When scrubbing is complete, with the deck and
squeegee raised, return to the dump/fill site. Turn
off the key to perform the following maintenance.
Daily: Place the rear of the scrubber over a floor drain.
Empty the clean water tank using the solution tank
drain knob under the machine.
Daily: Empty the recovery tank using the recovery
empty hose. Bend the soft part before removing
the cap to control the flow.
Daily: Inspect and rinse the float ball cage. Inspect,
check and clean the debris tray and clean the lid
gasket if required.
Daily: Remove the squeegee, and clean. Inspect the
blades and flip or replace them if required.
Weekly: Inspect the solution filter and clean
if required.
Daily: Always open the recovery tank for
battery charging.
SHELF CHARGER - Plug the connector from the
charger to the connector on the back of the machine.
Plug the charger power cord into the wall socket.
ONBOARD CHARGER: Disconnect the battery pack
from the machine connector. Plug the battery pack
connector into the charger. Plug the charger power
cord into the wall socket.
Daily: Charge the machine at the end of the cleaning
shift or if the battery indicator is low or showing empty.
Daily: Leave the recovery tank lid open after it’s been
cleaned to air out and avoid any odor formulation.
Local Viper dealer:
Phone number:
SN:
21809 3/2020
©2020 Nilfisk, Inc.