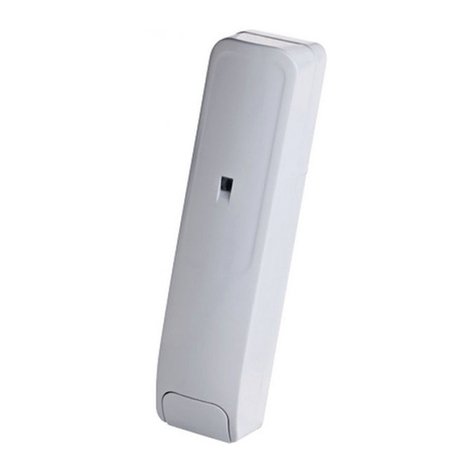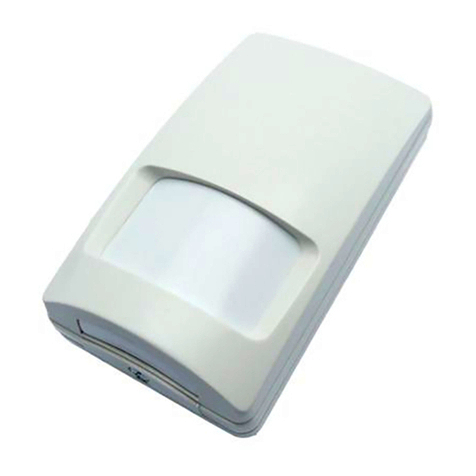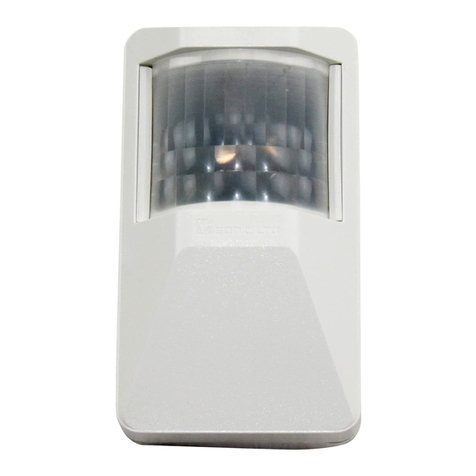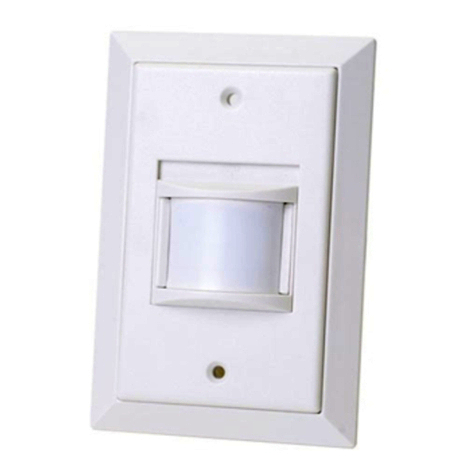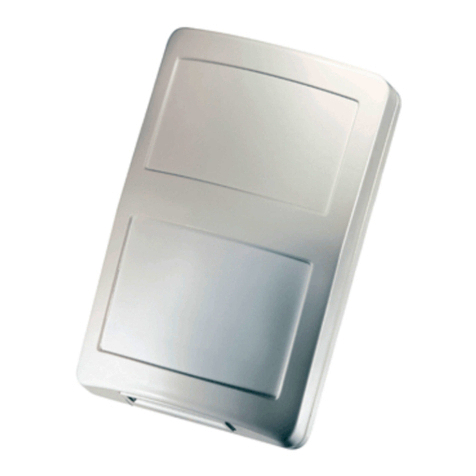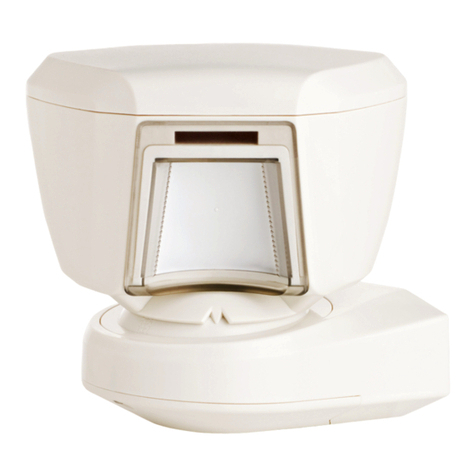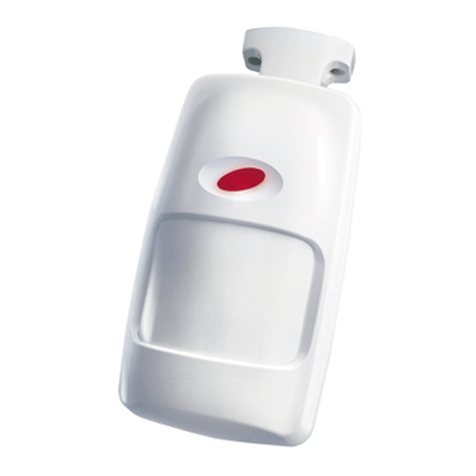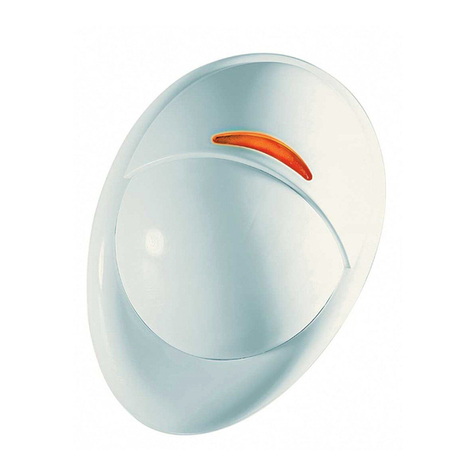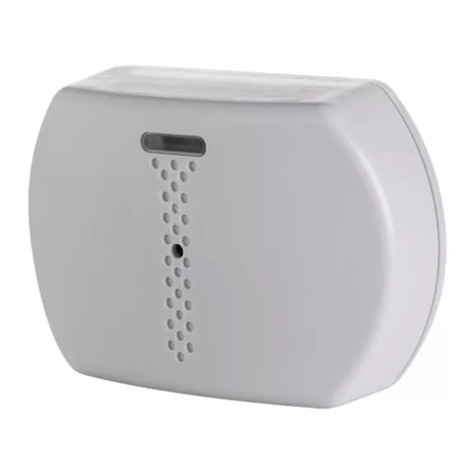
2 DE1161 CLIP-1, 2, 3, 4 Installation Instructions
3. INSTALLATION
3. INSTALLATION3. INSTALLATION
3. INSTALLATION
3.1 Disassembly an Assembly
A. Removing the Front Cover
Insert a small screwdriver into one of
the narrow gaps at the sides of the
name plate (see Fig. 10). Lever
carefully sideways, until the name
plate arches slightly out and snaps
free (do not let it fly off). Retain the
name plate and loosen the screw
within the inner shaft (see Fig. 11).
Remove the cover carefully, to avoid
dropping the screw.
Fig. 10. Name-Plate Removal
B. Installing the Front Cover
Carefully fit the front cover onto the base, with the lens in front of the
sensor, insert the screw into its shaft and tighten it well.
Position the name plate
correctly, and insert one of
the tabs into its groove.
Press the free edge of the
name plate sideways
against the already seated
edge, until the name plate
arches slightly outward.
Then force the other tab
into its groove, and let the
name plate snap into
place.
Disassembly of the CLIP PIR
3.2 Mounting
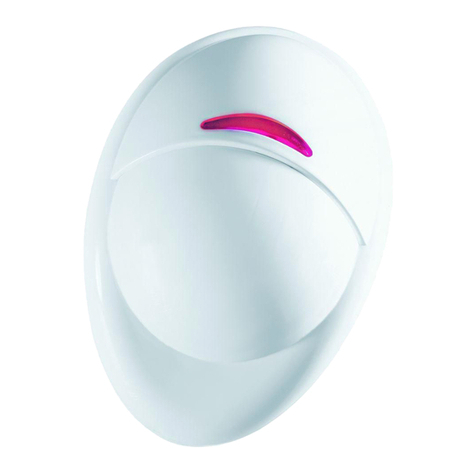
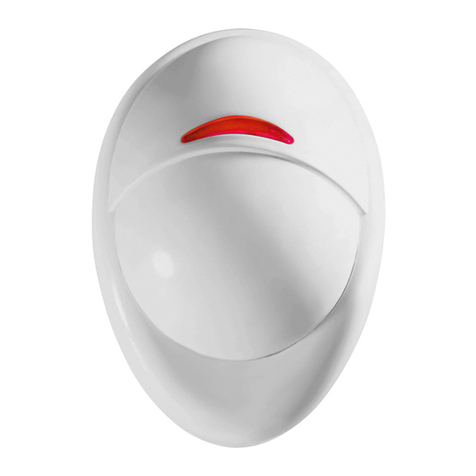
The CLIP-1 through CLIP-3 are designed for surface mounting, and the
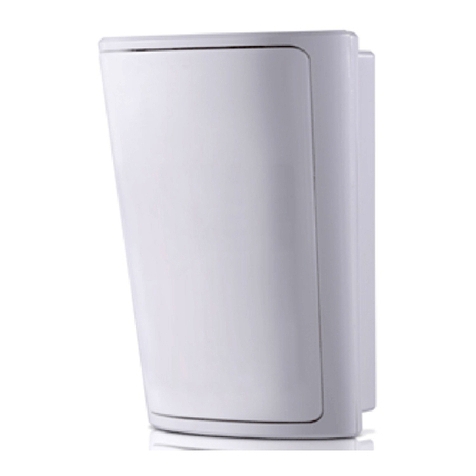
regular position is with the lens down. The CLIP-4 may be mounted in
various positions on walls, ceilings and door frames (see Figures 5 to 9).
CAUTION! To prevent false alarms caused by external temperature
changes and sudden air gusts, CLIP detectors should not be mounted
on or within window frames built into external walls. Moreover, it is
mandatory to seal the wiring entry holes with sealing compound such as
RTV, thus protecting the sensor from insects and air currents.
A. Select the mounting location so that the expected motion of an
intruder will cross the coverage pattern.
B. The maximum mounting height for CLIP-1 and -3 is 2.4 m (8 ft).
C. When mounting CLIP-4 on the ceiling (Figure 6), the ceiling height
must not exceed 3.6 m (12 ft). The maximum detection distance is
6 m (20 ft), and the curtain width at that distance is 1.3 m (4.5 ft).
D. Alternatively, the pet alley
model CLIP-2 may be installed
in a lens-up position. This will
allow upward adjustment of the
pet alley, so that the lower part
of the detection pattern will be
parallel to the floor.
E. To minimize false alarms, it is
advisable to avoid aiming the
detector at heaters, sources of
light, or windows subjected to
direct sunlight. Also avoid
running wiring close to high
power electrical cables.
F. Remove the front cover as
instructed in Para. 3.1A.
G. Mount the base with the PCB
intact at the location and height
that gives optimum coverage.
Fig. 12. Inside the CLIP
Use the two mounting knockouts (see Fig. 12). Carefully slide the
PCB up to gain access to the bottom knockout which is partly hidden.
Be sure to do so by grabbing the terminal block with two fingers.
Do not exert force on any other component!
H. Always install the unit on a firm and stable surface, and assure that
there are no moving objects within its field of view.
3.3 Wiring
To route wires into the detector, use the wiring knockout located at the top
left of the unit base (Figure 12). Since the knockout is angular, the
wiring may be inserted from behind the base or from the top, as required
for the particular installation. Refer to Fig. 13 and connect wires to the
terminal block in the following order:
Connect terminals 5 and 6 –
the tamper N.C. terminals –
to a normally closed 24-
hour protective loop of the
control panel. The tamper
contacts will open when the
cover is removed.
B. Connect terminals 1 & 2 (the relay N.C. terminals) to a normally closed
protective loop of the control panel. The relay contacts will open when
motion is detected or during power loss.
C. Connect terminals 3 (–) and 4 (+) to a 10 to 16 Volt DC power source
(observe polarity). The power supply must have battery backup. The
current drain of each CLIP PIR is approximately 12.5 mA.
3.4 Vertical A justment
The vertical adjustment scale (on the lower left corner of the PCB) and the
plastic pointer on the base indicate the approximate vertical angle
between the horizontal line of the unit and the upper detection layer.
Table 1 shows the recommended scale settings for various combinations
of mounting height and coverage distance. It allows fast, easy pattern
adjustment from 0° to -12° according to the installation height and the
required coverage range.
CLIP units are preset to -4°. To change the vertical pattern adjustment,
remove the cover, hold the terminal block with two fingers and slide the
PCB up or down to the desired angle.
Caution! CLIP is a delicate device due to its small size. Do not exert
force on any component other than the terminal block.
The friction on the PCB should be enough to maintain the new position.
When you remount the cover and tighten the screw, additional pressure is
applied to the plastic bushing that binds the PCB to the back cover.
Note: Since the beam width increases with distance from the detector, an
inverted (lens up) installation of the CLIP-2 (Pet Alley model) is advisable.
Set the scale between -4°and -6°, to obtain the desired pet alley height.
Table 1. Vertical Adjusting Scale
Example: if you
require a coverage
range of 9 m (30 ft)
and wish to install
the sensor 1.8 m
(6 ft) above the
ground, set the
Vertical Adjusting
Scale to –6°.
3.5 The Pulse Counter
The CLIP is equipped with a pulse counter that can be set to count 1 or 2
pulses with alternate polarity, before activating the alarm relay. To set the
pulse counter, place the jumper at the desired setting (ON or OFF).
ON (2 pulses). Provides improved protection against false alarms caused
by all types of environmental disturbances. It should only be used in
temperature controlled locations (less than 30°C / 86°F).
OFF (1 Pulse). Actually disables the pulse counter. Used to activate an
alarm on the first detected pulse, or in high security installations, when
fast "catch" performance is of greatest importance.
3.6 Walk Testing
A. Apply 12 VDC and allow 5 minutes for warming up and stabilizing.
B. Adjust the vertical calibration angle according to Table 1.
C. Set the pulse counter per Para. 3.5 above.
D. Walk slowly across the field of view (in opposite directions). The LED
lights whenever you enter or exit a sensitive beam. Allow 5 seconds
between each test for the unit to stabilize.
E. After testing, you may disable the LED to prevent unauthorized
persons from tracing the coverage pattern. Remove the LED jumper
from its position across the 2 pins and install it on one of the pins.
Note: The range and coverage area should be checked at least once a
year. To assure proper continuous functioning, the user should be
instructed to perform a walk test at the far end of the coverage pattern to
assure an alarm signal prior to each time the alarm system is armed.
W.E.E.E. Product Recycling Declaration
For information regarding the recycling of this product you must contact the company from which you orignially purchased it. If you are discarding this product and not
returning it for repair then you must ensure that it is returned as identified by your supplier. This product is not to be thrown away with everyday waste.
Directive 2002/96/EC Waste Electrical and Electronic Equipment.
INTERNET: www.visonic.com
VISONIC LTD. 2014 CLIP-1, 2, 3, 4 DE1161- (REV. 4, 1/14). Refer to separate warranty statement
