manuals.online logo
Brands
  1. Home
  2. •
  3. Brands
  4. •
  5. Vivo
  6. •
  7. Indoor Furnishing
  8. •
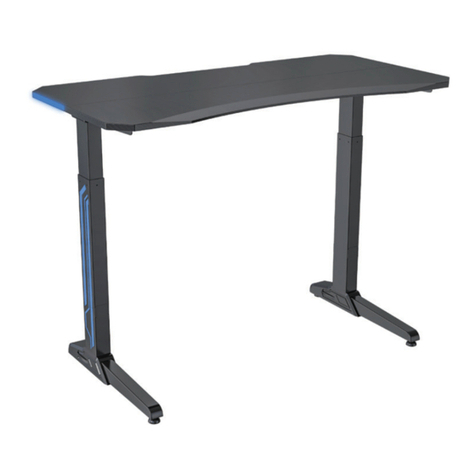
  9. Vivo DESK-V101M User manual

Vivo DESK-V101M User manual

Other Vivo Indoor Furnishing manuals
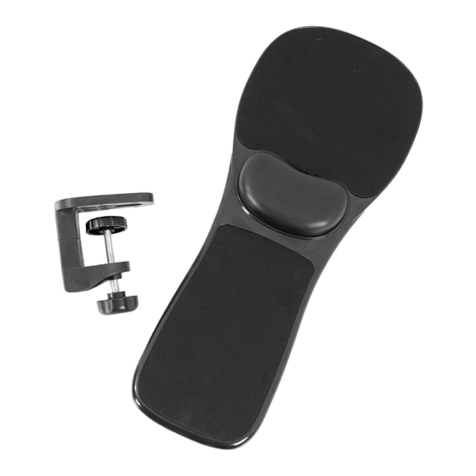
Vivo DESK-E-D60B User manual

Vivo

Vivo DESK-E-D60B User manual

Vivo DESK-V122EB User manual

Vivo

Vivo DESK-V122EB User manual

Vivo DESK-SF02W User manual

Vivo

Vivo DESK-SF02W User manual

Vivo DESK-V122EB User manual

Vivo

Vivo DESK-V122EB User manual

Vivo DESK-E151EW User manual

Vivo

Vivo DESK-E151EW User manual

Vivo DESK-EV02RW User manual

Vivo

Vivo DESK-EV02RW User manual

Vivo DESK-V000DW User manual

Vivo

Vivo DESK-V000DW User manual

Vivo DESK-V101EW User manual

Vivo

Vivo DESK-V101EW User manual
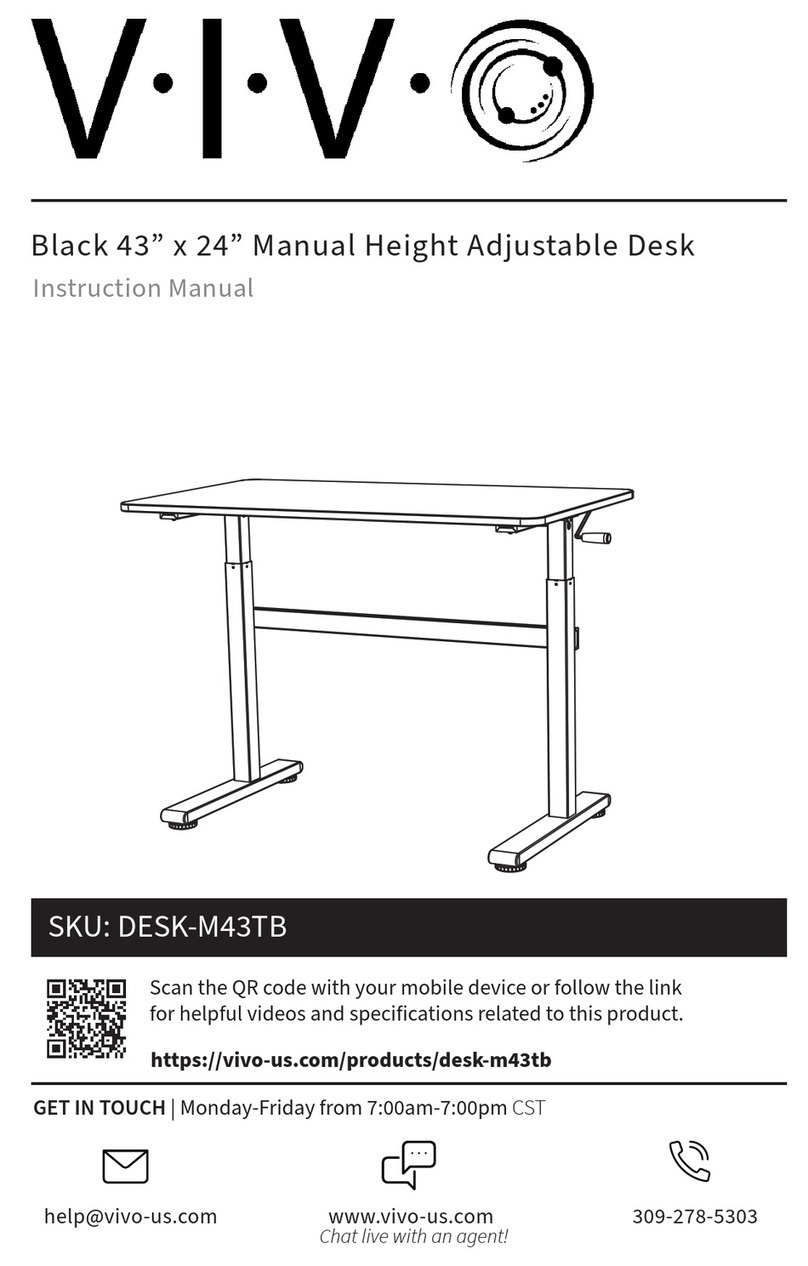
Vivo DESK-TOP72-30D User manual

Vivo

Vivo DESK-TOP72-30D User manual

Vivo DESK-TOP3B User manual

Vivo

Vivo DESK-TOP3B User manual

Vivo DESK-GMZ0B User manual

Vivo

Vivo DESK-GMZ0B User manual

Vivo DESK-TOP60R-B User manual

Vivo

Vivo DESK-TOP60R-B User manual

Vivo MOUNT-KB05N User manual

Vivo

Vivo MOUNT-KB05N User manual

Vivo DESK-SF01W User manual

Vivo

Vivo DESK-SF01W User manual

Vivo DESK-SHELF55A User manual

Vivo

Vivo DESK-SHELF55A User manual

Vivo DESK-E3CTB/TN/TW-75 User manual

Vivo

Vivo DESK-E3CTB/TN/TW-75 User manual

Vivo CHAIR-K05B User manual

Vivo

Vivo CHAIR-K05B User manual

Vivo DESK-LEGS7 User manual

Vivo

Vivo DESK-LEGS7 User manual

Vivo DESK-V000KA User manual

Vivo

Vivo DESK-V000KA User manual

Vivo Black 47 Pneumatic Desk DESK-V048GB User manual

Vivo

Vivo Black 47 Pneumatic Desk DESK-V048GB User manual

Vivo DESK-TOP6WE User manual

Vivo

Vivo DESK-TOP6WE User manual

Vivo DESK-EV02RB User manual

Vivo

Vivo DESK-EV02RB User manual

Vivo Riser DESK-V000KF User manual

Vivo

Vivo Riser DESK-V000KF User manual

Vivo DESK-E-Y60SD User manual

Vivo

Vivo DESK-E-Y60SD User manual

Popular Indoor Furnishing manuals by other brands

Regency LWMS3015 Assembly instructions

Regency

Regency LWMS3015 Assembly instructions

Furniture of America CM7751C Assembly instructions

Furniture of America

Furniture of America CM7751C Assembly instructions

Safavieh Furniture Estella CNS5731 manual

Safavieh Furniture

Safavieh Furniture Estella CNS5731 manual

PLACES OF STYLE Ovalfuss Assembly instruction

PLACES OF STYLE

PLACES OF STYLE Ovalfuss Assembly instruction

Trasman 1138 Bo1 Assembly manual

Trasman

Trasman 1138 Bo1 Assembly manual

Costway JV10856 manual

Costway

Costway JV10856 manual

moss DESIGN Caisson Credenza Assembly instructions

moss DESIGN

moss DESIGN Caisson Credenza Assembly instructions

Aquaglide FULL DECK 15.0 owner's manual

Aquaglide

Aquaglide FULL DECK 15.0 owner's manual

AREBOS AR-HE-SW30 user manual

AREBOS

AREBOS AR-HE-SW30 user manual

Till-Hilft Fulda 87005.330 Assembly instructions

Till-Hilft

Till-Hilft Fulda 87005.330 Assembly instructions

Twoey Outside 2010 quick start guide

Twoey Outside

Twoey Outside 2010 quick start guide

Hettich Easys 200 operating instructions

Hettich

Hettich Easys 200 operating instructions

The bedboss RELAX 404 Series owner's manual

The bedboss

The bedboss RELAX 404 Series owner's manual

Oeseder Möbelindustrie Bern 991 720 Assembly instructions

Oeseder Möbelindustrie

Oeseder Möbelindustrie Bern 991 720 Assembly instructions

Costway HW68469 user manual

Costway

Costway HW68469 user manual

Next ALIX A27743 Assembly instructions

Next

Next ALIX A27743 Assembly instructions

BROSA Hans Assembly guide

BROSA

BROSA Hans Assembly guide

Prodigg MINIKA PBA015T-FUR installation manual

Prodigg

Prodigg MINIKA PBA015T-FUR installation manual

manuals.online logo
manuals.online logoBrands
  • About & Mission
  • Contact us
  • Privacy Policy
  • Terms and Conditions

Copyright 2025 Manuals.Online. All Rights Reserved.

1
Heigh Adjusable
Des Frame
Instruction Manual
Email: [email protected]
Live chat: www.vivo-us.com
Call: 1-800-371- 6 4
-Model DES V101M
Scan the QR code with your mobile device or follow the link
to helpful videos and specifications related to this product.
- -hps//vivo us com/producs/des v101m
Tools Required
phillips screwdriver, drill, level
Pacage Conens
C
Sid Brack (x2)
G
L (x1)
- S ) (x4)- S A (x16) - S C (x10) -S D
All K (x1)
A
Tlscopic Crossbar
(x1)
)
Sc od (x1)
D
Foo (x2)
E
Driv od
Modul (x1) F
L (x1)
2
Assembly Seps
Sep 1 Assembling he Frame
Attach the Telescopic
Crossbar (A) to the Legs (F, G)
as shown using the bolts (S-A).
Sep 2 Insalling he Side )races
Attach the two Side Brackets (C) to both ends of the frame by using the four
bolts (S-A) and tighten all screws (S-B) with an Allen key (S-D).
Attention: the maximum depth of holes is 3mm.
Drill mounting holes under the desktop,
then remove the desktop.
Attach the two Side Brackets (C) to
both ends of the frame using four
bolts (S-A), and tighten with the
Allen key (S-D).
Tighten all bolts (S-A) with
the Allen key (S-D).
3
Sep 3 Insalling he Fee
Place the feet on the Legs (F, G)
as shown. Insert the bolts (S-A)
as shown tighten.
With the frame positioned upright,
turn the knob as shown
counterclockwise to loosen the
Sync Rod (B). Adjust the Sync Rod
(B) to match the frame's width.
Notice: Match the red
line on the Sync Rod
(B) with the right side
of Left Leg (F). Match
the right side of the
right knob of the
Sync Rod (B) with the
red line on the rod of
the gearbox.
Re-tighten the Sync
Rod (B) by using the
knob.
Sep 4 Insalling he Sync Rod
4
If you do not understand these directions, or if you have
any doubts about the safety of the installation, please call a
qualified technician. Check carefully to make sure there are
no missing or defective parts. Improper installation may
cause damage or serious injury. Do not use this product for
any purpose that is not explicitly specified in this manual.
We cannot be liable for damage or injury caused by
incorrect assembly or inappropriate use.
Email: help@vivo-us.com
Live chat: www.vivo-us.com
Call: 1-800-371- 6 4
For more VIVO products, check out our
website at
www.vivo-us.com.
If any parts are received damaged or defective, please
contact us. We are happy to replace parts to ensure you
have a fully functional product.
Safey Warning
Conac us a
Last updated: 4/23/2018
Online Version
Sep 5 Insalling he Desop
Each foot pad can be adjusted
independently for fine tuning.
Slightly turn the foot pad to
lower or raise the base. Use a
level to make sure the desktop
is even.
Place the desktop on the frame and insert
the desktop mounting screws (S-B). Tighten
all bolts (S-C).
Insert the Drive Rod Module
(E) into the upper part of the
Legs (F, G) as shown. Mount
the support plate onto the
underside of the desk by
using the bolts (S-C) identified
in the diagram.