manuals.online logo
Brands
  1. Home
  2. •
  3. Brands
  4. •
  5. Vivo
  6. •
  7. TV Mount
  8. •
  9. Vivo MOUNT-VW63G User manual

Vivo MOUNT-VW63G User manual

Other Vivo TV Mount manuals

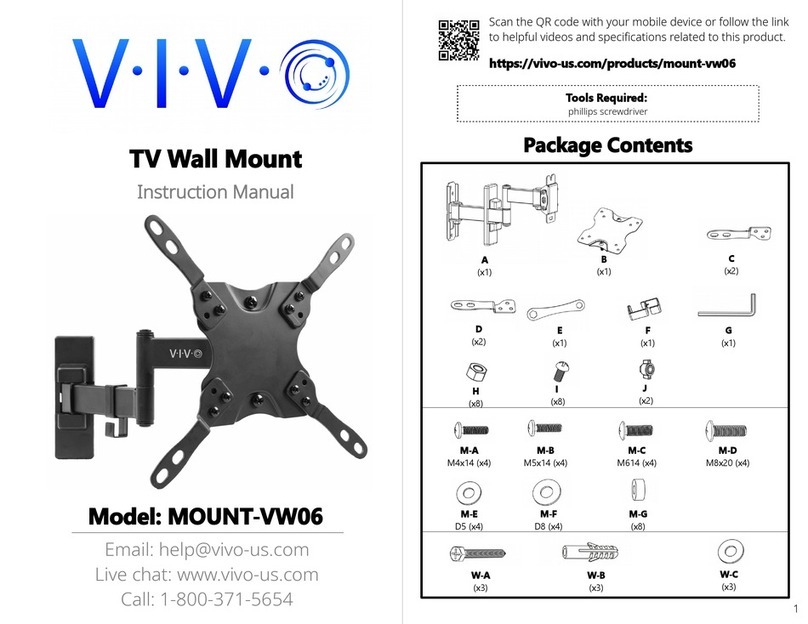
Vivo MOUNT-VW06 User manual

Vivo

Vivo MOUNT-VW06 User manual

Vivo MOUNT-VESA01 User manual

Vivo

Vivo MOUNT-VESA01 User manual

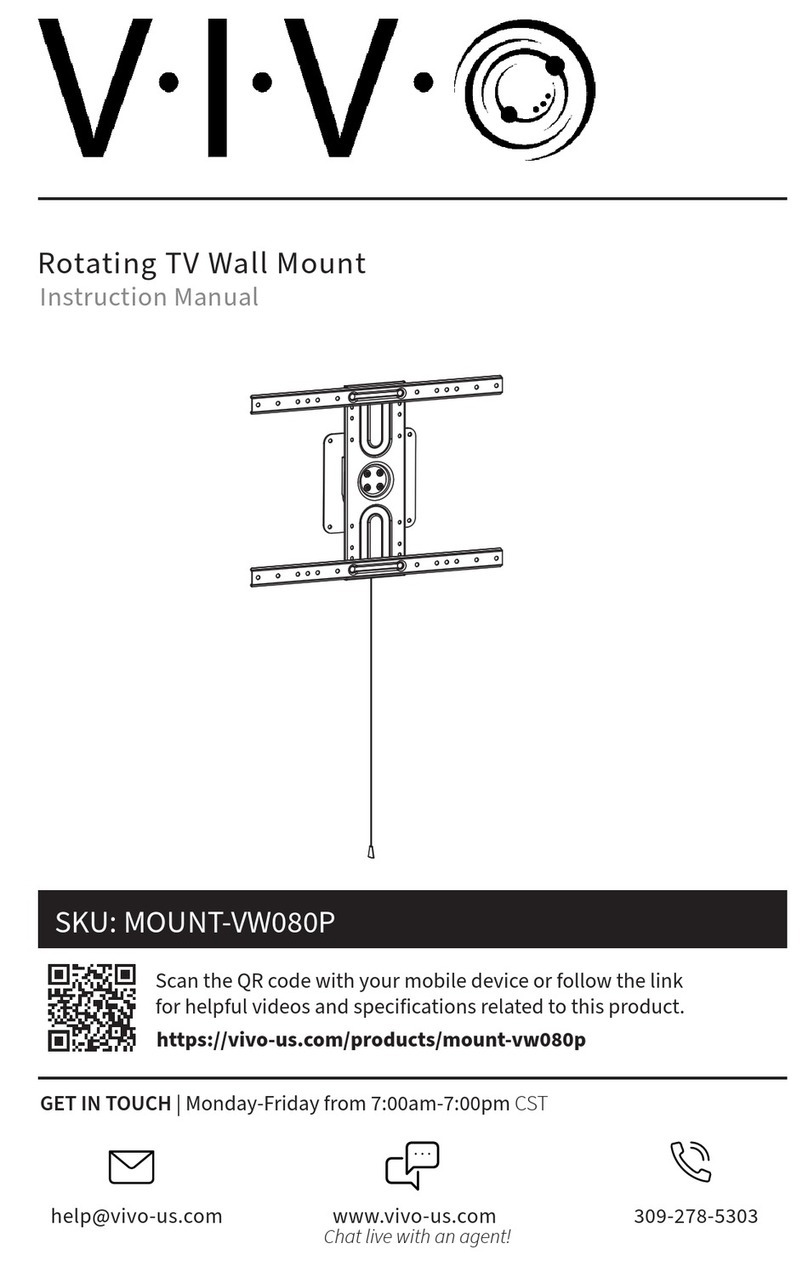
Vivo MOUNT-VW080S User manual

Vivo

Vivo MOUNT-VW080S User manual

Vivo MOUNT-MM01B User manual

Vivo

Vivo MOUNT-MM01B User manual

Vivo MOUNT-VW02A User manual

Vivo

Vivo MOUNT-VW02A User manual

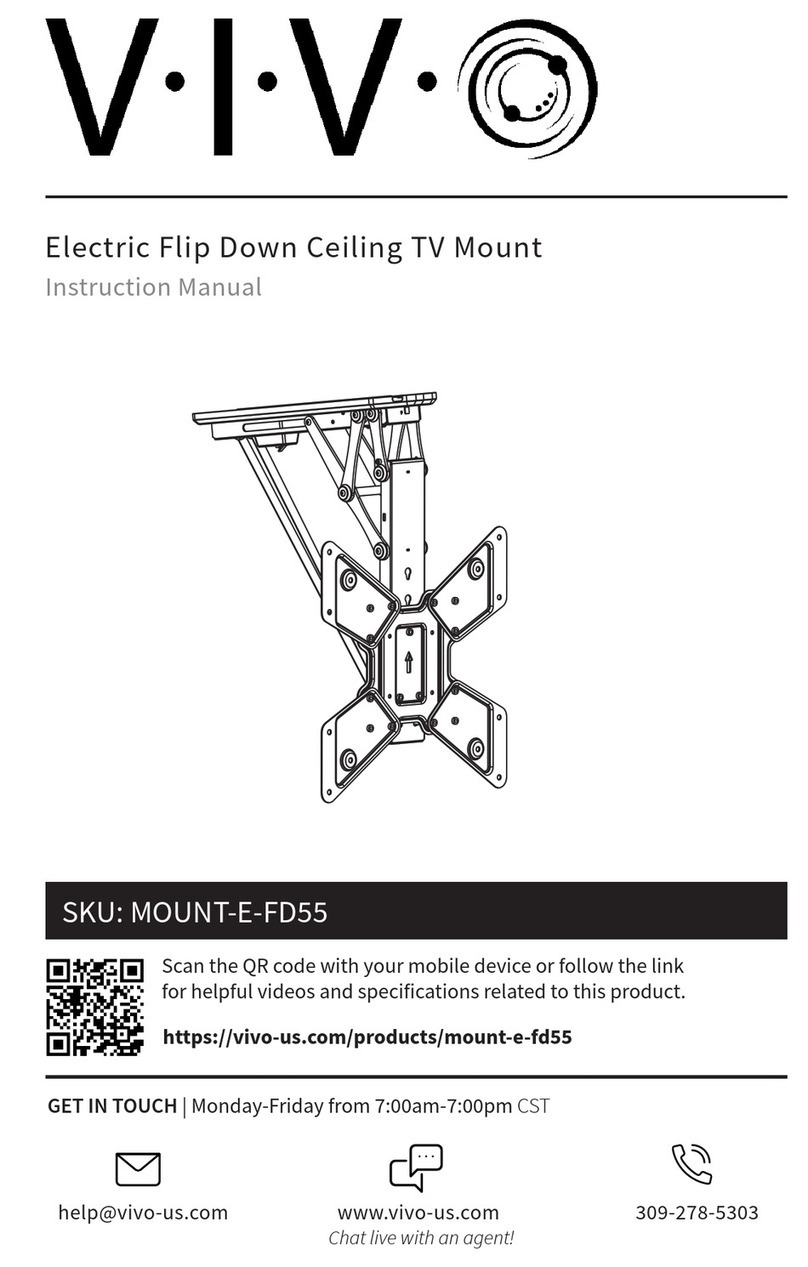
Vivo MOUNT-E-FD55W User manual

Vivo

Vivo MOUNT-E-FD55W User manual

Vivo MOUNT VW01 User manual

Vivo

Vivo MOUNT VW01 User manual

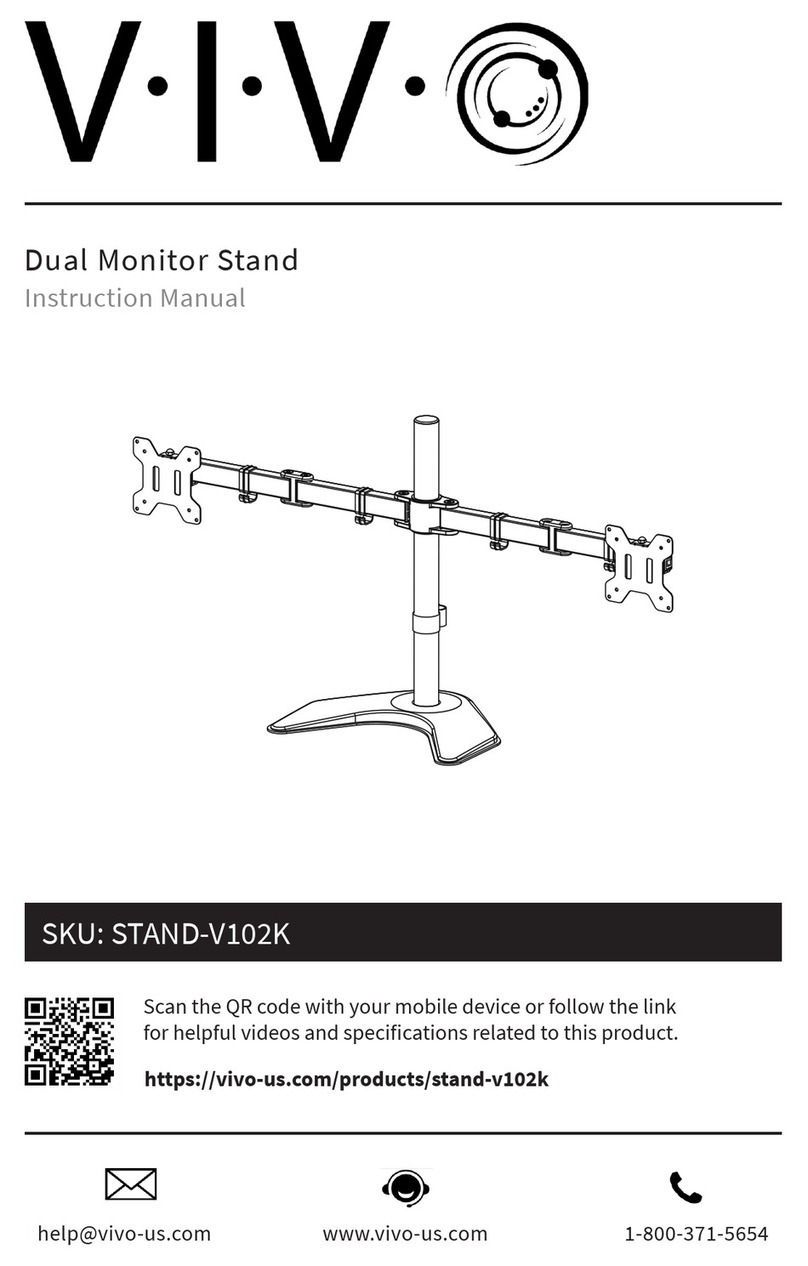
Vivo STAND-V155C User manual

Vivo

Vivo STAND-V155C User manual

Vivo STAND-TV00M4 User manual

Vivo

Vivo STAND-TV00M4 User manual

Vivo MOUNT-VW03G User manual

Vivo

Vivo MOUNT-VW03G User manual

Vivo VESA STAND-VAD1B User manual

Vivo

Vivo VESA STAND-VAD1B User manual

Vivo MOUNT-VW02 User manual

Vivo

Vivo MOUNT-VW02 User manual

Vivo MOUNT-M-MM070R User manual

Vivo

Vivo MOUNT-M-MM070R User manual

Vivo STAND-V003Z User manual

Vivo

Vivo STAND-V003Z User manual

Vivo MOUNT-E-UP65A User manual

Vivo

Vivo MOUNT-E-UP65A User manual

Vivo MOUNT-VW04G User manual

Vivo

Vivo MOUNT-VW04G User manual

Vivo MOUNT-E-MM070W User manual

Vivo

Vivo MOUNT-E-MM070W User manual

Vivo STAND-TV65F User manual

Vivo

Vivo STAND-TV65F User manual

Vivo STAND-V002T/W User manual

Vivo

Vivo STAND-V002T/W User manual

Vivo STAND-TV01B User manual

Vivo

Vivo STAND-TV01B User manual

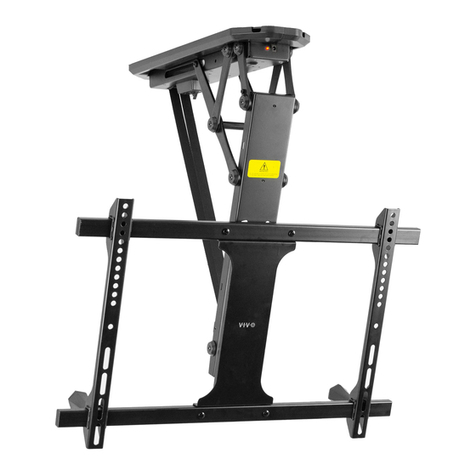
Vivo MOUNT V Flat Ceiling MountC55B User manual

Vivo

Vivo MOUNT V Flat Ceiling MountC55B User manual

Vivo MOUNT-V001G User manual

Vivo

Vivo MOUNT-V001G User manual

Vivo STAND-V002 User manual

Vivo

Vivo STAND-V002 User manual

Vivo MOUNT-SF05L User manual

Vivo

Vivo MOUNT-SF05L User manual

Popular TV Mount manuals by other brands

Krüger & Matz KM1300 owner's manual

Krüger & Matz

Krüger & Matz KM1300 owner's manual

Barkan E220 manual

Barkan

Barkan E220 manual

Bauhn ACTVB-1120 installation guide

Bauhn

Bauhn ACTVB-1120 installation guide

Vantage Point Products CB01 instructions

Vantage Point Products

Vantage Point Products CB01 instructions

Ergotron Neo Flex Cantilever UHD user guide

Ergotron

Ergotron Neo Flex Cantilever UHD user guide

ECG LD 174203 instruction manual

ECG

ECG LD 174203 instruction manual

StarTech.com FPCEILBTB user manual

StarTech.com

StarTech.com FPCEILBTB user manual

VonHaus 05/038 instruction manual

VonHaus

VonHaus 05/038 instruction manual

Techlink ECHO TV manual

Techlink

Techlink ECHO TV manual

Sandstrom SSTVMC12X instruction manual

Sandstrom

Sandstrom SSTVMC12X instruction manual

Kanto RCAD590 user manual

Kanto

Kanto RCAD590 user manual

Forging Mount HY9440 instruction manual

Forging Mount

Forging Mount HY9440 instruction manual

ICW SCACC18 installation instructions

ICW

ICW SCACC18 installation instructions

LG WM-L640V owner's manual

LG

LG WM-L640V owner's manual

Gembird WM-65ST-01 user manual

Gembird

Gembird WM-65ST-01 user manual

ERARD FiTUP XXL 035320 quick start guide

ERARD

ERARD FiTUP XXL 035320 quick start guide

PEERLESS PLCK-1 Installation and assembly

PEERLESS

PEERLESS PLCK-1 Installation and assembly

GEM GEM GP001 instructions

GEM

GEM GEM GP001 instructions

manuals.online logo
manuals.online logoBrands
  • About & Mission
  • Contact us
  • Privacy Policy
  • Terms and Conditions

Copyright 2025 Manuals.Online. All Rights Reserved.

TV Pull Down Mantle Wall Mount
Scan the QR code with your mobile device or follow the link

Instruction Manual
https://vivo-us.com/products/mount-vw63g
  1-800-371-5654
SKU: MOUNT-VW63G
2 3
ASSEMBLY STEPS
STEP 1
Temperature at the front edge of mantle

PACKAGE CONTENTS
TOOLS NEEDED
16 - 70.5lbs
(7.3 - 32kg)
DO NOT EXCEED WEIGHT CAPACITY.

WARNING!
Phillips
Screwdriver
A (x1)
Magnetic Spirit Level
B1 (x4)
M4x12
B2 (x4)
M4x25
L (x4)
M8x10
M1 x4)
M6 Lock Nut
O(x4)
Plastic
Anchor
K(x2)
M6x20
G (x4)
M6 Washer
H (x4)
14mm Spacer
I (x4)
5mm Spacer
J (x4)
M6x8
If you do not understand these directions, or if you have any doubts about the safety of the



We cannot be liable for damage or injury caused by improper mounting, incorrect assembly or

NOTE: 
P2 (x1)
5mm Allen Wrench
P1 (x1)
10mm Wrench
Drill
CAUTION!



C1 (x4)
M5x12
C2 (x4)
M5x25
D1 (x4)
M6x12
D2 (x1)
M6x25
E1 (x4)
M8x12
E2 (x4)
M8x25
F(x4)
M8x50
N1 (x4)
M8 Washer
N2 (x4)

Q1 (x1)
8mm Hex
Rod
Q2 (x4)
8mm Allen Wrench
BB (x2)

AA (x1)
Handle
CC (x1)

DD (x1)

Rod
EE (x1)
Front Panel
FF (x1)
Arm
GG (x2)

M2 (x4)
Plastic Washer
P3 (x2)

STEP 2
If the main wall is wood frame, the spacing
between studs must be no more than 16” if

(such as plaster or drywall) must be no more
than 5/8” thick, and the wall covering alone

mounting screws must be secured into a wood
NOTE: 
line
STEP 3
Mantle must not extend from mounting surface

4 5
STEP 7




STEP 4



STEP 5


STEP 8
If the main wall is brick or concrete, plastic
anchors (O
Step 4 for proper locations of mounting
holes, making sure there are no more


(10mm) drill bit, then press plastic anchors
into holes
Please reference Step 4 for proper locations
of mounting holes, making sure there are
no more than minor deviations from the

NOTE: Do not

Mantle Extension
< 8” TV Wallboard Height + 4“
8 - 10” TV Wallboard Height + 5”
10 -12” TV Wallboard Height + 7”
12 - 14” TV Wallboard Height + 8“
Required Space Height
STEP 6
Use middle holes for central stud, or

6 7
STEP 9
Remove (CC, N1, N2, A
Run cables through the hole as illustrated

Mount wallboard (CC
(N2) and M8 washers (N1), using magnetic
spirit level (A) to ensure wallboard is perfectly

STEP 12
Remove (J, K, AA, DD
Adjust position of connecting rod (DD)
as shown in the illustration below, then
secure with M6x20 screws (K) and Phillips
AA) to
connecting rod (DD) with M6x8 screws (J
STEP 14


to lock the two screws underneath and secure

STEP 10
Remove (M1, M2, EE, FF, P1
Mount arm (FF) to front panel (EE) using M6 lock
nuts (M1) with plastic washers (M2), and tighten
with the 10mm wrench (P1
the front panel and the arrow mark on the arm

STEP 11
Remove (L, P2, P3L)
with 5mm Allen wrench (P2), then use cable ties (P3) to manage wires, as shown in the illustrations

STEP 13
Select hardware (B1 through I) from packaging

suitable size screws and washers or spacers to
secure VESA brackets (BB) to TV with Phillips



STEP 15
Remove (GG) from the packaging, and press

spring pressure to match the weight of your
TV using either the 8mm hex rod (Q1) with
an appropriate socket wrench, or 8mm Allen
wrench (Q2
P1
P2
P3
L
Last Updated: 10/03/2018


For more VIVO products, check out our website at:

Love your new VIVO setup and want to share?
Tag us in your photo! @vivo_us
  1-800-371-5654