manuals.online logo
Brands
  1. Home
  2. •
  3. Brands
  4. •
  5. Watermark
  6. •
  7. Plumbing Product
  8. •
  9. Watermark rainsaver Bianco RainsaverMK4E User manual

Watermark rainsaver Bianco RainsaverMK4E User manual

INSTRS110110 rev 6 01/03/15 Page 1
Bianco RainsaverMK4E Installation and Operating Instructions
Bianco RainsaverMK4E is WaterMark Level 1 approved to ATS5200.477:2006 Certificate No.
23022 and incorporates internal dual check valve back flow prevention for the mains water.
INSTRS110110 rev 6 01/03/15 Page 2
Bianco Rainsaver MK4E Installation and Operating Instructions
1. Introduction:
The Rainsaver MK4E is an Automatic Rainwater / Mains Water Changeover Device designed to
provide automatic mains back up for Pressure Pump supply systems.
The Bianco Rainsaver MK4E is designed to be installed in conjunction with a DAB or Bianco
surface mounted or submersible Pressure Pump supply system that is fitted with a FLOAT SWITCH
(except for the DAB DIVERTRON) as well as an independent PRESSURE AND FLOW
CONTROLLER with LOSS OF PRIME PROTECTION and AUTOMATIC RE-START.
WARNING! The Rainsaver MK4E is NOT A PUMP CONTROLLER!
2. General Specifications:
Controls pumps to a maximum 1.5 hp, 1.1 kW 240V.
Maximum water temperature (mains + pump): 400 C.
Maximum recommended continuous pump flow: 100 litres per minute.
Maximum recommended pump pressure: 800 kPa.
Maximum recommended mains inlet pressure: 800 kPa.
3. Operation:
The RainsaverMK4E supplies clean rainwater from a rainwater tank via an automatic pressure
system pump to toilets, laundry and garden taps in a household.
Mains water is also connected to the RainsaverMK4E as an automatic back up should rain water level be
too low, or if there is a power or pump* failure).
*Should there be a pump failure, mains back up is achieved by turning the RainsaverMK4E off at the
power point.
The low voltage float switch supplied prevents the pump from running dry and allows automatic switch
over to mains supply should the rain water level in the tank be too low.
4. Installation:
4.1 Pump Float Switch installation.
The 10m, 12V DC low voltage float switch supplied, prevents the pump from running dry and allows
automatic switch over to mains supply. It is supplied complete with a counterweight and water tank
mounting plate, and is designed to enter the rainwater tank from the roof of the rainwater tank.
Choose a location on the roof of the rainwater tank to cut the 85mm hole required. The centre of the
hole should be at least 200 mm away from the side of the tank as well as being 200mm away
horizontally from tank rainwater entry and rain water tank outlet. Any shavings should be removed
with a vacuum cleaner.
Uncoil and lay out the float switch cable. Move the counterweight so that it is 200 mm from the float
switch. Tighten the cable gland on the counterweight to lock it in position.
Position the float switch cable in the water tank mounting plate so that the distance between the
mounting plate and the end of the float switch is 100 mm less than the depth of the tank when
measured from the float switch access hole, and tighten the cable gland and conclamp.
Submersible pumps supplied with the RainsaverMK4E may have a pump mounted float switch which
needs to be cable tied so that it is always in the vertical position.
INSTRS110110 rev 6 01/03/15 Page 3
4.2 RainsaverMK4E installation.
The RainsaverMK4E must be mounted in the horizontal position, and the RainsaverMK4E
power socket to accept the pump power lead must hang in the down position.
The RainsaverMK4E can be Wall mounted or Pump Mounted i.e. mounted directly onto a pressure
pump outlet. The steel wall mounting bracket, which is connected to your RainsaverMK4E, can be
rotated to allow the unit to be wall mounted in either direction, or may be removed for pump
mounting.
4.21 Wall Mounting:
The RainsaverMK4E can be mounted outdoors on a flat vertical surface.
The RainsaverMK4E can be mounted with the mains inlet pointing in either direction.
Pressure tank pre-charge pressure should be 65% of pump maximum pressure.
Wall Mounting Instructions:
- To reverse the mounting direction, so that “Mains” inlet will be on the left side and
“House” outlet on the right, follow the first steps of Pump Mounting Instructions below to
remove and reverse the mounting bracket. Then continue:-
- Remove the RainsaverMK4E lid by unscrewing the 4 Phillips head screws
- Hold the RainsaverMK4E in the desired position and mark the screw centres through the
keyhole slots in the mounting bracket. Return the RainsaverMK4E to the box.
- Drill and insert mounting hardware into the mounting surface (wall). Insert screws leaving
a few millimetres under the head to allow insertion of the mounting bracket
- Mount the RainsaverMK4E onto the screws through the keyhole slots in the mounting
bracket. Tighten screws to secure the bracket to the wall
- Replace the RainsaverMK4E lid and re-tighten the four (4) lid screws.
INSTRS110110 rev 6 01/03/15 Page 4
4.22 Pump Mounting:
RainsaverMK4E can be mounted directly onto the outlet of the pump with the adaptor supplied. If
another size threaded port is found on the pump or controller outlet use quality standard plastic
threaded pipe fittings to adapt.
Pump Mounting Instructions:
- Remove wall mounting bracket by unscrewing the lower (Pump Inlet) union nut using the
plastic spanner provided. Remove the union nut and pipe being careful not to lose any of
the internal components.
- Unscrew the two bracket holding screws and remove the bracket.
- REPLACE THE BRACKET HOLDING SCREWS into the housing. This will stop insects
creating a nest inside the Rainsaver Unit.
- Replace the lower union nut and pipe being sure that internal components are in place
and that the o-ring is properly seated.
- Leave the lower union nut slightly loose to allow fitting and alignment to pump.
- Attach the ¾” BSPT male pipe fitting to the pump outlet, either directly, or using plastic
threaded pipe fittings as required, and tighten using the spanner provided.
- Once the ¾” BSPT pipe fitting is secured to the pump and the RainsaverMK4E aligned
as required, tighten the lower nut with the plastic spanner provided.
Note: Tank outlet should be 100mm from the bottom of the tank. See ARID handbook.
Note: The female socket from the Rainsaver must hang down.
Note: It is recommended that all surface mounted pumps be protected from the elements.
INSTRS110110 rev 6 01/03/15 Page 5
4.4 Filtration and Water Quality
The Bianco Rainsaver MK4E is designed to operate on clean rainwater and clean mains water
supply, and as such, the rainwater tank should be fitted with an inlet strainer, preferably shaded type
to reduce algae, and a suitable first flush device.
White International strongly recommends the use of a strainer or filter upstream with easy access for
period cleaning from both the rainwater and mains inlet connections of the Bianco Rainsaver MK4E.
Additional water filters may be required. Also check the water tank and first flush diverter as per
manufacturers’ instructions regarding periodic servicing that is required.
Filters need to be checked regularly as reduced flow caused by blocked filters can damage pumping
equipment.
4.5 Plumbing
Plumbing connections should be carried out by a licensed plumber.
Use of flexible pipe connections and isolation vales is recommended to assist in alignment and
servicing and to reduce any transmitted noise.
Use a standard ¾” compression x F.I. union or Compression x F.I. elbow fitting to connect between
¾” copper tubing and ¾” BSPT threaded pipe fitting at the “MAINS” inlet, “PUMP INLET”(if unit is
wall mounted), and “HOUSE” outlets.
Use standard ¾” BSP female threaded fittings to connect to ¾” BSPT threaded pipe fitting when
connecting other types of piping.
DO NOT REMOVE THE UNION NUT AND ¾” BSPT PIPE FITTING AND ATTEMPT TO CONNECT
PIPE WORK DIRECTLY TO THE BODY OF THE UNIT!
DO NOT ATTEMPT TO CONNECT COPPER OR PLASTIC PIPE, USING COPPER OR NYLON
OLIVES, AND COMPRESSION NUT DIRECTLY TO THE ¾” BSPT PIPE FITTING!
Always use the spanner provided, or correct open ended spanner, when tightening fittings.
All pipe-work and outlet fittings from the RainsaverMK4E must be labelled to AS3500.
The RainsaverMK4E control incorporates a dual check valve to prevent cross connection between
mains and rainwater. Connection to an underground rain water tank, or local water supply authorities,
may require additional, or higher safety level, back flow prevention, and your licensed plumber can
advise you on this.
The incorporation of an additional “Tee”fitting between the tank water pressure pump supply, and the
RainsaverMK4E lower “PUMP INLET”, will allow the householder to use collected rainwater, but
NOT mains water supply, to irrigate gardens and lawns, or wash cars.
INSTRS110110 rev 6 01/03/15 Page 6
4.6 Pressure Tank Outlet
The RainsaverMK4E is supplied with an additional outlet specifically designed for the installation of a
pressure tank.
The installation of a pressure tank will:
- Reduce wear and tear on your pump by significantly reducing the number of starts
- Reduce your electricity consumption by significantly reducing the number of starts
- Reduce the incidence of “pressure drop” when opening a tap
- Stop your pump kicking in every time you open a tap or because of a small leak, like a
dripping tap, or toilet cistern.
To install a WATERMARK approved pressure tank:
- Turn off both mains water supply pressure and your rainwater tank pump and supply
- Open a tap to remove all pressure from the system
- Using the spanner supplied, remove the ¾” plug from the “AUX. OUTLET”port. Note that
there is an o-ring inside the body of the Rainsaver which can be left in place if using a ¾”
BSP fitting, or removed if using a ¾” BSPT fitting.
- Use a suitable flexible reinforced hose with ¾” BSP or BSPT MALE THREAD to connect
a WATERMARK approved pressure tank such as a GWS Energy Saver to your
RainsaverMK4E.
- Carefully follow the manufacturer’s instructions regarding pressurization of your
pressure tank.
4.7 Pressure Tank Pre-charge.
To ensure optimum performance and system life, the Pressure Tank pre-charge needs to be set by
filling the pressure tank with air through the air valve so that the air pressure is 65% of the pump
maximum pressure.
Pre-charge the pressure tank before it is installed by using an air pump or using the local service
station facilities.
Cautions:
In conjunction with this manual, read and understand the installation and maintenance manual for the
water pump that is to be connected to the RainsaverMK4E.
The RainsaverMK4E and any pump connected to it are not to be used by children or infirm persons
and must not be used as a toy.
If the supply cord is damaged, it shall be replaced by the manufacturer or its service agent or similarly
qualified person in the order to avoid the hazard.
Mains plug shall be connected in to an appropriated IP rated socket outlet (Note: This requirement is
necessary as to meet the requirements of the equipment mounting outdoors)
A licensed plumber should carry out plumbing connections.
Servicing of the RainsaverMK4E and, or water pump should only by carried out by qualified persons.
Do not clean the RainsaverMK4E with abrasive or petroleum based fluids, and do not use
hydrocarbon propelled sprays on or around the RainsaverMK4E.
INSTRS110110 rev 6 01/03/15 Page 7
5. Sound Emissions.
The RainsaverMK4E is virtually silent but may emit noises associated with the flow of water through
the unit.
In any case, the pump, which is connected to the RainsaverMK4E, may emit sound levels, which
may inconvenience you or your neighbours, or may operate during normal sleeping hours, which may
be prohibited by local government regulations. If this is the case, your RainsaverMK3 can be
switched off during the night or may be operated from a time clock. Your RainsaverMK4E will
automatically supply your house with Mains water supply while the pump is inactive.
6. Maintenance.
Ensure that water flowing through the Rainsaver MK4E is as free from dirt and foreign matter as
conditions allow.
Ease of accessibility will aid any maintenance and reduce any servicing costs if required.
Periodically inspect the rainwater tank inlet strainer and the first flush device. Periodically inspect
filters downstream and strainers if fitted upstream from the Bianco Rainsaver MK4E every 6 months
depending on water quality and usage.
Operate the Rainsaver on mains regularly or at least once a month by turning the power off to the
RainsaverMK4E.
7. Trouble shooting.
Consult the manuals supplied with the water pump and its controller if fitted in addition to the
following guide.
1. Mains flow is not available or low when Pump is switched off or not operating.
a. Isolation valve, if fitted, is not open.
b. Debris has jammed the mains inlet check valve closed.
c. External Inlet strainer / filter, if fitted, are blocked.
2. Pump flow is not available or low when pump is operating through Bianco Rainsaver
MK4E.
a. Pump has lost its prime.
b. Isolation valve, if fitted, is not open.
c. Debris has jammed the pump inlet check valve closed, or has blocked the check
valve.
d. External Inlet strainer / filter, if fitted, is blocked.
3. Pump does not start.
a. Rainwater tank is empty.
b. Power supply is off.
c. Float switch is not installed correctly.
d. Pump controller is not installed correctly or jammed with debris.
e. Pump has a fault.
4. Pump does not stop.
a. Leak in plumbing.
b. Pump controller is not installed correctly or jammed with debris
c. Float switch is not installed correctly.
Note* Should there be a pump failure, mains back up is achieved by turning the RainsaverMK4E off at
the power point.
For after sales service please contact White International Customer Service: 1300 783 601.
INSTRS110110 rev 6 01/03/15 Page 8
8. Pumps
Pumps and pump controllers must be accessible and fitted with barrel unions for service and
maintenance.
It is recommended that all surface mounted pumps be protected from the elements with a suitable
pump cover.
Submersible pump accessories such as pump stands, high inlets, floating suction hose kits assist in
the pumping cleaner water that is found at higher levels in the rainwater tank.
See pump installation accessories on page 13.
9. Water Tanks
Water borne algae and roof litter can accumulate at the bottom of your rainwater tank that can be
sucked up by your pump. To reduce filter blockages we recommend that suction outlets on rainwater
tanks be 100 mm from the bottom of the tank (see page 10), and submersible pumps elevated by 90
mm (see pages 10,11).
INSTRS110110 rev 6 01/03/15 Page 9
Installation Dimensions
INSTRS110110 rev 6 01/03/15 Page 10
Typical Installations.
DAB or BIANCO surface mounted pumps.
RAINSAVER MK4E
RAINSAVER MK4E
INSTRS110110 rev 6 01/03/15 Page 11
TESLA DIVERxxxMPCX Submersible Pump
RAINSAVER MK4E
RAINSAVER MK4E
INSTRS110110 rev 6 01/03/15 Page 12
BIANCO JH8003PMPCX or B42A Submersible Pumps
RAINSAVER MK4E
RAINSAVER MK4E
INSTRS110110 rev 6 01/03/15 Page 13
DAB DIVERTRON1200 Submersible Pump
RAINSAVER MK4E
RAINSAVER MK4E
INSTRS110110 rev 6 01/03/15 Page 14
Accessories
Pump Cover protects pump from the elements.
Pump stand for submersible pumps lifts pump up to pump cleaner water.
DAB Divertron X conversion kit allows pumping from higher level and connection to floating suction
kits to pump cleaner water higher in the tank.
INSTRS110110 rev 6 01/03/15 Page 15
Accessories
Tesla DiverDry conversion kit allows pumping from higher level and connection to floating suction kits
to pump cleaner water.
Floating suction hose kits allow pumping from cleaner water higher in the tank.
Float switch for bladder tank. Piggy back float switch option for Divertron.
INSTRS110110 rev 6 01/03/15 Page 16

Other Watermark Plumbing Product manuals
Watermark Jem 97 Series Owner's manual
Watermark

Watermark Jem 97 Series Owner's manual

Watermark RAYMOR Classic II Rimless P trap User manual
Watermark

Watermark RAYMOR Classic II Rimless P trap User manual

Watermark SS-THVD2 User manual

Watermark

Watermark SS-THVD2 User manual
Watermark Blue 37-2 User manual

Watermark

Watermark Blue 37-2 User manual
Watermark Titanium 22 Series Owner's manual
Watermark

Watermark Titanium 22 Series Owner's manual

Watermark Zip HydroTap Celsius Arc User manual
Watermark

Watermark Zip HydroTap Celsius Arc User manual

Watermark AUT-DT1 User manual

Watermark

Watermark AUT-DT1 User manual
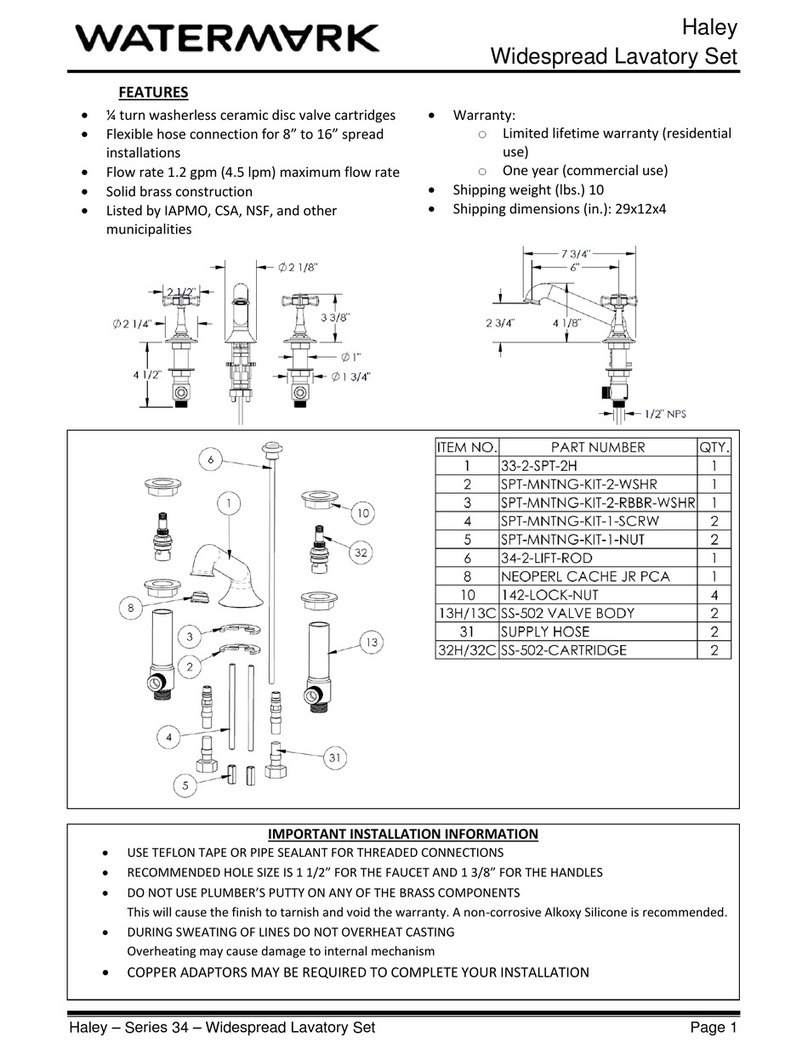
Watermark Haley Cipriani B9 User manual
Watermark

Watermark Haley Cipriani B9 User manual

Watermark H-Line 115 Series Owner's manual
Watermark

Watermark H-Line 115 Series Owner's manual

Watermark MPU5 User manual

Watermark

Watermark MPU5 User manual
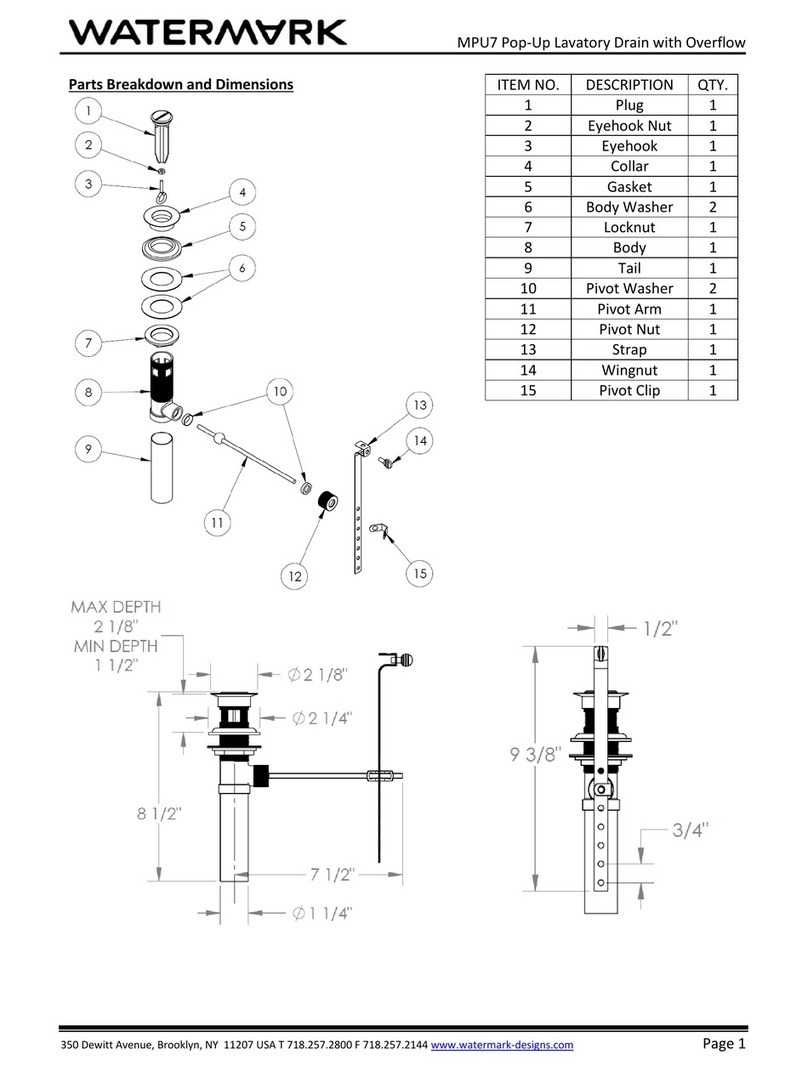
Watermark MPU7 User manual

Watermark

Watermark MPU7 User manual

Watermark elson BUSH PEX User manual

Watermark

Watermark elson BUSH PEX User manual

Watermark aquaBUBBLER AB12 User manual
Watermark

Watermark aquaBUBBLER AB12 User manual

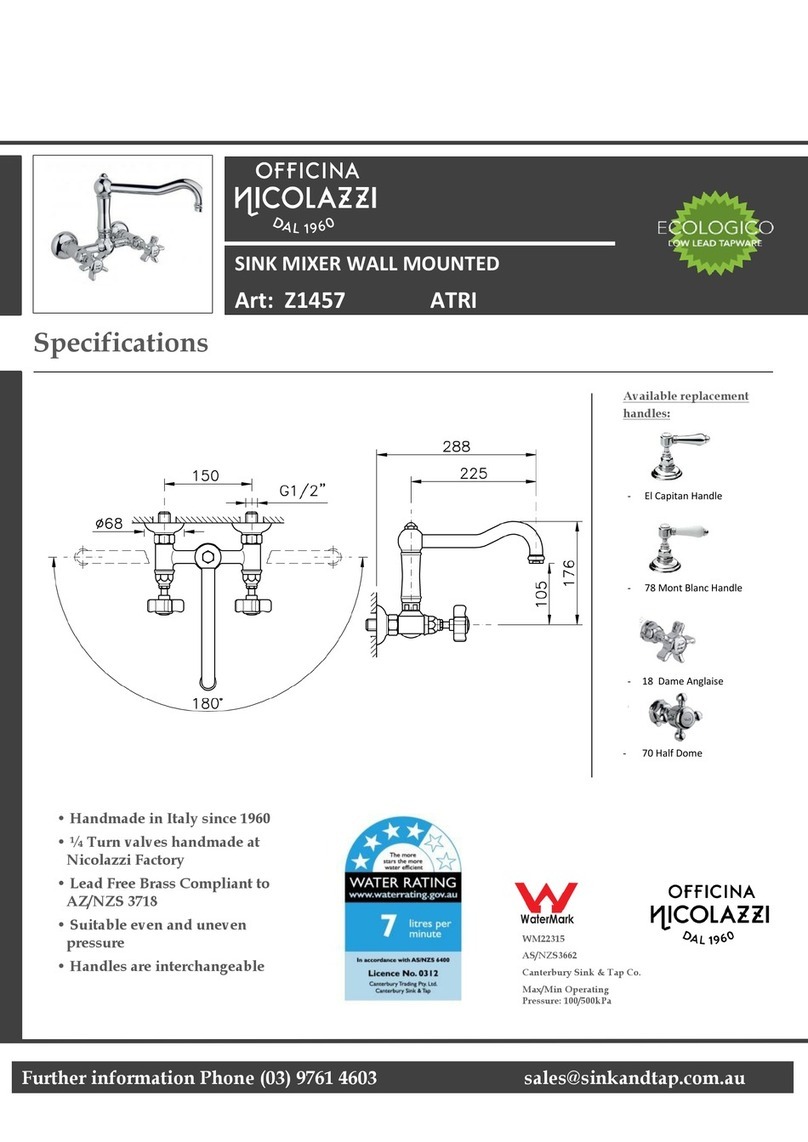
Watermark OFFICINA NICOLAZZI ATRI Z1457 User manual

Watermark

Watermark OFFICINA NICOLAZZI ATRI Z1457 User manual

Watermark vito bertoni alder tapware User manual

Watermark

Watermark vito bertoni alder tapware User manual

Watermark Élan Vital 38-7.65-L-V-EV4-PC User manual
Watermark

Watermark Élan Vital 38-7.65-L-V-EV4-PC User manual

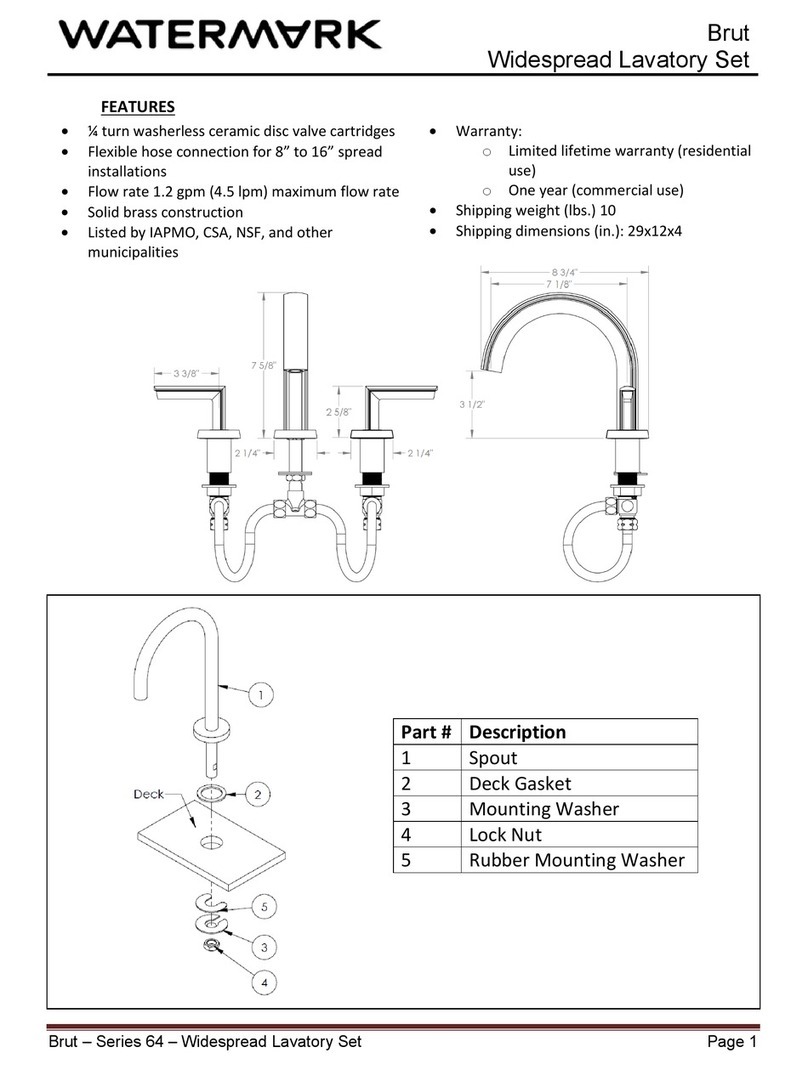
Watermark Brut 64 Series User manual

Watermark

Watermark Brut 64 Series User manual

Watermark Haley 34 Series Owner's manual

Watermark

Watermark Haley 34 Series Owner's manual

Watermark Loft Wooster L8 User manual

Watermark

Watermark Loft Wooster L8 User manual
Watermark Urbane 25-2 Owner's manual

Watermark

Watermark Urbane 25-2 Owner's manual

Watermark MPU6 User manual

Watermark

Watermark MPU6 User manual

Watermark Transitional 29 Series Owner's manual

Watermark

Watermark Transitional 29 Series Owner's manual

Popular Plumbing Product manuals by other brands

Toto Aquia TS416T Installation and owner's manual

Toto

Toto Aquia TS416T Installation and owner's manual

baliv WT-651 manual

baliv

baliv WT-651 manual

Kohler ENGLEFIELD CORNER CONTOUR PLUS installation instructions

Kohler

Kohler ENGLEFIELD CORNER CONTOUR PLUS installation instructions

SUMERAIN S2140 W Series installation guide

SUMERAIN

SUMERAIN S2140 W Series installation guide

Danze 063-9824-6 manual

Danze

Danze 063-9824-6 manual

Hans Grohe AXOR Philippe Starck 10405 Series quick start guide

Hans Grohe

Hans Grohe AXOR Philippe Starck 10405 Series quick start guide

METHVEN Maku 01-8567 installation guide
METHVEN

METHVEN Maku 01-8567 installation guide

Axor Starck 10001001 Installation/User Instructions/Warranty
Axor

Axor Starck 10001001 Installation/User Instructions/Warranty

Allen + Roth F121E413CP manual

Allen + Roth

Allen + Roth F121E413CP manual
Hans Grohe Clubmaster 04906 0 Series Installation/User Instructions/Warranty
Hans Grohe

Hans Grohe Clubmaster 04906 0 Series Installation/User Instructions/Warranty

Franke AQUA421 Installation and operating instructions

Franke

Franke AQUA421 Installation and operating instructions

Sterling Plumbing C742 Specification sheet
Sterling Plumbing

Sterling Plumbing C742 Specification sheet

Hans Grohe Raindance 180 Showerpipe 27212000 Instructions for use/assembly instructions

Hans Grohe

Hans Grohe Raindance 180 Showerpipe 27212000 Instructions for use/assembly instructions

saunalife G11 installation manual

saunalife

saunalife G11 installation manual
Roper Rhodes STREAM Series Installation & Aftercare Instructions
Roper Rhodes

Roper Rhodes STREAM Series Installation & Aftercare Instructions

Kallista P70362 installation instructions

Kallista

Kallista P70362 installation instructions

Kohler ARCHER K-2595-GW quick start guide
Kohler

Kohler ARCHER K-2595-GW quick start guide

Laufen MULTISTATION HF770607441060 installation instructions
Laufen

Laufen MULTISTATION HF770607441060 installation instructions
manuals.online logo
manuals.online logoBrands
  • About & Mission
  • Contact us
  • Privacy Policy
  • Terms and Conditions

Copyright 2025 Manuals.Online. All Rights Reserved.