TEACHING THE SWITCHING OUTPUT
TEACH-IN GUIDE
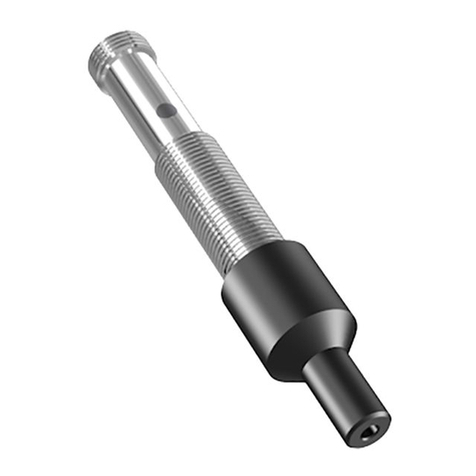
Ultrasonic Sensors Series UFP
For further information please see the data sheet at www.waycon.biz/products/ultrasonic-sensors/
Normal Switching F nction
Teach In of P1 (SP1 position)
Connect Teach In line with ND until P1 and Echo LEDs start blinking with a 2 Hz frequency and then
release the contact. The sensor is now in Teach In mode for P1: P1 LED will now blink with 1 Hz
frequency and the Echo LED will go back to normal function (alignment LED). There is a time window of
30 sec. to do the programming of P1. Place the target at the new position P1. Contact and release Teach
In line with ND: P1 is now programmed. Sensor returns into normal function with new value for P1.
Teach In of P2 (SP2 position)
Connect the Teach In line with ND until the P2 and Echo LEDs start blinking with a 2 Hz frequency. First
P1 and Echo LEDs will be blinking but it is important to wait to reach P2. The sensor is now in Teach In
mode for P2: P1 LED blinks with 1 Hz frequency now. The Echo LED returns to normal function
(alignment LED). There is a time window of 30 sec. to do the programming of P2. Place target to the new
position P2. Contact and release the Teach In line with ND: P2 is now programmed. Sensor returns into
normal function with new value for P2.
Switching output characteristics
can be selected during teach in of the set points P1 and P2. For each set point and during the teaching
procedure, when the LED is ON when contacting and releasing the teach in line to ground, the switching
output will have NO characteristics, when doing this when the LED is it OFF, the switching output will
have NC characteristics.
NO characteristics (opener) NC characteristics (closer)
Window f nction / Hysteresis adj stment
Connect the teach In line with ND until P1, P2 and Echo LEDs start blinking with a 2 Hz frequency.
Before reaching the hysteresis teach in mode, the sensor will go through the P1 and P2 teaching
sequence. Keep the teach in line connected to the ground until reaching the point when all LEDs are
blinking with a 2 Hz frequency. Release the teach in line contact. The sensor is now in Teach In mode for
window function/ hysteresis adjustment: P1+P2 LEDs are blinking with a 1 Hz frequency. The Echo LED
returns to its normal function (alignment LED). There is a time window of 30 sec. to complete the
programming. Contact and release the teach In line with ND. Pay attention to P1 and P2:
If P1+P2 LEDs are OFF during the contact with the teach in line, the sensor will operate the in window
function: If there is an object between P1 and P2, SP1 will switch ON and SP2 will switch OFF. If there is
no object between P1 and P2, SP1 will switch OFF and SP2 will switch ON.
If P1+P2 LEDs are ON during contact, the sensor will operate in hysteresis mode: The switching output
SP1 will be (NO) at P1 with hysteresis P1-P2 and switching output SP2 will be (NC), also at P1 with
hysteresis P1-P2.
Window F nction Hysteresis adj stment


