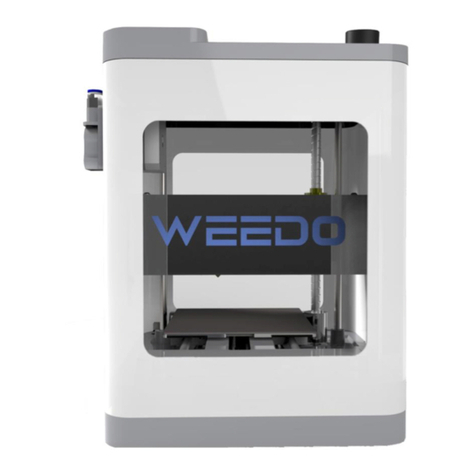
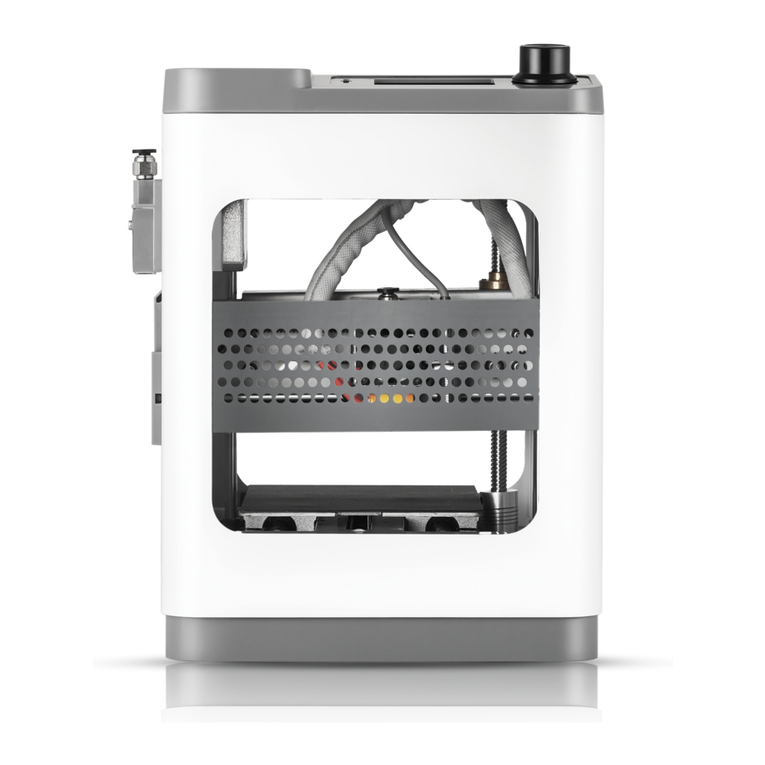
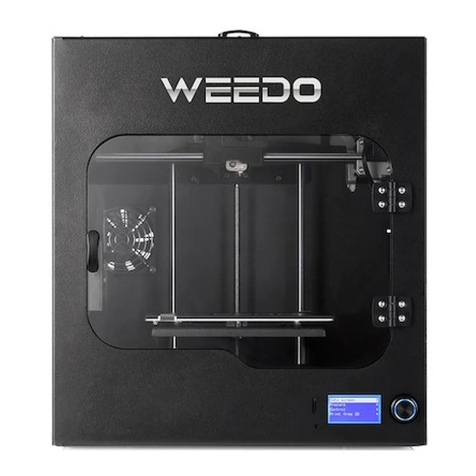
WEEDO F192 User manual

USER MANUAL
3D PRINTER

C
ONTENTS
1.ATTENTIONS
1.1 ABOUT THE INSTRUCTION BOOK
1.2 SAFETY ATTENTIONS
1.3 PRINTING CONSUMABLE ITEMS
1.4 ENVIRONMENTAL REQUIREMENTS
2.PRINTER BRIEF INTRODUCTION
2.1 APPEARANCE INTRODUCTION
2.2 TECHNICAL PARAMETERS
3. INSTALLATION OF SOFTWARE
3.1. INSTALL PYTHON
3.2. THE INSTALLATION OF REPLICATORG AYCE SPECIAL USE VERSION
3.3. THE INSTALLATION OF CURA AYCE SPECIAL USEVERSION
4. PRINT THE FIRST MODEL
4.1. LINKED WITH POWER SUPPLY
4.2. ASSEMBLY OF FILAMENT
4.3. PRINTING PREPARATION
4.4. PRINTING MODEL
4.5. REMOVING MODEL
5. SOFTWARE DETAILED INTRODUCTION
5.1. CURA SOFTWARE INTRODUCTION
5.2. REPLICATORG SOFTWARE INTRODUCTION
6. PERATION PANEL SETTING
6.1. OPERATION PANEL INTRODUCTION
6.2. THE COMMON OPERATION ON THE OPERATION PANEL
6.3. THE PRINT SEETTINGS FOR DUAL-EXTRUDER PRINTER
7.REGULAR REPAIR AND MAINTANCE
7.1. PRINTER DAILY MAINTENANCE GUIDE
7.2. PRINTING EXTRUDER MAINTENANCE AND REPLACEMENT
8. FREQUENTLY ASKED QUESTIONS AND TROUBLESHOOTING(FAQ)
2
2
2
3
3
4
4
6
7
7
8
9
12
12
13
14
15
15
16
16
25
32
32
33
38
41
41
46
49
CO
NTENT
S

1 2 GB
1. ATTENTIONS
1.1 About the instruction book
This instruction book contains 3D printer’s installation, use, maintenance, common
problems and other important information. Please read this instruction book
carefully before use 3D printer. For 3D printer damage and other damages caused
by violation of safety matters and operation procedures given in the instruction
book, it will be borne by the user.
1.2 Safety Attentions
1. In the printing or just after printing of 3D printers, as nozzle temperature reach
up to 200°C, it is forbidden to touch the printing head directly at this moment.
2. 3D printer is equipped with active air filtration system; it can handle the most
irritating gases emitted after heating of filaments in printing. But if printing is
needed for long time, please use the printer under the well-ventilated environment.
3. As 3D printer is complicated for its structure, if there is fault, please refer to the
instruction book to eliminate the faults. If the fault still can’t be solved, please
contact the after-sales department of company. To the printer maintained by user
without authorization, the company would not guarantee maintenance.
4. As 3D printer is equipped with high voltage inside, it is forbidden to disassemble
the printer by the non-professional staff. To any consequence caused by violation of
this matter, it would be borne by users.
5. Please use the power cable (4) and Print cable (3) provided by company. Any
printer failure and other consequences caused by using the power cable (4) and
Print cable (3) provided by third parties , it would be borne by user.
6. There is no memory function of 3D printer, when the 3D printer begin to print
model must to Remain energized.
7. When the printer is connected to ReplicatorG software to print, avoiding
computer appears hibernation, Otherwise, Printing is interrupted.

8. The socket-outlet shall be installed near the equipment and shall be easily
accessible
1.3 Printing Consumable Items
Use the printer, please use the printing consumable items provided by the
company. The printing consumable sold in the retail market is of different
specifications and quality levels, it is very easy to block the printer nozzle and
damage the nozzle and electrical machine. For the printer faults caused by use the
consumables of third party, our company would not guarantee to repair.
1.4 Environmental Requirements
The 3D printer is applied with fully enclosed structure, strongly adaptive to the
environment temperature, and can work normally in the 5℃to 40℃environment.
If the environment temperature exceeds this range, the printing quality of finished
product will be dropped accordingly.
After the printing consumables opened with its package, if they are not used for a
long time, please seal it by sealed package. Especially to the PLA consumables, it
would absorb the moisture in the air to affect the quality of printing finished
products after long time exposure to air.
8
.
The socket-outlet shall be
i
nst

3 4 GB
2. PRINTER BRIEF INTRODUCTION
The printer is applied with FDM (Fused Deposition Modelin) theory, which performs
the slicing conversion for the STL 3D model, and then prints out the real finished
product one by one. The printer is of metal frame, fully closed structure, removable
printing platform, active air filtration system and one series of innovative design,
and is characterized of high printing speed, high quality finished products, easy
maintenance, and high-intensity continuous printing.
2.1 Appearance Introduction
The Front View of Printer
༃
༄
༅
༆༇༈
༊
༉

༃Up Cover
༄Front Decorative Panel
༅Left Side Door
༆Power Switch
༇Touch Screen
༈Front door
༉
Acrylic Platform
༊
Filament Hold
༉
༉
The Right View and Back View of Printer
༃Right Side Door ༄SD Card (7) Socket
༅USB Line Socket
༆
Power Socket
༇
Chassis Fan
༈Air Filtration Fan
Filament External Entreance
༃
༄༅ ༆༇
༈
༃
U
p
C
o
v
e
r

5 6 GB
2.2 Technical Parameters
Printing Parameters Machine Parameters
280 *200*200 mm Display Screen Model English/German/F
rench/Italian
Layer Thickness
0,1 ~ 0,5 mm 490 * 450 * 510mm
Nozzle Diameter 0,4 mm Machine Weight 25 kg
Machine Color Black 230 V ~ 50HZ,2A
Printing Speed 20 ~ 150 mm/s
Positional
Accuracy
Z axis 0.00125mm
XY axis 0.011mm
Filtration System Three Layers of
Mesh Filter
Consumable Parameters Software Parameters
Consumable
Type
PLA/PLA Pro/
PVA /ABS
Printing
Software
Cura WEEDO Version/
ReplicatorG WEEDO
Consumable
Diameter 1,75 mm STL/GCODE/OBJ
Consumable color Optional for
multi-colors Windows/Linux/IOS
Printing
Method USB/SD Card (7)
Machine Size
Power Input
File Format
Operating
System
Print Size
Nozzle Number
2
11
1
Notes: 1:Special needs
*2 *2

3.INSTALLATION OF PRINTING SOFTWARE
3.1. Install Python
Python is an object-oriented、literal-style computer programming language.
ReplicatorG slicing software (skeinforge) is written in Python language. And so
Python must be installed before installing ReplicatorG software,Otherwise,
ReplicatorG software can not start .Open the CD (14) or go to official website to
download the installation package(www.ayce.ch). Runing the python-2.7.6.exe,
execute the installer and follow the directions to install the software. Please choose
the defaultpath as the Destination Directory, otherwise the following ReplicatorG
software could not find the library path.
Software Type Software usage
Weedo _V44EN.exe
(ReplicatorG)
Thisprogramisusedtotransfer"gcode"and"x3g"file
to"stl"file.Whenthe3Dprinterconnectedtocomputer
by a digital wire, youcanuseReplicaterGtocontrolthe
printingfromcomputer.
Python _ 2.7.6.msi Python is a must program for ReplicatorG, and it makes
ReplicatorG can achieve model data format conversion.
Cura _WeedoV1.2.5.exe
Cura is an open source software. It can be used to slice
3D Model.
3 INSTALLATION OF PRIN
T

7 8 GB
Choose the default option to install all the features.
Run the software installation package from CD (14), WEEDO_V42.4_EN, in the
installation wizard window, click “next”→“I Agree” to continue. In the window of
selection installation path window, please use the program default route.
After the installation is complete, click Finish to exit。
3.2. The Installation of ReplicatorG WEEDO Special Use Version

When the print driver installation screen pops up, click "Next" to continue. After the
printer driver installation is complete, click "Finish" to exit.
After the software installation is complete, click "Finish" to exit.
3.3. The Installation of Cura Special Use Version
Run the software installation package from CD (14), Cura-14.07-WEEDO, in the
installation wizard window, click “install”→“Next”→“Finish”. In the window of
selection installation path window, please use the program default route.
When the print driver installation scr

9 10 GB
Note: Cura installation path is the root directory of Disc C
When it is first time to use Cura software, go to the guide interface, click “Next”, go
into the computer model selection interface, select WEEDO F152, click “Next”, go to
the ready interface, click “Finish”, the installation is completed.


11 12 GB
4.PRINT THE FIRST MODEL
4.1. Attaching the Power Cable (4)
Pick up the power cord from the accessory box, put the male head into the power
outlet and female head into the 24V external power wide-mouth adapter; connect
the 24V external power round port to the power input jack at the back of the printer.
External 24V power supply

4.2. Assembly of Filament
Assemble the filament support (2) according to the “Instruction of Filament Support
Setting”, and after it’s done, find out one end of filament from the material tray (2)
and sent it to the feed pipe at the back board of printer, until the filament thread out
from another end of material pipe.
Open the cover plate on the printer; pull out the filament around 20cm from the
material pipe. Break straight the end of filament, right hand presses down the
handle of nozzle, and left hand holds the filament and plug it into the feed inlet,
insertion depth is about 5cm.
4.2. Assembly of Filament

13 14 GB
Stuff the excess material filament back to the feeding pipe, and then place the
feeding pipe on the feeding hole.
4.3. Printing Preparation
Take out the SD card (5) presented in accompany with printer, and plug it to the card
slot.
Press down the power button at the rear panel, and start up the printer power
supply.

4.4. Printing Model
On the operation panel, choose “Print” the files in the SD card”→”02▁
ThinwallCub.x3g”, press it to start printing.
4.5. Removing Model
After model is completed with printing, it uses the presented plastic scraper (13) in
accompany with printer, to take the model out along with model edge, or firstly
disassemble the printing platform and take out model.
(This cube is to check whether the distance between nozzle and build plate is normal.
If the strip is of the same width and the width of the gaps between strips is 3 times of
the width of the strip, it means the distance between nozzle and build plate is
normal.)
4.4. Printing Model

15 16 GB
The figure below displays a typical interface of Cura
Red Box is Menu Bar
Blue Box is Printing Parameters Setting Bar
Yellow Box is used to Adjust model, and to check model
Black Box is the operation related to Printing,grey buttons displays it
can’t be used temporarily under the current condition.
Green Box is Model Preview
5.1.2. The Preference Menu
Click “File” on the menu bar ė“Preference”, enter the preference menu, as shown
in figure below, it can perform the following setting˖
5. SOFTWARE DETAILED INTRODUCTION
5.1. Cura Software Introduction
5.1.1. Basic Interface

Please note: After language is switched, it can be effective only after restart.
5.1.3. Machine Setting
Dual-extruder machine use single nozzle printing
Click “Machine” on the menu bar→“Machine Setting”, enter to machine setting
interface, as shown in figure below.
Blue Box refers to the size of machine printing platform, we have already
performed the preset according to your choice of model, please do not change these
data.
Red Box refers to the associated settings of machine, including adding new
machine model you need, delete the machine model you don't need, also can modify
the name of machine model, modification of machine model name would not
change any parameters.

17 18 GB
5.1.4. Printing Parameters Settings
Click “Expert” on the menu bar→“Switch to full settings… ”, go into the complete
setting interface, as shown in figure below.
Red Box is Printing Quality Parameter.
Layer height: is the printing precision we usually refer to, and is generally chosen
between 0.1 and 0.25, the smaller the data is, the higher the model precision is.
External shell layer thickness: the thickness of outermost surface can improve the
surface quality, and is multiple of nozzle size (is also the multiple of 0.4)
Black Box is Stuffing Parameters.
Bottom and top thickness: the thickness of model bottom layer and top layer, it is
suggested to use the same parameter as the external shell.
Packed density: It refers to packed density of model. The interior of model is not
completely packed, and it would not affect the surface quality, but affect the
intensity only.
Blue Box is Speed and Temperature Parameters
Printing speed: If the printing object is relatively small, please use the low speed.
Printing temperature: it refers to the temperature of printing spray-head, the
temperature to print the PLA/PLA pro consumables is 190-210 degree.For
Dual-extruder printer it may be 170-190degree.
Green Box is Support Parameters
Support type: shown as figure below, “None” refers to not use the support,
“Touching build plate” is external support, “Everywhere” is complete support, the
support type can be choose according to the model suspending in the air.

Printing platform adhesive base type: as shown in figure below, “None” refers to not
used pad, “Brim” refers to edge pad, “Raft” refers to bottom gridding pad.
◆Orange Box is the filament flow rate parameters
The filament rate parameter is generally 90%.
Please note: when it is wrong or ineffective for filling the parameters, software
would use yellow and pink to provide indication, yellow refers to warning, red refers
to error, it can be seen when the mouse hovers, as shown in figure below.
Table of contents
Other WEEDO 3D Printer manuals