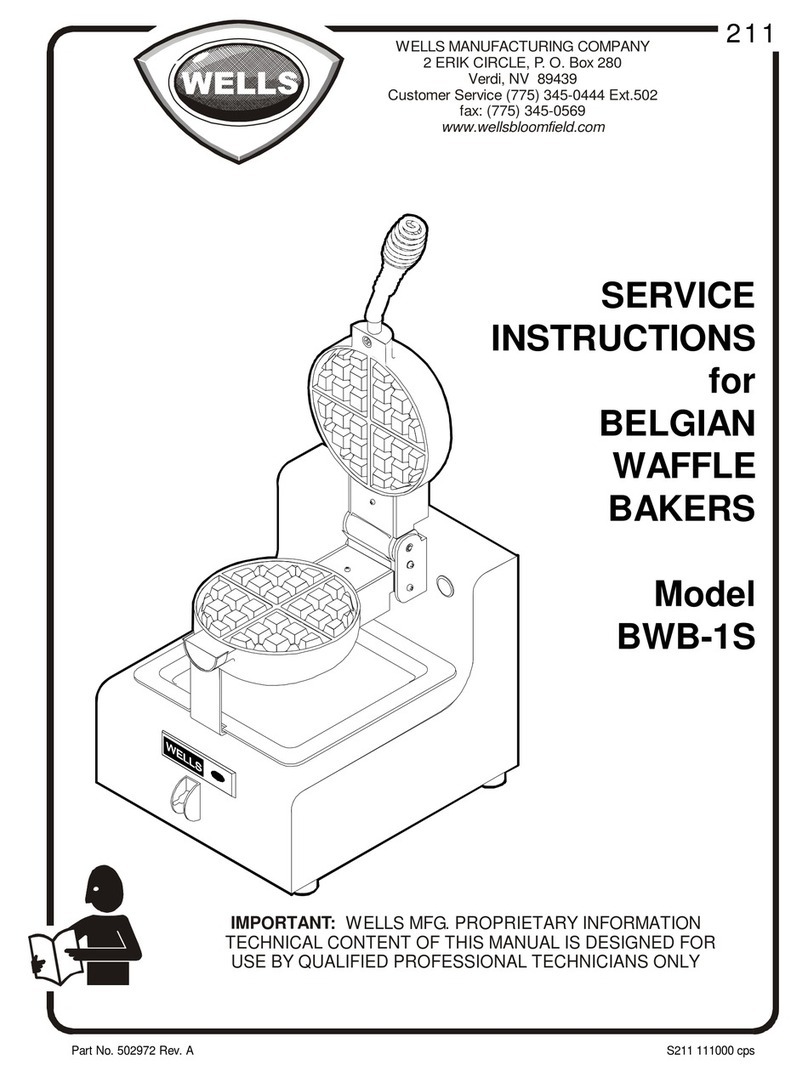
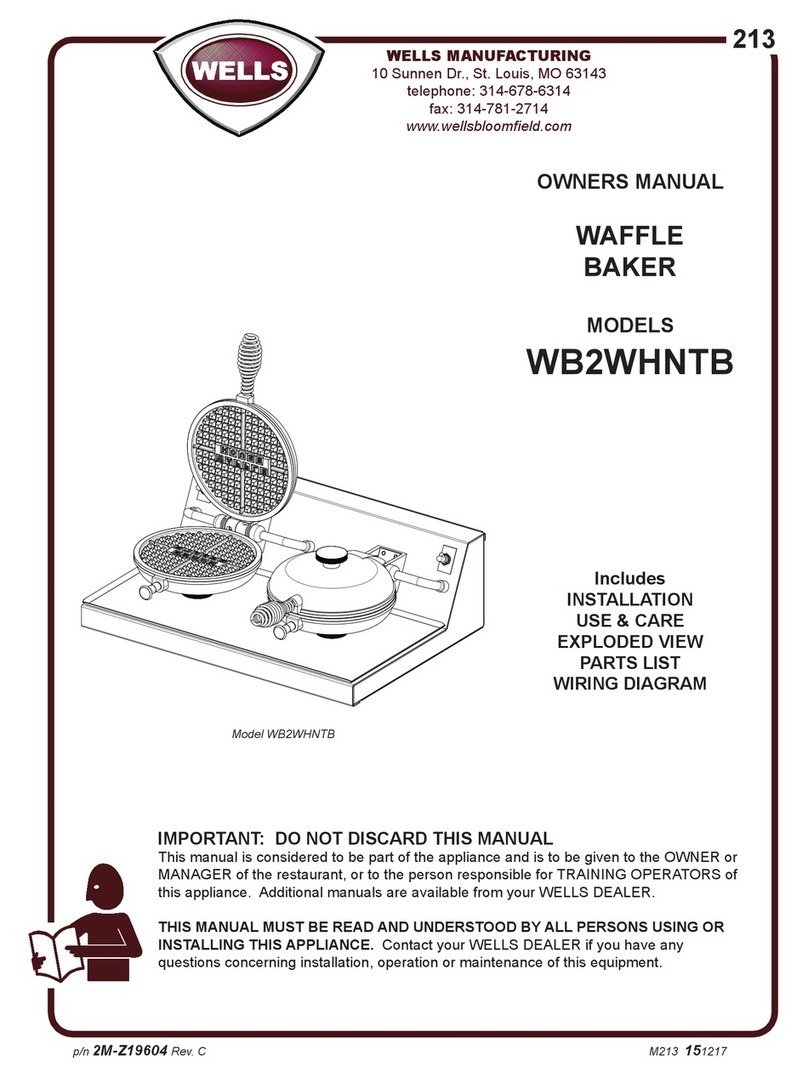
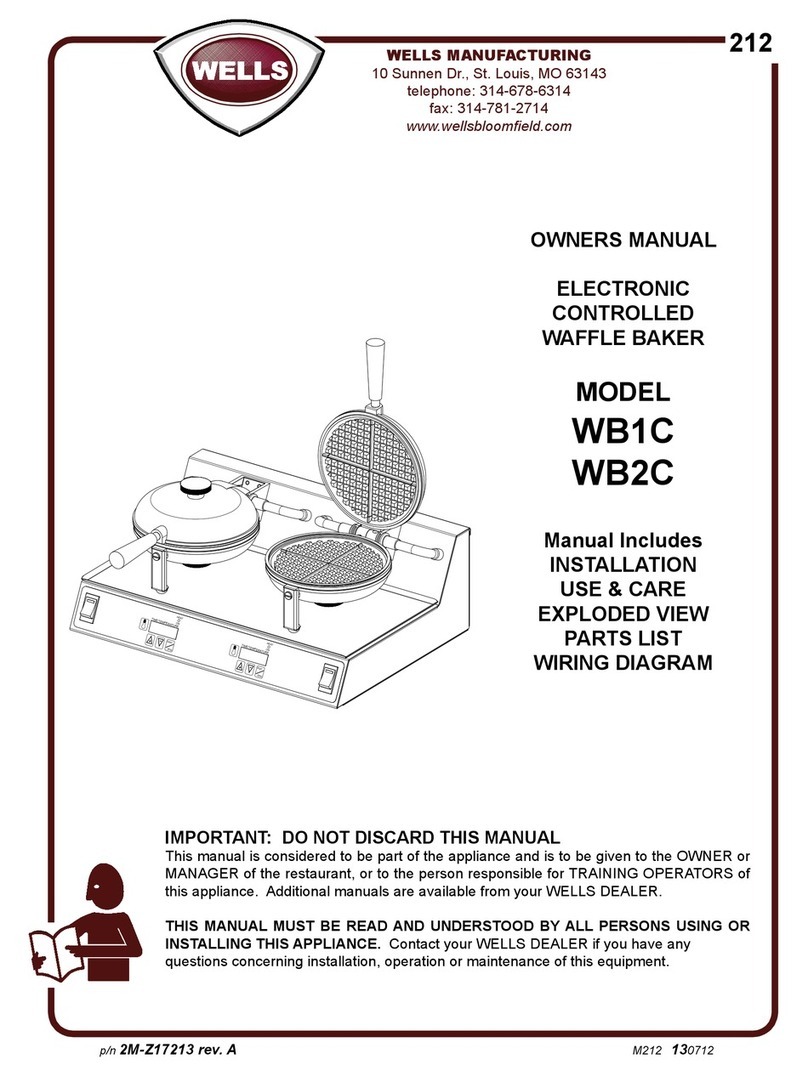
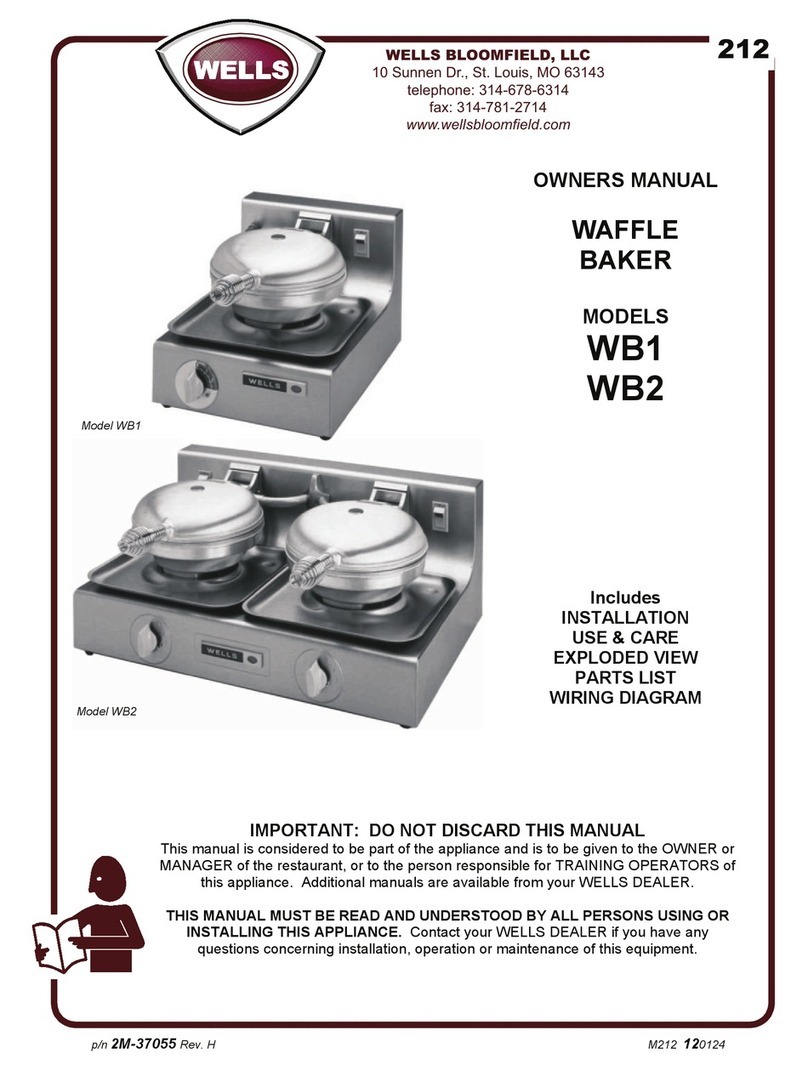
Wells WB1E User manual

Owner’s Manual
Models
WB1E, WB2E, and BWB1SE
This manual includes material related to installation,
use , cleaning, and care. Exploded view[s], as well
as any available parts list[s] and wiring diagrams
pertaining to the unit covered by this manual are
also included.
This manual must be read and understood by all
persons using or installing this appliance. Contact
your Star dealer if you have any questions concerning
installation, use, or maintenance of this equipment.
DO NOT DISCARD THIS MANUAL.
W a e B a k e r
2M-37055 •Rev. L •04.2017
BWB1SE
WB1E

LIMITED WARRANTY STATEMENT
Unless otherwise specified, all commercial cooking equipment manufactured by Wells Manufacturing
is warrantied against defects in materials and workmanship for a period of one year from the date of
original installation or 18 months from the date of shipment from our factory, whichever comes first,
and is for the benefit of the original purchaser only. This warranty is the complete and only warranty,
expressed or implied in law, or in fact, including but not limited to, warranties of merchantability or
fitness for any particular purpose, and/or for direct, indirect, or consequential damages in connection
with Wells products. This warranty is void if it is determined that, upon inspection by an authorized
service agency, the equipment has been modified, misused, misapplied, improperly installed, or
damaged in transit or by fire, flood or act of God. It also does not apply if the serial nameplate has
been removed, or if service is performed by unauthorized personnel. The prices charged by Wells
Manufacturing for its products are based upon the limitations in this warranty. Seller’s obligation
under this warranty is limited to the repair of defects without charge by a Wells Manufacturing
factory authorized service agency or one of its sub-service agencies. This service will be provided
on customer’s premises for non-portable models. Portable models [see list of portable models below]
must be taken or shipped to the closest authorized service agency, transportation charges prepaid,
for service. In addition to restrictions contained in this warranty, specific limitations are shown in the
Service Policy and Procedure Guide. Wells Manufacturing authorized service agencies are located
in principal cities. This warranty is valid in the United States and Canada and void elsewhere. Please
consult your telephone directory, your foodservice equipment dealer, or contact Wells Manufacturing
directly for information and other details concerning warranty.
PARTS WARRANTY
All genuine Wells replacement parts are warrantied for ninety [90] days from date of purchase on
non-warranty equipment. This parts warranty is limited only to replacement of the defective part[s].
Any use of non-genuine Wells parts completely voids any warranty.
SERVICES AND EXPENSES NOT COVERED BY WARRANTY
• Travel time and mileage rendered beyond the 50-mile • Voltage conversions or gas conversions
radius limit • Pilot light adjustment
• Mileage and travel time on “portable” equipment • Miscellaneous adjustments
[see below] • Thermostat calibration and bypass adjustment
• Labor to replace such items that can be replaced easily • Resetting of circuit breakers, safety controls,
during a daily cleaning routine [e.g., removable kettles or reset buttons
on fryers, knobs, grease drawers on griddles, etc.] • Installation of equipment
• Replacement of normal wear items such as bulbs, • Cleaning of equipment
fuses, etc. • Seasoning of griddle plates
• Charges incurred by delays, waiting time, or operating • Repair of damage created during transit, delivery,
restriction that hinder the service technician’s ability or installation or created by an act of God
to perform service. Any overtime premium will be • All labor must be performed during regular working
charged to the buyer. hours.
PORTABLE EQUIPMENT
Wells will not honor service bills that include travel time and mileage charges for servicing any products
considered “portable” in nature. These products should be taken to the service agency for repair.
The foregoing warranty is in lieu of any and all other warranties expressed or implied and constitutes
the entire warranty.
Should you require any assistance regarding the operation or Business hours: 8:00 a.m. to 4:30 p.m.
maintenance of any Wells equipment; write, phone, fax or email Central Standard Time
our Service Department. In all correspondence mention the Telephone: 314.678.6314 Fax: 314.781.2714
model number and the serial number of your unit, as well as Email: customerservice@star-mfg.com
the voltage or type of gas you are using. Website: www.wells-mfg.com
i
2M-37055 Rev. L Owner’s Manual for Wells BWB1SE, WB1E, and WB2E Wae Bakers
TABLE OF CONTENTS
Warranty i
General Information and Installation 1–2
Specifications 3
Daily Operation 4
Cleaning 5
WB1E Exploded View and Parts List 6–7
WB2E Exploded View and Parts List 8–9
BWB1SE Exploded View and Parts List 10–11
Wiring Diagrams 12–14

iii
NOTES

2M-Z21001 Rev- Owner's Manual for IRCS4 Impingement/Radiant Split-Belt Conveyor Toaster
1
2M-37055 Rev. L Owner’s Manual for Wells BWB1SE, WB1E, and WB2E Wae Bakers
1
SAFETY SYMBOLS
These symbols are intended to alert the user to the
presence of important operating and maintenance
instructions in the manual accompanying the appliance.
THOROUGHLY INSPECT YOUR UNIT ON ARRIVAL
This unit has been tested for proper operation before leaving our plant to ensure delivery of your unit
in perfect condition. However, there are instances in which the unit may be damaged in transit. In the
event you discover any type of damage to your product upon receipt, you must immediately contact
the transportation company who delivered the item to you and initiate your claim with that company.
If this procedure is not followed, it may aff ect the warranty status of the unit. If damage or loss is not
apparent until after equipment is unpacked, a request for inspection of concealed damage must be
made with carrier within 15 days. Please record the model number, serial number, voltage, and purchase
date in the area below at the time of receipt..
Model Number
Serial Number
Voltage
Purchase Date
MAINTENANCE AND REPAIRS
Contact your local authorized service agent for service or required maintenance. Please have the
information in the above fi elds ready when you call to ensure a faster service.
Using any part other than genuine Wells factory supplied parts relieves the manufacturer of all liability.
Due to periodic changes in designs, methods, procedures, policies, and regulations, the specifi cations
contained in this document are subject to change without notice. Wells reserves the right to change
product specifi cations and design without notice. In regards to previously purchased equipment,
such revisions do not entitle the buyer to corresponding changes, improvements, additions or
replacements. While Wells Manufacturing exercises good faith eff orts to provide information that
is accurate, we are not responsible for errors or omissions in information provided or conclusions
reached as a result of using the specifi cations. By using the information provided, the user assumes
all risks in connection with such use. When performing maintenance, power to the unit should be
unplugged or turned off .
PLEASE REFER TO THE WARRANTY PAGE FOR SPECIFIC WARRANTY INFORMATION.
AUTHORIZED SERVICE AGENT LISTING
Reference the listing provided with the unit or for an updated listing go to the website or call customer
service to fi nd an agent.
Business hours: 8:00 a.m. to 4:30 p.m. Central Standard Time
Telephone: 314-678-6303
Fax: 314-781-2714
Email: [email protected]
Website: www.wells-mfg.com
Please visit www.starwebconnect.com/manuals.aspx for digital versions of any documents associated
with this unit.

2
GENERAL SAFETY INFORMATION
This equipment is designed and sold for commercial use only, and is intended for use by personnel
trained and experienced in its operation. This is not sold for consumer use in and around the home
nor for use directly by the general public in food service locations.
Before using your new equipment, read and understand all the instructions and labels associated
with the unit prior to putting it into operation. Make sure all people associated with its use understand
the units operation and safety before they use the unit.
GENERAL INSTALLATION INFORMATION
The unit will come with drip tray [or two on WB2E models], handle [or two on WB2E models], and
adjustable feet which will need to be installed. To install handles, begin by lightly lubricating the
threaded boss with vegetable oil. Turn the handles, threading them onto the boss until they are fully
seated. Handles are not removeable once installed. To install the feet safely position the unit and thread
each foot in place. Place the unit on a flat, non-combustible surface suitable for use [concrete, terrazzo,
tile, or metal surface recommended] and adjust feet until all are contacting surface evenly to prevent
the possibility of the unit tipping.
The unit is shipped ready to plug into a standard outlet specified for its voltage and amp draw. If improper
electrical supply can be determined through troubleshooting, contact a qualified electrician priorto using
the unit. Removal or replacement of the power cord or plug will void the warranty. Should you require
assistance, contact your local authorized service agent for any service or required maintenance.
Allow enough space above the unit, in its intended location, for the top to safely swing open.
Before using the unit for the first time, ensure to clean it properly and season the grids. Refer to the
Cleaning Procedure section for cleaning instructions. To season the grids, begine by spraying commercial
wae baker spray on upper and lower grids. Carefully lower the upper grid until closed. Turn the power
switch on and allow the unit to pre-heat for twenty [20] minutes. At this point lift open the upper grid
and re-coat both grids. The unit should now be ready to use.
ELECTRICAL CONNECTION
Before making any electrical connection to this unit, check that the power supply is adequate for
the voltage, amperage, and requirements stated on the rating plate. This unit will require a
receptacle. Make certain to disconnect the unit from the power source before installing or removing
any parts. Be absolutely sure that the ground connection for the receptacle is properly wired. Do not
connect equipment to power without proper ground connections. Improper grounding may result in
personal injury or fatality.
DO NOT CUT OR REMOVE THE PLUG OR
GROUNDING PRONG FROM THE PLUG.
CONNECT/PLUG UNIT INTO DEDICATED
AC LINE ONLY SPECIFIED ON THE DATA
PLATE OF THE UNIT.
DO NOT IMMERSE OR LET THE UNIT STAND
IN WATER.
DO NOT HOSE DOWN THE UNIT OR THE
TABLE/COUNTER IF THE UNIT IS ON THE
TABLE/COUNTER.
KEEP AWAY FROM RUNNING WATER.

2M-Z21001 Rev- Owner's Manual for IRCS4 Impingement/Radiant Split-Belt Conveyor Toaster
3
2M-37055 Rev. L Owner’s Manual for Wells BWB1SE, WB1E, and WB2E Wae Bakers
MODEL
HEIGHT [A]
CLOSED/OPEN
in.
(mm)
WIDTH[B]
in.
(mm)
DEPTH [C]
in.
(mm) VOLTS AMPS WATTS NEMA
PLUG
APPROX.
SHIP
WEIGHT
APPROX.
WEIGHT
INSTALLED
BWB1SE 10.6/23
(269/584)
10.2
(259) 19
(483)
120
230
208/240
7.5
3.6
3.3/3.8
900
828
686/912
5-15P
CEE7-7
6-15P
33 lb.
(15 kg)
29 lb.
(13.2 kg)
WB1E 8.6/19
(218/483)
10.2
(259)
16
(406)
120
230
208/240
7.5
3.7
3.3/3.8
900
900
686/912
5-15P
CEE7-7
6-15P
24 lb.
(10.9 kg)
20 lb.
(9.1 kg)
WB2E 8.6/19
(218/483)
19.75
(502)
16
(406)
120
230
208/240
15
7.4
6.5/7.5
1800
1,800
1352/1,800
5-20P
CEE7-7
6-15P
44 lb.
(20 kg)
40 lb.
(18.1 kg)
ELECTRICAL PLUG LOCATION
[VIEWED FROM FRONT]
Due to periodic changes in designs, methods, procedures, policies and regulations, the specifications contained in this sheet are subject to change
without notice. While Star Manufacturing exercises good faith eorts to provide information that is accurate, we are not responsible for errors or
omissions in information provided or conclusions reached as a result of using the specifications. By using the information provided, the user assumes
all risks in connection with such use.
WB2E shown
6-15P5-20P5-15PCEE7-7
SPECIFICATIONS
LEG DISTANCE FROM OUT-
SIDE OF BODY
MODEL LEG
HEIGHT
[D]
in.
(mm)
FRONT
[E]
in.
(mm)
BACK
[F]
in.
(mm)
SIDE
[G]
in.
(mm)
BWB1SE 0.625
(16)
0.3
(8)
1.2
(30)
0.4
(10)
WB1E 0.3
(8)
0.625
(16)
0.15
(4)
0.3
(8)
WB2E 0.3
(8)
0.625
(16)
0.15
(4)
0.3
(8)
MODEL FROM
BOTTOM
[H]
in.
(mm)
FROM
LEFT
SIDE
[I]
in.
(mm)
BWB1SE 2.4
(16)
5.1
(130)
WB1E 4.6
(117)
4.9
(124)
WB2E 4.6
(117)
4.9
(124)
A
F
A
B
C
13.5 in.
(343 mm)
E
D
G
I H

4
DAILY OPERATION
CERTAIN SURFACES ARE EXTREMELY HOT DURING
OPERATION AND CARE SHOULD BE TAKEN WHILE
USING THIS UNIT.
DO NOT LEAVE THE UNIT IN OPERATION WITHOUT
AN ATTENDANT.
DO NOT LEAVE THE UNIT OPEN WHEN NOT IN USE
OR DURING IDLE PERIODS.
PREHEAT / GENERAL OPERATION
i. When the unti has been plugged into a suitable
outlet and power supply, the power switch can
be flipped to turn the unit on.
ii. With the unit closed, allow it to preheat for at least
twenty [20] minutes.
iii. Raise the upper grid using the handle and pour the
desired amount of wae batter onto the lower grid.
iv. Lower the upper grid using the handle and set the
timer to the desired setting.
v. When the timer goes o, raise the upper grid and
carefully remove the wae.
COOKING RECOMMENDATIONS
• Keep the grids closed when not in use to maintain
temperature.
• Use a soft bristle brush to lightly brush and clean
cooking debris from the grids between waffles.
• Reseason grids every 3–4 waffles or after waffle
baker has been idle for thirty [30] minutes or more
to guard against waffles sticking and ensure proper
taste. This interval may be extended by adding
some oil or butter to the waffle batter.
• Never apply beeswax, paraffin or other such
materials to the grids.
• Always use fresh batter that contains sufficient
shortening. Add shortening as necessary, and do
not store batter for extended periods.
• Never use sharp implements [knives, forks, metal
tongs, etc.] to remove waffles from the grid. Use
a plastic spatula or plastic tongs.
SETTING THE TIMER
To increase or decrease the pre-set timer duration,
press and hold either the ▲or ▼ button and while
holding, press the “START/STOP” to adjust the time
up or down, respective to the arrow button you are
holding.
SETTING THE TEMPERATURE
If necessary, the factory pre-set temperature can
be changed. To view the current temperature setting,
press and hold the “TEMP” button and then press
and hold the “START/STOP” button for 3 seconds.
Press the either the ▲or ▼ button to increase or
decrease the temperature. Press the “START/STOP”
button again to save the new setting.
CHANGING THE TEMPERATURE READOUT
In order to change between Fahrenheit and Celcius,
with the unit on hold the “TEMP” button. While
holding turn the power switch o and then back
to on. Repeat the process to change back.
BAKING WAFFLES
THE WAFFLE BAKER MUST BE AT OPERATING
TEMPERATURE AND PROPERLY SEASONED FIRST.
i. Raise the lid, pour in wae mix, and close the lid.
[on BWB1SE models, rotate the grids 180 degrees]
ii. Start timer by pressing the “START/STOP” button.
iii. When the timer sounds, press the “START/STOP”
button again. [on BWB1SE models, rotate the grids
back 180 degrees to the original position]
iv. Remove the wae.
v. Repeat these steps, remembering to reseason the
grids every 3–4 waes.
SHUTDOWN
Disconnect power to the unit with the power button
at the end of each day of operation.

2M-Z21001 Rev- Owner's Manual for IRCS4 Impingement/Radiant Split-Belt Conveyor Toaster
5
2M-37055 Rev. L Owner’s Manual for Wells BWB1SE, WB1E, and WB2E Wae Bakers
DO NOT IMMERSE THE UNIT IN WATER
OR LET THE UNIT STAND IN WATER.
DO NOT HOSE DOWN THE UNIT OR
THE TABLE/COUNTER IF THE UNIT
IS ON THE TABLE/COUNTER.
DO NOT USE ABRASIVE CLEANERS.
CLEANING
SUGGESTED CLEANING SUPPLIES
i. mild dish detergent and water
ii. plastic scouring pad
iii. soft-bristled fiber brush [“daily” procedure]
iv. sti-bristled fiber brush [“as needed” procedure]
v. clean soft cloth and/or sponge
CLEANING PROCEDURES
PREVENTIVE MAINTENANCE FOR YOUR WAFFLE
BAKER CONSISTS OF THE FOLLOWING RECOMMENDED
CLEANING PROCEDURES. TO KEEP YOUR WAFFLE
BAKER IN ITS BEST OPERATING CONDITION, THESE
STEPS SHOULD BE PERFORMED AS RECOMMENDED.
DAILY
i. Unplug the unit and allow it to cool completely.
ii. Use a soft-bristle brush to clean remaining cooking
residue from grids.
iii. Wipe down the outside of the unit with a soft, clean
cloth dampened with mild detergent and warm water.
iv. Wipe down with a soft, clean cloth dampened with
only clean water and allow to air dry.
v. Reseason the grids when cleaning is complete and
unit is dry.
AS NEEDED TO REMOVE CARBONIZATION
i. Unplug the unit and allow it to cool completely.
ii. Carefully apply a commercial carbon cleaning solution
to the grid surfaces using a new sti-bristle brush. Do
not spill the carbon cleaning solution on yourself or any
other surfaces. Use extreme caution when handling and
follow all manufacturer recommendations regarding use.
iii. Lower the upper grid[s] and allow appliance to stand
for several hours or overnight if possible, depending
on the extent of the carbonization.
iv. Thoroughly remove the carbon cleaning solution and
black residue using a brush. Then use a damp cloth and
wipe down the grid surfaces carefully until all the carbon
cleaning solution has been removed.
v. Wipe down the outside of the unit with a soft, clean
cloth dampened with mild detergent and warm water.
vi. Wipe down with a soft, clean cloth dampened with
only clean water and allow to air dry.
vii. Reseason the grids when cleaning is complete and
unit is dry.

6
WB1E
5
24
1
6
7
8
9
10
10
10
11 12
14
14
13
17
18
19
20
21
26
34
33
32
31
22
23
30 29
28
27
26
25
7
15
16
13
234

2M-Z21001 Rev- Owner's Manual for IRCS4 Impingement/Radiant Split-Belt Conveyor Toaster
7
2M-37055 Rev. L Owner’s Manual for Wells BWB1SE, WB1E, and WB2E Wae Bakers
WB1E PARTS LIST
REF NO PART NUMBER DESCRIPTION QTY PAGE NO
1B8-35552 solid curved conduit 1 6
2 2F-30329 solid straight conduit 1 6
3 2C-30222 retaining ring 1 6
42F-30322 hinge 1 6
52V-30328 hinge pivot cap 1 6
62P-38628 upper grid cap 1 6
72C-31053 8-32 keps nut 9 6
82F-30327 cast top housing 1 6
9 2R-30335 handle 1 6
10 2C-31715 8-32 x 0.3125 screw 13 6
11 B8-Z16245 top plate element clamp 1 6
12 2K-307280 insulating bushing 4 6
13 2N-307811UL element 2 6
14 2I-30337 grid gasket 2 6
15 2F-38917 top grid 1 6
16 2F-307657 bottom grid 1 6
17 B8-Z16246 bottom plate element clamp 1 6
18 2F-30326 cast bottom housing 1 6
19 2C-32242 #10 washer 6 6
20 2C-38627 8-32 acorn nut 2 6
21 2I-30338 bottom casting-to-body gasket 1 6
22 2E-35127 plastic rocker switch 1 6
23 2M-Z19093 WB1E control overlay/label 1 6
24 B8-38629 drip tray 1 6
25 B8-Z16411 rear panel 1 6
26 2C-33935 6AB x 0.3125 screw 7 6
27 2A-30333 hinge pin 1 6
28 2K-08-07-0004 round nylon spacer 6 6
29 2J-Z7497 control board and screen 1 6
30 2K-Z1971 nylon spacer 6 6
31 2E-Z5375 3-pole terminal block 1 6
32 2E-05-07-0351 transformer for 120 V model 1 6
2E-05-07-0350 transformer for 240 V model
33 B8-Z16410 bottom panel 1 6
34 2A-45728 rubber foot 4 6
35
2E-35539 5-15P cord set for 120 V model
1 NP2E-72920 CEE7-7 cord set for 230 V model
2E-35540 6-15P cord set for 240 V model
36 2J-Z16743 RTD temperature probe 1 NP
37 2K-31217 90° strain relief 1 NP
38 2K-70648 small strain relief 1 NP

8
WB2E
5
21
4
6
7
8
9
10
10
10
18
19
20
21
24
23
22
34
32
31
30 28
29
25
13
12
11
14
14
15
16
13
17

2M-Z21001 Rev- Owner's Manual for IRCS4 Impingement/Radiant Split-Belt Conveyor Toaster
9
2M-37055 Rev. L Owner’s Manual for Wells BWB1SE, WB1E, and WB2E Wae Bakers
WB2E PARTS LIST
REF NO PART NUMBER DESCRIPTION QTY PAGE NO
1B8-35552 solid curved conduit 2 8
2 2F-30329 solid straight conduit 2 8
3 2C-30222 retaining ring 2 NP
42F-30322 hinge 2 8
52V-30328 hinge pivot cap 2 8
62P-38628 upper grid cap 2 8
72C-31053 8-32 keps nut 14 8
82F-30327 cast top housing 2 8
9 2R-30335 handle 2 8
10 2C-31715 8-32 x 0.3125 screw 26 8
11 B8-Z16245 top plate element clamp 2 8
12 2K-307280 insulating bushing 8 8
13 2N-307811UL element 4 8
14 2I-30337 grid gasket 4 8
15 2F-38917 top grid 2 8
16 2F-307657 bottom grid 2 8
17 B8-Z16246 bottom plate element clamp 2 8
18 2F-30326 cast bottom housing 2 8
19 2C-32242 #10 washer 12 8
20 2C-38627 8-32 acorn nut 4 8
21 2I-30338 bottom casting-to-body gasket 2 8
22 2E-35127 plastic rocker switch 2 8
23 2M-Z19094 WB2E control overlay/label 1 8
24 B8-38629 drip tray 2 8
25 B8-Z17180 rear panel 1 8
26 2C-33935 6AB x 0.3125 screw 8 8
27 2A-30333 hinge pin 2 8
28 2K-08-07-0004 round nylon spacer 12 8
29 2J-Z7497 control board and screen 2 8
30 2K-Z1971 nylon spacer 12 8
31 2E-Z5375 3-pole terminal block 1 8
32 2E-05-07-0351 transformer for 120 V model 2 8
2E-05-07-0350 transformer for 240 V model
33 B8-Z17179 bottom panel 1 8
34 2A-45728 rubber foot 4 8
35
2E-35539 5-15P cord set for 120 V model
1 NP2E-72920 CEE7-7 cord set for 230 V model
2E-35540 6-15P cord set for 240 V model
36 2J-Z16743 RTD temperature probe 2 NP
37 2K-31217 90° strain relief 1 NP
38 2K-70648 small strain relief 1 NP

10
BWB1SE
20
8
11
23
10
416 7
21
22 13
5
9
2
19
12
3
14
18
24
24

11
2M-37055 Rev. L Owner’s Manual for Wells BWB1SE, WB1E, and WB2E Wae Bakers
BWB1SE PARTS LIST
REF NO PART NUMBER DESCRIPTION QTY PAGE NO
1 B8-WL0620 body 1 10
2 2J-Z7497 control board 1 10
3 2E-35127 rocker switch 1 10
4B8-42003 bottom panel 1 10
52C-31715 8-32 x 0.3125-inch screw 2 10
62C-31053 8-32 keps nut 2 10
72E-Z5375 terminal block 1 10
82C-33935 #6 x 0.3125-inch screw 8 10
9 2A-40564 rubber foot 4 10
10 B8-Z18949 rear panel 1 10
11 2K-70648 strain relief 1 10
12 B8-42028 support bracket assembly 1 10
13 B8-42555 drip tray 1 10
14 2M-Z19018 BWB1SE control overlay label 1 10
15 B8-42006 pivot housing assembly 1 10
16 2E-05-07-0351 transformer 1 10
17 2A-303523 drip guide 1 10
18 2A-42018 pivot shaft 1 10
19 2F-42007UL lower grid assembly 1 10
20 2F-42008UL upper grid assembly 1 10
21 B8-42023 upper plate wiring cover 1 10
22 B8-42031 lower plate wiring cover 1 10
23
2E-35539 cord set, 120 V
1 102E-72920 CEE7-7 cord set for 230 V model
2E-35540 cord set, 240 V
24 2C-42010 10-32 x 0.5-inch screw 4 10
25 2C-40303 10-32 x 0.375-inch screw 2 10
26 2P-42232 bearing 1 10

12
**LOWER GROUND
WIRE NOT USED
ON WB1E
BLACK
WHITE
GREEN
TEMP.
TERMINAL
TRANSFORMER
SWITCH
BLOCK
PROBE
7
7
E3
E4
E1
E2
E8 E7
10VAC
RTD
A
B
E
E
C
D
D
C
j
UPPER
HEATING
ELEMENT
LOWER
HEATING
ELEMENT
H
J
BLACK
WHITE
GREEN
TEMP.
TERMINAL
SWITCH
BLOCK
PROBE
7
7
E3
E4
E1
E2
E8 E7
10VAC
RTD
A
B
E
E
L
D
D
K
J
UPPER
HEATING
ELEMENT
LOWER
HEATING
ELEMENT
H
J
**LOWER GROUND
WIRE NOT
USED ON WB1E
**
COUPLER
712
51
EE
LD
220/240V
TRANSFORMER
208/240V
TRANSFORMER
(SIDE VIEW)
WB1E WIRING DIAGRAMS
120 V
230 V
240 V

13
2M-37055 Rev. L Owner’s Manual for Wells BWB1SE, WB1E, and WB2E Waffle Bakersd WB2E Waffle Bakers
BLACK
WHITE
GREEN
TEMP.
TERMINAL
TRANSFORMER
SWITCH
BLOCK
PROBE
7
7
E3
E4
E1
E2
E8 E7
10VAC
RTD
A
B
E
E
C
D
D
C
UPPER
HEATING
ELEMENT
LOWER
HEATING
ELEMENT
H
J
J
TEMP.
PROBE
7
7
E3
E4
E1
E2
E8 E7
10VAC
RTD
E
E
C
UPPER
HEATING
ELEMENT
LOWER
HEATING
ELEMENT
C
J
H
B
A
TRANSFORMER
SWITCH
J
D
D
B
A
**LOWER GROUND
WIRE NOT USED
ON WB2E
**LOWER GROUND
WIRE NOT USED
ON WB2E
WB2E WIRING DIAGRAMS
120 V
230 V
240 V

14
BLACK
WHITE
GREEN
TEMP.
TERMINAL
SWITCH
BLOCK
PROBE
7
7
E3
E4
E1
E2
E8 E7
10VAC
RTD
A
B
E
E
L
D
D
K
J
UPPER
HEATING
ELEMENT
LOWER
HEATING
ELEMENT
H
J
**LOWER GROUND
WIRE NOT
USED ON WB1E
**
COUPLER
712
51
EE
LD
220/240V
TRANSFORMER
208/240V
TRANSFORMER
(SIDE VIEW)
**LOWER GROUND
WIRE NOT USED
ON WB1E
BLACK
WHITE
GREEN
TEMP.
TERMINAL
TRANSFORMER
SWITCH
BLOCK
PROBE
7
7
E3
E4
E1
E2
E8 E7
10VAC
RTD
A
B
E
E
C
D
D
C
j
UPPER
HEATING
ELEMENT
LOWER
HEATING
ELEMENT
H
J
BWB1SE WIRING DIAGRAMS
120 V
230 V
240 V

15
2M-37055 Rev. L Owner’s Manual for Wells BWB1SE, WB1E, and WB2E Waffle Bakersd WB2E Waffle Bakers
NOTES

Printed in the U.S.A. • 2M-37055 • Rev L • 04.2017
Specifications are subject to change without notice.
WELLS BLOOMFIELD, LLC • www.wells-mfg.com
10 Sunnen Drive •Saint Louis, Missouri 63143
Telephone 888 356 5362 •Fax 314 781 5445
This manual suits for next models
2
Table of contents
Other Wells Waffle Maker manuals

Wells
Wells WB-1 User manual

Wells
Wells WB-1 User manual

Wells
Wells WB1-TM User manual

Wells
Wells WB-1 User manual

Wells
Wells BWB-1S User manual

Wells
Wells WB2WHNTB User manual

Wells
Wells BWB1SE User manual

Wells
Wells WB1C Series User manual

Wells
Wells WB2WHNTB User manual

Wells
Wells BWB-1S Operating instructions