manuals.online logo
Brands
  1. Home
  2. •
  3. Brands
  4. •
  5. Westin
  6. •
  7. Automobile Accessories
  8. •
  9. Westin 22-1885 User manual

Westin 22-1885 User manual

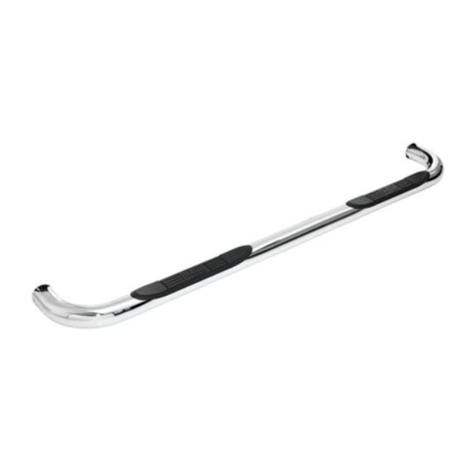
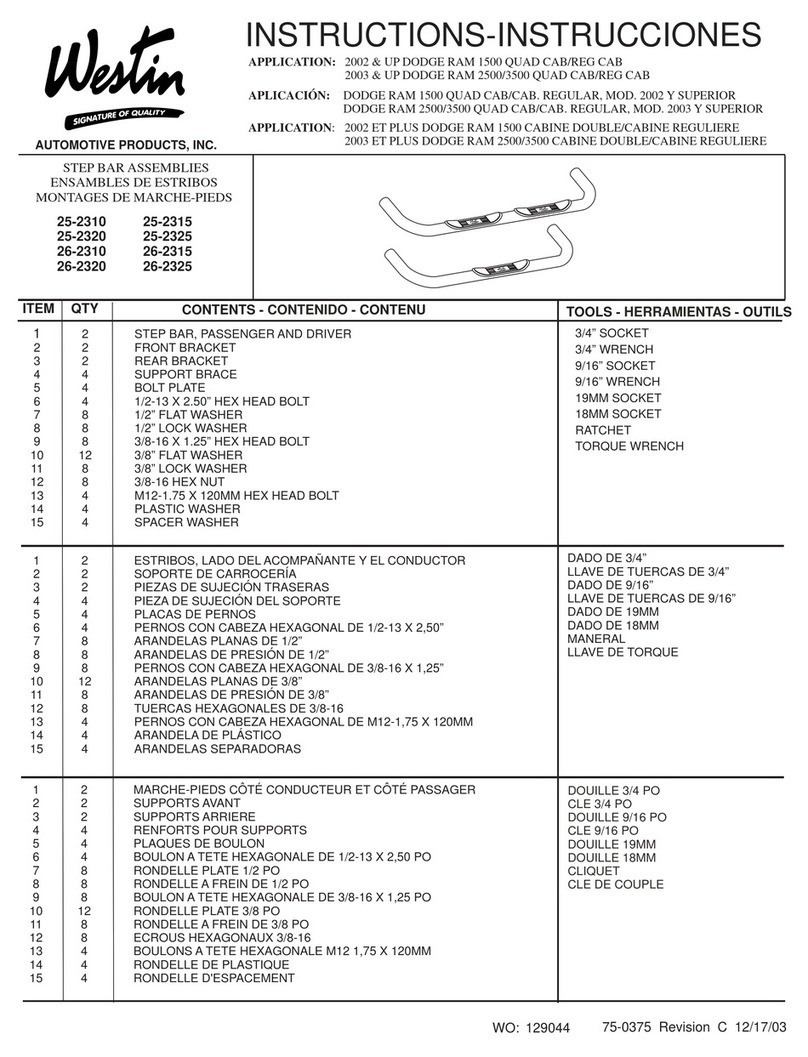
1,2 2 STEP BAR,
3 2 FRONT BRACKET
4 2 REAR BRACKET
5 16 5/16-18 X 1.00” HEX HEAD BOLT
6 16 5/16” SAE FLAT WASHER
7 8 5/16" USS FLAT WASHER
8 16 5/16” LOCK WASHER
9 8 5/16-18” HEX NUT
10 8 EXTRUDED U-NUT
PASSENGER (1) AND DRIVER (2) PURCHASED SEPARATELY
11 4 M6 BOLT PLATES (INCLUDED WITH STEP TUBES )
12 8 M6 FLAT WASHERS (INCLUDED WITH STEP TUBES)
13 8 M6 LOCK NUTS (INCLUDED WITH STEP TUBES)
QTY CONTENTS - CONTENIDO - CONTENU TOOLS - HERRAMIENTA
- OUTILS
9/16” SOCKET
1/2” SOCKET
10MM SOCKET
10MM WRENCH
RATCHET
TORQUE WRENCH
ITEM
AUTOMOTIVE PRODUCTS, INC.
INSTRUCTIONS-INSTRUCCIONES-CONSIGNES
1,2 2 ESTRIBOS, LADO DEL ACOMPAÑANTE (1) Y EL CONDUCTOR (2) (SE COMPRA
SEPARADO)
3 2 SOPORTE DELANTERAS
4 2 SOPORTE TRASERAS
5 16 PERNOS CON CABEZA HEXAGONAL 5/16-18 X 1.00”
6 16 ARANDELA PLANA SAE DE 5/16"
7 8 ARANDELA PLANA USS DE 5/16”
8 16 ARANDELAS DE PRESIÓN DE 5/16”
9 8 TUERCAS HEXAGONALES DE 5/16-18
10 8 TUERCA A PRESIÓN EN “U”
11 8 TORNILLO M6 PLACAS (INCLUIDO CON TUBOS STEP)
12 8 M6 ARANDELAS PLANAS (INCLUIDO CON TUBOS DE PASO)
13 8 LAS TUERCAS M6 (INCLUIDO CON TUBOS DE PASO)
1,2 2 MARCHE-PIEDS, COTE PASSAGER (1) ET COTE CONDUCTEUR (2) (ACHETE
SEPAREMENT)
3 2 SUPPORTS AVANT
4 2 SUPPORTS ARRIERE
5 16 BOULONS A TETE HEXAGONALE 5/16-18 X 1,00 PO
6 16 RONDELLES PLATE SAE 5/16 PO
7 8 RONDELLES PLATE USS 5/16 PO
8 16 RONDELLES A FREIN 5/16 PO
9 8 ÉCROUS HEXAGONAUX 5/16-18
10 8 ECROU EN U EXTRUDE
11 8 Boulon M6 PLAQUES (inclus avec TUBES STEP)
12 8 M6 RONDELLES PLATES (inclus avec TUBES STEP)
13 8 NUTS M6 LOCK (inclus avec TUBES STEP)
DADO DE 9/16”
DADO DE 1/2”
DADO DE 10MM
LLAVE DE TUERCAS DE 100MM
MANERAL
LLAVE DE TORQUE
DOUILLE 9/16 PO
DOUILLE 1/2 PO
DOUILLE 10MM
CLEF 10MM
CLIQUET
CLEF DE COUPLE
4
3
MOUNT KIT
EQUIPO DE MONTAJE
TROUSSE DE MONTAGE
22-1885
CHROME/CROMADO/CHROME
22-0000, 22-0030, 22-0040,
22-5000, 22-5030, 22-5040
BLACK/NEGRO/NOIR
22-0005, 22-0035, 22-0045,
22-5005, 22-5035, 22-5045
75-0660 REVISION E 07/17/12
W12-ECO
STEP 1. Remove contents from box and check for damage. Verify all parts are present. Read instructions completely before
beginning.
STEP 2. Remove black tape and large rubber grommets over mounting holes located on the inside face of rocker panel.
STEP 3. Install front and rear brackets as shown. Hand tighten. SEE FIGURE 1.
NOTE: Rear bracket is 1/2” longer than front bracket.
STEP 4. Place step bar on
saddle with long step pad forward and end cap screw facing inward. SEE FIGURES 4,5 AND 6.
STEP 5. Make sure step bar and brackets are properly aligned and tighten fasteners. Recommended torque values are 15
FT.LBS for 5/16” fasteners and 7 FT.LBS. for M6 fasteners.
Attach step bars to the mounting brackets using the M6 hardware included with the step bars.
APPLICATION: FORD F-150
2006-12 LINCOLN MARK LT
2004-12
APLICACIÓN: FORD MOD. 2004-12
LINCOLN MARK LT 2006-12
F-150
APPLICATION: 2004-12 FORD F-150
2006-12 LINCOLN MARK LT
FINISH PROTECTION
Westin products have a high quality finish that must be cared for like any other exposed finish on the vehicle. Protect the finish with a non-abrasive automotive wax,
(e.g. Pure Carnauba) on a regular basis. The use of any soap, polish or wax that contains an abrasive is detrimental, as the compounds scratch the finish and open it
2
1
PROTECCIÓN DEL ACABADO
Los productos Westin tienen un acabado de alta calidad que requiere del mismo cuidado que cualquier otro acabado expuesto del vehículo. Proteja el acabado con
una cera no abrasiva para automóviles (por ejemplo, Pure Carnauba) regularmente. El uso de cualquier jabón, pulidor o cera que contenga un abrasivo es nocivo,
PROTECTION DE LA FINISSION
Les produits Westin ont une finission de haute qualité qui requiert des soins, comme toute autre finission du véhicule exposée aux éléments. Protégez la finission à
l’aide d’une cire non-abrasive (par exemple, Pure Carnauba) de façon régulière. L’usage de tout savon, pâte à polir ou cire contenant un abrasif est nuisible, puisque
PASO 1. Retire el contenido de la caja y verifique que ninguna pieza se haya dañado. Verifique que no falte ninguna
pieza. Lea las instrucciones completamente antes de comenzar.
PASO 2. Retire la cinta negra y los tapones grandes de hule para drenaje de los agujeros de montaje ubicados en la superficie interna del
panel bajo la puerta.
PASO 3. Instale los soportes delanteros y traseros como se muestra. Apriete con la mano. VEA LAS FIGURA 1.
NOTA: El soporte trasero es 1/2” más largo que el delantero.
PASO 4. Para instalar los estribos ovalados utilize el armazón de montaje suministrado con los estribos. Coloque el tubo ovalado que la
plataforma de apoyo larga este hacia delante y el tornillo terminal hacia adentro. Ensamble con la tornillería M6. FIG. 4,5 Y 6.
PASO 5.
sujetadores de 5/16” libras-pies a los sujetadores de M6.
Asegúrese de que el estribo y los soportes estén alineados correctamente y que los sujetadores estén apretados. Los valores de
torque recomendados son 15 libras-pies para los y 7
ETAPE 1. Enlevez le contenu de la boîte et v’rifiez polur tout dommage. Vériiez que toutes les pièces y sont. Lisez les
instructions complètement avant de commencer.
ETAPE 2.
ETAPE 3. Installez les supports avant et arrière tel qu'illustré. Serrez à main. VOIR FIGURE 1.
ETAPE 4. Pour installer les tubes marchepied ovales, utiliser le matériel de montage fourni avec les tubes marchepied. Placer letube
ovale de sorte que le long coussinet du marchepied soit vers l’avant et que les vis d’assemblage situées à l’extrémité
soient dirigées versl'intérieur.
ETAPE 5.
Retirez le ruban adhésif noir et les grandes rondelles de caoutchouc des trous de fixation situés sur la face intérieure du bas
de caisse.
REMARQUE : Le support arrière est 1/2 po. plus long que le support avant.
Assurez-vous que le marchepied et les supports sont correctement alignés et ensuite serrez les attaches. Les valeurs de
couple recommandées sont de 15 piecs livres pour les attaches de 5/16 po et 7 piecs livres pour les attaches de M6.
VOIR FIGURES 4,5 ET 6.
FIGURE 1
FIGURA 1
FORWARD
DELANTERO
AVANT
9
8
8
6
7
6
5
5
10
10
8
6
5
9
8
6
3
4
7
5
9
8
6
9
8
6
7
5
7
5
FIGURE 4
FIGURA 4
FIGURE 5
FIGURA 5
14
15 16 FIGURE 6
FIGURA 6
Thank You for choosing Westin products
For additional installation assistance please call
Customer service (800) 793-7846 or (507) 375-3559
Westin Automotive Products, Inc.
5200 N. Irwindale Ave. Suite 220
Irwindale, Ca. 91706

This manual suits for next models

12

Other Westin Automobile Accessories manuals

Westin 58-41045 User manual

Westin

Westin 58-41045 User manual

Westin 65-62076 User manual

Westin

Westin 65-62076 User manual

Westin 46-22235 User manual

Westin

Westin 46-22235 User manual

Westin 45-93880 User manual

Westin

Westin 45-93880 User manual

Westin 31-5270 User manual

Westin

Westin 31-5270 User manual

Westin 59-8202 User manual

Westin

Westin 59-8202 User manual

Westin SPORTSMAN 43-0140 User manual

Westin

Westin SPORTSMAN 43-0140 User manual

Westin 57-3950 User manual

Westin

Westin 57-3950 User manual

Westin 65-1395 User manual

Westin

Westin 65-1395 User manual

Westin 31-0190 User manual

Westin

Westin 31-0190 User manual

Westin SG6 User manual

Westin

Westin SG6 User manual

Westin 30-0020 User manual

Westin

Westin 30-0020 User manual

Westin 32-2400 User manual

Westin

Westin 32-2400 User manual

Westin 28-21030 User manual

Westin

Westin 28-21030 User manual

Westin 22-1555 User manual

Westin

Westin 22-1555 User manual

Westin 25-1100 User manual

Westin

Westin 25-1100 User manual

Westin 25-0530 User manual

Westin

Westin 25-0530 User manual

Westin 58-41075 User manual

Westin

Westin 58-41075 User manual

Westin 25-3360 User manual

Westin

Westin 25-3360 User manual

Westin SPORTSMAN 40-1665 User manual

Westin

Westin SPORTSMAN 40-1665 User manual

Westin 27-1255 User manual

Westin

Westin 27-1255 User manual

Westin 27-1855 User manual

Westin

Westin 27-1855 User manual

Westin 30-0000 User manual

Westin

Westin 30-0000 User manual

Westin 30-0020 User manual

Westin

Westin 30-0020 User manual

Popular Automobile Accessories manuals by other brands

Menabo FIX 503 FP Fitting instructions

Menabo

Menabo FIX 503 FP Fitting instructions

Kemo M186 manual

Kemo

Kemo M186 manual

Roadmaster FALCON 522 Owner's Manual & Installation Instructions

Roadmaster

Roadmaster FALCON 522 Owner's Manual & Installation Instructions

Kuda 183420 Installation instruction

Kuda

Kuda 183420 Installation instruction

BRANDRUP ISO-TOP MK VI manual

BRANDRUP

BRANDRUP ISO-TOP MK VI manual

Canyon C-033 quick guide

Canyon

Canyon C-033 quick guide

Road Ranger ET 210014 manual

Road Ranger

Road Ranger ET 210014 manual

SBT US E60 manual

SBT

SBT US E60 manual

Dual Electronics Corporation XCAM200 Product sheet

Dual Electronics Corporation

Dual Electronics Corporation XCAM200 Product sheet

mft compact 2e+1 user manual

mft

mft compact 2e+1 user manual

RSi Smartcanopy EVO Assembly instructions

RSi Smartcanopy

RSi Smartcanopy EVO Assembly instructions

VESTEL EVC02-AC22 Series user manual

VESTEL

VESTEL EVC02-AC22 Series user manual

Honeywell Thor VM3 manual

Honeywell

Honeywell Thor VM3 manual

Navman N-series B2+ user manual

Navman

Navman N-series B2+ user manual

Metra Electronics 95-9403B installation instructions

Metra Electronics

Metra Electronics 95-9403B installation instructions

Clarion BT1 owner's manual

Clarion

Clarion BT1 owner's manual

Airlocker RD159 installation guide

Airlocker

Airlocker RD159 installation guide

Bestop 51252 installation instructions

Bestop

Bestop 51252 installation instructions

manuals.online logo
manuals.online logoBrands
  • About & Mission
  • Contact us
  • Privacy Policy
  • Terms and Conditions

Copyright 2025 Manuals.Online. All Rights Reserved.