INSTRUCTIONS—INSTRUCCIONES—CONSIGNES
Westin Automotive Products, Inc.
5200 N. Irwindale Ave. Ste 220
Irwindale, Ca 9170
Thank You for choosing Westin products
For additional installation assistance please call
Customer Service (800)793-784
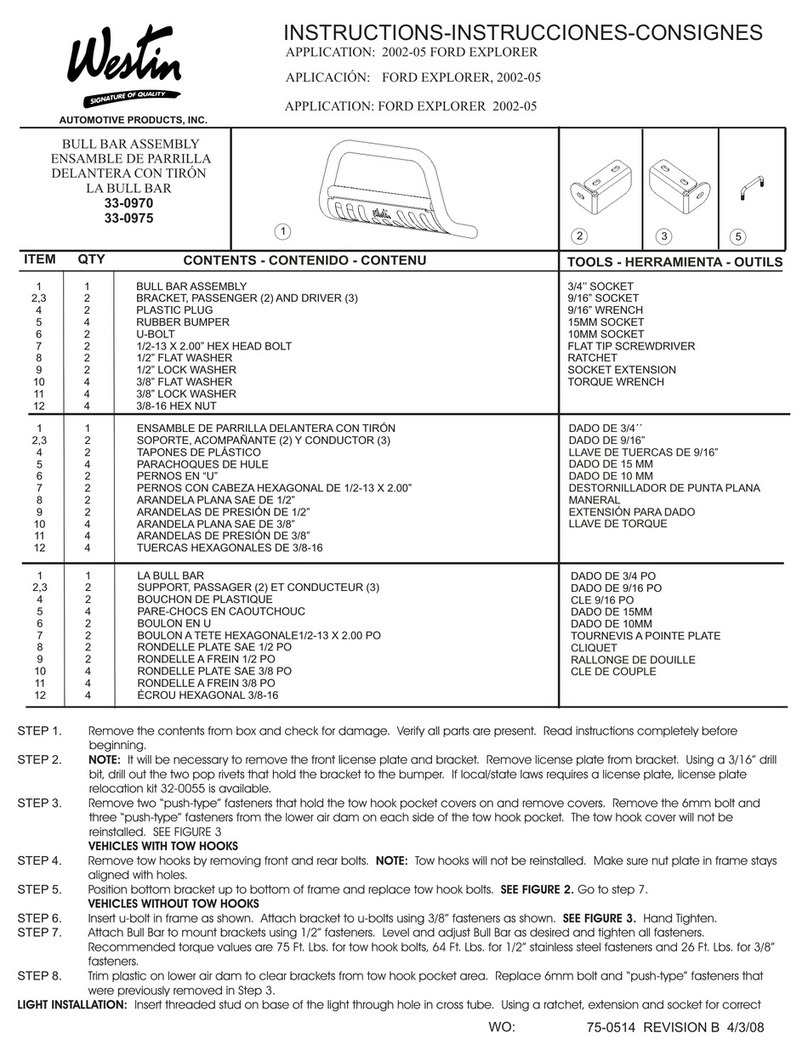
ARTICLE QUANTITE DESCRIPTION OUTILS NECESSAIRES
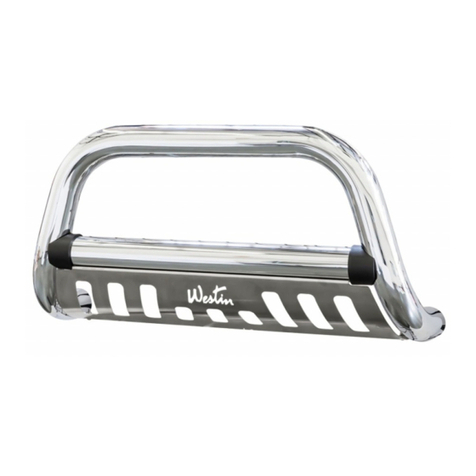
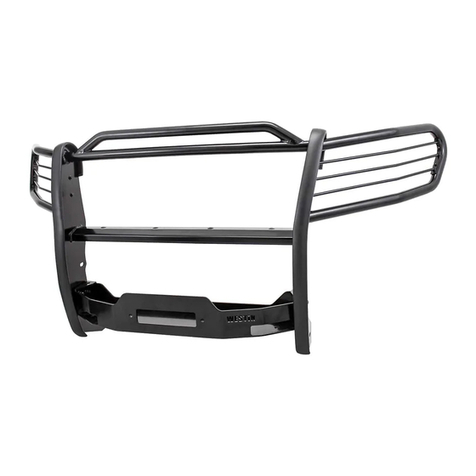
1 1 GRILLE DE PROTECTION 19MM DOUILLE ET CLIQUET
2,3 2 SUPPORTS DE FIXATION (2) COTE
CONDUCTEUR, (3) COTE PASSAGER
CLE DYNAMOMETRIQUE
4,5 2 SUPPORT DE MONTAGE DE FIXATION, (4)
COTE CONDUCTEUR, (5) COTE PASSAGER
6 2 M12 x 100MM BOULON A TETE HEXAGO-
NALE (SEMI-FILETE)
7 8 M12 x 30MM BOULONS A TETE HEXAGO-
NALE
8 20 M12 RONDELLES PLATES
9 10 M12 ECROUS DE BLOCAGE NYLON
1. Remove all contents from box. Make sure all parts listed are present and free from damage. Carefully read and understand all instructions
before attempting installation.
2. On the driver side, locate and loosen the (1) factory hex nut, (outer position), securing the bumper to the frame
3. Position the driver side Mounting Bracket over the factory bolt and secure with the factory hex nut. Line up the slot in the side of the
Mounting Bracket with the factory hole through the frame,. Select the driver side Support Bracket and position it up to the back side of
the frame .Check for clearance and trim the plastic spoiler as required to clear brackets. Secure the Mounting Bracket and Support
Bracket to the frame at the upper mounting position with the included (1) 12mm x 100mm Hex Bolt, (2) 12mm Flat Washers and (1)
12mm Nylon Lock Nut,. Bolt the Support Bracket to the Mounting Bracket at the lower mounting position with (1) M12 x 30mm Hex
Bolt, (2) M12 Flat Washers and (1) M12 Nylon Lock Nut. Do not tighten hardware at this time.
4. Repeat Steps 2 & 3 for passenger side Mounting Bracket and Support Bracket installation. Snug but do not tighten hardware at this time.
5. With assistance, position the Grille Guard up to the inside of the Mounting Brackets. NOTE: Depending on model year, Grille Guard
may be bolted to the inside or outside of the Mounting Brackets. Attach the Grille Guard to the Mounting Brackets with the included (6)
M12 x 30mm Hex Bolts, (12) M12 Flat Washers and (6) M12 Nylon Lock nuts,
6. Level and adjust Grille Guard and tighten all hardware
7.
TORQUE ALL M12 HARDWARE TO 25-30 FT LBS
APPLICATION: FORD RANGER/ RANGER EDGE 2001-2005
MAZDA B SERIESPICKUPS ECL DUAL SPORT MODELS 2001-2008
Part # 40-2055, 45-0880, 40-0885
1. Saque todo el contenido de la caja. Asegurese que todas las piezas enlistadas estén presentes y libres de daños. Lea cuidadosamente las
instrucciones y entiendalas antes de intentar la instalación.
2. Del lado del conductor, localize y afloje (1) tuerca de aojo de fabrica, (posición externa), sujetando la defensa al chasis.
3. Coloque el soporte de montaje del lado del conductor sobre el perno de fabrica y sujetelo con la tuerca de aojo de fabrica. Alinie las
ranuras del lado del soporte de montaje con los agujeros de fabrica a través del chasis. Seleccione el sosten del soporte del lado del con-
ductor y coloquelo hacia arriba a la parte trasera del chasis. Cheque que quede espacio libre y recorte el alerón de plastico como lo nece-
site para librar los soportes. Sujete el soporte de montaje y el sosten del soporte al chasis en la posición de montaje superior con (1)
perno de aojo de 12mm x 100mm, (2) rondanas planas de 12mm y (1) tuerca de fijación de nylon de 12mm. Atornille el sosten del
soporte al soporte de montaje en la pisición de montaje inferior con (1) perno de aojo M12 x 30mm, (2) rondanas planas M12 y (1)
tuerca de fijación de nylon M12. No apriete el armazón en este momento.
4. Repita los pasos 2 & 3 para la intalación del soporte de montaje y el sosten del soporte del lado del pasajero. Ajustelo pero no apriete la
armazón en este momento.
5. Con ayuda, coloque el protector de parrilla a la parte interna de los soportes de montaje. NOTA: Dependiendo del modelo de año, el
protector de parrilla se puede montar en la parte interna o externa de los soportes de montaje. Sujete el protector de parrilla a los
soportes de montaje con (6) pernos de aojo M12 x 30mm, (12) rondanas planas M12 y (6) tuercas de fijación de nylon M12.
6. Nivele y ajuste el protector de parrilla y apriete toda la armazón.
7.
TORSIONE TODA LA ARMAZÓN M12 A 25-30 FT LBS

