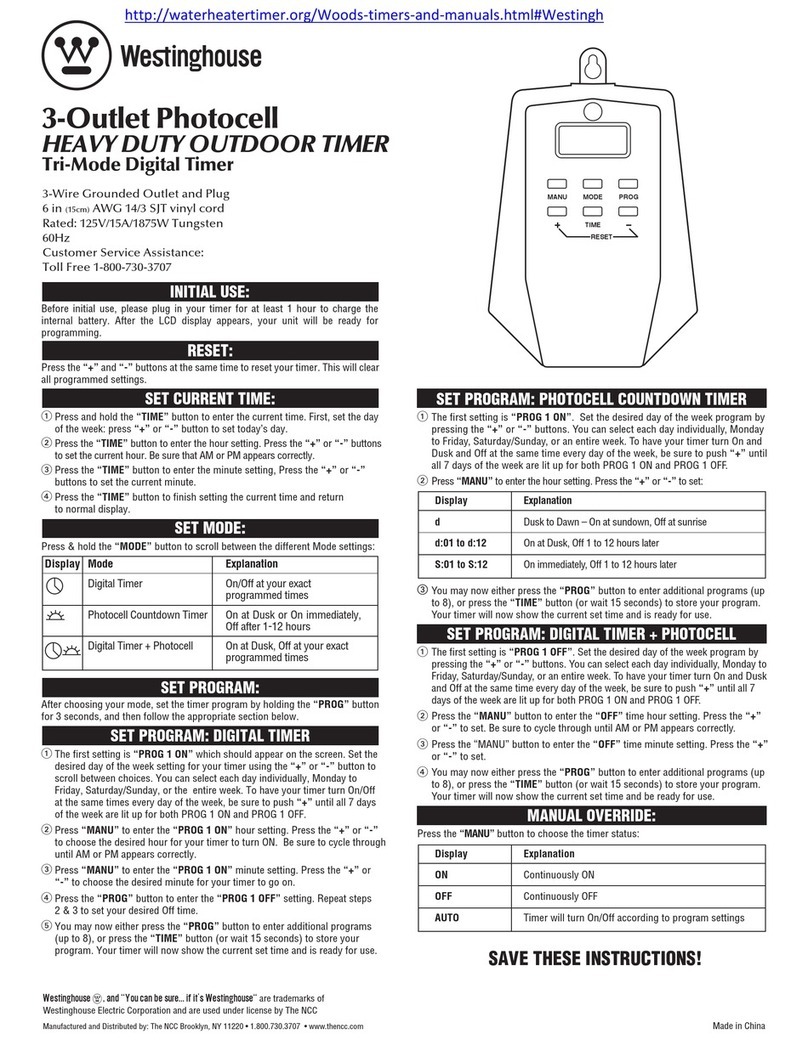
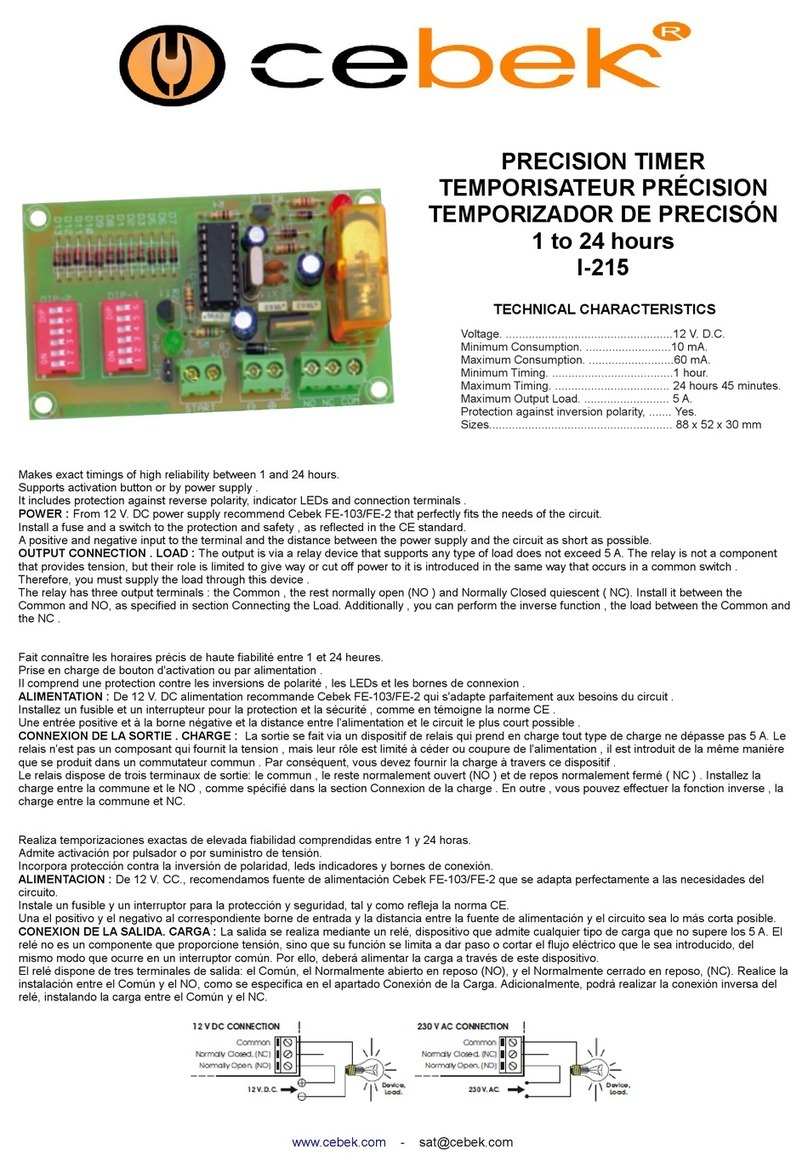
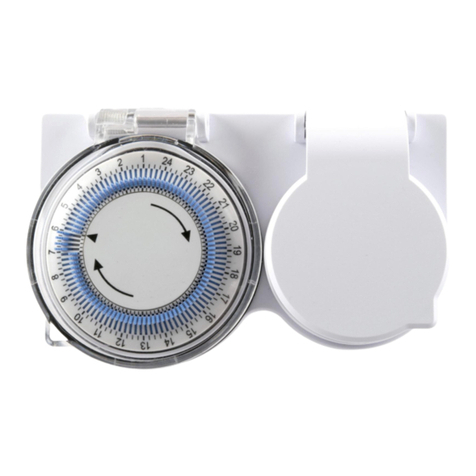
Westinghouse 28426 User manual

2-OUTLET DAILY
DIGITAL BAR TIMER
2-PRISE BARRE
NUMÉRIQUE QUOTIDIENNE
TEMPORISATEURS
MODEL / MODÈLE #28426
Customer Service / Service à la Clientèle
1-855-350-6868 • 10AM - 6PM, EST
Monday to Friday / Lundi au Vendredi

2 polarized outlets
Rated:
120VAC/60Hz/8A/960W Resistive
5A/600W Tungsten
500VA Electronic Ballast
SPECIFICATIONS
ITEM #H28426
WARNING
NOTE: THIS EQUIPMENT HAS BEEN TESTED AND FOUND TO
COMPLY WITH THE LIMITS FOR A CLASS B DIGITAL DEVICE,
PURSUANT TO PART 15 OF THE FCC RULES. THESE LIMITS
ARE DESIGNED TO PROVIDE REASONABLE PROTECTION
AGAINST HARMFUL INTERFERENCE IN A RESIDENTIAL
INSTALLATION. THIS EQUIPMENT GENERATES, USES
AND CAN RADIATE RADIO FREQUENCY ENERGY AND, IF
NOT INSTALLED AND USED IN ACCORDANCE WITH THE
INSTRUCTIONS, MAY CAUSE HARMFUL INTERFERENCE TO
RADIO COMMUNICATIONS. HOWEVER, THERE IS NO GUAR-
ANTEE THAT INTERFERENCE WILL NOT OCCUR IN A PAR-
TICULAR INSTALLATION. IF THIS EQUIPMENT DOES CAUSE
HARMFUL INTERFERENCE TO RADIO OR TELEVISION
RECEPTION, WHICH CAN BE DETERMINED BY TURNING THE
EQUIPMENT OFF AND ON, THE USER IS ENCOURAGED TO
TRY TO CORRECT THE INTERFERENCE BY ONE OR MORE
OF THE FOLLOWING MEASURES, REORIENT OR RELOCATE
THE RECEIVING ANTENNA, INCREASE THE SEPARATION
BETWEEN THE EQUIPMENT AND RECEIVER, CONNECT THE
EQUIPMENT INTO AN OUTLET ON A CIRCUIT DIFFERENT
FROM THAT TO WHICH THE RECEIVER IS CONNECTED, OR
CONSULT THE DEALER OR AN EXPERIENCED RADIO/TV
TECHNICIAN FOR HELP.
ENGLISH

WHAT THIS TIMER DOES:
Your timer can be programmed to turn
a lamp or other electric device on and
off automatically, once per day.Before
using the timer, make sure that the
lamp works by plugging it into the wall
outlet. While the lamp is on, unplug it
from the wall. Plug the lamp into the
timer and plug the timer into the wall.
Your timer will turn your lamp on and off
automatically. Before initial use, please
plug in your timer for at least 1 hour to
charge the internal battery. After the
LCD display appears, your unit will be
ready for programming.

OPERATING INSTRUCTIONS
TO SET TO THE CURRENT TIME:
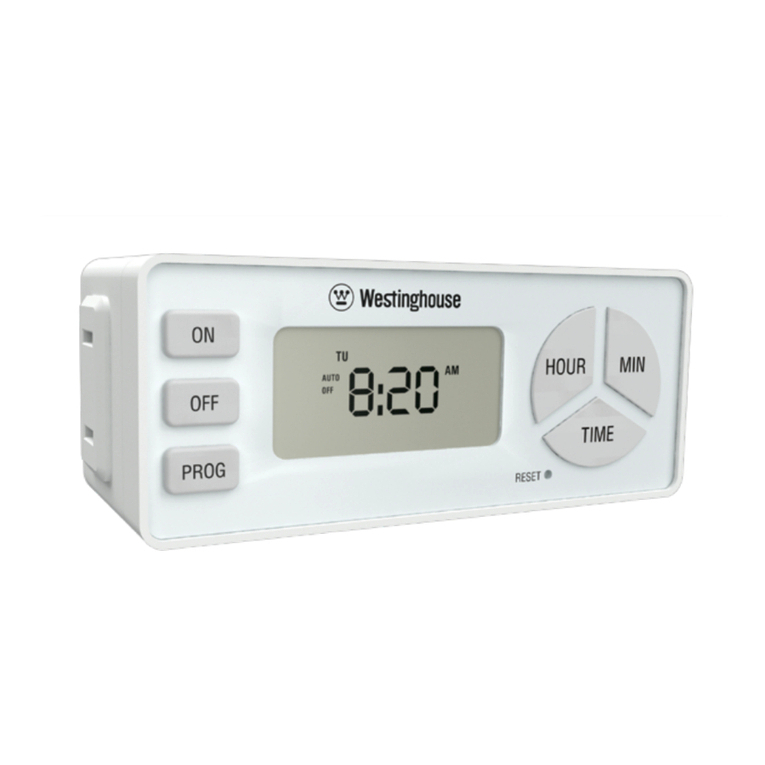
Press and hold the TIME button. While
holding, press the HOUR button until the
current hour is displayed. Continuously
pressing the HOUR/MINUTE button will
cycle the time from AM to PM.
2
1
PROGRAM SETTING
• Press the PROG button
to select Program 1 or
Program 2.
• While holding down the
ON button press the
HOUR and MIN buttons
to set the timer’s “on” time.
• While holding down the OFF button
press the HOUR and MIN buttons to
set the timer’s “off” time.

PROGRAM SETTING
• Press and hold the
PROG button to select
Program 1 or Program 2.
• Press and hold the ON
button to review
the programmed “on” time
Press and hold the OFF button
to review the programmed “off” time.
TIMER MODES
Press the button on top of the timer to cycle
through Continuous On, Continuous Off, or
Automatic Timer modes.
3
• Press the TIME button or wait 15
seconds for the timer to save your
program settings and exit to the
main screen (current time).

2 prises polarisée
Calibré à: 120VAC/60Hz/
8A/960W Resistif
5A/600W Tungstène
500VA Ballast Électronique
CARACTÉRISTIQUES
ARTICLE #H28426
AVERTISSEMENTS
REMARQUE: CET ÉQUIPEMENT A ÉTÉ TESTÉ ET TROUVÉ
CONFORME AUX LIMITES POUR UN APPAREIL NUMÉRIQUE
DE CLASSE B CONFORMÉMENT À LA PARTIE 15 DU
RÈGLEMENT DE LA FCC. CES LIMITES SONT CONÇUES
POUR OFFRIR UNE PROTECTION RAISONNABLE CONTRE
LE BROUILLAGE PRÉJUDICIABLE DANS UNE INSTALLATION
RÉSIDENTIELLE. CET ÉQUIPEMENT PRODUIT, UTILISE ET
PEUT ÉMETTRE DE L’ÉNERGIE DE FRÉQUENCE RADIO ET,
S’IL N’EST PAS INSTALLÉ ET UTILISÉ CONFORMÉMENT AUX
INSTRUCTIONS, PEUT OCCASIONNER UN BROUILLAGE
PRÉJUDICIABLE AUX COMMUNICATIONS RADIO.
CEPENDANT, IL N’EXISTE AUCUNE GARANTIE À L’EFFET
QU’UNE INSTALLATION PARTICULIÈRE NE PRODUIRA
AUCUN BROUILLAGE. SI CET ÉQUIPEMENT PRODUIT UN
BROUILLAGE PRÉJUDICIABLE À LA RÉCEPTION RADIO-
PHONIQUE OU TÉLÉVISUELLE, CE QUE VOUS POUVEZ
DÉTERMINER EN METTANT L’ÉQUIPEMENT EN ET HORS
CIRCUIT, NOUS ENCOURAGEONS L’UTILISATEUR À ESSAYER
DE CORRIGER LE BROUILLAGE D’UNE OU DE PLUSIEURS
DES FAÇONS
SUIVANTES, RÉORIENTER OU REPOSITIONNER L’ANTENNE
DE RÉCEPTION, AUGMENTER LA SÉPARATION ENTRE
L’ÉQUIPEMENT ET LE RÉCEPTEUR, BRANCHER L’ÉQUIPE-
MENT DANS LA PRISE D’UN CIRCUIT AUTRE QUE CELUI
AUQUEL LE RÉCEPTEUR EST BRANCHÉ OU CONSULTER LE
MARCHAND OU UN TECHNICIEN DE LA RADIO OU DE LA
TÉLÉVISION CHEVRONNÉ.
FRENCH
MODE D’OPÉRATION
CE QUE FAIT CETTE MINUTERIE:
Votre minuterie peut être programmée pour
allumer une lampe ou mettre en marche et
arrêter un appareil électrique, une fois par jour.
Avant d’utiliser la minuterie, assurez-vous que
la lampe fonctionne en la branchant dans la
prise murale. Lorsque la lampe est allumée,
débranchez-la de la prise murale.
Branchez la lampe dans la minuterie et
branchez la minuterie dans la prise murale.
Votre minuterie allumera et éteindra la
lampe automatiquement. Avant la première
utilisation, veuillez brancher votre compteur
pour au moins 1 heure pour charger la batterie
interne. Après l’écran LCD apparaît, votre unité
sera prêt pour la programmation.
POUR RÉGLER À
L’HEURE COURANTE:
Appuyez et maintenez enfoncé le bouton
TIME. Tout en maintenant, appuyez sur
le bouton d’heure jusqu’à ce que l’heure
actuelle est afchée. Lorsque vous
appuyez sur le bouton HOUR/MINUTE
continuellement changements de temps
de cycle de AM à PM.
1

2CADRE DU PROGRAMME
• Appuyez sur le bouton
PROG pour sélectionner le
programme 1 ou 2.
• Tout en maintenant enfoncé
le bouton ON appuyez sur
le boutons HOUR et
MIN pour régler la minuterie de
temps “marche”.
• Tout en maintenant la pression sur le
bouton OFF les boutons HOUR et MIN
pour régler l’heure “off” de la minuterie.
• Appuyez sur le bouton TIME ou attendre
15 secondes pourque la minuterie pour
enregistrer vos paramètres du
programme et la sortie à l’écran principal
(heure actuelle).

3EXAMEN DES PROGRAMMES
• Appuyez et maintenez
enfoncé le bouton
PROG pour sélectionner le
programme 1 ou
programme 2.
• Appuyez et maintenez le
bouton ON pour examiner la
valeur programmée “sur” le temps.
• Appuyez et maintenez enfoncé le
bouton OFF pour examiner le temps
programmé “off”
MODES DE MINUTERIE
Appuyez sur le bouton sur le dessus
de la minuterie pour faire déler en
continu On, Off continue, ou modes de
minuterie automatique.
MODE DE SÉCURITÉ INSTRUCTIONS:
Appuyez sur le bouton d’ON ET OFF en même
temps. Le symbole SEC semblera sur l’étalage
de LCD, en indiquant que la caractéristique de
sécurité a été permis.
Dans le Mode de Sécurité, le compte-minutes
contrôle votre éclairage/artices au hasard
pour donner l’apparence que quelqu’un est à
la maison.
Rendre inrme, appuyer sur le bouton d’ON
et OFF en même temps. Le symbole SEC
disparaîtra en indiquant que la caractéristique
de sécurité a été rendue inrme.

SECURITY MODE INSTRUCTIONS:
Press the ON and OFF button at the same
time. The SEC symbol will appear on the LCD
display, indicating that the security feature has
been enabled.
In Security Mode, the timer controls your
lighting/devices randomly to give the
appearance that someone is home.
To disable, press the ON and OFF button at
the same time. The SEC symbol will disappear
indicating that the security feature has been
disabled.
and WESTINGHOUSE are trademarks of West-
inghouse Electric Corporation. Used under license
by The NCC. All rights reserved.
Les termes et WESTINGHOUSE sont des
marques de commerce de la société Westinghouse
Electric. Utilisés sous licence par la société The
NCC. Tous droits réservés.
Manufactured and distributed by /
Manufacturé et distribué par:
The NCC, Brooklyn, NY 11223
1.855.350.6868
www.westinghouseacpower.com
©2019 The NCC
MADE IN CHINA /FABRIQUÉ EN CHINE
Table of contents
Languages:
Other Westinghouse Timer manuals

Westinghouse
Westinghouse 28499 User manual

Westinghouse
Westinghouse T26119 User manual

Westinghouse
Westinghouse 28499 User manual

Westinghouse
Westinghouse TM263 User manual

Westinghouse
Westinghouse T28440 User manual

Westinghouse
Westinghouse T28499 User manual

Westinghouse
Westinghouse 28480 User manual

Westinghouse
Westinghouse T26433 User manual