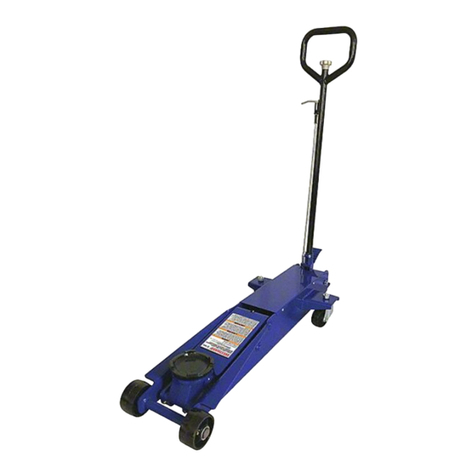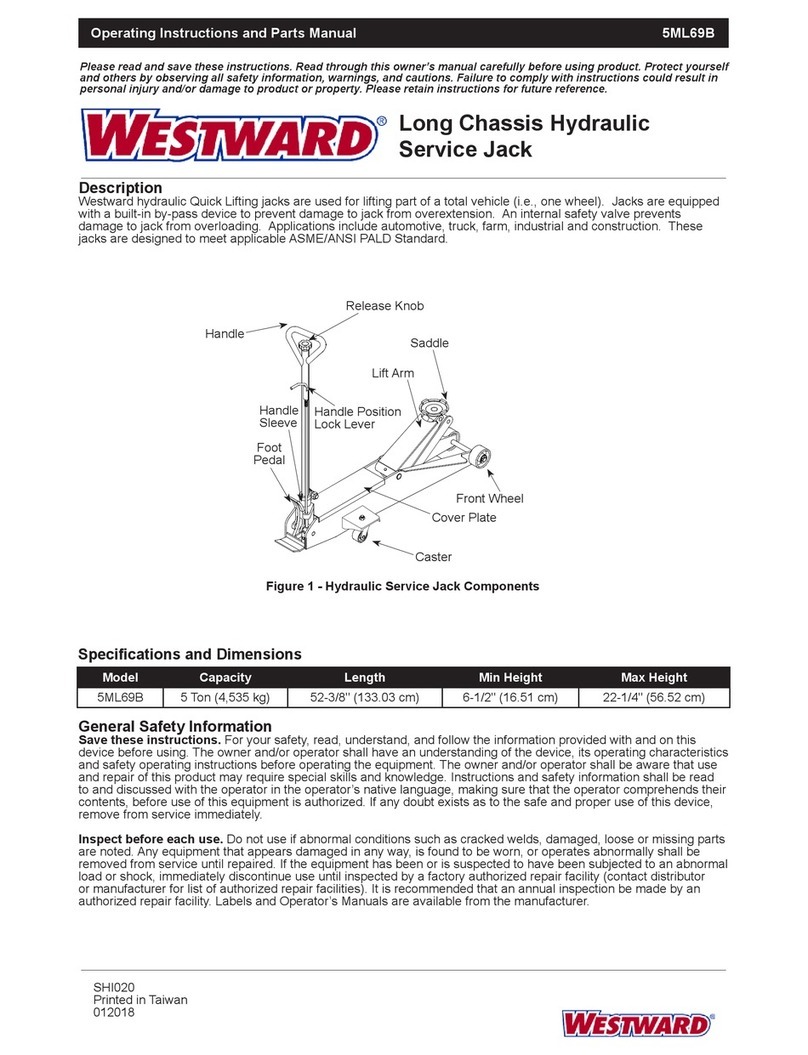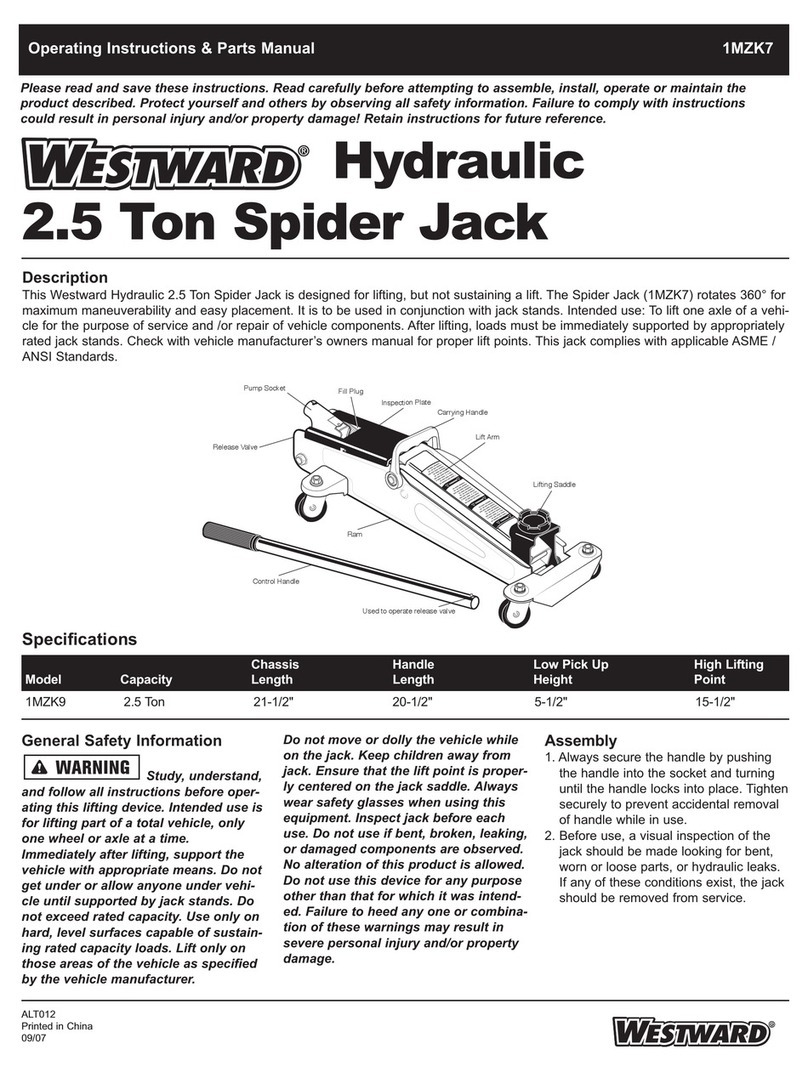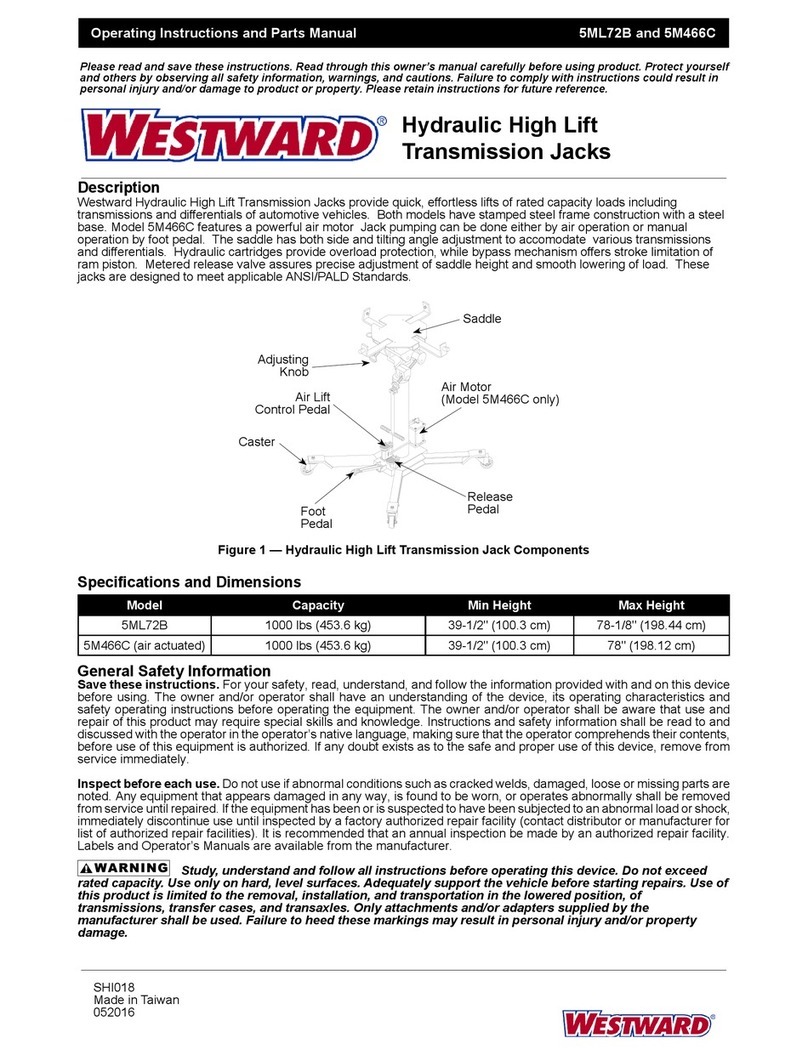
3. Before using this product, read the
operator's manual completely and
familiarize yourself thoroughly with
the product and its components, and
recognize the hazards associated with
its use.
4. Verify that the product and application
are compatible.
PREPARATION (cont)
5. To familiarize yourself with basic
operation, locate and turn the release
valve (pump handle):
a. Clockwise until rm resistance is felt to
further turning. This is the ‘CLOSED’
release valve position used to raise
the saddle.
b. Counter-clockwise, but no more than
1/2 turn from the closed position. This
is the ‘OPEN’ release valve position
used to lower the saddle.
6. With saddle fully lowered and release
valve closed, pump the handle. If lift
arm responds immediately, jack is
ready for use. If jack does not respond,
follow Bleeding/Venting Trapped Air
instruction below. Check oil level. Proper
oil level will vary from just covering
the ram cylinder to 3/16” above it as
seen from the oil ller hole. Reinstall
oil plug.
7. Ensure that jack rolls freely. Raise and
lower the unloaded saddle throughout
the entire lifting range before putting into
service to ensure the pump operates
smoothly. Replace worn or damaged
parts and assemblies with authorized
replacement parts only.
Bleeding/Venting Trapped Air
With the release valve in the OPEN position
(step 5b. above) and with saddle fully
lowered, locate and remove the oil ller
plug. Pump handle 6 to 8 full strokes. This
will help release pressurized air which may
be trapped within the reservoir. Reinstall the
oil ller plug and check operation.
OPERATION
Lifting
1. Place vehicle transmission in park,
with emergency brake on and wheels
securely chocked to prevent
inadvertent movement.
2. Close release valve by turning handle
clockwise firmly. Position jack saddle
under lift point.
3. Verify lift point. To lift, pump handle
until load reaches desired height.
4. Transfer the load immediately to
appropriately rated jack stands.
Lowering
1. Raise load high enough to clear jack
stands, then carefully remove the jack
stands.
2. To lower saddle, slowly turn handle
counter-clockwise, but no more than ½
turn. If load fails to lower, carefully
transfer the load to another lifting
device and jack stands. Carefully
remove affected jack and then stands.
Carefully remove primary jack, again
turning the release valve, slowly, no
more than 1/2 turn.
MAINTENANCE
NOTICE: Use premium quality hydraulic
Westward®Hydraulic Quick Lifting
Service Jack SUV
2
Westward Operating Instructions and Parts Manual 1VW32 and 1AVR1
!WARNING
jack oil. Do not use hydraulic brake fluid,
alcohol, glycerine, detergent motor oil or
dirty oil. Improper fluid can cause serious
internal damage to the jack rendering it
inoperative.
Adding Oil
1. With saddle fully lowered and pump
piston fully depressed, set jack in its
level position. Locate and remove vent
screw.
2. Fill until approximately 3/16" above the
inner cylinder as seen from the filler
hole. Re-install vent screw.
Changing Oil
For best performance and longest life,
replace the complete fluid supply at least
once per year.
1. With saddle fully lowered and pump
piston fully depressed, remove vent
screw.
2. Lay the jack on its side and drain the
fluid into a suitable container.
NOTICE: Dispose of hydraulic fluid in
accordance with local environmental
regulations.
3. Fill with good quality jack oil. Reinstall
vent screw.
4. Follow Bleeding/Venting Trapped Air
procedure.
Lubrication
1. A coating of light lubricating oil to pivot
points, axles and hinges will help to
prevent rust and assure that wheels,
casters and pump assemblies move
freely.
2. Periodically check the pump piston and
ram for signs of rust or corrosion.
Clean as needed and wipe with an oily
cloth.
NOTICE: Never use sandpaper or
abrasive material on piston and ram
surfaces.
3. When not in use, store the jack with
pump piston and ram fully retracted.
!WARNING
Manufactured for Grainger International, Inc.,
Lake Forest, IL 60045 U.S.A.


