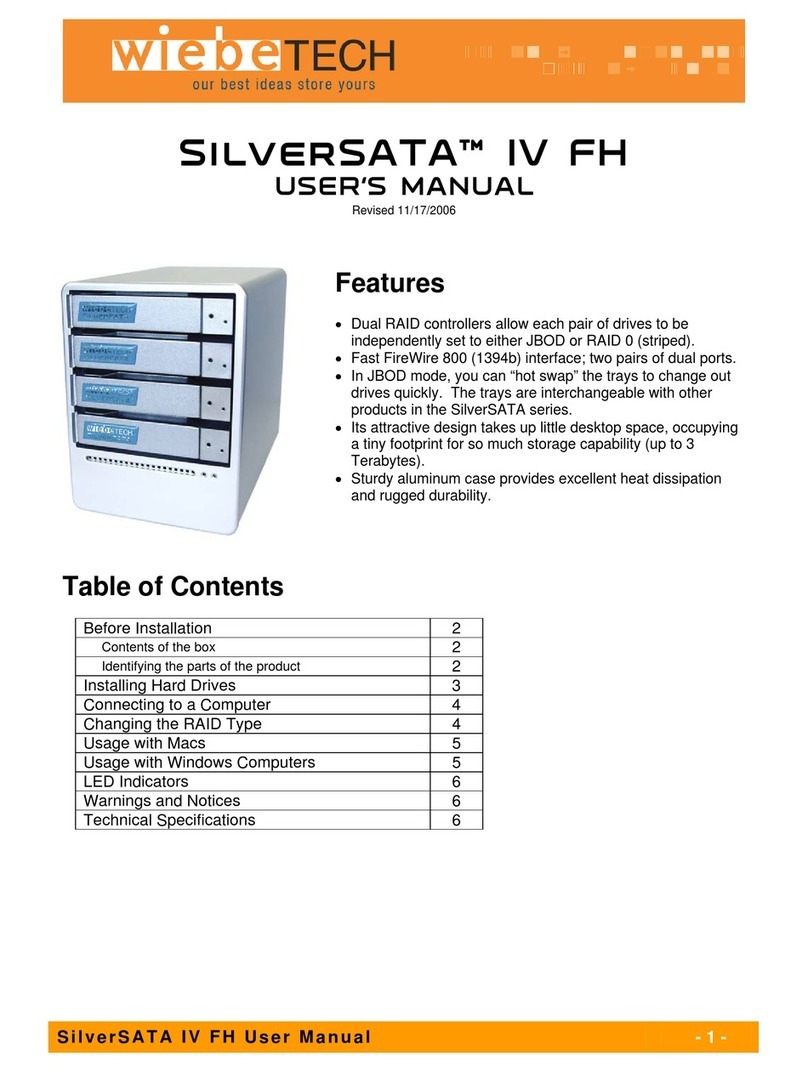
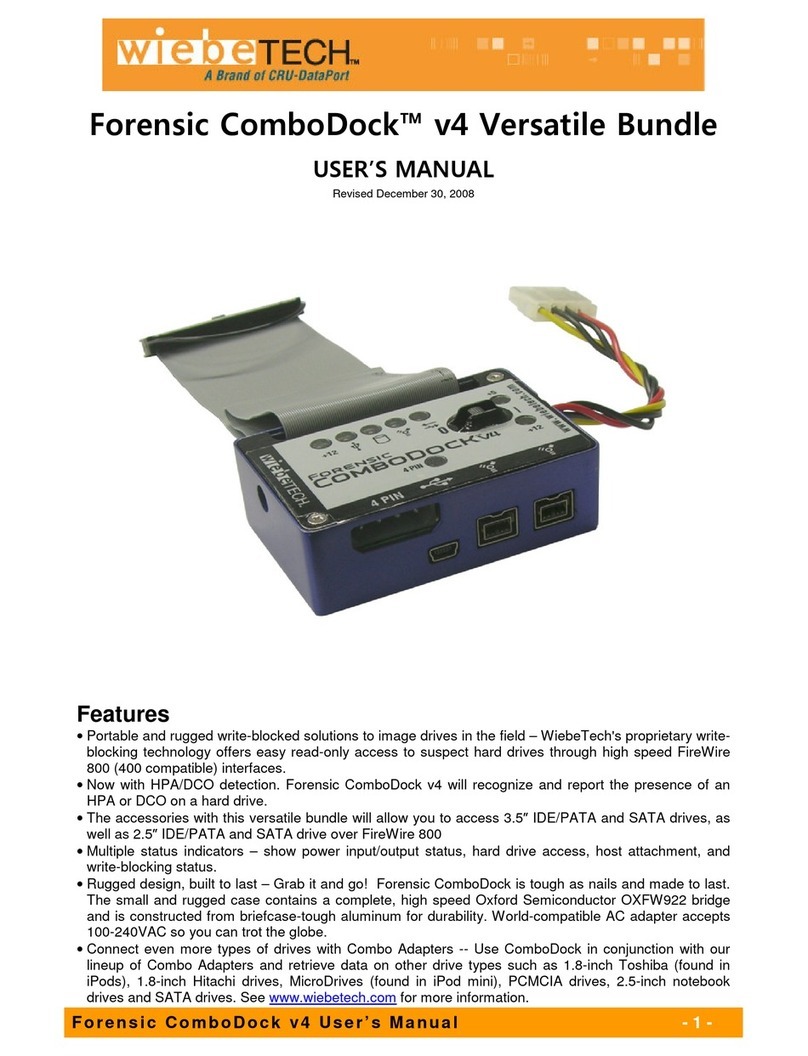
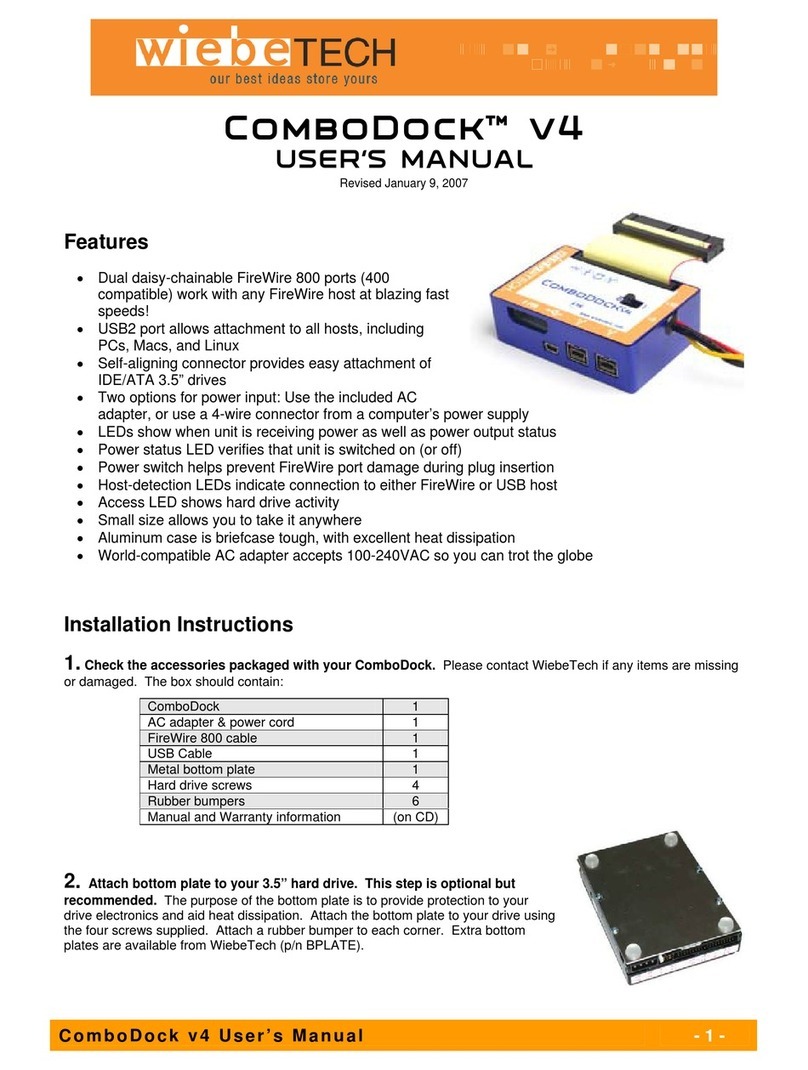
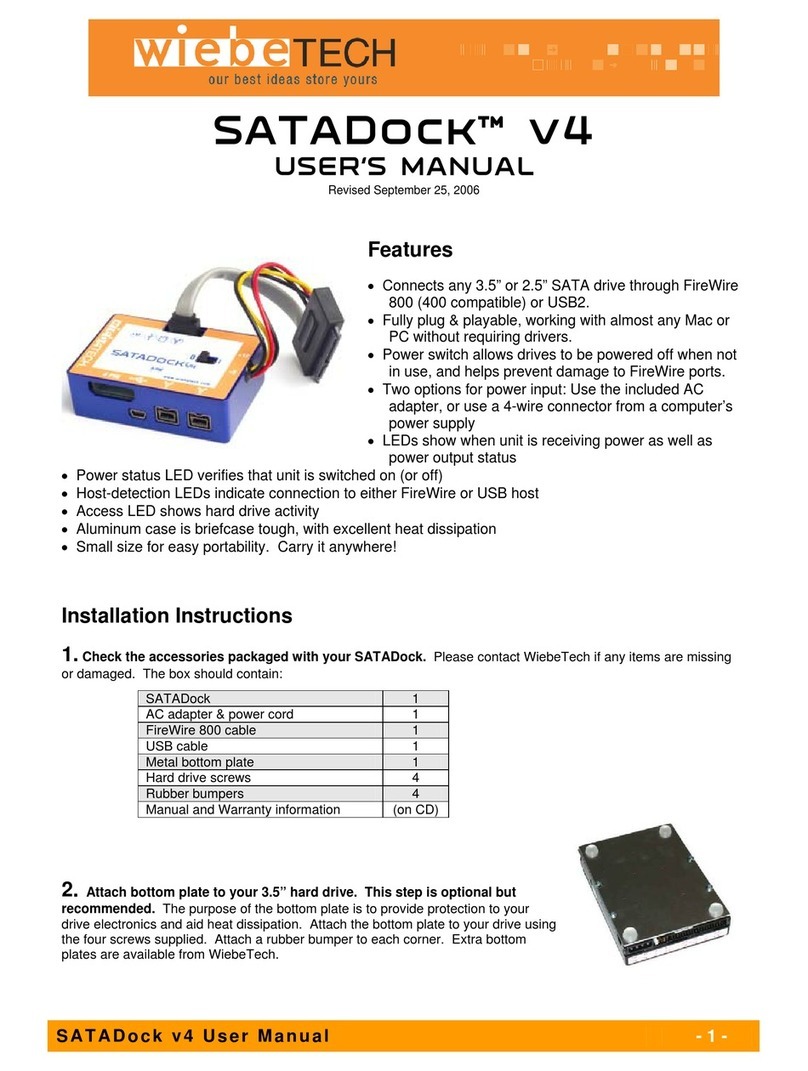
WiebeTech 4Secure erase User manual

1
4Secure erase Quick Start Guide
For more information and a full user manual for this product, please
www.4secure-erase.com
1. Installation Steps
a. Attach the protective metal drive plate to, your 3.5” hard drive (This step is
optional). The purpose of the bottom pate is to provide protection to your
plate drive electronics and air heat dissipation.
b. If erasing an IDE/PATA drive, configure the jumpers on the rear of the drive.
The drive must be set to the “Master” setting. Consult the instructions for your
drive (some drives display configuration information on the drive’s label).
c. Ensure that the 4Secure erase power switch is in the OFF (O) position.
d. Connect 4Secure erase to the drive (or adapter), using either the IDE ribbon
cable for IDE drives, or the SATA data/power cable for SATA drives.
e. If using an adapter, connect the drive to the adapter.
f. Attach the power cable to the 4Secure erase and to the drive. For SATA
drives, the power cable and data cable are combined into a single SATA
drive interface.
g. Plug the AC adapter into the 4Secure erase.
h. Turn on the power switch. The connected drive will power up and the 4Secure
erase main menu will appear on the LCD screen.

2
STARTING
ERASURE HMG
IS5 RESET
ESTIMATING
ERASE TIME
ERASING...2%
39M REMAINING
VERIFY ERROR
ERASING...33%
WRITE CMD ERROR
SECURE ERASE
COMMAND FAILED
2. Using the LCD Interface and Menu
Use the LCD and 4-button navigation interface to start erasing, adjust settings,
view information about the drive and dock, or check on operational status. On
the 4-button navigation interface, up and down allow scrolling through options,
while right selects and left goes to the previous screen.
3. Menu Structure
(See the full User Manual for additional details at www.4-secure.com)
4Secure erase menu consists of the following screens:
• Start Erasing: Begins the erasure process using current settings. (By default,
HMG IS5 Erase mode is used).
• Review Settings: Allows the user to view and change settings such as the
erase type, HPA/DCO handling, verification level and printer output type. The
user may also reset all settings to their original factory default values.
• View Drive Info: Displays information about the 4Secure erase product.
(Device name, unique ID number, firmware version).
• Operational Status: During erasure, status messages are displayed on the
LCD. Examples are shown below:
• Error Indication: If 4Secure erase encounters any errors, a brief explanatory
message will display. Examples are shown below:

3
4. Label Printer Output
4Secure erase features a DB9 null-modern serial connection for the purpose
of connecting a label printer. This will allow 4Secure erase to print a 4” x 6.25”
(101mm x 159mm) label recording details of an erase process upon completion.
The label can then be affixed to the drive, or to a DriveBoxTM anti-static storage
case. You may also print a label as a test without an erasure process.
5. Reporter App
This application can be installed on any Windows based PC or Laptop. It actively
monitors for all erase communication and on receipt of each disk erasure
notification stores the output file in a user defined location.
6. Erase Specifications Supported
Mode
Description
HMG IS5 ERASE
UK HMG certified IS5 overwrite
QUICK ERASE
Performs single pass writing all zeroes
CUSTOM ERASE
Performs 1 to 99 passes, overwriting with zeroes or a user
selected pattern
RANDOM ERASE
Performs 1 to 99 passes, overwriting with a repeating
pattern of randomly-generated bits
SECURE ERASE N
Initiates the drive’s built-in Secure Erase (Normal) function
SECURE ERASE E
Initiates the drive’s built-in Secure Erase (Enhanced)
function
DOD CLEAR
US Department of Defense “Clear” standard
DOD SANITISE
US Department of Defense “Sanitise” standard
NIST80088 CLEAR
“clear” standard defined by NIST special publication 800-88
NIST80088 PURGE
“Purge” standard defined by NIST special publication 800-
88
CSEC ITSG-06
Canadian data sanitisation standard
DSD ISM 6.292
Australian Government’s data sanitisation standard
VERIFY ONLY
No overwriting - performs the verification step only

4
Optimal Performance Instruction
Q: How does the Secure Erase work?
The 4Secure erase benefits from several user configurable settings that can
affect the speed in which the wiping process takes. For optimal performance in
both IAS5 wiping and non IAS5 compliant wiping please follow the guidelines
below.
IAS5 Compliant wiping:
The 4Secure erase defaults to a “MEDIUM” verification, this is the level of
checking that takes place following an erase of a hard disk drive.
Verification Option
Verification Level
MINIMAL
<1%
MEDIUM
1%
HIGH
10%
COMPLETE
100%
To reduce the overall process time, you can change the verification setting* to
“MINIMAL”.
*Consultation with the senior risk owner should be conducted prior to altering the default verification
level for the HMG IS5 ERASE mode.

5
Please follow the guide below to review and or change your settings:
1. Follow the Quick Start Guide to power up the 4Secure erase and mount the
drive. Then you can review and change the settings.
2. 4Secure defaults to the “HMG IS5 ERASE”.
3. To change this setting select the “Down” key on the keypad. “Review Settings”
will appear.
4. Press “Enter” to review settings. “ERASE TYPE” will appear on the display.
5. Press the “Down” key on the keypad until “Verification” appears on the display.
6. Press “Enter” on the keypad to view and adjust the verification settings.
7. The change verification setting will be displayed. To change the setting, press
“Enter” on the keypad.
8. “CHANGE VERIFY TO” will display with the current setting shown underneath,
either “MINIMAL”, “HIGH” or “COMPLETE”.
9. Use the “Up” and “Down” keys on the keypad to scroll through the different
verifications.
10. For reduced erase times, select “MINIMAL” and press “ENTER”.
11. The display will show “MINIMAL”, “MAKE DEFAULT?”. Selecting “ENTER”
will change the default setting to “MINIMAL” verification.
12. You will then return back to the “VERIFICATION” menu option.
13. Pressing the “Back” key twice will take you to the “START ERASING” menu
option.
14. Select “ENTER” on the keypad, the erase will display “WILL ERASE ALL
DATA”. Press “ENTER”, and the unit will commence the erase processes.

6
Frequently Asked Questions (FAQ)
Q: How does the Secure Erase work?
A: Secure Erase is a feature on many modern hard drives (greater than 15GB).
This feature is activated by a low-level command to the drive and causes the
drive to erase itself using methods developed by the drive manufacturers in
conjunction with the US NSA. To protect against malware attacks, operating
systems such as Windows and Mac OS (and software written for these operating
systems) cannot send this command, but 4Secure erase can.
Secure Erase sequentially overwrites the data on the drive, similar to 4Secure
erase’s other erase modes. However, Secure Erase better handles data on
“bad blocks” (single pass may stop and report an error at a bad block).
Secure Erase is implemented on most drives that were manufactured in 2001
or later; however, an estimated time for completion was not added until later.
Some drives therefore support Secure Erase but will not be given an estimated
completion time.
Q: How fast will the 4Secure erase, erase data on my drive?
A: The 4Secure erase can erase modern hard drives at up to 7GB/minute or
more. The erasure time depends on several factors. Older drives will generally
take longer than newer ones. Higher levels of verification will not affect the time
spent erasing but will make the total process takes longer. Finally, the erase
mode plays a role. Quick erase will generally finish a little faster than Secure
Erase.
Q: With what drive capacities is 4Secure erase compatible?
A: 4Secure erase cannot erase extremely small drives or media that are less
than 10,000 sectors. Assuming a 512-byte sector size, 10,000 sectors is less
than 5GB. There is currently no known limit to how large of a disk 4Secure
erase can erase. As of September 2011, 4Secure erase has been tested with
up to 6TB hard drives. We have no reason to believe 4Secure erase will not
continue to work with newer and larger drive sizes as they are released.
7
Q: Do I have to jumper my IDE-drive to a particular setting?
A: 4Secure erase cannot erase extremely small drives or media that are less
than 10,000 sectors. Assuming a 512-byte sector size, 10,000 sectors is less
than 5GB. There is currently no known limit to how large of a disk 4Secure
erase will erase. As of September 2011, 4Secure erase has been tested with
up to 6TB hard drives. We have no reason to believe 4Secure erase will not
continue to work with newer and larger drive sizes as they are released.
Q: What kind of printer should I use with the 4Secure erase?
A: 4Secure erase was tested primarily with Zebra brand printers compatible
with ZPL II formatted text (often indicated by -Z at the end of the model number).
During development we made every effort to make this feature as compatible
as possible, but no list of compatible printers is currently being published. If
choosing a new printer, the Zebra product line is a good starting point. Please
visit www.4secure-erase.com, under resources for a list of compatible Zebra
printers.
Q: What kind of cable do I need for the Printer Port?
A: The printer port is a standard 9-pin serial RS-232 port. 4Secure erase
requires a male end and most printers also require a male end. If you need to
source a new cable, what you need is probably a “Male to Male RS-232 (DB9)
Null Modern Serial cable”.
Q: Can I output the erasure results to a PC?
A: Yes. When using a DB9 null-modern serial cable (with appropriate serial or
USB connector) and after installing the 4Secure Erase Reporter application,
you can connect and output to any PC (Windows OS).

8
Date
Signature
Rank/Grade/Title
Printed Name
I certify that all data has been removed from
this drive.
Erase process details:
HMGIS5 ENHANCED
HPA Found: N
HPA Removed: N
DCO Found: N
DCO Removed: N
Erase Successful? Y
Erase Time: 16 Minutes
Verification Sample Size: MINIMAL
03-007685B
e3.01.0000.000
1000204886016
make and model Seagate ST1000DM003-1ER162 was
erased using 4Secure erase Ultra
This certifies this hard
drive, serial number
Z0Y5LHV
CERTIFICATION OF HARD DRIVE DISPOSITION
Q: What information is included in each label that 4Secure erase prints?
A: See the example below:

9
Q: Why does the USB connector look like USB 3.0, but the
documentation says it’s USB 2.0?
A: 4Secure erase uses a USB 3.0 style connector because it shares a form
factor and many parts with another product; however, the controlled chip that
drives 4Secure erase’s USB connection supports USB 2.0 only. The port can
be used with either USB 2.0 or 3.0 type cables and with either USB 2.0 or 3.0
hosts, but it will operate at USB 2.0 speed. The intended purposes of the port
are the previewing of a drive and firmware upgrading, rather than for lengthy
data transfers. For these two purposes USB 2.0 speed is sufficient.
Q: Can I switch drives or attach a hard drive when the unit is turned on?
A: This is not recommended because it could cause an electrical short that
could damage the 4Secure erase or the drive.
Q: Will 4Secure erase work with a Solid-State Drive (SSD)?
A: Short answer: SSDs erased by 4Secure erase in any mode would be safe
from casual data retrieval attempts, but for very sensitive data the only way to
guarantee security is to physically destroy the drive.
Longer Answer: The SSDs controller may instead remap that physical sector to
a new logical sector, leaving the data intact but accessible. Even a full overwrite
of an SSD may therefore not result in a fully wiped drive; however, the data
remaining on the drive would not be accessible via normal means.
Recovering such data would require removing the actual flash chips from the
SSDs circuit board and accessing them with special equipment and software
tools. Secure Erase modes offer the best chance of fully erasing an SSD
because they use the drives built in erasing function. Secure Erase is defined
by the ATA specification and requires drives to fully erase all user accessible
data areas when the command is received. The enhanced version also erases
any data within HPA or DCO areas.

10
At least one study has shown that some SSD manufacturers did not correctly
follow at least this portion of the ATA specification. So, while some SSDs will
be erased fully by Secure Erase, others may not. If you know that a particular
SSD model correctly implements Secure Erase modes per the ATA spec, these
modes can erase the SSD completely. If you are unsure, you should always
assume that data fragments could remain.

STRATEGIC)CYBER)SECURITY)
CONSULTANCY)
)
)
)
)
)
)
)
)
)
)
INDUSTRY)EXPERT.)CUSTOMER)FRIEND.)
Cherry picked from experts
Availability, safety and reliability of systems, people and information is what
drives the need for cyber security.
Businesses struggle translating what cyber security looks like when trying to
achieve both compliance and business objectives. Owners have to effectively
manage budgets to meet organisational targets but it’s difficult for these
stakeholders to know exactly how to invest. Technical resources understand
cyber security, but often struggle to engage with owners to develop roadmaps
to meet security, business and compliance objectives.
4Secure developed the Strategic Cyber Security Consultancy service to assist
with this translation. Our service finds consultants spanning the technical
delivery of solutions and translating how systems meet corporate objectives
to stakeholders. 4Secure has a rigorous process to ensure we have the right
people that can communicate with key stakeholders and technical teams alike,
ensuring all delivery needs are met and our people are your people acting as a
customer friend, or, ‘angel on the shoulder’ throughout the lifecycle.
This service model delivers on-site personnel via man time or as a managed
service. Offering our customers unparalleled technical ability and an ‘angel on
the shoulder’ for senior stakeholders to ensure effective budget management
and delivery of corporate targets.
11

12
4Secure erase QSG v1.5
Product Name
4Secure erase
CPA Number
OTMM58097454
Defects/Erase HPA & DCO
Yes
Drive Compatibility
2.5” and 3.5” SATA drives
3.5” IDA/PATA drives
Additional drives using optional adapters
Power Supply
100-240VAC + 12V / 3A (included)
Power Input
+12V 3A from AC adapter via 12V DC jack
Power Output
+12V / +5V to drive
Compliance
CE, FCC, RoHS, RCM
Shipping Weight
0.91kg including accessories
Unit Dimensions
81mm x 56mm x 24mm (3.2” x 2.2” x 0.95”)
Support
Technical Support:
Monday to Friday from 09:00 - 17:30hrs.
Email: support@4-secure.com
Tel No: 0843 222 6007
4Secure erase is a registered trademark of 4Secure Ltd. DriveBox is a trademark of CRU Acquisitions Group LLC. Other marks are the property of their respective
owners. 2008, 2011 CRU Acquisitions Group, LLP. All rights reserved.
Product Warranty: 4Secure warrants this product to be free of significant defects in material and workmanship for a period of 1 year from the original date of purchase.
4Secure’s warranty is non-transferrable and is limited to its original purchaser.
Limitation of Liability: The warranties set forth in this agreement replace all other warranties. 4Secure expressly disclaims all other warranties, including not limited to, the
implied warranties of merchantability and fitness for a particular purpose and non-infringement of third-party rights with respect to the documentation and hardware. No
4Secure dealer, agent or employee is authorised to make any modification, extension, or addition to this warranty. In no event will 4Secure or its suppliers be liable for
any costs of procurement of substitute products or services, lost profits, loss of information or data, computer malfunction, or any other special, indirect, consequential,
or incidental damages arising in any way out of the sale or, use of, or inability to use any 4Secure product or service, even if 4Secure has been advised of the possibility
of such damages. In no case shall 4Secure’s liability exceed the actual money paid for the products at issue. Product warranties are operated by 4Secure on behalf of
CRU Acquisitions Group. As a result, all rights and conditions of this agreement must be observed.
4Secure reserves the right to make modifications and additions to this product without notice or taking on additional liability.
The 4Secure erase is a joint venture between 4Secure Ltd and CRU inc.
FCC Compliance Statement: “This device complies with Part 15 of the FSS rules. Operation is subject to the following conditions: (1) This device may not cause harmful
interference, and (2) the device must accept any interference received, including reference that may cause undesired operation.”
This equipment has been tested and found to comply with the limits for a Class A digital device, pursuant to Part 15 of the FCC Rules. These limits are designed to
provide reasonable protection against harmful interference when the equipment is operated in a home or commercial environment. This equipment generates, uses, and
can radiate radio frequency energy and, if not installed and used in accordance with the instruction manual, may cause harmful interference to radio communications.
In the event that you experience Radio Frequency interference, take the following steps to resolve the problem:
1) Ensure that the case of your attached drive is grounded.
2) Use a data cable with RFI reducing ferrites on each end.
3) Use a power supply with an RFI reducing ferrite approximately 5 inches from the DC plug.
4) Reorient or relocate the receiving antenna.
Table of contents
Other WiebeTech Computer Hardware manuals

WiebeTech
WiebeTech FWDDv4 User manual

WiebeTech
WiebeTech TC-E34-2S User manual

WiebeTech
WiebeTech CDKv4 User manual

WiebeTech
WiebeTech FONBv4 User manual

WiebeTech
WiebeTech SIS4-FH User manual

WiebeTech
WiebeTech NVMe Drive eRazer User manual

WiebeTech
WiebeTech USBDV4 User manual

WiebeTech
WiebeTech FODDv4-VBND User manual

WiebeTech
WiebeTech TC-E34-2FW TeraCard User manual

WiebeTech
WiebeTech SDKv4 User manual