WITTUR safety in motion CORE CD User manual

Installation Manual
CORE CD
Economical and Professional Lift Door
实用优质新型电梯门部件
No part of this publication may be
reproduced or translated, even in part,
without prior written permission from
WITTUR
.
Subject to change without notice!
任何书面形式的印刷、翻译或复印需经威特集
团的书面确认
威特集团保留修改本说明的权利,而不另行通
知
info@sematic.it
www.sematic.it
© Copyright WITTUR 2015
www.wittur.com
Code
AM.2.004704.EN
Ver
sio
n
A
Date
05-07-2019

1
A
Added configuration
T2
Eileen
Li Bohui
0
7/05/
2019
MOD
DESCRIPTION
CHANGED
BY
CHECK
BY
DATE

2
Foreword
Congratulations on choosing a WITTUR product!
Before starting the installation of this product, read the information contained
in this document.
You will find important warnings on how to assemble and maintain your
WITTUR product in good operating conditions and to get the maximum of
your investment.
You will also find important information concerning the product care and
maintenance which are an important factor to ensure safety at all times.
WITTUR has long been involved in research aimed at reducing noise level
and in design that takes into due consideration the product quality and the
conservation of environment.
This document is an integral part of the supply and must be available in the
lift power room at all times.
All products are provided with identification type label and in case with
certification marks in accordance with the current rules.
In case of need concerning the product, the identification data on the label
must be always communicated to us.
We hope you will get full satisfaction from this WITTUR product. Yours
faithfully
WITTUR
Symbols Used
The points that are important under the safety viewpoint and danger
warnings are indicated with these symbols:
Danger general
Important warnings
Risk of personal injury (e.g. sharp edges, protruding parts)
Risk of damage to mechanical parts (e.g. incorrect installation)
Live parts

3
WARNING
-WITTUR will not be held liable for any damage caused by tampering of the packing
material by thirds.
- Before starting assembly, check that the product received corresponds to the order and
to the packing list and that no damage has occurred in transit.
- Within its policy of continual research, WITTUR reserves to make changes to its
products without notice. The figures, descriptions and data contained in this manual are
intended as purely indicative and not binding.
-To ensure the safety of the product, avoid any alteration or tampering.
- WITTUR liability will be limited to the original components only.
- WITTUR product is intended for use in the lift sector only; therefore WITTUR liability
shall be limited to such use.
- This product is intended for professional use. Any improper use, including for hobby or
DIY, is prohibited.
- In order to prevent any injury to persons and damage to property, the handling,
installation, adjustment and maintenance must be carried out by suitably trained
personnel, using appropriate clothing and equipment.
- Any masonry work connected with the correct installation of the product must be
executed in a workmanlike manner according to the applicable laws.
- The connection of the electric/electronic units to the local power supply must be
executed in a workman like manner according to the applicable laws.
- All metal parts supporting the electric/electronic units must be connected to an earth
system in a workmanlike manner according to the applicable laws.
- Before connecting the product to the power supply check that the product’s requirement
corresponds with the power supply available.
- Before starting any work on the electric/electronic units must be connected to an earth
system in a workmanlike manner according to the applicable laws.
- Before connecting the product to the power supply check that the product’s requirement
corresponds with the power supply available.
- Before starting any work on the electric/electronic components disconnect power from
the system.
- WITTUR shall have no responsibility on the execution of masonry works or the
connection of
electric/ electronic components to the power supply.
- WITTUR shall not be liable for damages/injury to property/persons caused by improper
use of the emergency opening devices.
SUGGESTIONS
- Keep the material in the original packing, protected from bad weather and direct
exposure to sun during the storage period in order to avoid the accumulation of
water/condensation inside the packing material.
- Never dispose of packing material in the environment.
- Once dismantled, the product should be conveniently disposed as provided for by the
local laws; never dispose of in the environment.
- Whenever possible, re-cycling is preferable to disposal in dump sites.
- Before re-cycling check the nature of the various materials and re-cycle in the
appropriate way.

4

5
Index
Economical and Professional Lift Door
............................................................................. 1
1. Tools List 工具清单 ...................................................................................................... 6
2. Material List 物料清单 .................................................................................................. 7
2.1 overview 概况 ........................................................................................................ 7
2.2 Installation accessory 安装材料............................................................................. 8
3. DOP Installation 门机安装 .......................................................................................... 10
3.1 DOP installation for 02C 中分门机安装 ............................................................... 10
3.1.1 roof installation 轿顶安装 ........................................................................... 10
3.1.2 “H” shape front installation ”H”型前壁安装方式 ......................................... 12
3.1.3 “π” shape front installation ”π”型前壁安装方式 ......................................... 13
3.2 DOP installation for 12L/R 旁开门机安装 ............................................................ 14
3.2.1 roof installation 轿顶安装........................................................................... 14
3.2.2 “H” shape front installation ”H”型前壁安装方式 ......................................... 15
3.3 02C Sill group installation 中分地坎组合安装 ...................................................... 16
3.4 12R/L Sill group installation 旁开地坎组合安装 ................................................... 17
3.5 Panel installation 门板安装 .................................................................................. 18
3.6 Toe Guard 护脚板安装 ........................................................................................ 20
3.7 EMERGENCY OPENING DEVICE 紧急开门装置 ............................................... 22
4 Light Curtain Installation 光幕安装 ................................................................................ 23
4.1 Satic Light Curtain Installation 静态光幕安装 ...................................................... 23
4.1.1 Overview 概况 ........................................................................................... 23
4.1.2 Bottom fixing brackets 底部固定支架 ........................................................ 23
4.1.3 Top fixing brackets 顶部固定支架 ............................................................. 24
4.1.4 Fixing profiles 光幕固定型材 ..................................................................... 24
4.1.5 Plugs and setting /接线与设置 ................................................................... 25
4.2 Dynamic light curtain installation 动态光幕安装................................................... 26
4.2.1 Overview 概览 ........................................................................................... 26
4.2.2 light curtain assembly 光幕安装 ................................................................ 26
4.2.3 Cable layout/光幕线缆走线........................................................................ 27
4.3 Dynamic light curtain installation for 12R/L 旁开动态光幕安装 ............................ 28
4.3.1 Overview 概览 ........................................................................................... 28
4.3.2 light curtain assembly 光幕安装 ................................................................ 28
4.3.3 Cable layout/光幕线缆走线........................................................................ 29
5 Coupler Layout 门刀布局 ........................................................................................... 30
6 Adjustment with tool for CORE LD (option) / Core 厅门调节工具的使用(选用) ...... 31

6
1. Tools List
工具清单
All screws used for the assembly of our product are screwed by means of a tightening torque as shown
on following tables:
Screw Max torque (Nm) Min torque (Nm)
M3 1.1 0.9
M4 2.6 2.1
M5 5.1 4.1
M6 9 7
M8 21 17
M10 42 34
M12 71.4 57.1
In case of need please prefer to above table.
08mm
10mm
13mm
15mm
17mm
18mm
19mm
3mm
4mm
5mm
6mm
8mm

7
2. Material List
物料清单
2.1 overview
概况
01
02
03
05
04
04
06
01, Door Operator 门机
02, Door Panel 门板
03, Sill Group 地坎组合
04, Light Curtain 光幕
05, Toe guard 护脚板
06, Installation accessory
安装材料及附件
T2

8
2.2 Installation accessory
安装材料
No Baan
Code
Icon
图示 A01
A02
A03
A04
No Baan
Code Icon 图示 A01
A02
A03
A04
D1 M10X25
4 0 4 0
P4 4 4 4 4 4
D2 A10.4
8 0 8 0
P5 0.25mm 8 8 8 8
D3 M10X20
4 0 4 0
P6 1.0mm 12 12 16 16
D4 M10
4 0 4 0
P7 4 4 4 4
D5 A 8.2
4 6 0 6
P8
0 0 4 4
D6 M8X20
4 0 0 0
T1 M8x20
4 4 4 4
D7 M8
6 8 0 0
T2 1.0mm 4 4 4 4
D8 M8X16
4 4 6 6
T3 M8X20 2 2 2 2
D9 M8X20
0 6 0 6
T4 A10.4 10 10 6 6
D10
M10 4 0 4 0
T5 M8 6 6 6 6
D11
A8.4 4 4 0 0
T6
1 1 1 1
D12
KHA002 10 10 10 10
T7 M6x12
4 4 4 4
S1 M12
6 6 6 6
T8 M10x30
6 6 6 6
S2 A 12.4 6 6 6 6
T9 M10 6 6 6 6
S3 M12X25 6 6 6 6
T10 A8.4 4 4 4 4
L1 1 1 0 0
T11 M3.5x6 2 2 2 2
L2 1 1 0 0
T12 M6 2 2 2 2
L3 2 2 0 0
L4 M8X16 2 2 0 0
L6 A6.4 4 0 0 0
L5 A8.2 2 2 0 0
L7 M8 2 0 0 0
P1 M8 4 4 0 0
L8 M6 16
0 0 0
P2 M8 4 4 4 4
L9 M6X16 4 0 0 0
P3 A8.2 4 4 4 4
L10 M6X30 4 0 0 0

9
Dx, Door operator accessory, 门机安装附件;
Px, Panel accessory, 门板安装附件;
Sx, Sill group accessory, 地坎安装附件;
Tx, Toe guard accessory, 护脚板安装附件;
Lx, Static light curtain accessory for 02C, 中分静态光幕安装附件(Wittur LC selected 选择
威特静态光幕)
A01, Car roof installation accessory for 02C,中分轿顶安装附件;
A02, Car front installation accessory for 02C, 中分前壁安装附件;
A03, Car roof installation accessory for 12R/L,旁开轿顶安装附件;
A04, Car front installation accessory for 12R/L, 旁开前壁安装附件;
A05,Dynamic light curtain accessory for 02C,中分动态光幕安装附件
A06,Dynamic light curtain accessory for 12R/L,旁开动态光幕安装附件。
Nx, Dynamic light curtain accessory for 02C/12RL,中分/旁开动态光幕安装附件
No Baan Code Icon 图示 A05 中分 A06 旁开
N5
6 3
M6
6 3
N7 M6x20
12 6
N8 M6
12 6
N9
8 5
N10 15 10

10
3. DOP Installation
门机安装
3.1 DOP installation for 02C
中分门机安装
3.1.1 roof installation 轿顶安装
1
2
3
5
Only for Core Car Door
仅用于 Core 轿门
4
D10 (4x)
D3 (4x), M10x20
D2 (4x), A10.4
8mm
D7 (2x), M8
D8 (4x), M8x16
D1 (4x), M10X25
D2 (4x), A10.4
D4
(4x), M10
5mm 13mm
D11 (2x), A8.4
15mm, 16mm
A
Alternative position:PL/2+75
可选安装孔位:PL/2+75

11
When PL≥1200 and HW =300~500, the enforcement bracket should be installed
当开门宽度大于 1200mm(含)且 安装高度大于 300mm, 应安装加强支架
6
6mm 13mm
D5
(4x), A8.2
D6 (4x), M8x20
D7 (4x), M8
Cut if need, 如需可截短

12
3.1.2 “H” shape front installation ”H”型前壁安装方式
Only for Core Car Door
仅用于 Core 轿门
13mm
D9 (6x), M8x20;
D5 (6x), A8.4;
D7 (6x), M8
5mm
D7 (2x), M8
D8 (4x), M8x16
13mm
D11 (2x), A8.4
2
1
3
PL+50 (±2)
CL
20
(P
L
+
150
)

13
3.1.3 “π” shape front installation ”π”型前壁安装方式
Only for Core Car Door
仅用于 Core 轿门
D9 (6x), M8x20;
D5 (6x), A8.4;
D7 (6x), M8
13mm
D7 (2x), M8
D8 (4x), M8x16
13mm
5mm
1
D11 (2x), A8.4
2
3
Min 65
(PL+150)

14
3.2 DOP installation for 12L/R
旁开门机安装
3.2.1 roof installation 轿顶安装
1
2
8mm
15mm, 16mm
3
4
5
D10 (4x) D3 (4x), M10x20
D2 (4x), A10.4
D1 (4x), M10X25
D2 (4x), A10.4
D4
(4x), M10
5mm
D8 (6x), M8x16
Only for PL=700,screw
A to fix position
仅用于净开 700mm,螺钉
A安装时慢门滑板的位置
Only for PL=700,screw
B to fix position
仅用于净开为 700mm,螺
钉B安装时门滑板的位置

15
3.2.2 “H” shape front installation ”H”型前壁安装方式
D9 (6x), M8x20;
D5 (6x), A8.4;
5mm
D8 (6x), M8x16
13mm
1
2
3
Only for PL=700,screw
B to fix position
仅用于净开为 700mm,螺
钉B安装时门滑板的位置
Only for PL=700,screw
A to fix position
仅用于净开 700mm,螺钉
A安装时慢门滑板的位置

16
3.3 02C Sill group installation
中分地坎组合安装
PL M
700
351
800
401
900
451
1000
501
1100
551
1200
601
1300
651
1400
701
2
S2 (6x), A12.4;
S3 (6x), M12x25
PL
F.F.L
1
10mm
18mm
S1 (6x), M12;

17
3.4 12R/L Sill group installation
旁开地坎组合安装
PL M
700
385
800
435
900
485
1000
535
1100
585
1200
635
1300
685
1400
735
2
S2 (6x), A12.4;
S3 (6x), M12x25
10mm
18mm
If 12R, bracket need align with
sill inner side
右开时,支架需与地坎内边对齐
S1 (6x), M12;
1
F.F.L
PL

18
3.5 Panel installation
门板安装
1
2
3
4
P1, (4x), M8; (only for C2 用于中分)
P8, (4x), M8; (only for T2 用于旁开)
P2, (4x), M8;
P3, (4x), A8.2;
P4, (4x);
13mm
5
P7
(
4x)
T2
Without Cladding
门板不带装潢面
With Cladding
门板带装潢面
Fix slow panel firstly if have.
若有慢门板,请先安装
Only for C2 仅用于中分
Only for T2 仅用于旁开

19
X
>6m
m
2mm<X<6mm
X
~3
B
A
P5/P6
P5/P6
|A-B|<1mm
6
7
8
T2
~3
Table of contents
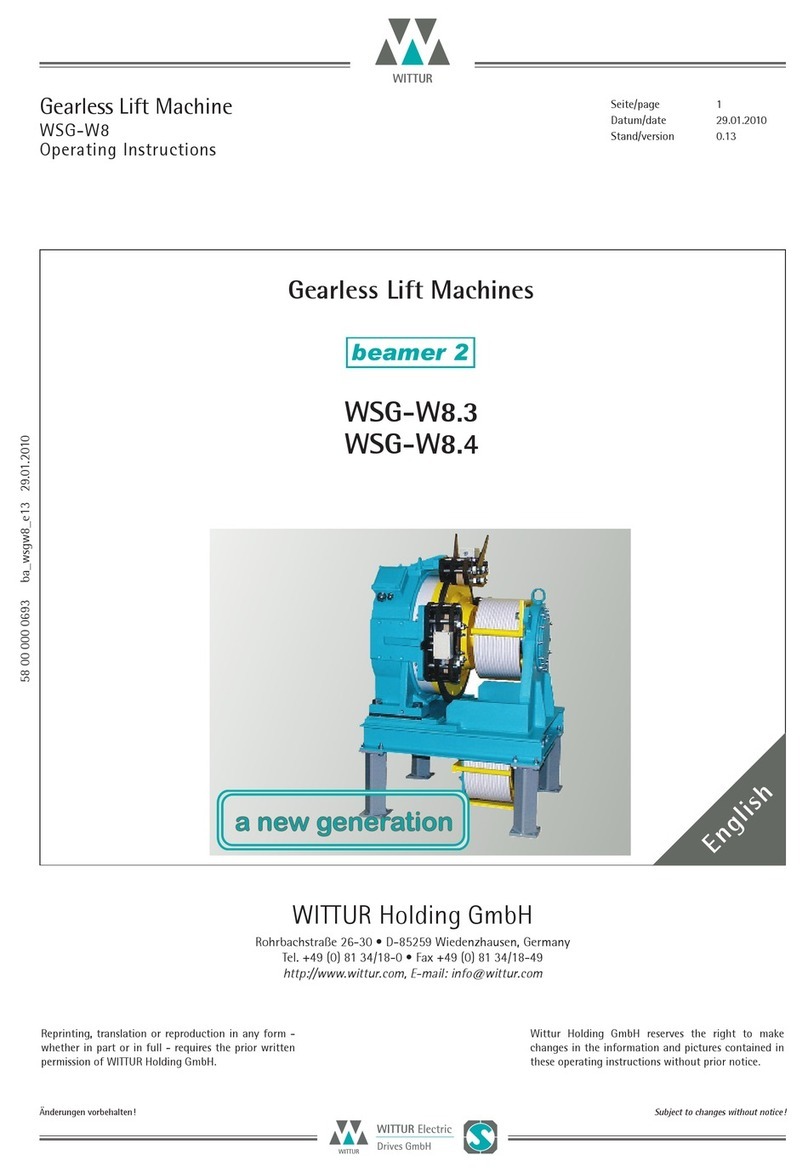
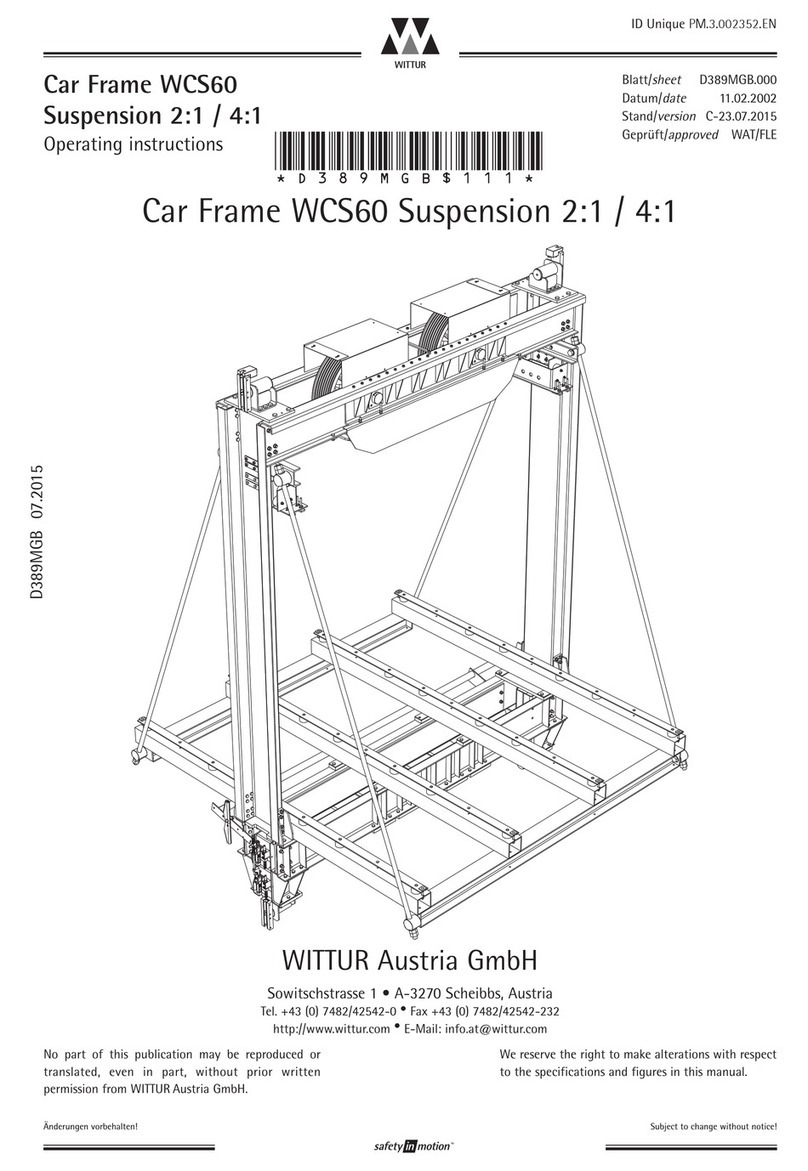
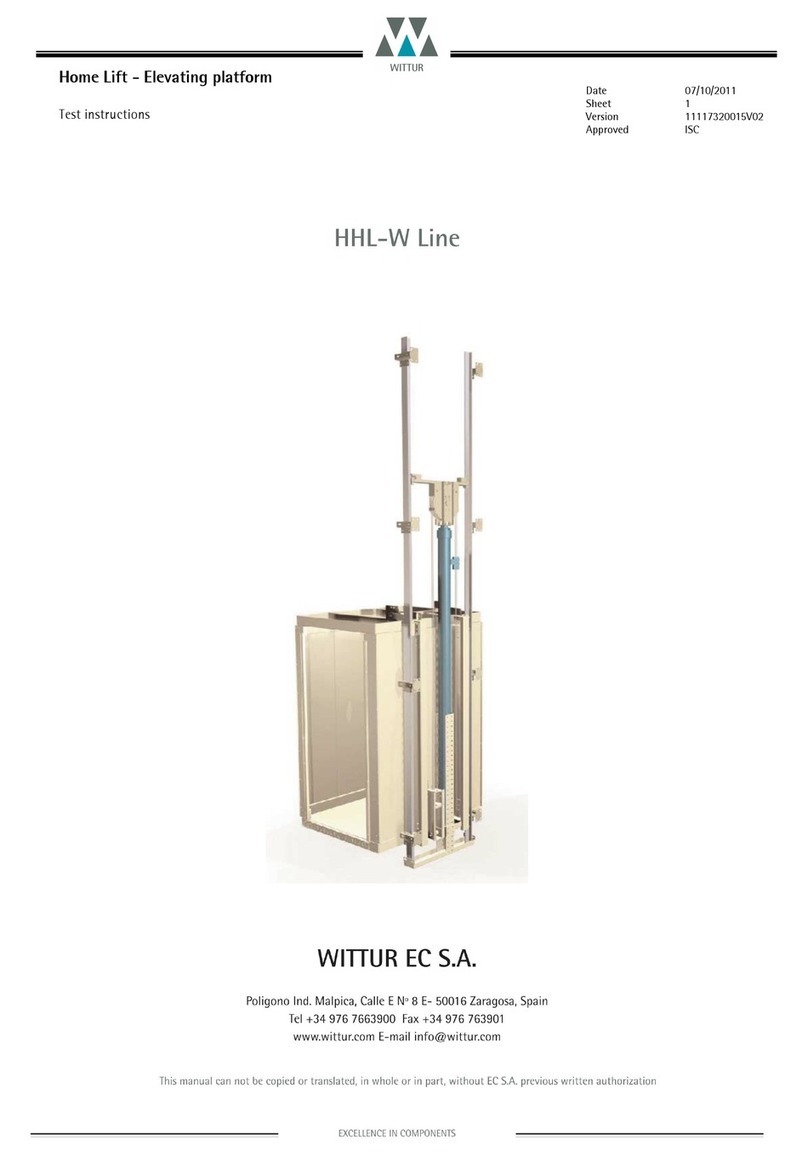
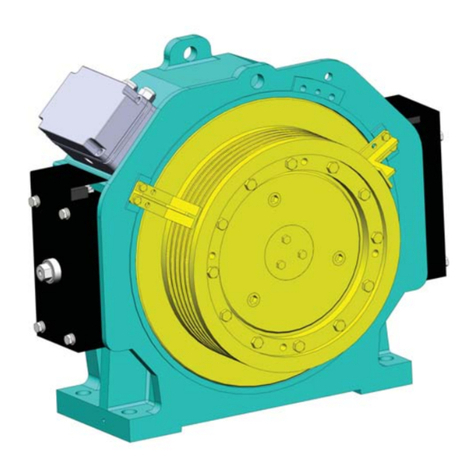
Other WITTUR Lifting System manuals

WITTUR
WITTUR servogearless WSG-S1.5 User manual

WITTUR
WITTUR servogearless WSG-S2.3 User manual

WITTUR
WITTUR OL35E-NA User manual

WITTUR
WITTUR servogearless WSG-S1.2 User manual
WITTUR
WITTUR WCS60 User manual

WITTUR
WITTUR WSG-SF Series User manual

WITTUR
WITTUR WSG-W8 Series User manual

WITTUR
WITTUR HHL-W Line User manual

WITTUR
WITTUR WSG-18 Series User manual
WITTUR
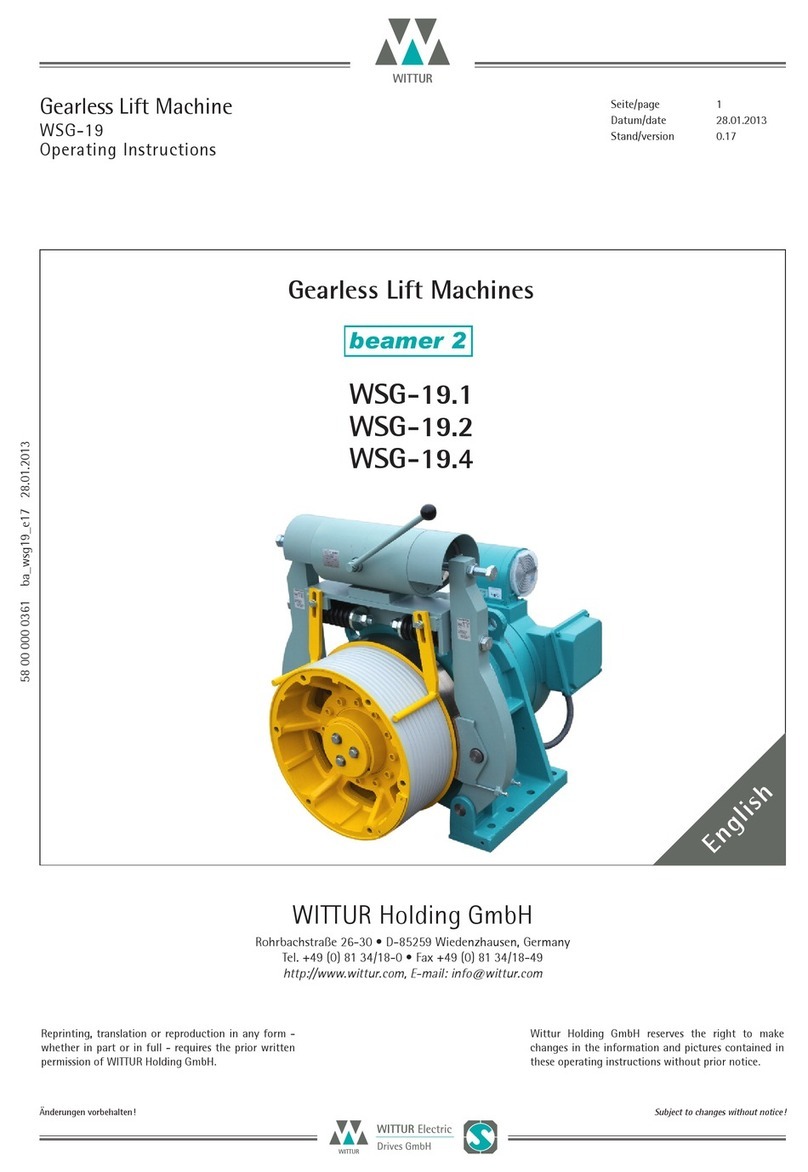
WITTUR WSG-25 User manual