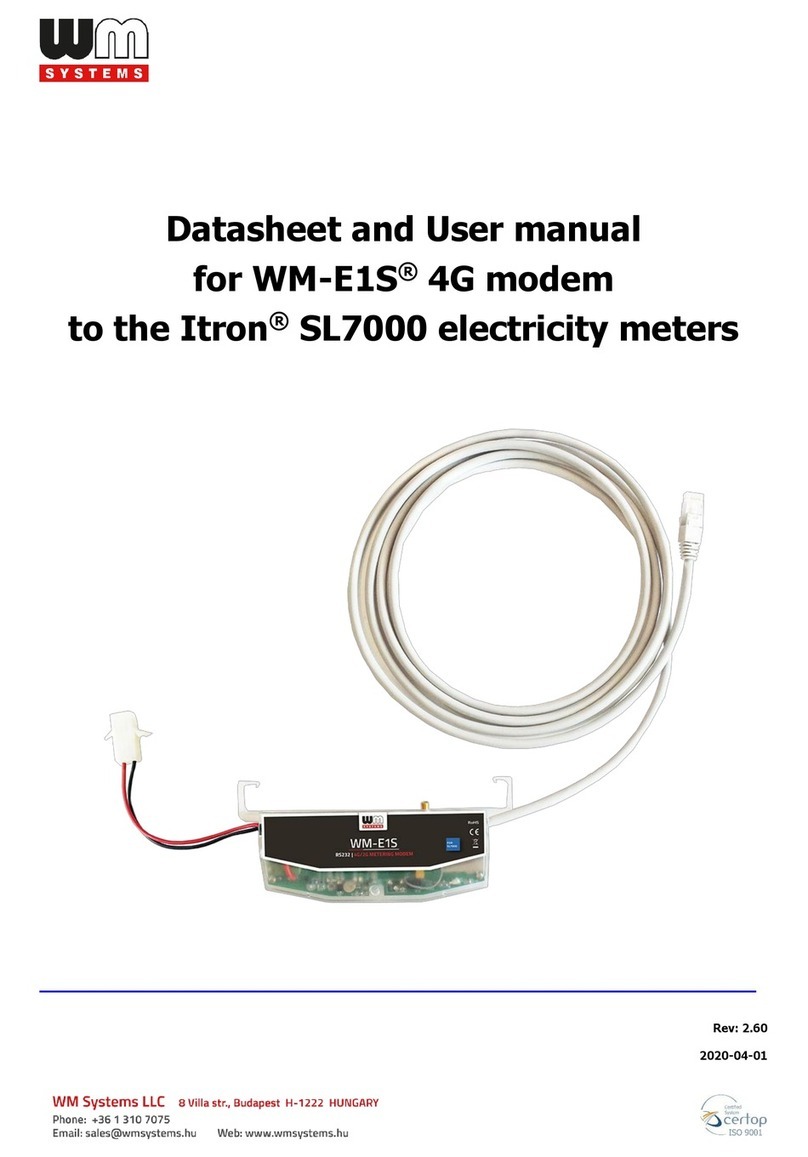
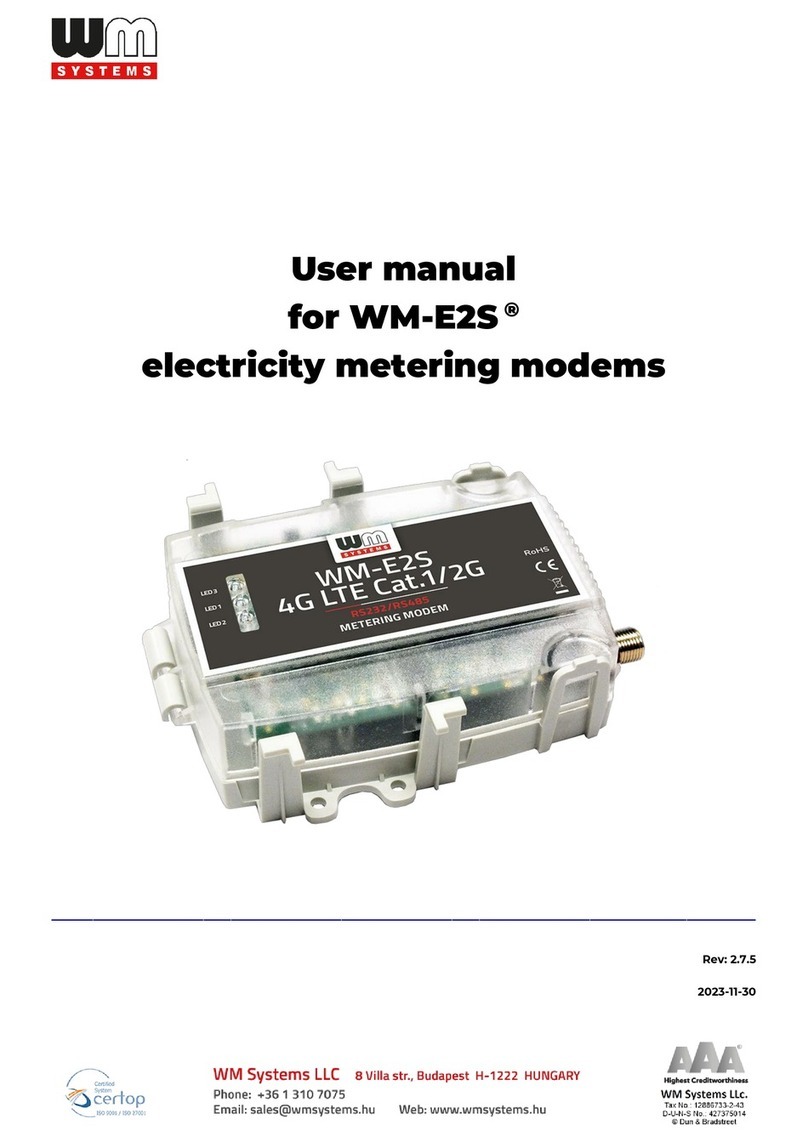
WM Systems WM-E2S User manual

Datasheet and User manual
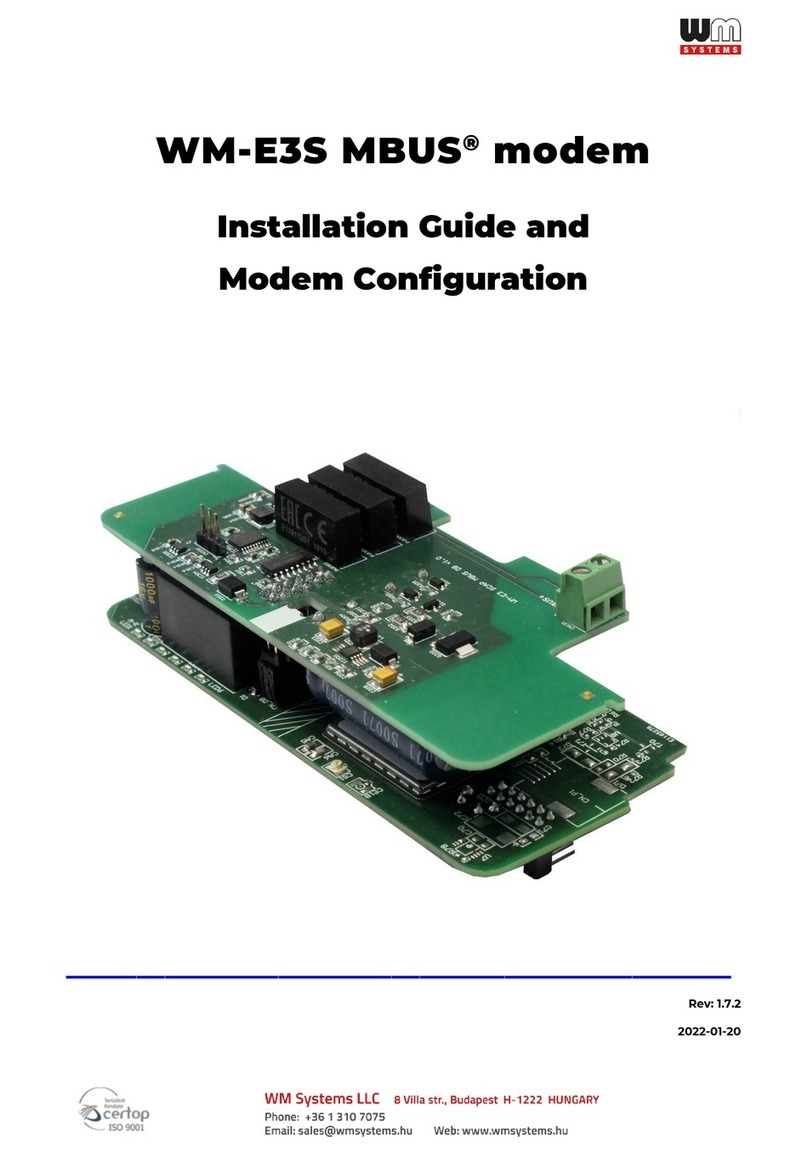
for the WM-E2S 4G modem®
to the PME-PMI®electicity meters
______________________________________________
Rev: 2.51
2020-04-01

EU
Document specifications
This documentation was made to present the installation and configuration steps of the
WM-E2S 4G®electricity metering modem for PME-PMI®electricity meters.
Document Version:
REV 2.51
Hardware Type/Version:
WM-E2S 4G
®
modem
for electricity metering with DC power supply
for the PME-PMI
®
electricity meters
Hardware Version:
V 2.00
Firmware Version:
V 2.5.31
WM-E Term®config.
software version:
V 1.3.32
Pages:
19
Status:
Final
Created:
12-09-2019
Last Modified:
01-04-2020

EU
Chapter 1. Introduction
The WM-E2S 4G®is a modem, which is suitable for automated remote reading of electricity
meters, on the 4G LTE-based cellular network.
You can save money by using our modem, because there is no further need of manual readout
of the meter systems.
Wireless communication
Over the 4G communication, the device has a 2G fallback feature, therefore in case of
outage/inaccessibility of the 4G network, it is further communicating on the 2G network.
It supports multi-operator SIM and the roaming feature, and it is compatible with SIM-Toolkit.
The modem has been designed to provide transparent data link from the meter to the server.
It can be used with push data transmission method, thus the modem can initiate the
communication with the AMR centre periodically at a pre-programmed time interval or triggered
by an alarm (power outage, cover removal, reverse run, etc.)
The communication module is a part of the Smart Metering concept. The device provides a SIM-
card independent- and mobile operator independent solution.
Design and installation
This modem was especially developed for 3-phase PME-PMI (Itrón®ACE6000 and Landis &
Gyr®ZMG416) electricity meters, which can be connected to the meter by its design and its
connection interface. It is installable to the meter as an external modem –due its rail-adapter
(provided to the modem) - which allows to fix the device.
Operation properties, features
The modem is suitable to read the meter’s actual and stored consumption values, access the
recorded event log, read the load profile data, and read or modify the parameter set of the meter
- remotely. It can be accessed remotely through the cellular network (by the Telit®module) and
it is able to send data on the Internet by using an APN.
Supercapacitor
Our modem is equipped with a supercapacitor part, which enables it to keep the module in
operation during small power outages. Due to this part’s features, the communication modem
was prepared to handle max. 10 times per hour meter readouts and data transmits, daily –due
to the limited power resources. Therefore, the modem is not operating continuously on the
cellular network.
EU
Power source and power outage
The device is powered by DC power internally by the meter’s RJ45 connection.
The device is equipped with an internal supercapacitor, which overbridges the intermittent power
cuts and also helps decrease power peaks.
Configuration
The modem is configurable via TCP/UDP port remotely (or via local serial connection) and
operates on the wireless network by configuring the APN, username and password (APN
information is provided by your local mobile operator).
All settings can be configured with our administration tool (the WM-E Term®software), but also
API available so that our partner may easily adapt their current administration environment.
The configuration is possible to one device or a group of devices.
The WM-E Term®tool is password protected and user management is also possible. The
configuration tool requires Windows®platform to be executed, and it is available in several
languages.
Firmware refresh
The WM-E Term®also provides safe firmware change for one modem or a group of devices –
locally or remotely.
Security
The product’s firmware is encrypted and prevented against uploading firmware or data from other
devices. The modem cannot be upgraded by any other 3rd party firmware –it is safe.
The data communication between the modem and the meter is transparent (optional TLS -
Transport Layer Security - capable firmware can be requested).
Status and notification
The modem continuously monitors the mobile network’s and device communication’s health, and
can send status information (signal strength, QoS).
By the configured features, the device is able to send SMS alarm notification (depending on the
used cellular network and mobile operators - if the SMS notification is not disallowed on the
network, then it can be used) and optional Last Gasp notification (power outage alert sending).

EU
Certification
The modem conforms to the CE standard and the Radio Equipment Directive (2014/53/EU), safety
directives (EN 60950-1).

EU
Chapter 2. Connections
2.1 External outfit
2.2 Internal connections
4
1 –Plastic transparent top cover
2 –DIN-rail adapter (to mount)
3 –Alternative fixation lugs/holes
4 –Cover holders (loosen them to
let cover open up)
5 –FME antenna connector
(50 Ohm)
6 –Status LEDs
7 –Hinge (of top cover)
1
3
3
5
6
7
8 –SIM card slot (push left and spin up)
9 –Internal antenna wire (with U.LF - FME
connection)
10 –RJ45 connector (data and DC power)
11 –Jumper board (according to meter
communication)
12 –Super-capacitor parts
13 –External connector
14 –Holder of the top cover
(part of modem enclosure)
8
1
10
9
11
12
14
5
13
4

EU
2.3 Installation steps
Step #1:
Ensure that the device is not
powered on, remove the RJ45 connector (10).
Step #2:
The modem is provided with an
anodized aluminum DIN-rail adapter for
35mm DIN rails (2). The fixation part can be
found on the bottom side of the modem
enclosure.
Step #3:
For SIM-card insertion you need to
loosen the cover plastic lugs (3) and holders(4) on the white plastic bottom part of the enclosure
- at the edges - while pull
and
lift-up the semi-transparent plastic top cover (1) from the antenna
connector side (see the figure hereunder), and open the cover until the PCB will be visible.
Step #4:
Now the PCB will be located on the
left side –see the photo.
Step #5: Slide and open up the plastic SIM
card holder (8) - push from left to right, and
lift it up until released.
4
1
8
10
5
2
7

EU
Step #6
: Insert a replaceable and active SIM card (with APN access) into the SIM-holder (8) -
the chip looks down, the cut edge of
the SIM is oriented towards the
antenna side
.
Step #7
: Close down the SIM holder
(8) and push it from right to left until it
is fastened, and close back the PCB-
side of the enclosure (semi-transparent
plastic) to the white plastic part of the
enclosure from left to right.
Step #8
: Close the top of the enclosure
–taking care of its exact positioning
on the lugs and holders - until it is fastened (you will hear a click when it is closed).
Step #9
: The data connection between the modem and the PME-PMI (Itrón®, Landis & Gyr®)
meter can be established with an RS232 interface by the provided grey RJ45 cable connected tot
he RJ45 connector (see Nr. 10 on the figure hereunder),
10
5
1

EU
Step #10:
Close the plastic cover (1) of the product case and install the modem by fixing the
enclosure onto the 35mm DIN-rail.
Step #11:
Mount a 4G antenna (you can use an FME-type by the FME antenna connector (5) or
use SMA-type by an FME-to-SMA converter).
Step #12:
For configuration, connect the RJ45 cable to the modem’s RJ45 port (10) and connect
the cable’s opposite side with an RJ45-USB adapter (USB dongle) to your computer.
Step #13: Configure the modem by the
WM-E Term®tool.
Step #14:
After the configuration, remove the RJ45 cable from your computer and connect the
modem’s RJ45 port (10) to the electricity meter’s RS232 port.
Step #15:
Remove the PME-PMI®meter’s communication module plastic enclosure (bottom side)
by releasing the screw from the top of the plastic cover part–according to the meter’s installation
manual.
Step #16:
Power on the meter, and the connected modem will be started (due to the RJ45
connection power source). The modem will start its operation and the LED signals show the
current activity. Now you can configure the modem for the usage.
2.4 Description of the RJ45 connector
Connect the provided RJ45-RJ45 (grey) cable to the modem’s RJ45 communication interface (10).
The PME-PMI (Itrón®ACE6000, Landis & Gyr®ZMG416) meter’s RJ45 connection pinout can be
seen in the following table. Note, that the modem side of the connector pinout is the opposite /
counterpart to the meter’s side.
Pin # (RJ45)
Signal name
1
Modem Power out (VDCM out)
2
DCD - Signal detection
3
DTR - Data terminal / Reset (CPL)
4
GND –Signal ground
5
RX - Data reception
6
TX –Data transmission
7
Ready to transmit/slot indicator CTS/TX_DATA
8
RTS –Transmission request

EU
2.5 Status LED signals
If the WM-E2S 4G®modem has not been connected to a power source for a long time, it needs
to be charged before usage/installation. The complete charge process takes about ~2-5 minutes
if the super-capacitor parts are exhausted / discharged previously.
OPERATION LED SIGNALS - IN CASE OF CHARGING
Attention!
The listed LED numbers are the same as
printed on the PCB of the device - from top to
bottom: LED3 (green, top), LED1 (blue,
middle), LED2 (red, bottom).
The factory default LED configuration can be
changed by the WM-E Term®configuration
tool. The same LED feature cannot be
configured to two or more LEDs.
OPERATION LED SIGNALS –IN CASE OF NORMAL OPERATION
Factory default LED signals:
LED identifier
Events
LED 3
GSM / GPRS status
During network registration: led is
active
During network search:
blinking once per second
When connected to the network and the IP connection is okay:
blinking twice per second
When the mobile network access technology was changed: there
will be a quick flashing:
o2G
2 flashing per second
o3G
3 flashing per second
o4G
4 flashing per second
If no network is detected: the led will be blank
The LED is lighting continuously during CSD call the IP data
transmission
LED
Color
Signal
Description
Green
●
It is lighting by green at the first startup or during the charging of the exhausted super-
capacitor parts, the LED will be quickly flashing. Only this LED is active during charging,
further LEDs will be not lighting/flashing during charging. Please wait, while the device is
not fully charged.
LED 3
LED 1
LED 2

EU
LED 11
SIM status / SIM or PIN
failure
Lighting continuously, while the modem is not registered on
the network and while no RSS response (SIM is ok)
When the SIM PIN is okay: led is active
If no SIM can be detected or the SIM PIN is wrong:
blinking once
per second (slow flashing)
This LED also signs the RSSI signal strength: X number of flashing
during 10-15 seconds, repeated (RSSI value, where X value can be:
1,2,3 or 4)
The number of RSSI flashing can be:
oRSSI <= -98
1
flashing
oRSSI > -98 and <= -83
2
flashing
oRSSI > -83 and <= -68
3
flashing
oRSSI > -68
4
flashing
LED 2
Firmware status
Default: the LED is inactive
During communication: the LED is flashing
Over the factory default settings, the operation of the LED signals and its sequence can be changed by
the
WM-E Term®configuration tool.
In the program, at the Standard Meter Interface parameter group, where you can define one of the
following functions of the leds (LED1..LED3) according the next list:
Further configurable LED status signals:
LED status
Event
E-meter relay status –
Relay* output status (not
available on this modem)
Default: “Ready” / stand-by –the LED is flashing once per
second
“Active” mode –at *relay switching turns on the LED
“Normal” mode –at *relay release turns off the LED
M-Bus status
Not used
Firmware status
If the modem firmware starts the LED will be active
If the metermodem connection was built up, the LED is
flashing twice per second
Network status and
access technology
Network registration: the LED is active
During the network searching: flashing once per second
When connected to the network and the IP connection is fine:
flashing twice per second
When the mobile network access technology was changed: there
will be a quick flashing:
o2G
2 flashing / second
o3G
3 flashing / second
o4G
4 flashing / second
If there is no available network: the LED is inactive
Meter status with IEC
polling
When the modemmeter starts the communication, the LED is
flashing once per second
.
When the meter answers to the modem during the communication,
the LED will be turned on.
When the modem cannot communicate with the meter
permanently, the LED will be turned off.
AMM (IEC) client state
By default, or in case of finishing the communication of the
modemEI client the LED is turned off
During the modem EI client ** connection build-up the LED is
flashing shortly once in every second
The EI client** at login requrest –flashing once per second
The EI client**modem communication was built
–
the LED is
active
*The listed relay can be used to control the power supply of the e-meter. This is not used for tariff change!
**The EI client is the transparent TCP channel from the modem to the EI server

EU
During the firmware uploading the LEDs are opeating as it is normal –there is no significal LED signal
for the FW refresh progress. After the Firmware installation, the 3 LEDS will be lighting for 5 seconds and
all will blank, then the modem restarting by the new firmware. Then all LED signals will be used as it was
listed here above.
2.6 Operation of the modem
The complete readout and data sending mechanism to the centre and the other direction for the
configuration and maintenance tasks can be realized on the defined paths.
There is another option and meter data sending mode to initiate a remote readout automatically
in pre-defined intervals. It is also possible to start the data sending in case of different events (e.g.
removal of meter cover, incoming SMS message from the centre).
In this situation, the modem is connected to the mobile data network only during the time of the
data transmission.
The device needs to be connected to 4G or 2G network for it to properly operate.
2.7 Power outage management
The modem supports the LastGASP feature, which means that in case of power outage the
modem’s supercapacitor allows the modem to operate further for a short time (a couple of
minutes).
In presence of the super-capacitor parts, the modem detects the loss of mains/input power
source, and it generates a “POWER LOST” event, when the message thereof will immediately be
transmitted by an SMS text to the configured phone number.

EU
In case of recovering the mains/power source the modem generates the “POWER RETURN”
message and sends it by SMS text.
The LastGASP message settings can be enabled by the WM-E Term®application –in the AMM
(IEC) parameter group part.

EU
Chapter 3. Modem Configuration
3.1 Configuration
The modem must be configured by the WM-E Term®software by setting its parameters which
must be performed before the normal operation and usage.
Over the parameter settings of meter, modem and communication, etc., you can also test the
modem communication and execute AT-commands on the modem by the configuration program
- see
AT commands
description for the description of useful commands.
During the configuration, you have to remove
the meter-modem RJ45 connection and you
have to connect the modem to your computer
by the following hints.
Important!
Note that until the configuration is done, the
modem not being connected to the meter, the parameter values cannot be read out through the
RJ45 interface.
The modem can be connected with the RJ45 cable (10) and by using the RJ45-to-USB converter
(WM-E-SUP USB®) –as above on the photo –directly to your computer.
Important! During the configuration, the power supply of the modem is assured by this
converter board, on USB connection (USB dongle).
Some computers are sensitive to USB current changes. In this case you should use an external
power supply with special connection.
Use the WM-E Term®configuration software to perform the settings –check the WM-E
Term®User manual.
For the serial cable connection, configure the COM port settings of the connected computer
according to the modem’s serial port properties. In the Windows it can be found in the Start /
Control Panel / Device Manager / Ports (COM and LTP) menu Properties:
o
Baud: 9600

EU
o
Databits: 8
o
Parity: No
o
Stopbits: 1
o
Bandwith control: no
For the proper communication of the modem, you have to configure the APN settings of the
SIM –as PIN code, APN, username and password. These all can be configured by using the
WM-E Term®software through the RJ45 connection.
For the successful operation of the communication module it is necessary to have appropriate
signal strength.
If you want to read out the meter parameter values during the PC-modem connection, after the
RJ45-configuration has been made, you should select a different configuration port to the meter
as TCP/IP or Optical, etc.
3.2 Configuring the modem by WM-E Term
®
The Microsoft .NET framework runtime environment is required on your computer.
For modem configuration and testing you will need an APN/data package enabled, active SIM-
card with.
The configuration is also possible
without a SIM card, but in this case
the modem is performing restart
periodically, and some modem
features will be not available until the
SIM card is inserted (e.g. remote
access).
If the modem has not been connected
to a power source for a long time, it needs to be charged before usage/installation. It takes about
~2 minutes to charge it if the supercapacitor was exhausted / discharged.
See: LED signals part
Download the WM-E Term®software by this link from your browser:
https://www.m2mserver.com/m2m-downloads/WM-ETerm_v1_3_32_EN.ZIP

EU
Unzip the .zip file and start the software by the
WM-ETerm.exe
file.
You can login into the configuration software by the default password. You can change the
password for the configuration anytime you want. Check the WM-E Term®
User Manual
for more!
WM-E term description:
https://www.m2mserver.com/m2m-downloads/WM-E-TERM_for_PME-PMI_User_Manual_V1_64.pdf
3.3 Signal strength
Check the
WM-E Term
®program’s
Device information
menu item –or simply use the icon.
Check the RSSI value to ascertain that the available signal strength is enough (yellow means
average signal quality and the green means good quality signal). When you get poor signal quality,
change the antenna position or direction until you will receive better dBm value (the status must
be read again before recheck).
3.4 Parameter configuration
The general operation requires that the cellular communication settings and SIM settings of the
modem (APN, APN username, password and PIN code, network usage method) are made.

EU
The meter communication requires to define the communication port, the RS232 settings
(transparent mode, baudrate, data format, transmitting speed), LEDs settings and to save the
settings by the WM-E Term®software then upload/send them to the modem by the
User Manual
of the software.
Main settings:
1. Choose the Parameter read icon to connect to readout the current settings of the modem.
2. Choose the APN
Parameter group
, and push the Edit settings button. Add the
APN server
name
value, if necessary give the
APN username
and
APN password
values and push the OK
button.
3. Choose Then the M2M
Parameter group,
and push the Edit settings button. At the
Transparent (IEC) meter readout port,
give the
PORT number
, by which you try to readout the
meter. Add this
PORT number
to the
Configuration and firmware download
, which you want to
use for remote parameterization of the modem / for the further firmware exhange.
4. If you have to use
SIM PIN
then choose the Mobil network
Parameter group
, and add the
SIM PIN
to the field. Here you can change a
Frequency band
4G only, LTE to 2G (for fallback
feature), etc. You can also select here a dedicated mobile network provider (auto or manual).
Push then the OK button.
5. The RS232 serial data port transparent settings can be made at the Trans. / NTA
Parameter
group
. The default settings: Multi utility mode:
transparent mode
, Meter port baud rate
: 9600, Fix
8N1
data format at meter
–enable the checkbox). Then push the OK button.
6. At the RS485 settings change the
RS485 mode
to
disable
value. Then push the OK button.
7. When you have finished, choose the Parameter write icon to send the changed settings
to the modem. The status of the configuration process can be seen at the bottom of the screen.
At the end of the upload, the modem will be restarted and operating according to the new settings.
Further options
To refine the modem handling choose the Watchdog
parameter group
.
Save the current last good configuration at the File/Save menu item. Later you can
distribute this setting (file) to another modem device by one click.

EU
Firmware refresh: choose the Devices menu, Single Firmware refresh item by choosing
the appropriate firmware file (with .DWL file extension).
Attention! Ask our sales about the available newest firmware!

EU
Chapter 4. Legend
GSM
GSM (Global System for Mobile Communications) is the most popular standard for mobile
telephony systems in the world. GSM is a cellular network, which means that mobile phones
connect to it by searching for cells in the immediate vicinity.
GPRS
General Packet Radio Service (GPRS) provides more efficient packet-based data transmission
directly from the mobile phone at speeds similar to HSCSD.
GPRS extends the GSM circuit switched data capabilities and makes some additional services
possible.
4G LTE
LTE, an abbreviation for Long-Term Evolution, commonly marketed as 4G LTE, is a standard
for wireless communication of high-speed data for mobile phones and data terminals. It is based
on the GSM/EDGE and UMTS/HSPA network technologies, increasing the capacity and speed
using a different radio interface together with core network improvements. The standard is
developed by the 3GPP (3rd Generation Partnership Project) and is specified in its Release 8
document series, with minor enhancements described in Release 9.
LTE is the natural upgrade path for carriers with both GSM/UMTS networks
and CDMA2000 networks. The different LTE frequencies and bands used in different countries
will mean that only multi-band phones will be able to use LTE in all countries where it is supported.
RS232
In telecommunications, RS-232 (Recommended Standard 232) is a standard for serial binary
single-ended data and control signals connecting between a DTE (Data Terminal Equipment) and
a DCE (Data Circuit-terminating Equipment). It is commonly used in computer serial ports. The
standard defines the electrical characteristics and timing of signals, the meaning of signals, and
the physical size and pinout of connectors.
Other manuals for WM-E2S
1
Table of contents
Other WM Systems Modem manuals

WM Systems
WM Systems WM-E3S 4G CI User manual

WM Systems
WM Systems WM-E8S User manual

WM Systems
WM Systems WM-E1S User manual

WM Systems
WM Systems WM-I2 User manual

WM Systems
WM Systems M2M PRO4 MODEM User manual

WM Systems
WM Systems WM-E3S User manual

WM Systems
WM Systems Universal Industrial RS485 Modem User manual

WM Systems
WM Systems WM-E2S User manual

WM Systems
WM Systems M2M PRO4 DCU User manual

WM Systems
WM Systems M2M PRO4 MODEM User manual