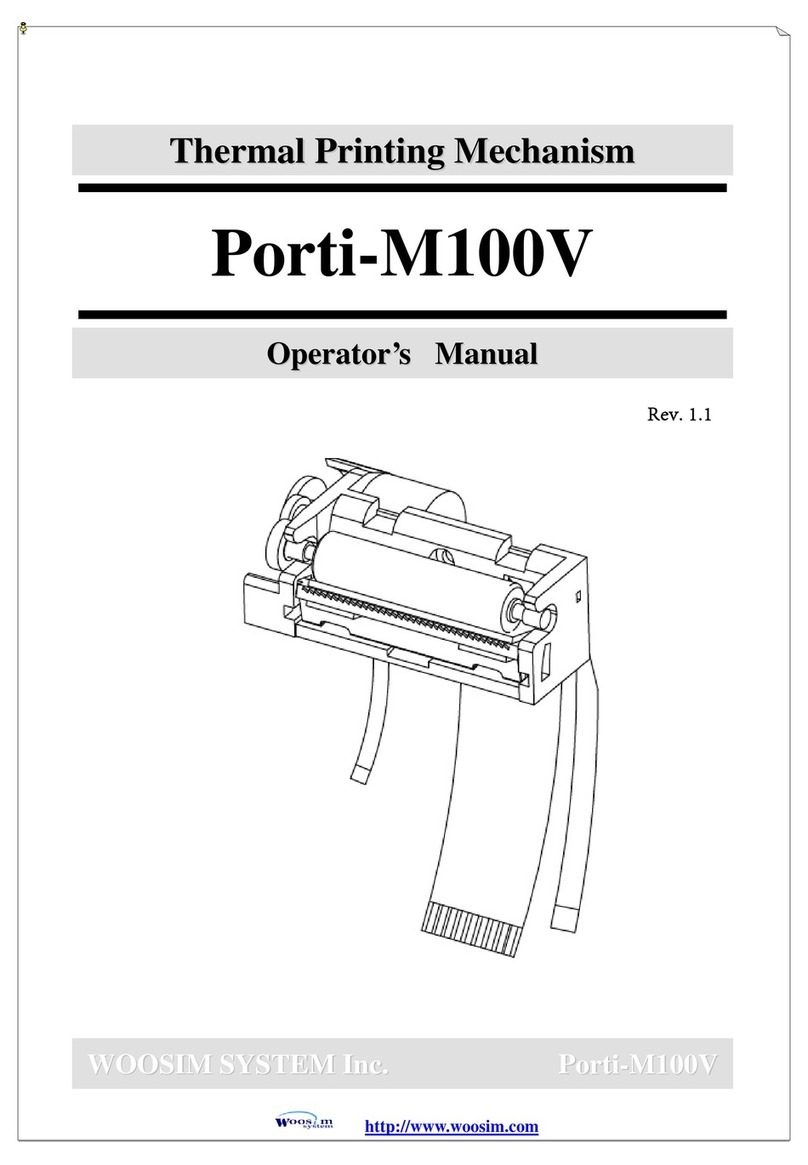
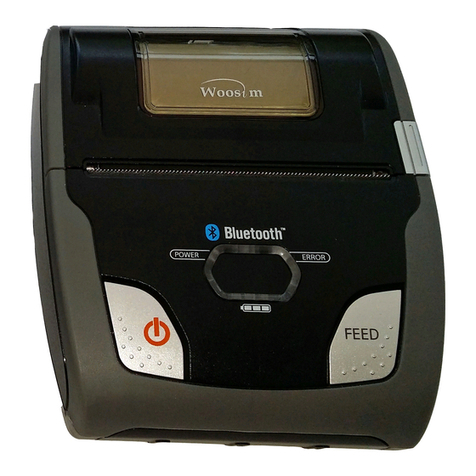
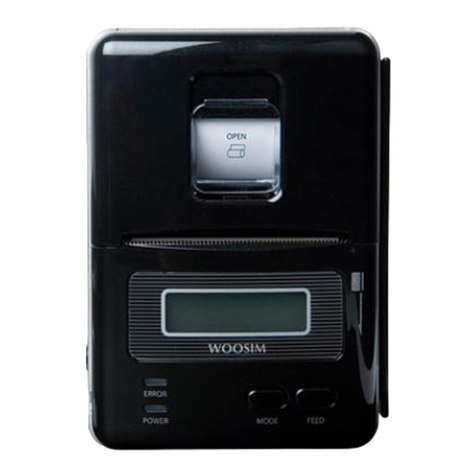
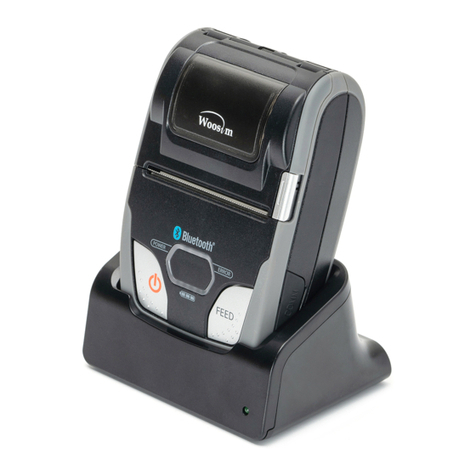
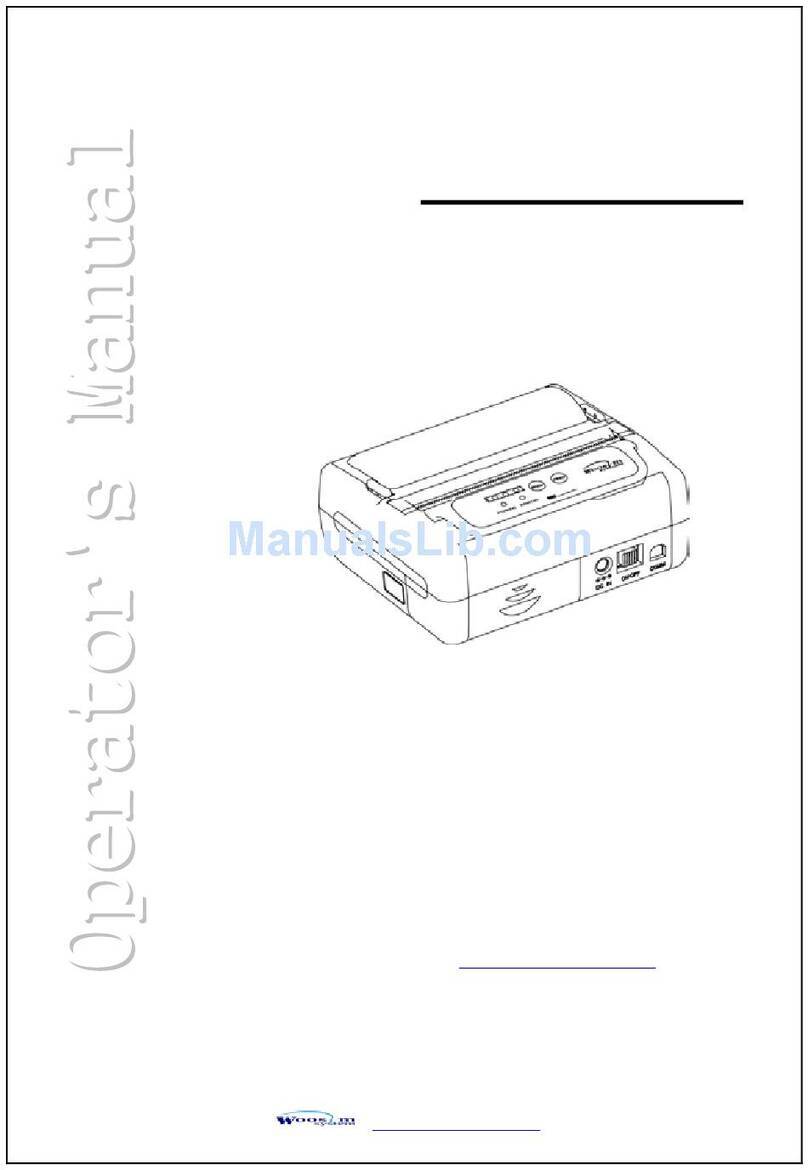
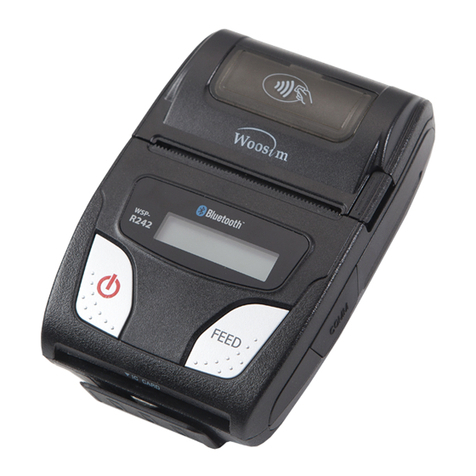
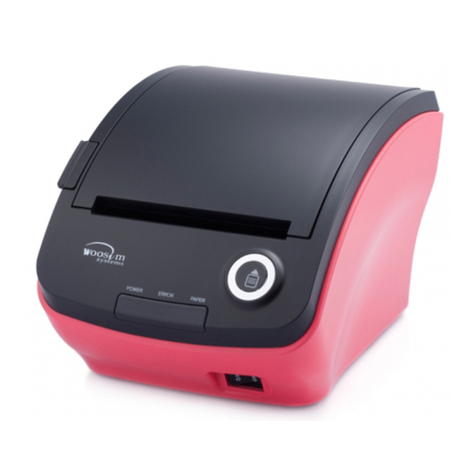
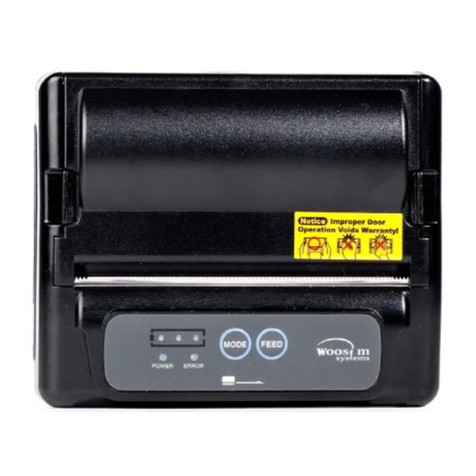
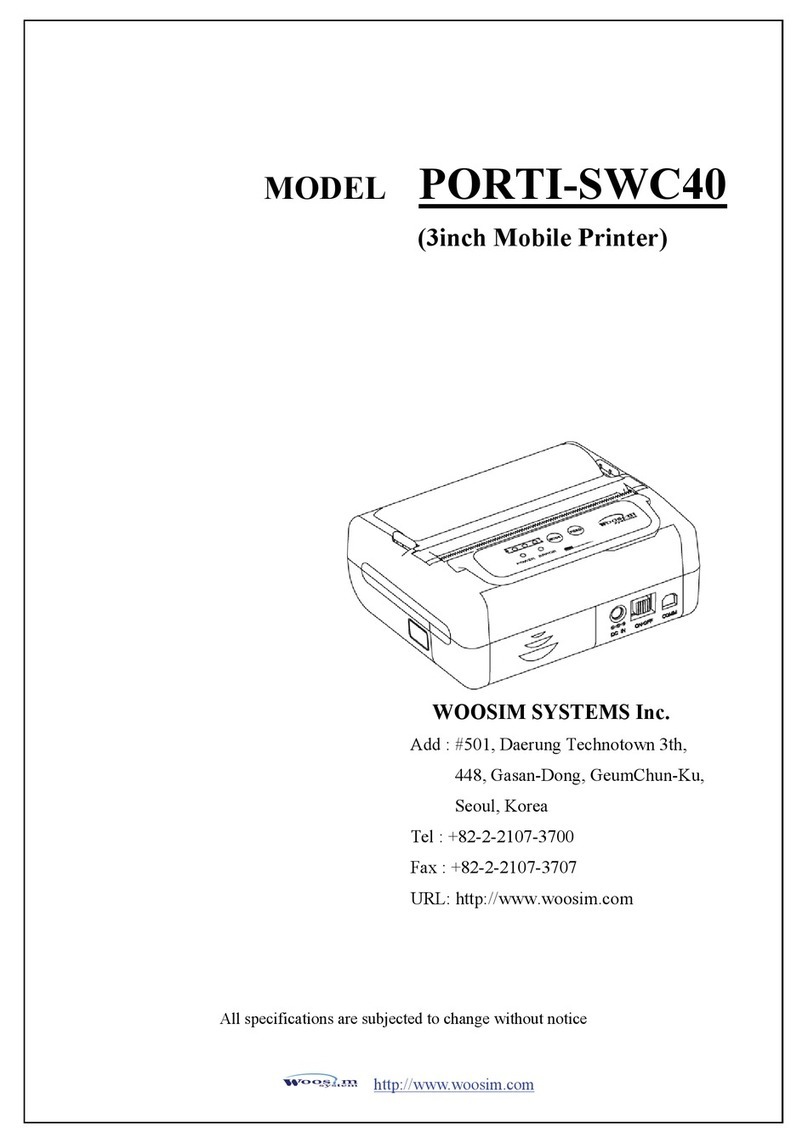
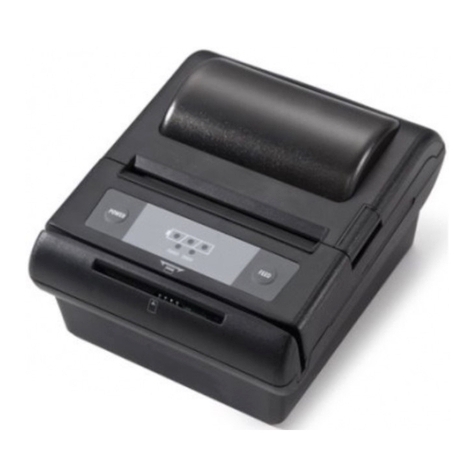
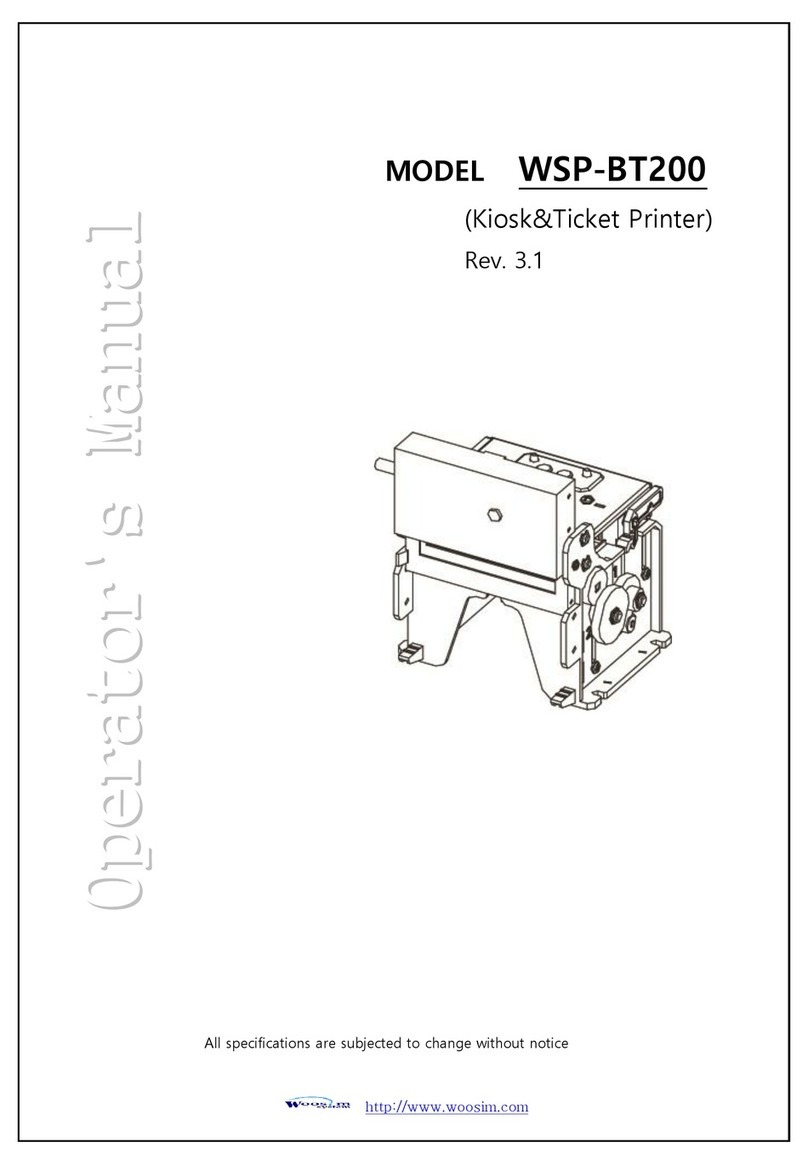
WOOSIM PORTI-S User manual

PORTI-S(PORTABLE PRINTER)
Operator'sManual
All specificationsaresubjected tochange withoutnotice
WOOSIMSYSTEMInc.
Room404,GeonGukBLDG,288-1,Doksan-1Dong
GeumChun-Ku,Seoul,Korea
Tel:+82-2-852-8575,Fax:+82-2-852-8577
URL:www.poky.co.kr

Warning -U.S. (FCC Statement)
This equipment has been tested and found to comply with the limit for a Class B digital device
digitaldevicepursuanttoPart15 ofthe FCC Rules
These limits are designed to provide reasonable protection against harmful interference in a residential Installation.
This equipment generates, uses, and can radiate radio frequency energy and, if not installed and used in accordance
with the instructions. If this equipment does cause harmful interference to radio communications. However, there is
no guarantee that interference will not occur in a particular installation. IF this equipment does cause
harmful interference to radio or television reception, which can be determined by turning the equipment off and on,
the user is encourage to try to correct the interference by one or the following measures:
-Reorient or relocate the receiving antenna.
-Increase the separation between the equipment and receiver.
- Connect the equipment into an outlet on a circuit different from that to which the receiver is connected
- Consult the dealer or an experience radio TV technician for help
Change or modification not expressly approved by the party responsible for Compliance could void
the user's authority to operate the equipment.
Caution
Somesemiconductordevicesare easilydamaged by staticelectricity.You should
turnthe printer"OFF",beforeyou connector removethe cableson the rearside,
in orderto guardthe printeragainst the staticelectricity. If the printerisdamaged
bythe staticelectricity,you shouldturnthe printer"OFF".
INTRODUCTION
The PORTI-Sisdesigned forusewith electronicinstruments such asmobilePOS,
retail, transportation.warehousing,othertraveling and mobilecomputing.
The mainfeaturesof the printerare asfollows:
1.High speed printing :50mm persecond.
2.Lownoisethermalprinting.
3.RS-232 communication and IrDA(protocolmethod)
4.Characters can be scaled up to 64 times compared toitsoriginalsize.
Please be suretoread the instruction inthismanualcarefullybefore using your
newPORTI-S
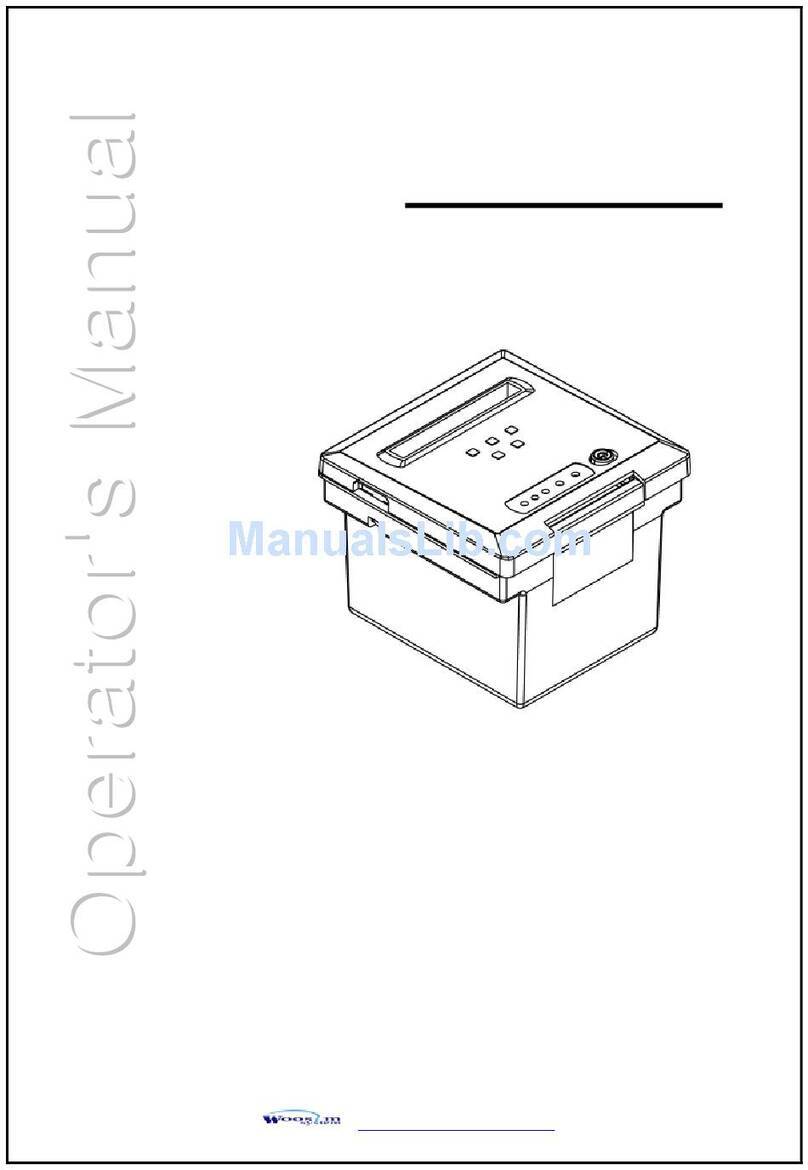
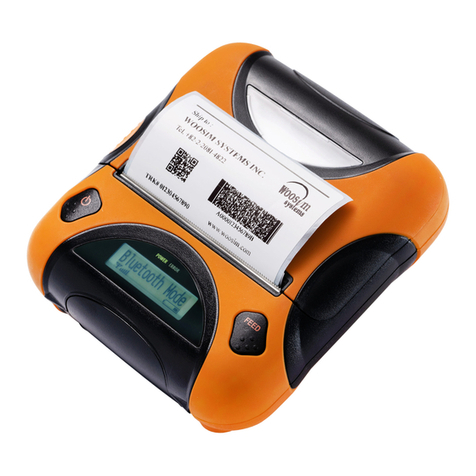
TableofContents
CHAPTER1.SETTINGUPTHE PRINTER
1.1.UNPACKING
1.2.CONNECTINGTHECABLE
1.3. INSTALLING OR REPLACINGTHE PAPER ROLL
1.4.ADJUSTMENTS AND SETTING
1.5.USINGTHE PRINTER
CHAPTER2.THE SELF TEST
CHAPTER3.CODETABLE
CHAPTER4.CONTROLCOMMANDS
CHAPTER5. INTRODUCTIONOFPROTOCOLIrDA
APPENDIX

Chapter1.Setting up theprinter
1.1Unpacking
Yourprinterbox shouldinclude theseitems. If anyitemsare damaged or
missing,pleasecontactyourdealerforassistance.
PORTI-SRoll Paper
Operator'sManual Connector
Adaptorforbatteryrecharge Leatherettecase

1.2.Connecting the cable
You can connectup totwocablestothe printer. It connectstothe connector
parton the left and frontside of the printer,whichis shown below.
Refertothe APPENDIX B formoreinformation aboutcommunication connector.
Note:Before connecting the cable,make surethatboththehost
and thepowerbutton toapplytotheprinterareturned off.
Ifyourpowersupplyisbroken oroutoforder,please
contactyourdealerforassistance.
Powerconnector
Commucation connectorforRS232C

1.3. Installing or replacing thepaper roll
1.Makesurethat the printerisnotreceiving data;otherwise,datamaybe lost.
2.Open the paper roll coverbyapplying yourfingeron bothside ofprinter,
pushitup when the lock isreleased as showninthe drawing.
3.Removethe used paper roll coreif thereisone.
4. Insert the paper roll as shown.
Note:Be sureto use paper rollsthatmeet the specifications.
Do notuse paper rollsthathave thepapergluedtothe
corebecause theprintercannotdetect thepaperend
correctly.

5.Besureto notethe correctdirection that the papercomesoff the roll.
6,Pull outasmall amountofpaperand then closethe cover,as shown.
7.Tearoff the paperas shown.

1.4.Adjustments and setting
The PORTI-Sis setup at the factoryto be appropriateforalmostall users.
Butifyou wantanotherspecification tofit the printeratyoursystemsuch as
change the baud rate,handshaking,parity check,aswell asprintdensity,please
contact to ourdevelopment teamoryourdealer.
1.5.Using theprinter
1.ControlPanel
2.Button
1)MODE
Mode button isforusetochange communication mode.
The communication mode is set toRAWIrDAmode when the powerison.
Press the mode button once, the mode will be changed toStandardIrDA
(Version 1.0)forWindows98,pleaseconfirmthe mode LED will twinkle
2times.
Press the mode button twice, the mode will be changed toRS-232Cmode
forWindows98,pleaseconfirmthe mode LED will twinkle3times.
All communication environmentmustbe setwith 9600 bps,1stop bit, no
parity,no flowcontrol.
If you want to usethe standardIrDAmode forWindows98,check the your
computer'sIrDAspeed.
Forexample,
Yourcomputer ->StartMenu ->Setting ->ControlPanel->IrDA->Option
->Communication Speed Limitation With57600 bps
POWER
MODE
FEED
POWERLEDMODELEDERRORLED

2)FEED
Press the FEEDbutton onceto advance paperone line.You can also hold
downthe FEEDbutton tofeed papercontinuously.
3.Panel lights
1)POWERLED
The POWERlightison wheneverthe printerison.
Butwhen the batteryisalmostexhausted, thisled flasheswithred color
occasionally.
Inthis case,you mustrecharge the batterybyusing the powersupply.
2)MODELED
Normallythisled isoff.
Butifyou select the protocolIrDAmode using the mode key,it flashesonce.
Incase ofselecting the RS232Cmode bypressing the mode key,it flashes
twicetimes.
3)ERRORLED
Thisled indicatesan errorsuch aspaperend,orcoveropen,etc

Chapter2.The self test
The self-testchecks whetherthe printerhasanyproblems. If the printerdoesnot
function properly,contactyourdealer.The self-testchecks the following;
1.Makesure paper roll hasbeen installed properly.
2.Turnonthe powerwhile holding downthe FEEDbutton.The self-testbegins.
3.The self-testprintsthe currentprinterstatus,which providesthe controlROM
version and the communication method setting.
4.Afterprinting the currentprinterstatus,self-testprinting will printa pattern using
the built-incharacterset.
5.The self-testautomaticallyends
The printerisreadytoreceive data as soon asitcompletesthe self-test.

Chapter3.Codetable
The following pages showthe charactercode tables.Tofind the character
corresponding to a hexadecimalnumber,countacross the top of the tableforthe
left digitand countdownthe left column of the tableforthe rightdigit.
Forexample 4A=J
HEX 0 1 2 3 4 5 6 7
HEX BIN0000 0001 0010 0011 0100 0101 0110 0111
0 0000 NULL DLE SP 0@P`p
1 0001 !1AQa q
2 0010 "2BRbr
3 0011 # 3 CSc s
4 0100 EOT$ 4 DTdt
5 0101 ENQ%5EUe u
6 0110 &6FVfv
7 0111 '7GWgw
8 1000 CAN(8HXhx
9 1001 HT)9IYiy
A1010 LF*:JZjz
B1011 ESC+;K[k{
C1100 FF ,<L\l|
D1101 CR GS-=M]m}
E1110 .>N^n~
F1111 /?O_ o SP
Page 0 (PC437 ;USA,StandardEurope) (0x00 -0x7F)

HEX 8 9 A B C D EF
HEX BIN1000 1001 1010 1011 1100 1101 1110 1111
0 0000
1 0001
2 0010
3 0011
4 0100
5 0101
6 0110
7 0111
8 1000
9 1001
A1010
B1011
C1100
D1101
E1110
F1111 SP
Page 0 (PC437 ;USA,StandardEurope) (0x80 -0xFF)

Chapter4.Controlcommands
Command Notation
[Name]The name of the command
[Format] The code sequence
ASCII indicatesthe ASCII equivalents
HEX indicatesthe hexadecimalequivalents.
Decimal indicatesthe decimalequivalents.
[ ]kindicatesthe contentsof the []shouldberepeated ktimes.
[Range]Givesthe allowablerangesforthe arguments.
[Description]Describesthe function of the command.
Explanation ofTerms
LSB LeastSignificantBit
MSB MostSignificantBit
ControlCommands
[Name]HorizontalTab
[Format] ASCII HT
HEX 09
Decimal9
[Description]Movesthe printposition tothe nexthorizontaltab position.
[Notes]
[Reference]ESC D
1)This command isignored unless the nexthorizontaltab position
hasbeen set.
2)If the nexthorizontaltab position exceedsthe printing area, the
printersetsthe printing position to[Printing area width+1]'
3)Horizontaltab positionsaresetwithESC D.
4)If this command isreceived when the printing position isat [
Printing area width+1], the printerexecutesprintbuffer-full
printing of the currentline and horizontaltab processing from
the beginning of the nextline.
5)The defaultsetting of the horizontaltab position forthe paper
roll isevery8thcharacter(9th,17th,25th, ... column).
HT

LF
[Name]Printand line feed
[Format] ASCII LF
HEX 0A
Decimal10
[Description]Printsthe datainthe printbufferand feedsone line based on the
currentline spacing.
[Notes]This command setsthe printposition tothe beginning of the line.
[Reference]ESC2,ESC3
FF
[Name]Printand returntostandardmode in page mode.
[Format] ASCII FF
HEX 0C
Decimal12
[Description]Printsthe datainthe printbuffercollectivelyand returnstostandard
mode.
[Notes]
[Reference]ESCFF,ESCL,ESCS
CAN
[Name]Cancelprintdatain page mode
[Format] ASCII CAN
HEX 18
Decimal24
[Description] In page mode,deletesall the printdatainthe currentprintable area.
[Notes]
[Reference]ESCL,ESCW
1)The bufferdataisdeleted afterbeing printed.
2)The Printing area setbyESCWisreset tothe defaultsetting.
3)This command setsthe printposition tothe beginning of the line.
4)This command isenabled onlyin page mode...
1)This command isenable onlyin page mode.
2)If datathatexisted inthe previously specified printing area also
existsinthe currently specified printing area,itisdeleted.

ESCFF
[Name]Printdatain page mode
[Format] ASCII ESCFF
HEX 1B0C
Decimal27 12
[Description] In page mode,printsall buffered datainthe printing area collectively.
[Notes]This command isenabled onlyin page mode.
Afterprinting, the printerdoesnotclearthe buffered data,setting
valuesforESCTand ESCW,and the position forbuffering
characterdata.
[Reference]FF,ESCL,ESCS
ESCSP n
[Name]Setrightside characterspacing.
[Format] ASCII ESCSP n
HEX 1B20 n
Decimal27 32 n
[Range]0<= n<= 255
[Description]Setsthe characterspacing forthe rightside of the characterto
[nxhorizontalorverticalmotion units].
[Notes]1)The rightside characterspacing fordouble-widthmode istwice
the normalvalue.When charactersare enlarged, the rightside
characterspacing isntimesnormalvalue.
2)This command sets valuesindependentlyin eachmode.
3)The horizontaland verticalmotion unitarespecified byGS P.
Changing the horizontalorverticalmotion unitdoesnotaffect the
currentright-side spacing.
4)The GS P command can change the horizontal(and vertical)
motion unit. However, the value cannotbe less than the minimum
horizontalmovementamount, and itmustbe in even unitsof the
minimumhorizontalmovementamount.
5)The maximumrightside spacing if255/180 inches,Any setting
exceeding the maximumis converted tothe maximum
automatically.

[Default] n=0
[Reference]GS P
ESC!n
[Name]Selectprintmode
[Format] ASCII ESC!n
HEX 1B21 n
Decimal27 33 n
[Range]0<= n<= 255
[Description]Selectsprintmode(s)using n asfollows.
[Notes]
BitOff/OnHex DecimalFunction
0Off 00 0 CharacterfontA(12x24)
On 01 1 CharacterfontB(9x17)
1- - - Undefined
2- - - Undefined
3Off 00 0 Emphasized mode notselected
On 08 8 Emphasized mode selected
4Off 00 0 Double-heightmode notselected
On 10 16 Double-heightmode selected
5Off 00 0 Double-widthmode notselected
On 20 32 Double-widthmode selected
6- - - Undefined
7Off 00 0 Underline mode notselected
On 80 128 Underline mode selected
1)When both double-heightand double-widthmodesareselected,
quadruplesizecharactersare printed.
2)The printercan underline all characters,butcan notunderline the
spacesetbyHT.
3)The thickness of the underline isthatselected byESC-,regardless
of the charactersize.

[Reference]ESC-,ESCE,GS!
ESC$nL nH
[Name]Setabsolute printposition.
[Format] ASCII ESC$ nL nH
HEX 1B24 nL nH
Decimal27 36 nL nH
[Range]0<= nL <= 255
0<= nH<= 255
[Description]Set the distancefromthe beginning of the line tothe position at
whichsubsequentcharactersareto be printed.
[Notes]
4)When somecharactersinaline are double ormore height, all the
characterson the line are aligned at the baseline.
5)ESCEcan alsoturn on oroff emphasized mode.However, the
setting of the lastreceived command iseffective.
6)ESC-can alsoturn on oroff underline mode.However, the setting
of the lastreceived command iseffective.
7)GS!can alsoselectcharactersize.However, the setting of the last
received command iseffective..
1)The distancefromthe beginning of the line tothe printposition is
[(nL +nHx256)x(verticalorhorizontalmotion unit)]inches.
2)Setting outside the specified printable area areignored.
3)The horizontaland verticalmotion unitarespecified byGS P.
4)The GS P command can change the horizontal(and vertical)
motion unit.
However, the value cannotbe less than the minimumhorizontal
movementamount, and itmustbe in even unitsofhe minimum
horizontalmovementamount.
5)Instandardmode, the horizontalmotion unit(x)isused.
6)In page mode,horizontalorverticalmotion unitdiffersdepending
on the starting position of the printable area asfollows;
1.When the starting position is set tothe upperleft orlower right
of the printable area using ESCT, the horizontalmotion unit(x)
isused.
2.When the starting position is set tothe upper rightorlowerleft
of the printable area using ESCT, the verticalmotion unit(y)isused.

[Reference]ESC\, GS$,GS\, GS P
ESC%n
[Name]Select/Canceluserdefined characterset.
[Format] ASCII ESC%n
HEX 1B25 n
Decimal27 37 n
[Range]0<= n<= 255
[Description]Selectsorcancelsthe userdefined characterset.
[Notes]
[Default] n=0
[Reference]ESC$,ESC?
ESC&y c1 c2 [x1 d1...d(y x x1)]...[xk d1...d(y x xk)]
[Name]Define userdefined characters.
[Format] ASCII ESC&y c1c2[x1 d1...d[yxx1)]...[xk d1...d(y x xk)]
HEX 1B26 y c1c2[x1 d1...d[y x x1)]...[xk d1...d(y x xk)]
Decimal27 38 y c1c2[x1 d1...d[yxx1)]...[xk d1...d(y x xk)]
[Range]32 <= c1<= c2<= 126
0<= x<= 12 FontA(12 x24)
0<= x<= 9FontB(9x24)
0<= d1...d(y x xk)<= 255
[Description]Definesuserdefined characters.
[Notes]
1)When the LSB ofnis0, the userdefined charactersetis canceled.
2)When the LSB ofnis1, the userdefined charactersetis selected.
3)When the userdefined charactersetis canceled, the internal
charactersetisautomatically selected.
4)nisavailable onlyforthe leastsignificantbit.
1)y specifiesthe numberofbytesinthe verticaldirection.
2)c1specifiesthe beginning charactercode forthe definition,and c2
specifiesthe finalcode.
3)x specifiesthe numberofdotsinthe horizontaldirection.
4)The allowablecharactercode range isfromASCII code <20H>to
<7EH>(95 characters)

[Default] The internalcharacterset
[Reference]ESC%,ESC?
[Example]
-When fontA(12x24)is selected.
5)It ispossibleto define multiplecharactersforconsecutivecharacter
codes.
If onlyone characterisdesired,usec1=c2.
6)disthe dotdataforthe characters.The dotpatternisinthe
horizontaldirection fromthe left side.Anyremaining dotson the right
side are blank.
7)The datato define a userdefined characteris(y x x)bytes.
8)Setacorresponding bit to1to printa dotorto 0 not to printa dot.
9)This command can define differentuser-defined characterpatternsby
eachfonts.Toselectafont, useESC!
10)Auser-defined characterand a downloaded bitimage cannotbe
defined simultaneously.When this command isexecuted, the
downloaded bitimage is cleared.
11)The user-defined characterdefinition is cleared when:
ESC@isexecuted.
ESC?isexecuted.
GS*isexecuted.
The printerisresetorthe poweristurned off.
12)When the user-defined charactersare defined infontB(9x17),only
the mostsignificantbitof the 3rd byte ofdatainverticaldirection is
effective.
d1 d4 d7 ........................... d34
d2 d4 d35
d3 d6 .................................... d36
MSB
LSB

ESC*mnL nHd1...dk
[Name]Selectbit-image mode.
[Format] ASCII ESC&mnL nHd1...dk
HEX 1B2AmnL nHd1...dk
Decimal27 42 mnL nHd1...dk
[Range]m=0,1,32,33
0<= nL <= 255
0<= nH<= 3
0<= d<= 255
[Description]Selectsa bit-image mode using mforthe numberofdots specified
bynL and nH,asfollows:
[Notes]
=>
d1=<0F>H
d2=<03>H
d3=<00>H
d4=<30>H
d5=<80>H
d6=<00H>
d7=<40H>
d8=<40H>
d9=<20>H
.
.
.
mMode
Verticaldirection Horizontaldirection
Number
ofDotsDotdensityDotdensityNumberof
Data
0 8-dotsingle density8 60 DPI90 DPInL+nHx256
1 8-dotdouble density8 60 DPI180 DPInL+nHx256
32 24-dotsingle density24 180 DPI90 DPI(nL+nHx256)x3
33 24-dotdouble density24 180 DPI180 DPI(nL+nHx256)x3
1)If the valuesofmisoutof the specified range,nL and datafollowing
are processed an normaldata.
2)The nL and nHindicatethe numberofdotsof the bitimage inthe
horizontaldirection.
Table of contents
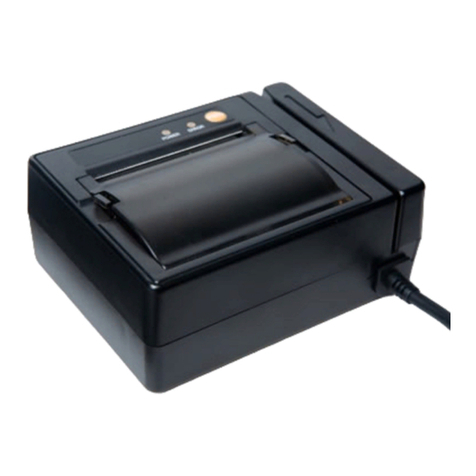
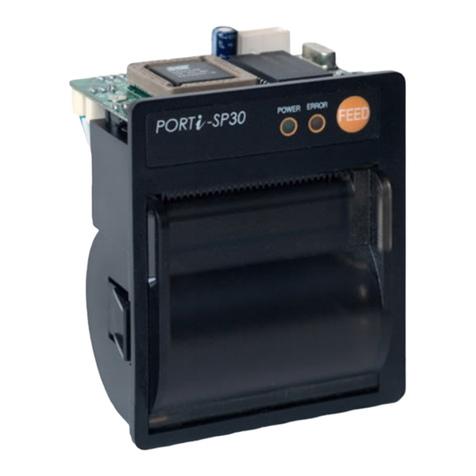
Other WOOSIM Printer manuals

WOOSIM
WOOSIM WSP-i250 User manual

WOOSIM
WOOSIM WSP-MC350 User manual

WOOSIM
WOOSIM PORTI-SM40 User manual

WOOSIM
WOOSIM WSP-R350 User manual

WOOSIM
WOOSIM PORTI-SWC40 User manual

WOOSIM
WOOSIM WSP-i350 User manual

WOOSIM
WOOSIM PORTI-WC40 User manual

WOOSIM
WOOSIM PORTI-PC40 User manual

WOOSIM
WOOSIM WSP-i450 User manual

WOOSIM
WOOSIM PORTI-PC40 User manual

WOOSIM
WOOSIM PORTI-SP20 User manual

WOOSIM
WOOSIM WSP-CP 260 User manual

WOOSIM
WOOSIM WSP-L240 User manual

WOOSIM
WOOSIM PORTI-SWC40 User manual

WOOSIM
WOOSIM WSP-i250 User manual

WOOSIM
WOOSIM PORTI-W40 User manual

WOOSIM
WOOSIM PORTI-WP40 User manual

WOOSIM
WOOSIM PORTI-P340 User manual

WOOSIM
WOOSIM WSP-BT200 User manual

WOOSIM
WOOSIM PORTI-W40 User manual