SAFETY PRECAUTIONS
& INSTALLATION REGULATIONS
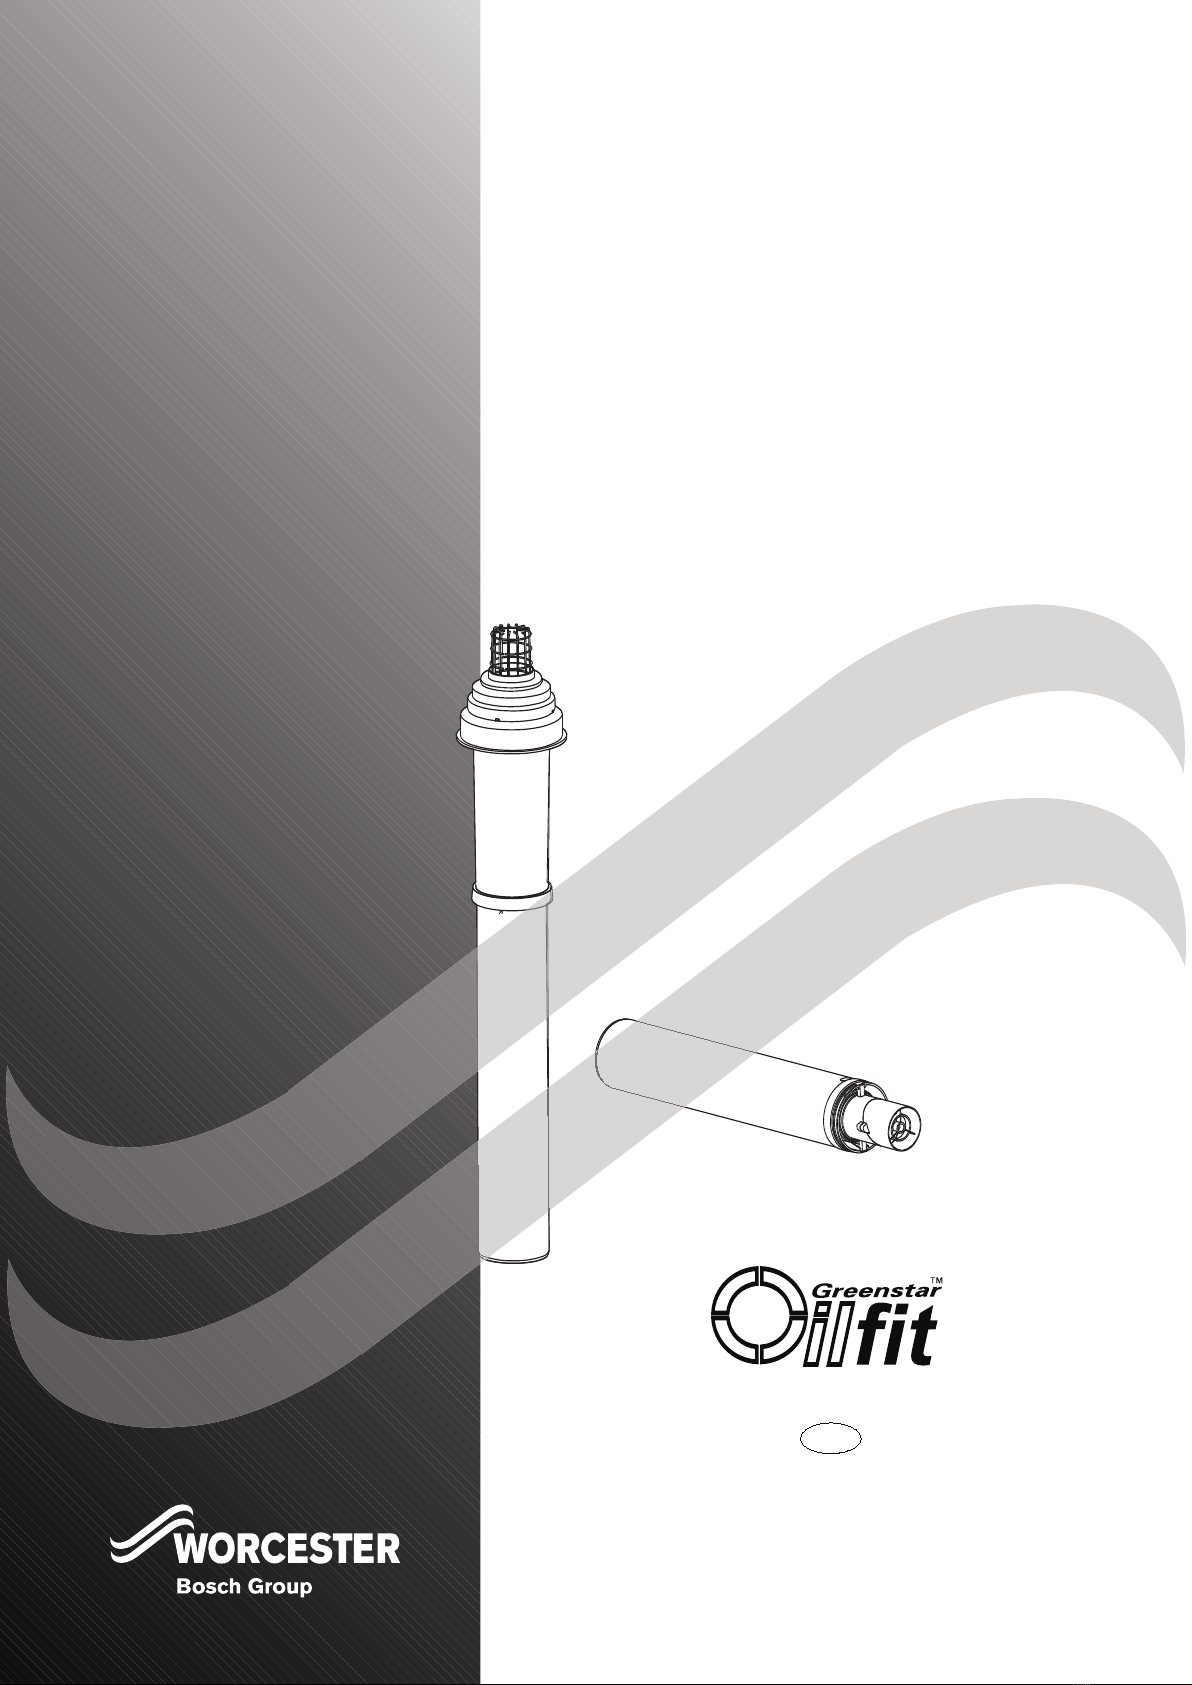
GREENSTAR OILFIT INSTALLATION INSTRUCTIONS
8 716 106 261b (01/07)
2
SAFETY &
REGULATIONS
SAFETY PRECAUTIONS INSTALLATION REGULATIONS
OIL SMELLS, LEAKS OR FUMES FROM THE APPLIANCE:
4
Extinguish any naked flames.
4
Open windows and doors.
4
Isolate the electrical supply.
4
Isolate the fuel supply to the boiler.
4
Rectify fault.
HEALTH & SAFETY:
The appliance contains no asbestos and no substances have been used in the construction
process that contravene the COSHH Regulations (Control of Substances Hazardous to Health
Regulations 1988). Where applicable, the CE mark indicates compliance with relative EU
Directives.
COMBUSTIBLE AND CORROSIVE MATERIALS:
Do not store or use any combustible materials (paper, thinners, paints etc.) inside or within the
vicinity of the appliance.
The combustion air must be kept clear of chemically aggressive substances which can corrode
the appliance and invalidate any warranty.
FITTING & MODIFICATIONS:
Fitting the appliance and any controls to the appliance may only be carried out by a competent
engineer in accordance with these instructions and the relevant Installation Regulations.
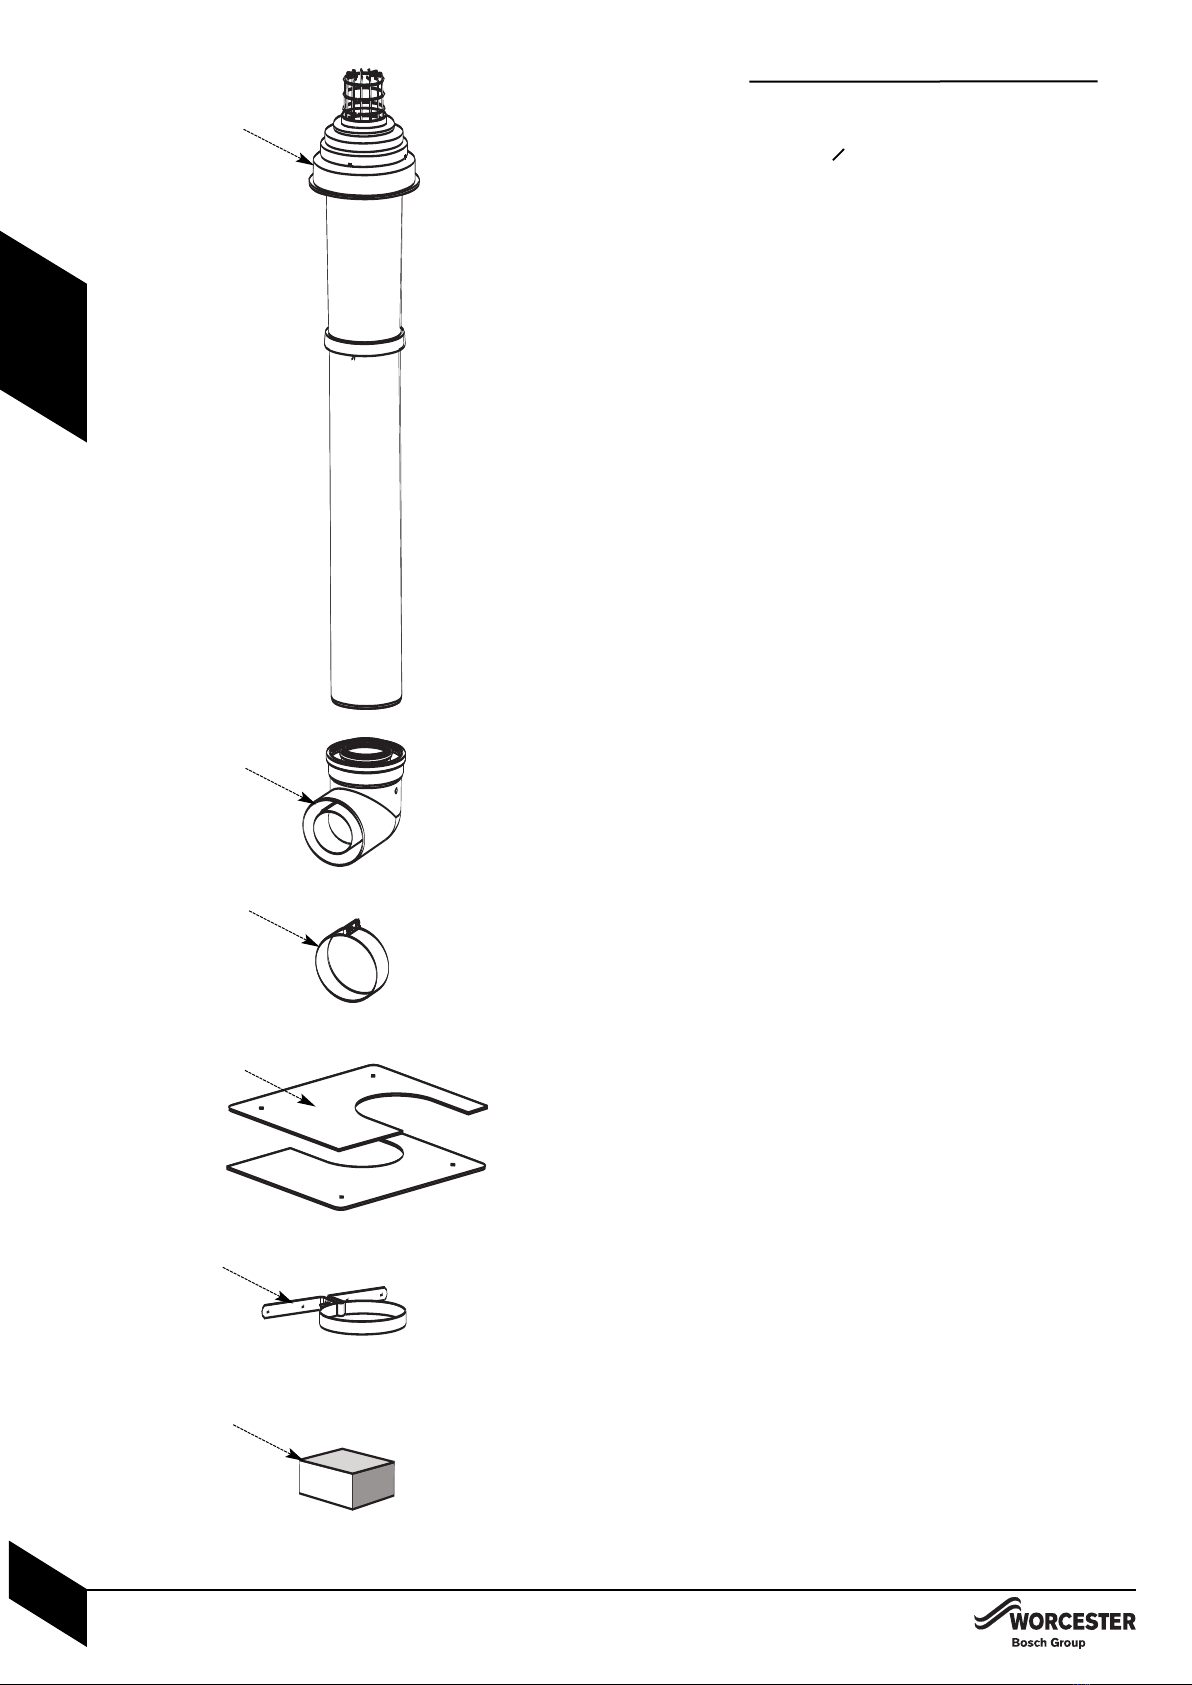
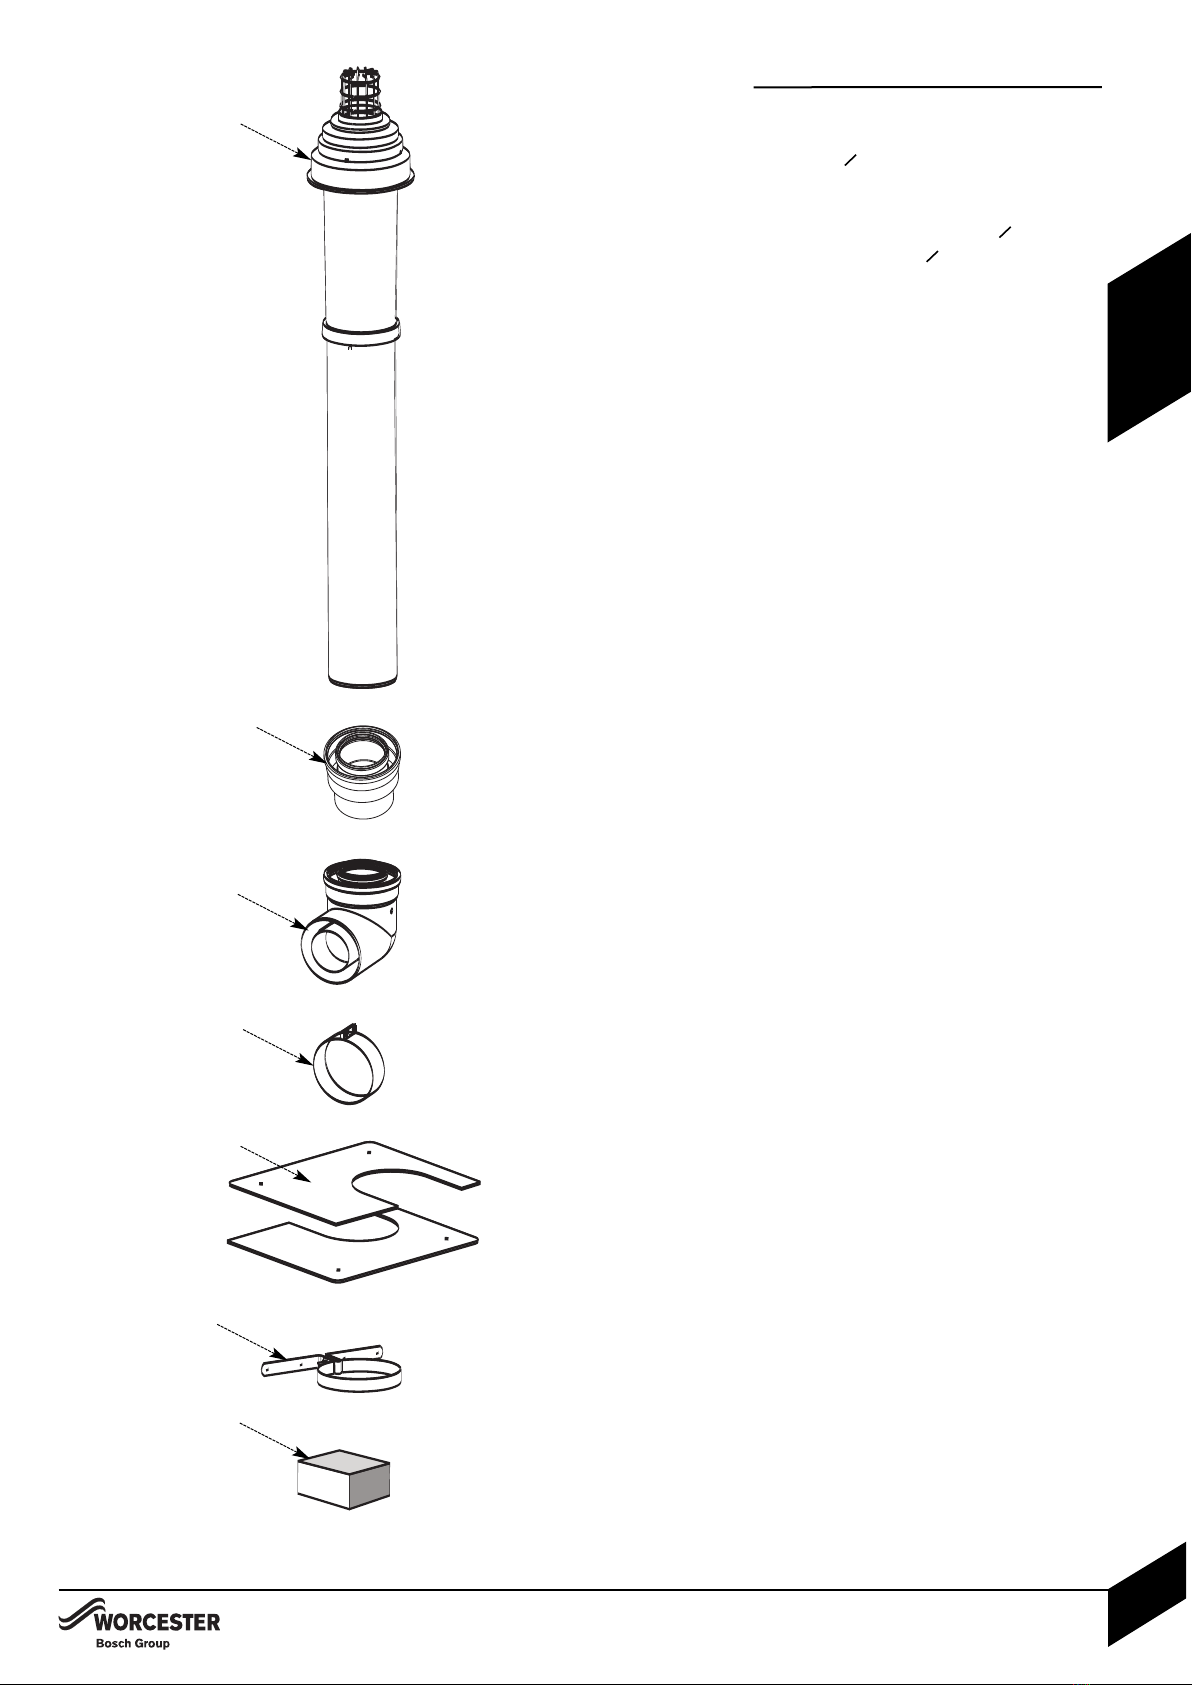
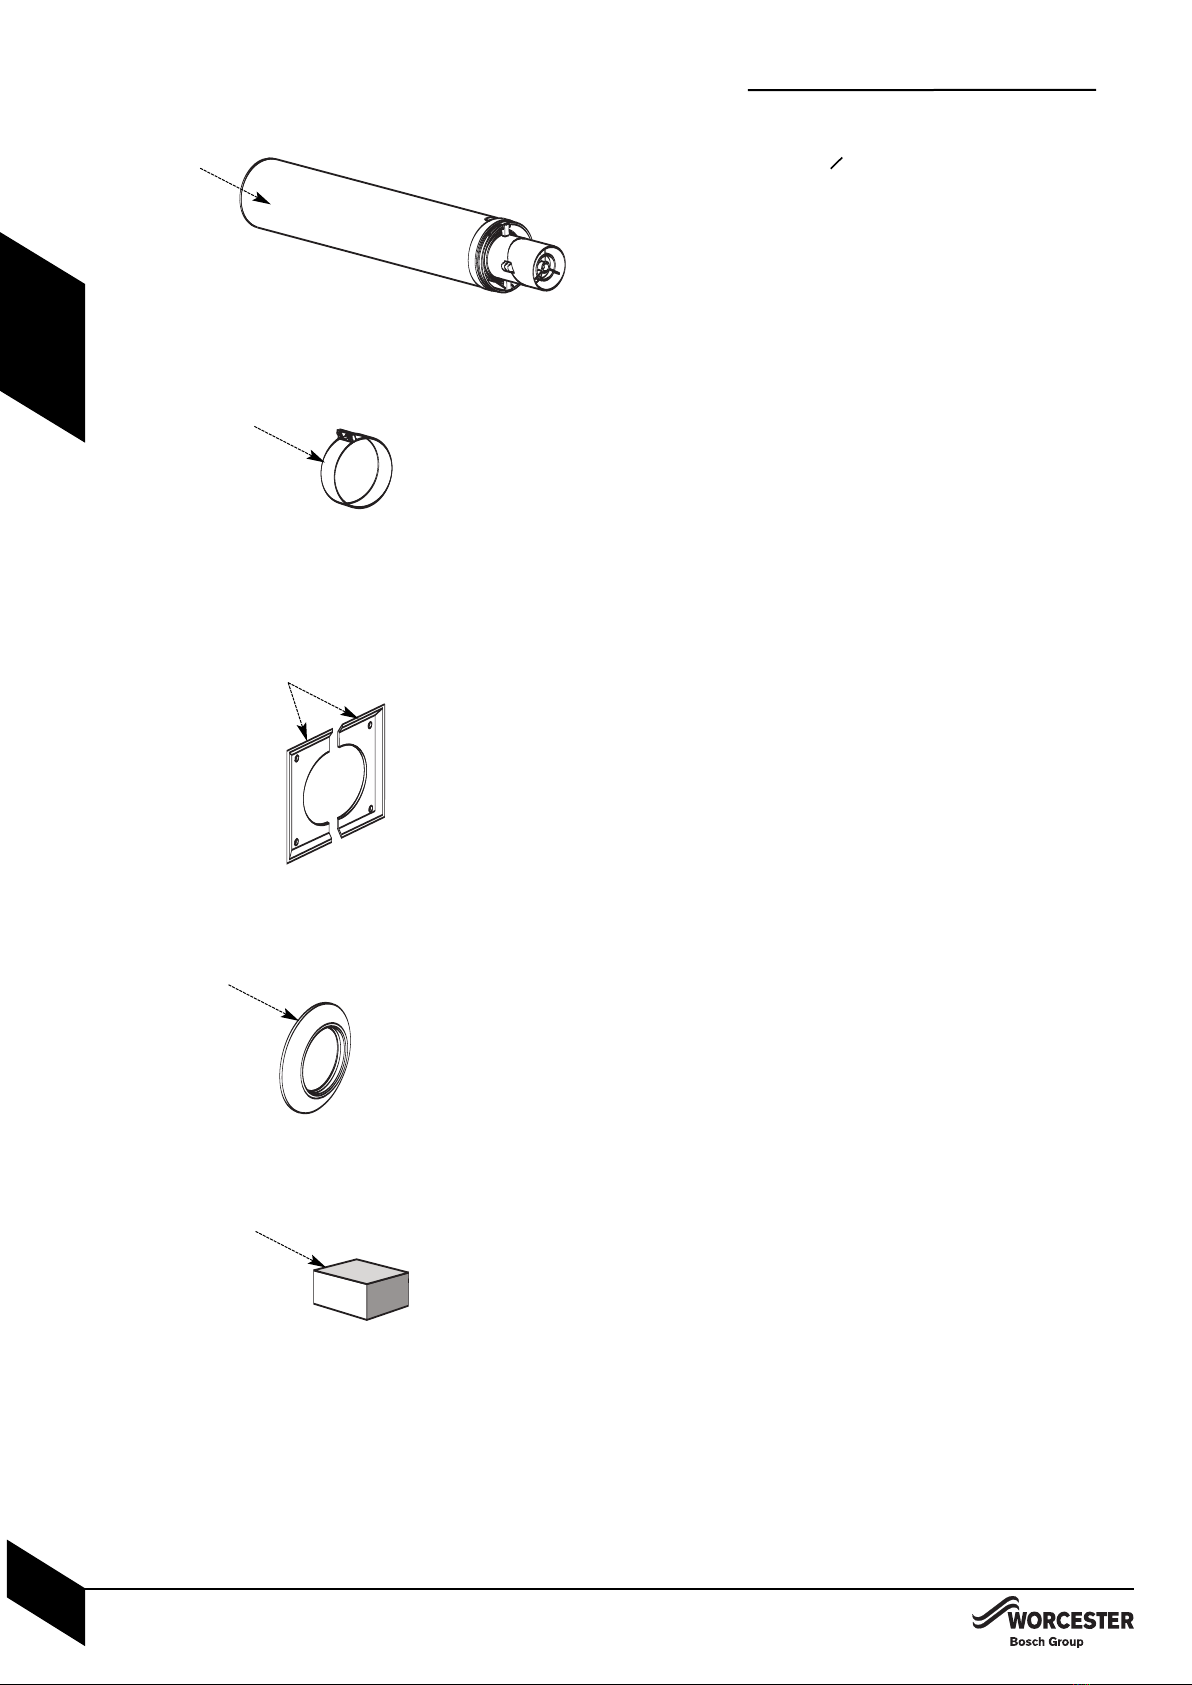
Flue systems must not be modified in any way other than as described in the fitting instructions.
Any misuse or unauthorised modifications to the appliance, flue or associated components and
systems could invalidate the warranty. The manufacturer accepts no liability arising from any
such actions, excluding statutory rights.
SERVICING:
Advise the user to have the system regularly serviced by a competent, qualified engineer (such
as OFTEC registered personnel) using approved spares, to help maintain the economy, safety
and reliability of the appliance.
Failure to install appliances correctly could lead to
prosecution.
COMPLYING WITH THE BUILDING
REGULATIONS:
The boiler and flue form part of the controlled
services for the building. It is law that all
controlled services for buildings must comply
with building regulations. You must be able to
satisfy your Local Authority Building Control
Body (LABC) that the work carried out
concerning the installation and commissioning of
the heating appliances has been carried out to a
satisfactory standard.
OFTEC operate a competent persons scheme
and registered installers are able to certify that
their work complies with building regulations.
Under the scheme;
lOFTEC must be informed about every
installation.
lOFTEC will issue a building regulations
compliance certificate to the householder and
will notify the LABC.
OFTEC provide controlled document forms
CD10 and CD11 for use during installation and
commissioning resectively.
Other organisations operate self-certification
schemes e.g. NAPIT and BESCA Ltd. and it may
be possible for installers who are members of
these organisations to self certify their work.
Alternatively you must submit a building control
notice to the LABC before installing any boiler.
The LABC will then arrange regular inspection
visits during the work to ensure that the
installation complies with the regulations.
The appliance must be installed by a competent
person. The person installing the appliance should
be aware of the Health and Safety at Work Act and
take appropriate action to ensure that the
regulations are adhered to. In order to give
optimum efficiency and trouble free operation the
appliance must be commissioned by a qualified
OFTEC engineer.
The compliance with a British Standard does not, in
itself, confer immunity from legal obligations. In
particular the installation of this appliance must be
in accordance with the relevant requirements of the
following British Standards and regulations in
respect of the safe installation of equipment.
BS 5410: part 1: Code of practice for Oil Fired
Boilers.
The Building Regulations Part J and L1 England
and Wales; Part F and Part J Section III Scotland;
Part L and Part F Northern Ireland.
Local water company bye-laws.
The Control of Pollution (Oil) Regulations.
OFTEC Standards.
Where no specific instruction is given, reference
should be made to the relevant codes of practice.