5
Some digital wireless phones may interfere with some hearing aids. In the event of
such interference, you may wish to consult your hearing aid manufacturer to
discuss alternatives.
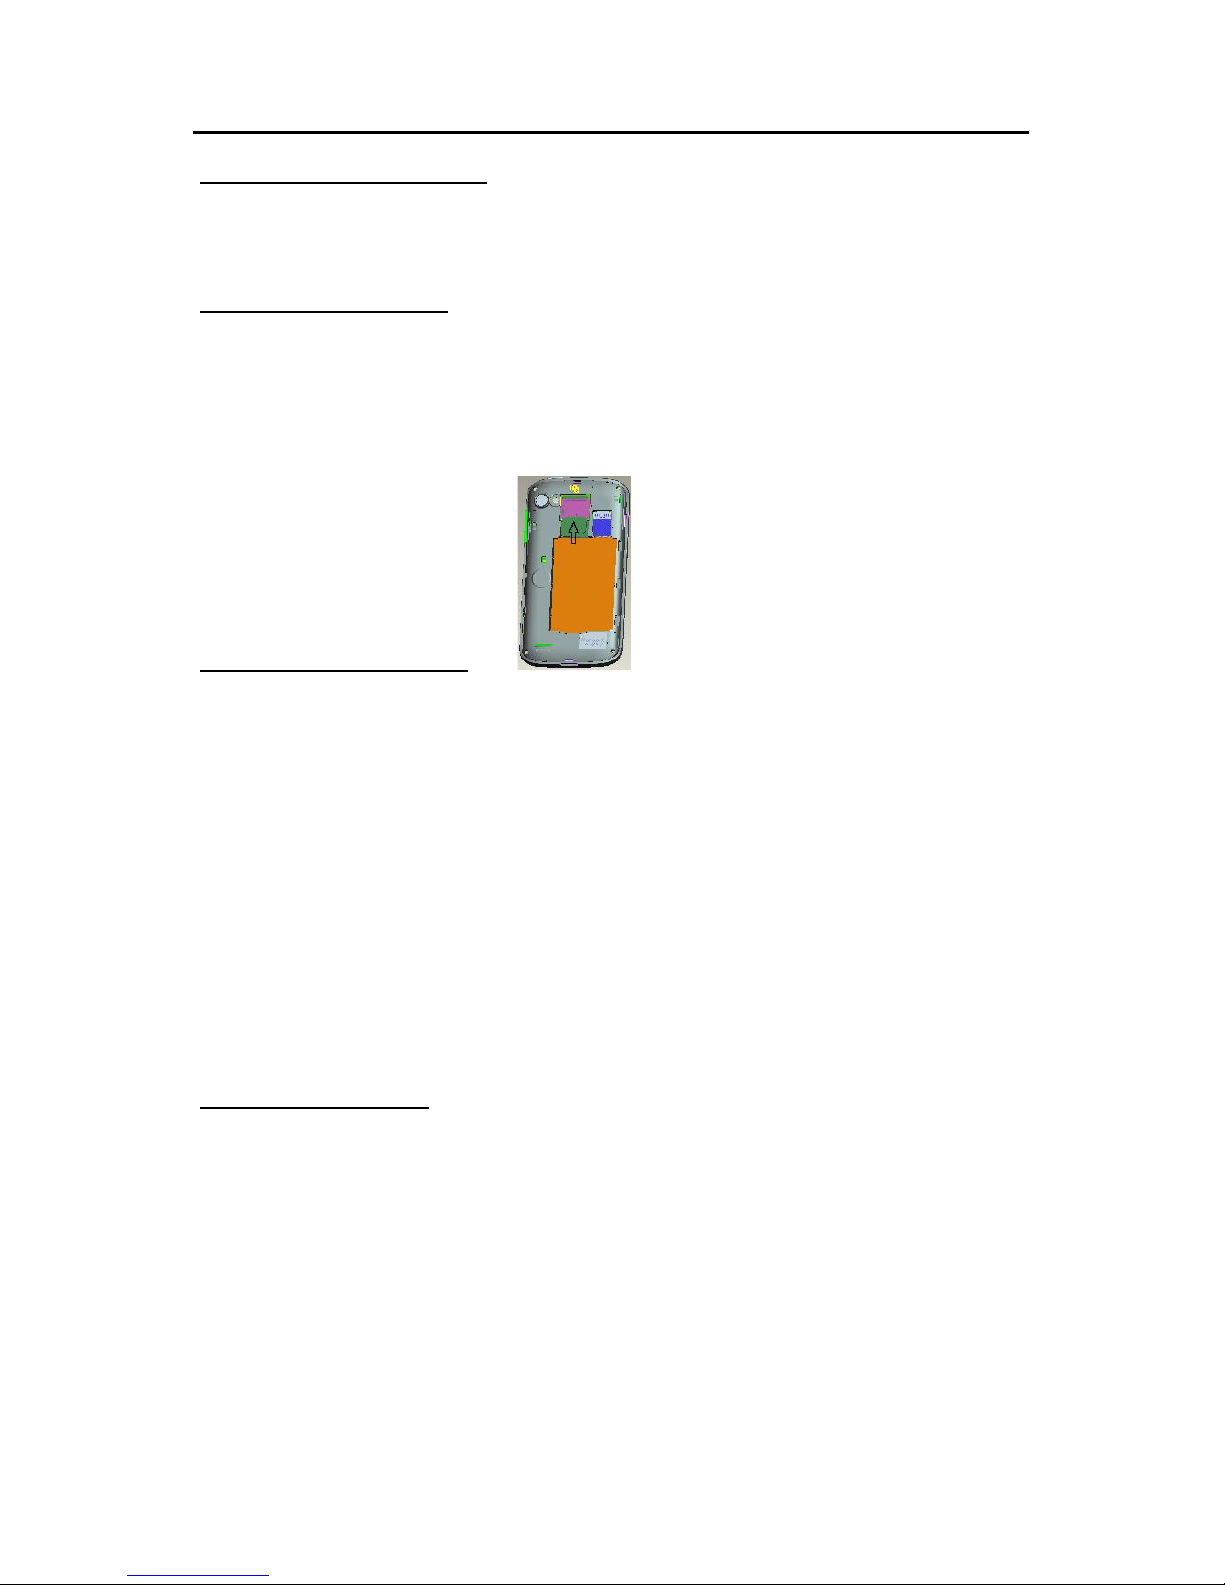
SIM AT Service
SIM Card provides several value-added services.
These functions will only display and work on the menu of the phone when your SIM
card is supported. The content and the terms of the function lists will depend on
your network service provider.
Please contact your network service provider (a network operator or the service
provider) in regards with availability of any services related to the SIM card,
application information and the costs.
Other medical devices
If you use any other personal medical devices, consult the manufacturer of your
device to determine if it is adequately shielded from external RF energy. Your
physician may be able to assist you in obtaining this information. Switch off your
phone in health care facilities when regulations posted in these areas instruct you to
do so.
Vehicles
RF signals may affect improperly installed or inadequately shielded electronic
systems in motor vehicles. Check with the manufacturer or its representative
regarding your vehicle. You should also consult the manufacturer of any equipment
that has been added to your vehicle.
Posted facilities
Switch off your phone in any facility where posted notices require you to do so.
Potentially explosive environments
Switch off your phone when in any area with a potentially explosive atmosphere,
and obey all signs and instructions. Sparks in such areas could cause an explosion
or fire resulting in bodily injury or even death.
Users are advised to switch off the phone while at a refueling point (service station).
Users are reminded of the need to observe restrictions on the use of radio
equipment in fuel depots (fuel storage and distribution areas), chemical plants, or
where blasting operations are in progress. Areas with a potentially explosive
atmosphere are often but not always clearly marked. They include the areas below
decks on boats, chemical transfer or storage facilities, vehicles using liquefied
petroleum gas, such as propane or butane, areas where the air contains chemicals
or particles, such as grain, dust or metal powders, and any other area where you
would normally be advised to turn off your vehicle engine.
Emergency calls
This phone, like any wireless phone, operates using radio signals, wireless, and
landline networks as well as user-programmed functions, which cannot guarantee
connection in all conditions. Therefore, you should never rely solely on any wireless
phone for essential communications like medical emergencies. To make or receive
calls, the phone must be switched on and in a service area with adequate signal
strength. Emergency calls may not be possible on all wireless phone networks or
when certain network services and/or phone features are in use. Check with local
service providers.
To make an emergency call: (For India example: 112,911,100,101,102)
1. Key in the emergency number for your present location. Emergency numbers
may vary by location.
2. Press the Send Key.
3. Inform your location. Do not end the call until given permission to do so.
Certain features like Call Barring may need to be deactivated before you can make
an emergency call. Consult this document and your local cellular service provider.
Other important safety information
Only qualified personnel should service the phone or install the phone in a
vehicle. Faulty installation or service may be dangerous and may invalidate any