Copyright © 2019 WyreStorm Technologies | wyrestorm.com
NHD-400-TX-IW Quickstart Guide | 190115
UK: +44 (0) 1793 230 343 | ROW: 844.280.WYRE (9973)
3 of 4
Setup and Conguration
IMPORTANT! Installation Guidlines
• Do not connect the power supply until all NetworkHD devices are connected to the network switch.
• NetworkHD 400 Series uses stateless address autoconguration (auto-IP) to assign link-local IP addresses in the range of 169.254.x.x to encoders and
decoders out of the box. Your PC must be set to an address in this range in order to discover the encoders, decoders and NHD-000-CTL.
• In order to congure the NetworkHD encoders and decoders, the AV port on the NHD-000-CTL MUST be connected to the same LAN/VLAN and Subnet as the
NHD encoders and decoders.
• In order for the devices in the system to be controlled via a 3rd party controller on a different VLAN, the CONTROL port MUST be connected to the same LAN/
VLAN and Subnet as the control system.
• The NHD-000-CTL’s two Ethernet ports are designed to be used in different Networks or VLANs. When using a single Network or VLAN for example when
using NetworkHD Touch – do not connect both ports – only use the AV port of the CTL.
Installation and Connections
1. Install NHD devices to allow airow through the product - WyreStorm recommend using the NHD-000-RACK4. The install location should be dry, well
ventilated and guaranteed to maintain the mandatory operating temperature range of the product.
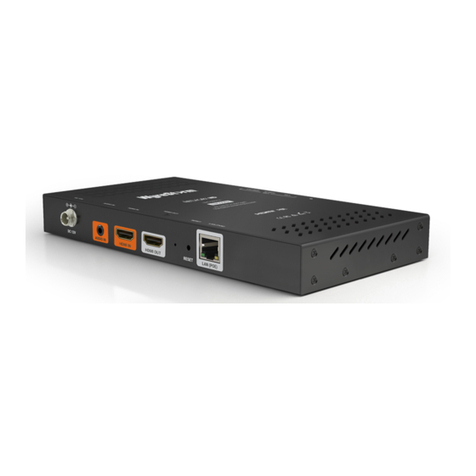
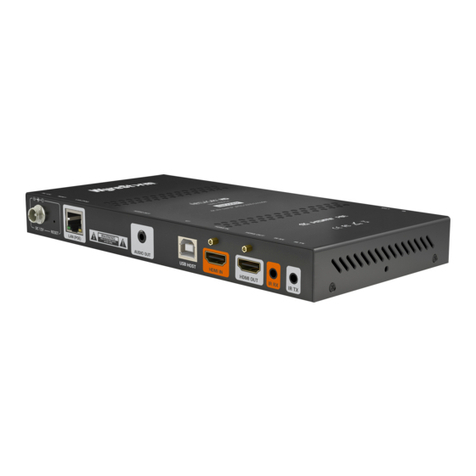
2. Connect sources to the NetworkHD encoders using a HDMI cable from a quality brand such as WyreStorm Express ensuring a rm port connection.
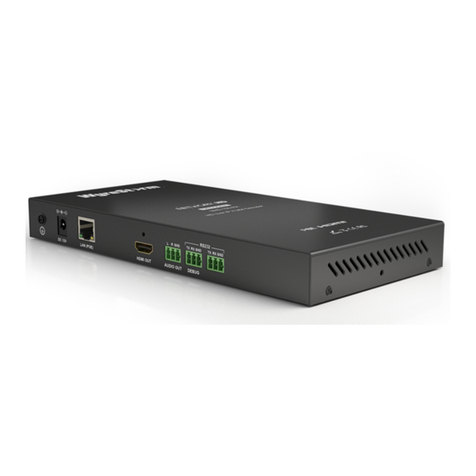
3. Connect the HDMI display to the NetworkHD decoders using an HDMI cable from a quality brand such as WyreStorm Express ensuring a rm port
connection.
4. Connect NetworkHD encoders, decoders, and CTL to the network switch using well terminated and tested category cable, whilst ensuring compliance with
IEEE 802.3ab (for CTL, encoder, and decoder 1GbE ports).
5. Optionally connect the decoders RS-232 port to equipment following the RS-232 pinout section in the appropriate Quickstart Guide..
Download the NetworkHD Switch Mapping Worksheet from any NetworkHD product page to keep track of Mac addresses, device and alias names for later
reference. This will aid the setup process in NetworkHD Console and help with any reconguration or troubleshooting.
NetworkHD Console Conguration
In addition to the steps below more information on conguration can be found in the NetworkHD Installation Guide.
1. Connect a computer running Windows™ to the same LAN/VLAN as the NetworkHD components and ensure its IP is within the same subnet as the
NetworkHD default 169.254.x.x IP addresses. The NHD-000-CTL AV port is set to a static address of 169.254.1.1 by default – do not choose this address
for your PC.
2. Power On the NHD devices by connecting the included power supplies to the Power Input.
3. Open the WyreStorm Management Suite (Available from the WyreStorm website) and launch the NetworkHD Console software and press Search.
Note: If a no devices are discovered, verify that encoders/decoders, CTL and PC are within the same subnet scope and within the same range of the CTLs AV
Port and disable or create an exception for the NetworkHD Console in the Windows Firewall.
4. Congure the system as per the instructions in the NetworkHD Installation Guide. Right Click on the NHD-400-TX/RX to see its available options, including
setting the device’s IP address and setting an Alias name. You will also nd other conguration options under the Batch Settings window.
Note: If a 3rd Party control system with a WyreStorm driver for NetworkHD is going to be used, the encoders must use the Alias prex IN1, IN2, etc. This also
applies to decoders, OUT1, OUT2, etc. For example, IN1-Satellite Receiver 1
5. Upload to the conguration to the NHD-000-CTL by right clicking the CTL in the Other Devices section and selecting Upload.
6. Congure the scaling and HDCP values of each decoder based on the requirements of the content and display using the settings found in the Video tab in
the Batch Settings screen.
Troubleshooting
Verify that all NHD devices contain the latest version of rmware. This will ensure that all devices are up to date and working at their highest performance
level.
NetworkHD Software fails to locate TX/RX/CTL Devices
• Verify that all NHD and Network devices are powered On.
• Adjust Windows Firewall Settings – Create an exception for NetworkHD
Console.
• Verify that the PC, CTL AV Port, and NHD encoders and decoders are on the
same LAN/VLAN/Subnet.
• Verify that all network switches share the same VLAN conguration.
• Reboot all system components including the NHD-000-CTL and the PC.
• Ensure that only one CTL port is connected per LAN/VLAN. If only one LAN/
VLAN exists only use the AV port.
• Ensure the network switch is fully congured per the appropriate switch
conguration guide.
Failure to Connect to CTL Controller
• Follow the previous steps for failing to connect to devices. If these are
unsuccessful, press and hold the reset button on the front of the CTL for 5
seconds.
• After a reboot the CTL will be returned to the default IP address of
192.168.11.243 for the control port and 169.254.1.1 for the AV port.
No Image Appearing on Displays
• Verify that all NHD, Network, Source, and Display devices are powered On.
• Test sources and displays by connecting them directly together.
• Swap out the HDMI cable
• Connect the power supply to the component rather than using PoE.
• If the display is only HDMI 1.4/HDCP 1.4 – Ensure the decoder is set to
HDCP 1.x by right clicking the unit in the NetworkHD Console and opening
the video settings option.
