.
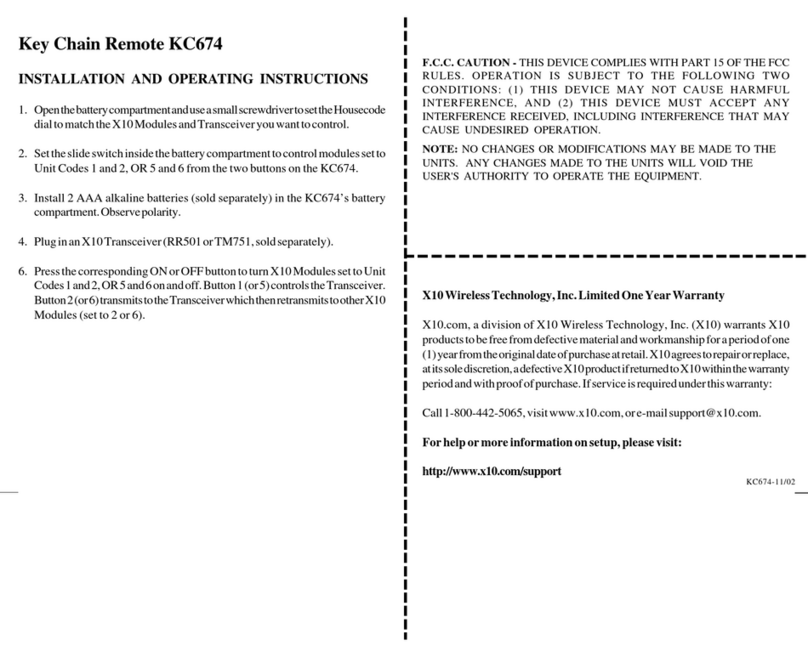
X10 Wireless Technology, Inc. LIMITED 1-YEAR WARRANTY
X10.com, a division of X10 Wireless Technology, Inc. (X10) warrants X10 products to be
free from defective material and workmanship for a period of one (1) year from the original
date of purchase at retail. X10 agrees to repair or replace, at it’s sole discretion, a defective
X10 product if returned to X10 within the warranty period and with proof of purchase.
If service is required under this warranty:
Return Merchandise Authorization (RMA) number.
2. Return the defective unit postage prepaid to X10 (see address on back).
3. Enclose a check for $4.00 to cover postage and handling.
4. Enclose a dated proof of purchase.
5. X10 is not responsible for shipping damage. Units to be returned should be packed
carefully.
Please visit www.x10.com/warranty
to complete your on-line warranty registration. Thank you.
For help or more information on setup, please visit: www.x10.com/support
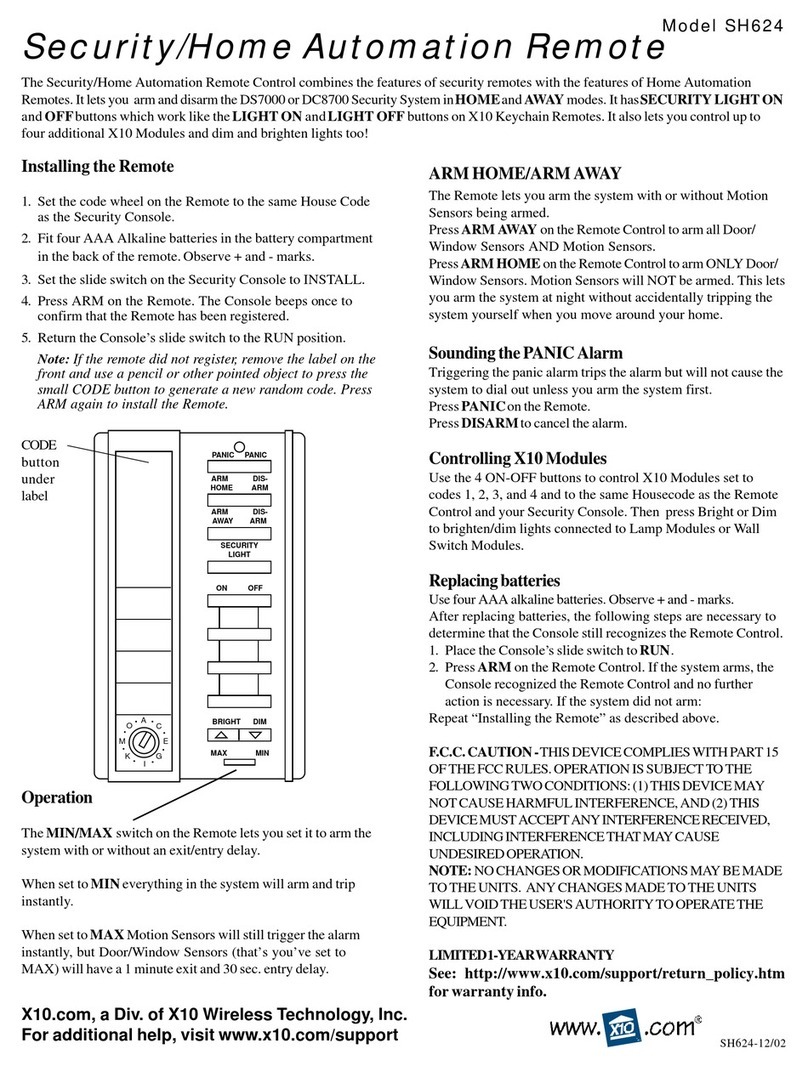
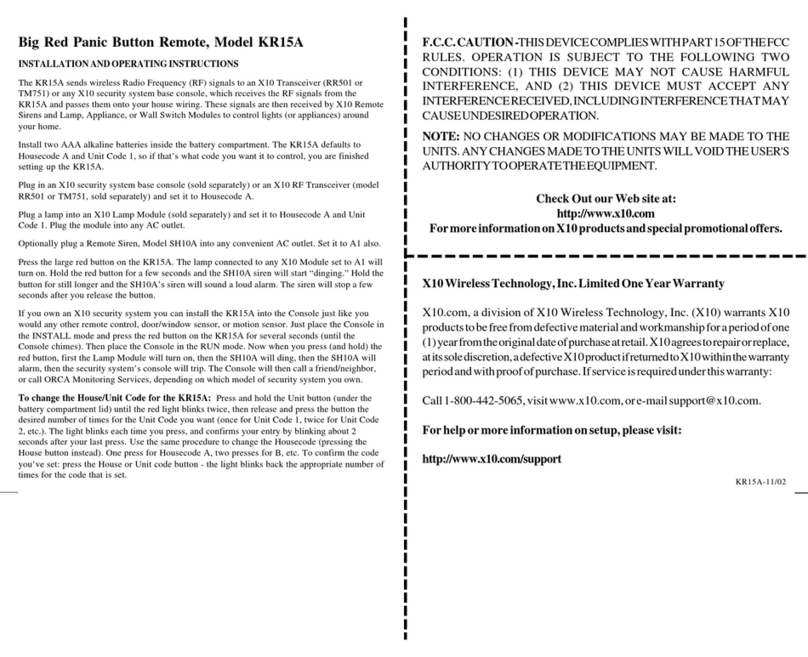
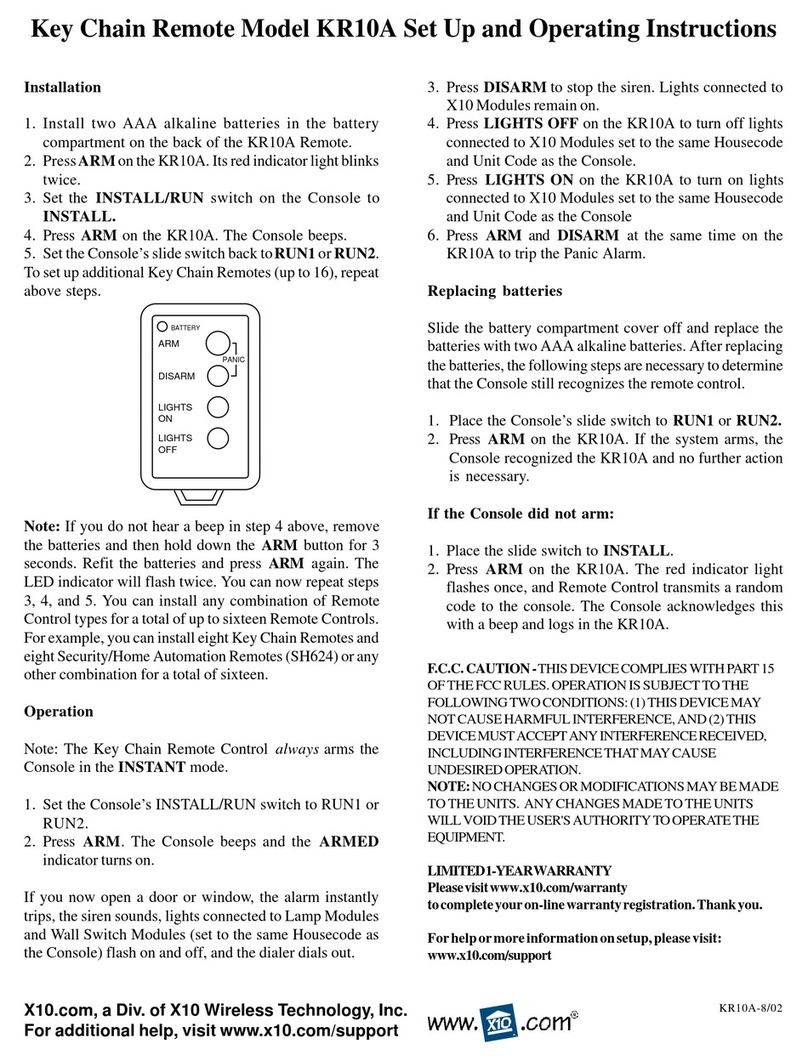
KR19A SlimFire™Remote installation and operating instructions
The KR19A works with the RR501 (part of the RC5000) and the TM751 (part of the RC6500). It lets
you turn on and off two individually coded X-10 Modules and brighten and dim lights connected to
LampModulesandWallSwitchModules.Inthedefaultstate(afterfirstfittingthebattery)theKR19A
is set to Housecode A. The first (top) two ON-OFF buttons control modules set to Unit Code 1. The
second (middle) two buttons control A2.
1. Plug in an X-10 Transceiver (RR501 or TM751, sold separately).
2. To turn on or off X-10 Modules set to Unit Code 1 (on Housecode A) press the first (top) ON or
OFFbutton.ToturnonoroffX-10 Modules settoUnitCode2 (on HousecodeA)pressthesecond
(bottom)ONorOFF button. To brighten or dim LampModulesorWall Switch Modules press the
number button first, the press Bright or Dim button. If you want to control Modules 1 and 2 on
Housecode A, that's it. You don't need to read any further.
To change the Housecode
•Press and hold the first (top) ON button. The red LED blinks once. 3 seconds later, the LED
blinks the current setting: 1 blink for Housecode A, 2 blinks for B..... 16 blinks for P.
•Release the first (top) ON button.
•Press and release the first (top) ON button the appropriate number of times for the Housecode
you want to set. Once for A, twice for B, etc. The LED blinks for each press. IMPORTANT:
Hold the button on your last press. 3 seconds later, the red LED blinks back the new setting, e.g.
3 blinks for Housecode C. If you do not follow this programming sequence, the LED will stay
on for 1 second and your existing setting will not be changed.
Tochange the Unit Code for the first (top) two buttons(the second pair of buttons are always one
# higher than the first pair, i.e. if you set the first button to 6, the second button controls 7, etc.).
•Press and hold the top OFF button. The red LED blinks once. 3 seconds later, the LED blinks
the current setting: 1 blink for Unit Code 1, 2 blinks for 2, 16 blinks for 16.
•Release the top OFF button.
•Press and release the top OFF button the appropriate number of times for the Unit Code you
want. IMPORTANT: Hold the button on your last press. 3 seconds later new code blinks back.
If you do not follow this programming sequence, the LED will stay on for 1 second and your
existing setting will not be changed.
To change the battery: Pry the unit apart and fit a CR2025 Lithium 3V battery. Observe polarity.
F.C.C.CAUTION-THISDEVICECOMPLIESWITHPART15OFTHEFCCRULES.OPERATION
IS SUBJECT TO THE FOLLOWING TWO CONDITIONS: (1) THIS DEVICE MAY NOT CAUSE
HARMFUL INTERFERENCE, AND (2) THIS DEVICE MUST ACCEPT ANY INTERFERENCE
RECEIVED, INCLUDING INTERFERENCE THAT MAY CAUSE UNDESIRED OPERATION.
NOTE:NO CHANGES OR MODIFICATIONS MAY BE MADE TOTHEUNITS. ANYCHANGES
MADETOTHEUNITSWILLVOIDTHEUSER'SAUTHORITYTOOPERATETHEEQUIPMENT. KR19A-9/01
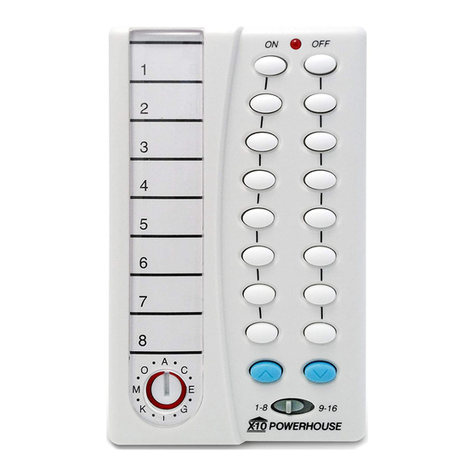
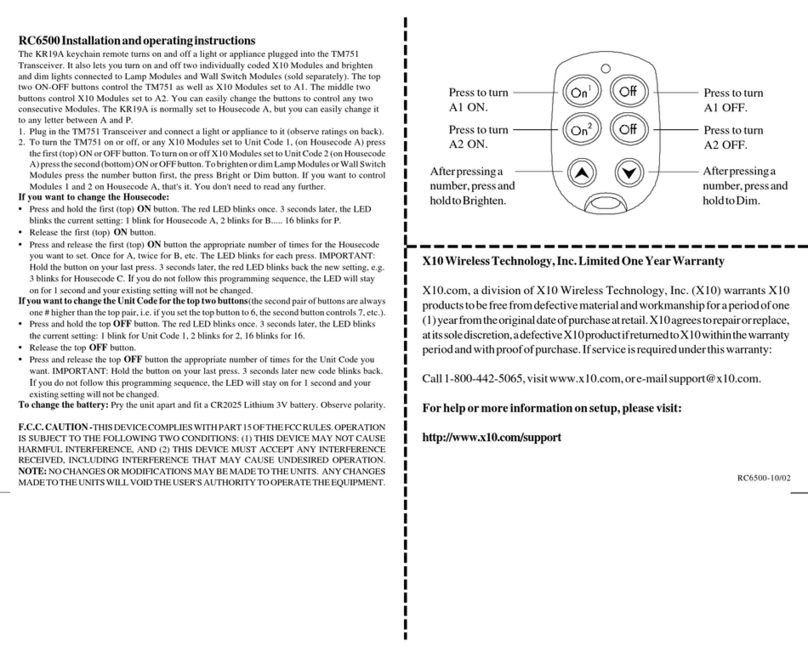
Press to turn
A1 ON.
After pressing a
number, press and
hold to Brighten.
After pressing a
number, press and
hold to Dim.
Press to turn
A2 ON.
Press to turn
A1 OFF.
Press to turn
A2 OFF.

