Table of Content
Introduction……………………………………………………………………………………………...3
1
Keypad instruction..................................................................................................................4
2
Wall mount setup.....................................................................................................................6
3
Telephone Setting...................................................................................................................
7
3.1
Getting IP address ....................................................................................................... 7
3.2
Checking IP address.................................................................................................... 7
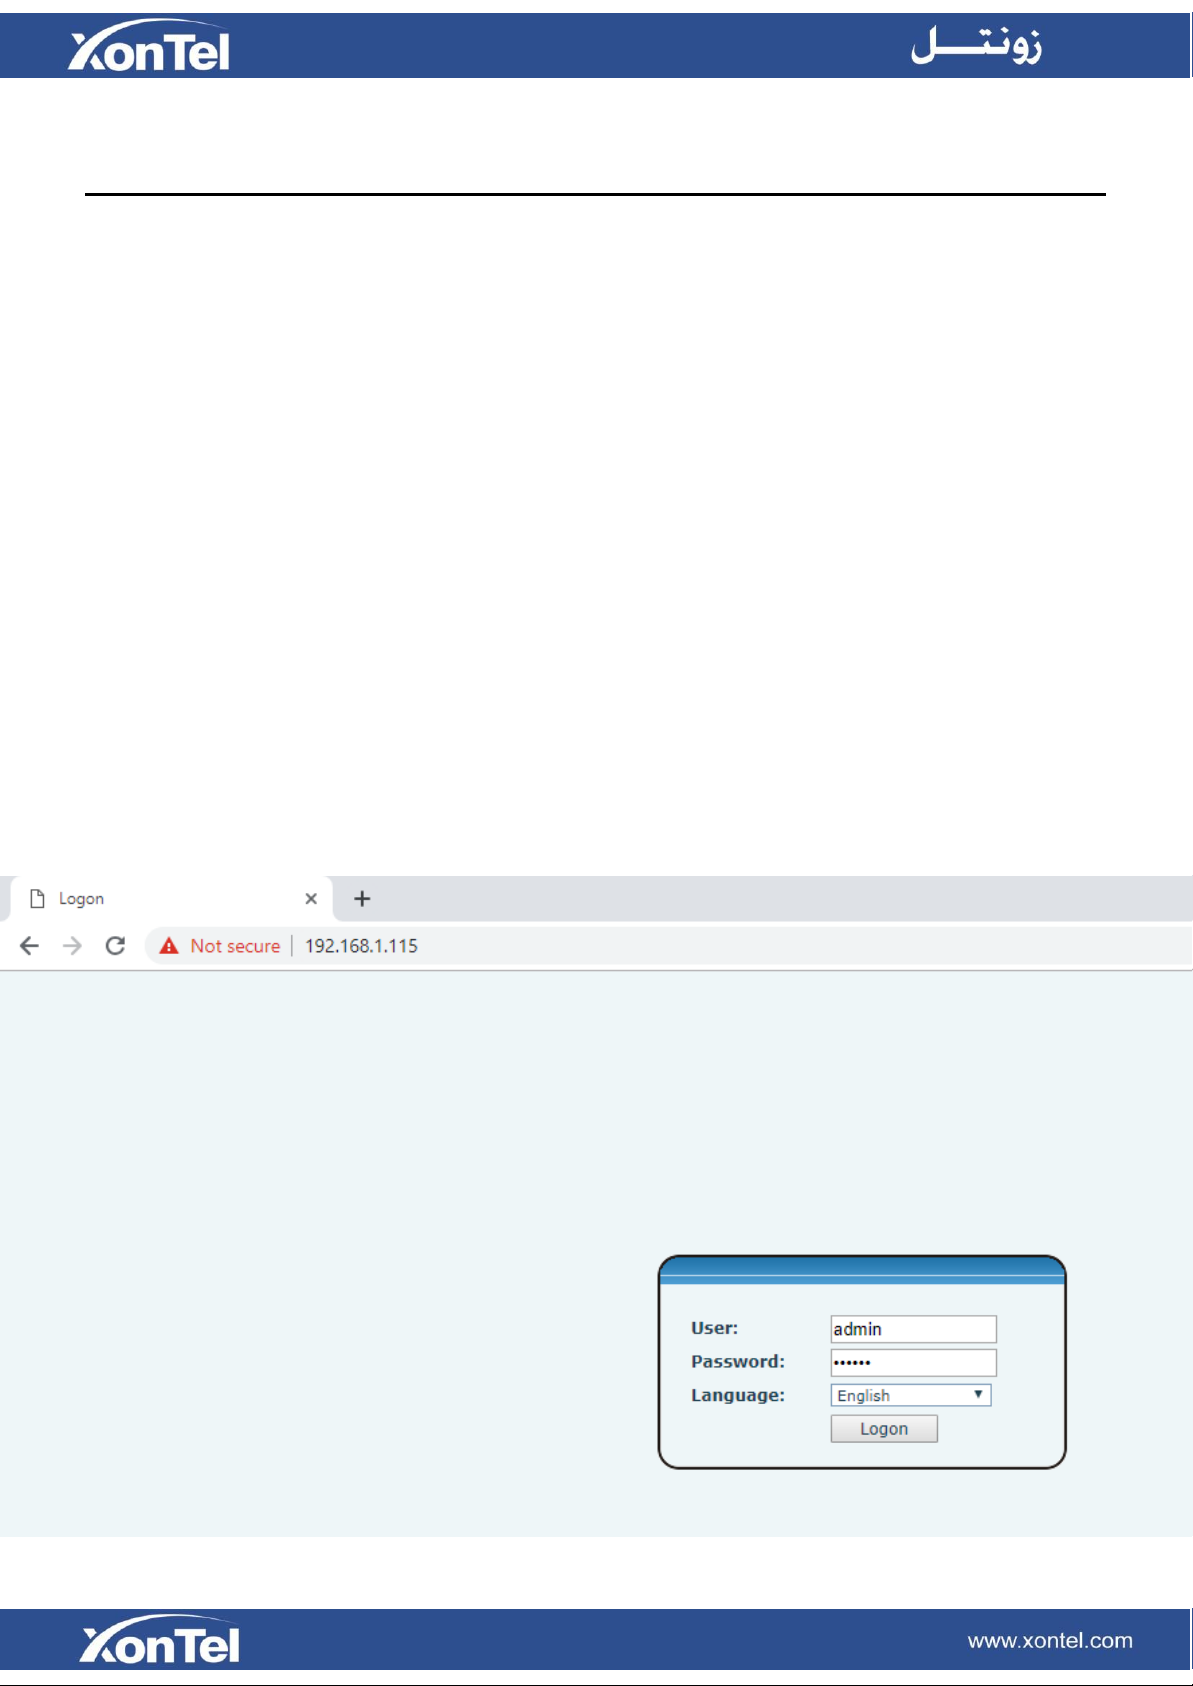
3.3
How to enter XT-07P web interface ............................................................................ 7
3.4
How to set the memory key......................................................................................... 8
3.5
Network setting............................................................................................................ 9
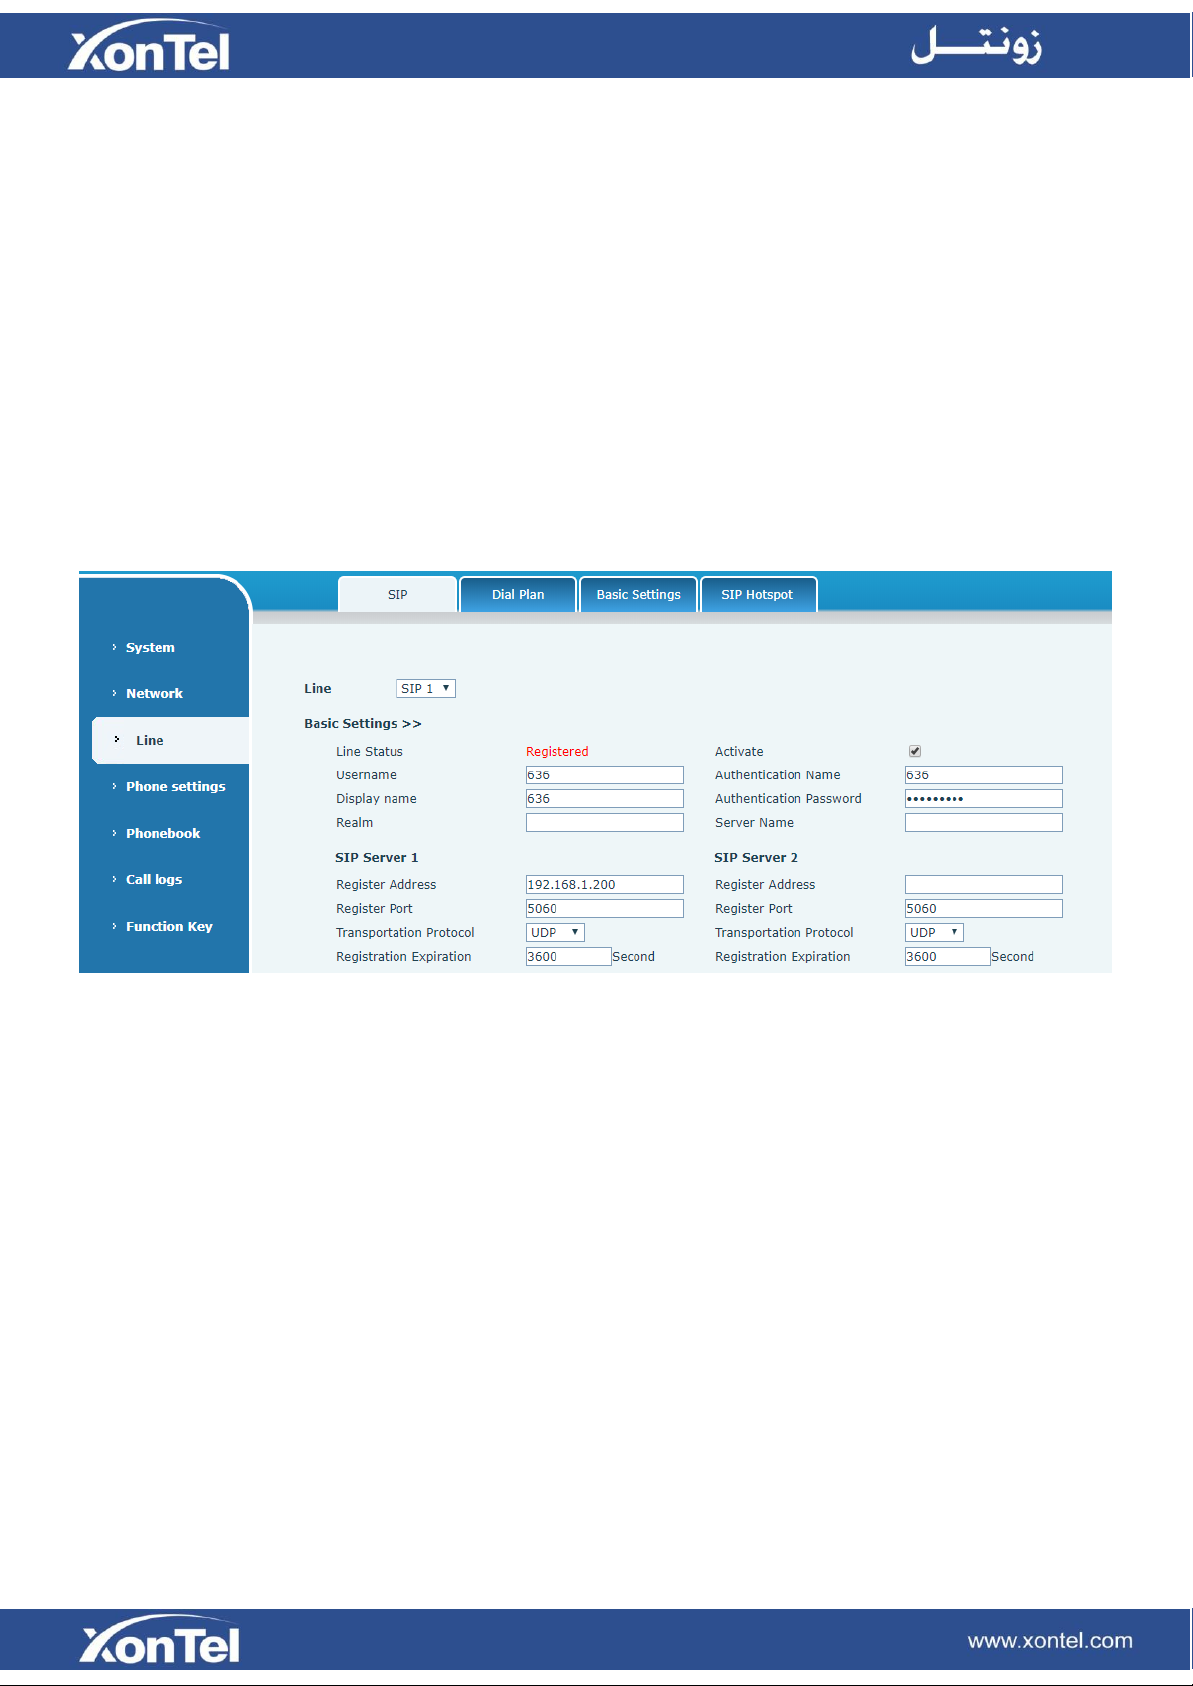
3.6
SIP setting .................................................................................................................... 10
3.7
LED indicator state ...................................................................................................... 10
4
Basic Operation ....................................................................................................................11
4.1
Making a call................................................................................................................. 11
4.2
Answering a call........................................................................................................... 11
4.3
Holding a call................................................................................................................ 11
4.4
Redialing…. .................................................................................................................. 11
5
Advanced Operation .............................................................................................................12
5.1
Call transfer................................................................................................................ 12
5.2
Messages waiting....................................................................................................... 12
6 FAQ.........................................................................................................................................13