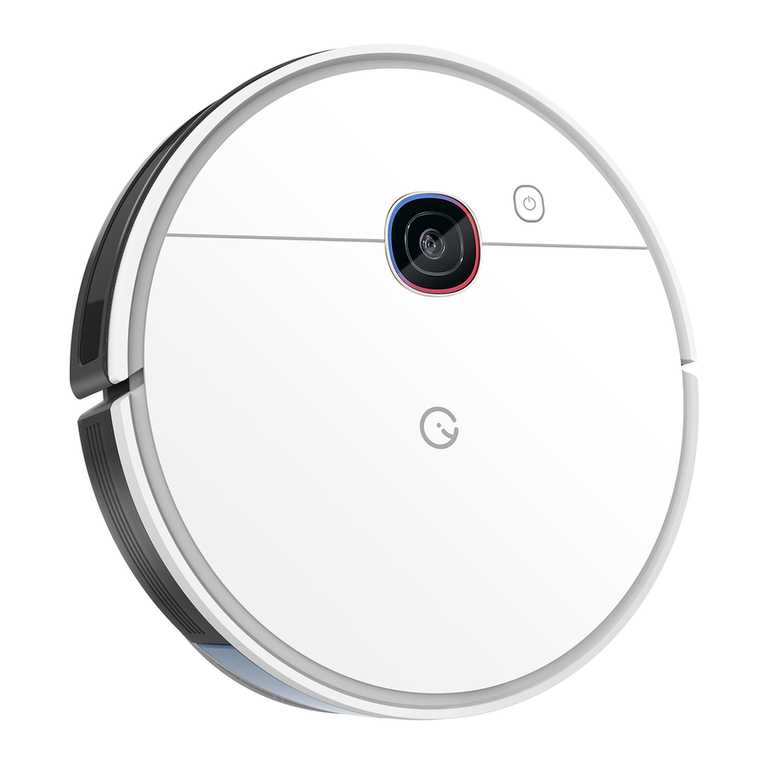
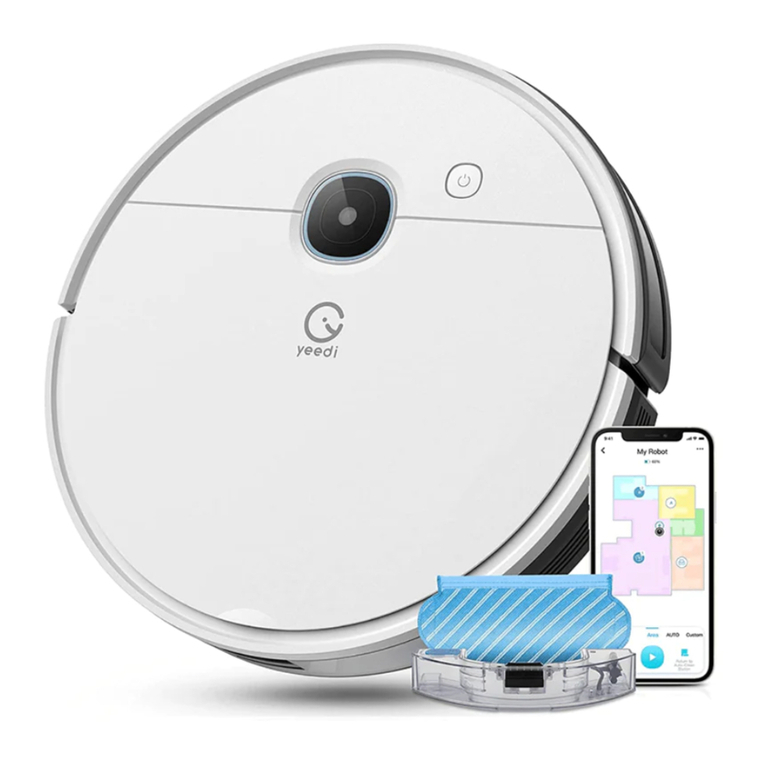
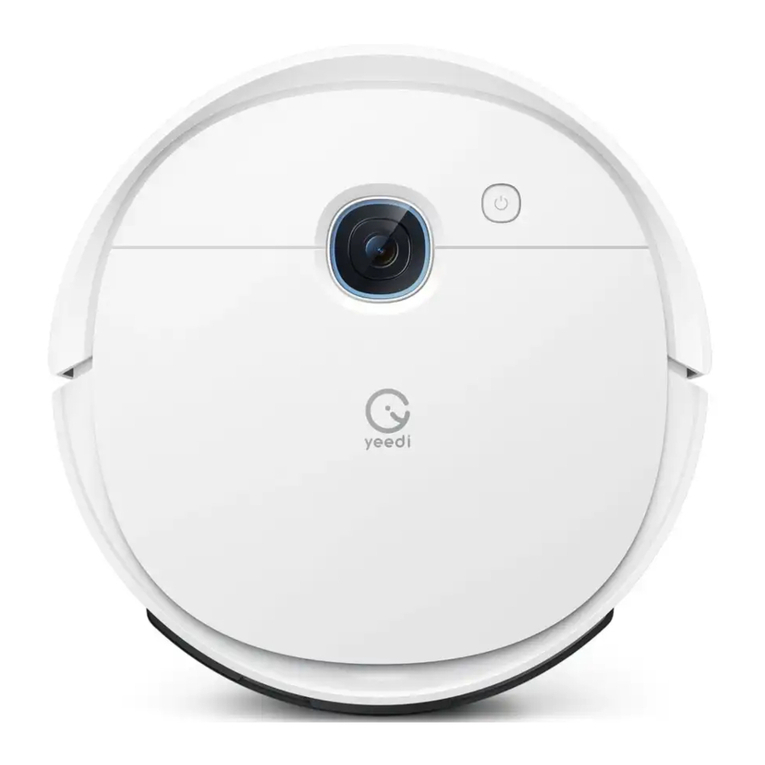
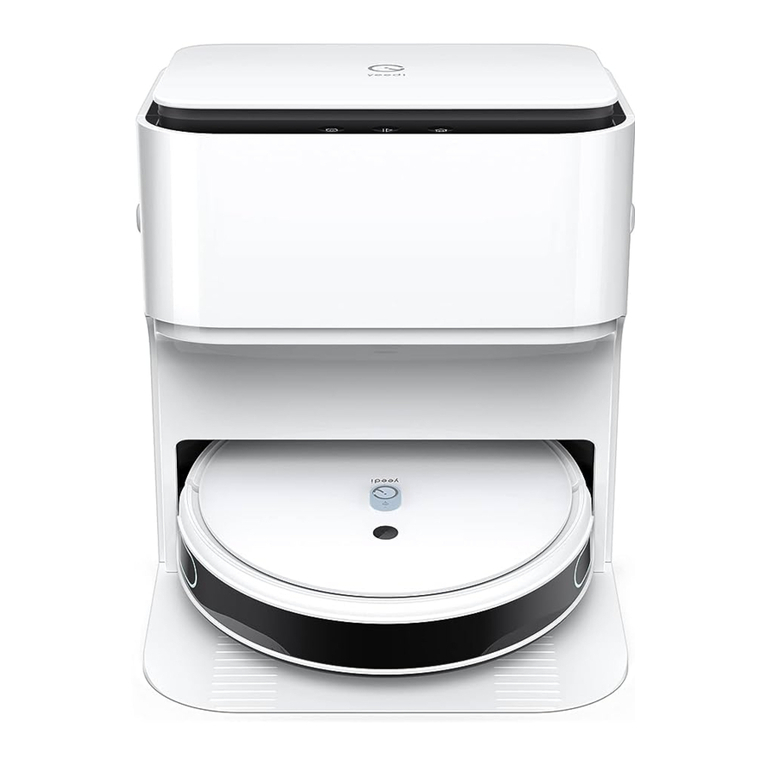
yeedi cube User manual

INSTRUCTION MANUAL
GEBRAUCHSANWEISUNG
MANUAL DE INSTRUCCIONES
MANUEL D’INSTRUCTION
MANUALE DI ISTRUZIONI
РУКОВОДСТВО ПО ЭКСПЛУАТАЦИИ
cube Robot Vacuum and Mop
่�ือการใ้งาน
BUKU PETUNJUK
產品使用說明書
MANUAL ARAHAN

6
EN
1. Package Contents/1.1 Package Contents
Robot
(Pre-installed with UFO Water Tank, Dustbin,
Multi-Surface Main Brush,Washable Filter and Easy-
to-Clean Mopping Pad)
Cube Station
(Pre-installed with Dirty Water Tank and Dust Bag)
Detachable Base Station Extension Pad Power Cord
Instruction Manual
Note:
1. All gures and illustrations are for reference only and may present differences in appearance from the actual product.
2. The “Edge Brushes”, ”Water Tank Plug” , “Detachable Base” ,”Station Extension Pad” and “Power Cord” need to be installed by the user prior to use.
3. Accessories from different countries shall be subject to the actual product conguration at the time of purchase, and the patterns are for reference only.
Edge Brushes Water Tank Plug

7EN
1. Package Contents/1.2 Product Diagram
Robot Top View Robot Side View
Robot Bottom View
Vision and Laser
Fusion Navigation
System
Water Tank Lock Pick-up Handle
Charging Contacts
Edge Brushes
Universal Wheel
Ultrasonic Carpet
Detection Sensor
Multi-Surface Main
Brush
Multi-Surface Main
Brush Release Buttons
Driving Wheels
Water Outlet
Anti-Drop Sensors
Dust Disposal Port
Dustbin Release Button
1L UFO Water
Tank
Power Switch
"I"=ON,
"O"=OFF.
Edge Detection
Sensors
Dustbin
Note:
Make sure that the Water Tank Lock is securely locked before lifting the Robot.
CLEAN Button
(Auto Clean Button)
HOME Button
(Return to Station Button)
SPOT Button
(Spot Cleaning
Button)
Floor Tracking
Sensor

8
EN
UFO Water Tank Cube Station
Dustbin
Dirty Water Tank
Dustbin Cover
Dust Bag
Built-in Electric Scrubber
Detachable Base
Filter
Pick-up Handle
Filter Net
Sponge Filter
High-Efciency Filter
Water Tank LockWater Inlet
Water Tank Plug
1. Package Contents/1.2 Product Diagram
Note:
1. The Detachable Base needs to be installed by the user before use.
2. Lift the mop Built-in Electric Scrubber before installation and put it
down after installation. Otherwise, the Robot's operations will be
affected.
3. The Filter is removable and needs to be cleaned regularly.
Note:
Keep the Water Tank Plug properly. Each time, after you have lled it,
cover the Plug before installing the UFO Water Tank in the Robot.

9EN
2. Mapping and Cleaning/2.1 Notes before Cleaning
Tidy up the area to be cleaned
Put furniture, such as chairs and oor fans, in
their proper place. Put away low items such
as scales to ensure the maximum cleaning
space.
Open the door to help the Robot explore
During the rst use, make sure each room door
is open to help the Robot fully explore your
house.
Stop the Robot from falling
It may be necessary to place a physical
barrier at the edge of a drop to stop the
Robot from falling over it.
Put away objects such as wires, cloths, or slippers
that may be on the oor to improve the mapping
and cleaning ef ciency.
Before using the Robot on a rug with tasseled
edges, please fold the edges under the rug.
Note: Do not use the mopping function on the
carpet.
Please do not stand in narrow spaces such as
hallways so as to avoid preventing the Robot from
identifying the area to be cleaned.
Please make sure that the Robot has created
a home map in the yeedi App before it starts
cleaning.

10
EN
Please remove all protection materials on the Robot before use.
Install Edge Brushes
Remove all protection materials Lift the Scrubber and install the Detachable Base.
Reset the Scrubber once it has been successfully installed.
Make sure the color of the Edge Brushes is consistent with that of
mounting slot. The "click" sound indicates a successful connection.
Step 1: Lift the Scrubber and a "click" sound will be heard;
Step 2: Push the Detachable Base into the Station on a at surface.
The "click" sound indicates a successful connection.
2. Mapping and Cleaning/2.2 Notes before Using
2
1 3
4
1
2
Note:
The Robot experience may be affected if protection materials are not
removed.
Note:
The Robot experience may be affected if the Scrubber is not lowered in
time after installing the "Detachable Base".
Lower the Scrubber to nish installation.

11 EN
Put the Cube Station in place and connect it to the power
supply. Install the Station Extension Pad.
Remove the UFO Water Tank.
Step 1: Place the Cube Station against the wall in a large space and
do not place items within a radius of about 0.5 m or 1.5 m in front
of it.
Step 2: Align the dashed line with the edge of the base, with the
rough side facing up, and place it under the base. After putting it
in place,peel off the transparent tape from the smooth bottom and
stick the extension pad onto the hard, non-carpeted oor.
Step 1: Hold the handle on the Water Tank with one hand and slide
down the lock with your thumb to lift the Tank upward.
Step 2: Fill the Tank with clean water and put it back into the Robot
after installing the Plug.
2. Mapping and Cleaning/2.2 Notes before Using
5 6
Note:
1. Cover an area of at least 5 cm height from the bottom of any
reective objects such as mirrors.
2. Do not place the Cube Station in direct sunlight.
3. Periodically wipe off any accumulated water on the Extension Pad
to maintain its anti-slip effect.
4. Please do not move it frequently to avoid affecting the xation of
the extension pad.
>0.5m(1.64’)>0.5m(1.64’)
>1.5m(4.92’)
Note:
1. Please make sure the Tank Plug is installed.
2. To prolong the service life of the Water Tank, it is recommended to
use puried water or softened water.
3. Do not add any cleaning solution from any other brands; excessive
solution could cause the Robot to slip or be damaged.
4. Keep the UFO Water Tank Plug properly.
5. Do not put any foreign objects in the Tank.
facing
upwards
Clean Water

12
EN
Turn on the power switch, put the Robot near the Cube
Station and press the HOME Button. The Robot will
automatically return to the Station to charge.
Download the yeedi App to experience more functions:
7
Note:
1. "I"=ON, "O"=OFF
2. The Robot cannot be charged when being powered OFF.
3. When the Robot completes the cleaning or when the battery gets
low, it automatically returns to the Cube Station to recharge.
4. Please make sure that the Robot starts cleaning from the Station.
Do not move the Station while it is cleaning.
2. Mapping and Cleaning/2.3 yeedi
App
After downloading, please complete registration, login, and
the network setup according to the guide in the mobile App
page
.
Method 1: Open "Scan" in your mobile phone to scan the QR code on the
Robot, download and install the yeedi App according to the
prompts.
Method 2:
Open the mobile App store, search "yeedi", download and
install the yeedi App.
iOS Android
yeedi
Lower side of the UFO
Water Tank
2. Mapping and Cleaning/2.2 Notes
before Using
①
Turn on the power
switch.
②
The Robot will
automatically return to
Station to charge by
pressing the HOME
Button.
③
It will charge for about 6.5 hours until fully
charged.
1
2

13 EN
2. Mapping and Cleaning/2.4 Connect the Robot to the Mobile Phone
Network setup steps:
1. Please turn on your mobile phone Bluetooth and Wi-Fi;
2. Make sure that yeedi cube Robot Vacuum and Mop is on;
3. Open the yeedi App;
4.
Scan the QR code on the Robot using the yeedi App, complete
"Conrm access to the setup mode", "conrm the device and
Wi-Fi to be connected", and "enter the Wi-Fi password"
respectively according to the prompts in the App, and then wait
for the setup result;
5. If the network setup fails, it is recommended that you try again
according to the above steps, or choose other network setup
methods according to the prompts in the App.
Note:
If you have any problems during the Wi-Fi setup process, refer to the
Troubleshooting section in this manual.
Slowly ashing white light
Disconnected from Wi-Fi
or waiting for home Wi-Fi
connection
Rapidly ashing white light Connecting to home Wi-Fi
Solid white Connected to home Wi-Fi

14
EN
2Function of the SPOT Button (Spot Cleaning Button)
2. Mapping and Cleaning/2.5 Robot Operation Buttons
1Function of the CLEAN Button (Auto Clean Button)
• Please ensure that the Robot is on the Cube Station and is fully
charged before starting.
• Press the CLEAN Button to start the rst mapping and Auto Clean.
• When the Robot is working, press the CLEAN Button to stop
cleaning and press again to continue.
• Press and hold for 2 seconds to end the current cleaning task.
• Please place the Robot in the area to be cleaned before starting.
• Press the SPOT Button to start the Spot Cleaning task, which
will focus on the 1.5*1.5 meters area centered on the Robot (the
Cleaning Settings can be modied in the App).
• When the Robot is working, press the SPOT Button to pause
cleaning and press again to continue.
• Move the Robot to end the current Spot Cleaning and start the
next one by pressing the SPOT Mode Button again.

15 EN
+
+
3Function of the HOME Button (Return to Station Button)
2. Mapping and Cleaning/2.5 Robot Operation Buttons
• When the Robot is outside the Cube Station, press the HOME Button
to return.
• Press the HOME Button to pause the returning; and press again to
continue.
4Button combination for network setup of the Wi-Fi Model 6ON and OFF Button
5Button combination for restoring default setting
• Press the SPOT and HOME Buttons at the same time for 2 seconds.
When you hear the prompt tone, the Robot enters the network setup
mode.
• If you are not going to use the Robot for a long time, turn the power
switch to "o" to shut it down.
• Press the SPOT and HOME Buttons at the same time for 5 seconds.
When the startup music sounds, the Robot has successfully restored
default setting.
Note:
1. Do not turn the Robot off and keep it in charging state after working
completed so as to facilitate control by the App and all forthcoming
work.
2.
If you are not going to use the Robot for a long time, please charge it
every three months.
Note:
Use this button combination with caution as all of the Robot's usage data
will be deleted after the default setting has been restored.
2 seconds
5 seconds

16
EN
2.
Mapping and Cleaning/2.6 Instructions for Robot and Station
Indicator Lights
CLEAN Indicator Light
Ambient Light of the
Station
HOME Indicator Light
SPOT Indicator Light
Indicator Light Display Status Robot Status
CLEAN
Indicator Light
The light blue
light is solid on Have a cleaning task
The red light is
solid on
Low power/power off
charging
The red light
ashes Robot alarm status
The white light is
solid on
Standby/network setup
succeeded/Base Station
docking successful
The white light is
ashing
Charging/Start up/Robot
loading/Firmware update
HOME Indicator
Light
The white light is
solid on Return to Station
SPOT Indicator
Light
The light blue
light is solid on Spot Cleaning
Ambient Light
of the Station
The light blue
light is solid on Working/Charging
The left red light
is solid on
Dirty water bucket out of
place/full of water
The right red light
is solid on Dust Bag out of place
Robot lighting effect
1
Cube Station lighting effect
2

17 EN
3. Maintenance/3.1 Regular Maintenance
To keep the Robot cleaning at peak performance, perform maintenance tasks and replace parts with the following frequencies:
Note:
yeedi manufactures various replacement parts and ttings. Please contact Customer Service for more information on replacement parts.
Robot Parts Maintenance Frequency Replacement Frequency
Easy-to-Clean Mopping Pad / Every 3-6 months
Edge Brushes Once every 2 weeks Every 3-6 months
Multi-Surface Main Brush Once per week Every 6-12 months
Washable Filter Once per week Every 3-6 months
Edge Detection Sensors
Vision and Laser Fusion Navigation System
Universal Wheel
Anti-Drop Sensors
Robot Charging Contacts
Station Charging Contacts Pins
Once per week /
Detachable Base and Filter Once every 2 weeks /
Dirty Water Tank After each mopping /

18
EN
3. Maintenance/3.2 Dustbin and Washable Filter
1Press the Dustbin Release Button to remove the Dustbin 3
Open the Filter Net, remove the ne Washable Filter and the
High-Efciency Filter Assembly
2
Press the Dustbin Cover Release Button to empty the
Dustbin
4
Clean the dust on both sides of the Filter Net with the Multi-
Function Cleaning Tool
PUSH

19 EN
3. Maintenance/3.2 Dustbin and
Washable Filter
1
2
Wipe Vision and Laser Fusion Navigation System
Wipe Edge Detection Sensors
Please wipe with a clean soft cloth, and do not use detergent.
Note: Please avoid direct sunlight and exposure to high
temperatures.
3. Maintenance/3.3 Vision and
Laser Fusion Navigation System
and Edge Detection Sensors
5
Wash High-Efficiency Filter Assembly, Sponge Filter and
Dustbin with water
6
Air-dry High-Efficiency Filter Assembly, Sponge Filter and
Dustbin

20
EN
2Wipe Robot Charging Contacts
Wipe Anti-Drop Sensors
1Wipe Station Charging Contacts Pins
3
Note:
1. Sensitive electronic components are contained in the Charging
Contacts. Please use dry cloth when cleaning. Do not use wet cloth
to prevent damage.
2. Before cleaning the Robot Charging Contacts and Station Charging
Contacts Pins, turn the Robot OFF and unplug the Cube Station.
3. Maintenance/3.4 Anti-Drop Sensors and Charging Contacts Pins
Please wipe with a clean soft cloth, and do not use detergent.

21 EN
Clean Multi-Surface Main Brush
3. Maintenance/3.5 Multi-Surface
Main Brush
Remove any foreign objects caught in the Multi-Surface Main Brush
with the Multi-Function Cleaning Tool.
Remove Edge Brushes
Clean Edge Brushes with the Multi-Function Cleaning Tool
1
2
3. Maintenance/3.6 Edge Brushes
Note:
Before cleaning the Robot, turn it OFF.

22
EN
3. Maintenance/3.7 Driving Wheels and Universal Wheel
Clean Driving Wheels Clean Universal Wheel
1 2
Note:
Please check regularly whether the Edge Brushes, Main Brush, Driving Wheels and Universal Wheel have picked up excessive amounts of hair or
trapped foreign objects to avoid abnormal sound during cleaning.

23 EN
1
3
22
Remove the Detachable Base regularly.
(Lift the Scrubber, press the buttons on both sides of the Detachable
Base and pull it out in parallel.)
Pull up and remove Filter
Detachable Base Clean Detachable Base
3
24
Empty Dirty Water Tank
1
Note: After rinsing, please dry the Detachable Base and Filter with a soft cloth or put in a cool place. Do not expose to direct sunlight to avoid
deformation of the Detachable Base or Base Filter.
3. Maintenance/3.8 Dirty Water Tank, Detachable Base and Filter

24
EN
Press down and when you hear a "click", the Filter is in place.
Wipe Filter Install Detachable Base
Install Filter
57
6
3. Maintenance/3.8 Dirty Water Tank, Detachable Base and Filter
8
Note: Be sure to lower the Scrubber.
1
2
Lower Scrubber
Other manuals for cube
1
Table of contents
Other yeedi Vacuum Cleaner manuals

yeedi
yeedi mop station User manual

yeedi
yeedi mop station User manual

yeedi
yeedi Vac Max User manual

yeedi
yeedi 2 hybrid User manual

yeedi
yeedi Vac Hybrid User manual

yeedi
yeedi K651G User manual

yeedi
yeedi yeedi vac 2 pro User manual

yeedi
yeedi yeedi vac 2 pro User manual

yeedi
yeedi K651G User manual

yeedi
yeedi Vac Max User manual
Popular Vacuum Cleaner manuals by other brands

Advance acoustic
Advance acoustic QuickStar B Instruction for use & spare parts list

Fakir
Fakir SMART S350 instruction manual

Bissell
Bissell BIG GREEN 3288 Series manual

F.F. Group
F.F. Group WDVC 18 PLUS Original instructions

VOX electronics
VOX electronics SL-308 operating instructions

Numatic
Numatic NV-450 Owner's instructions