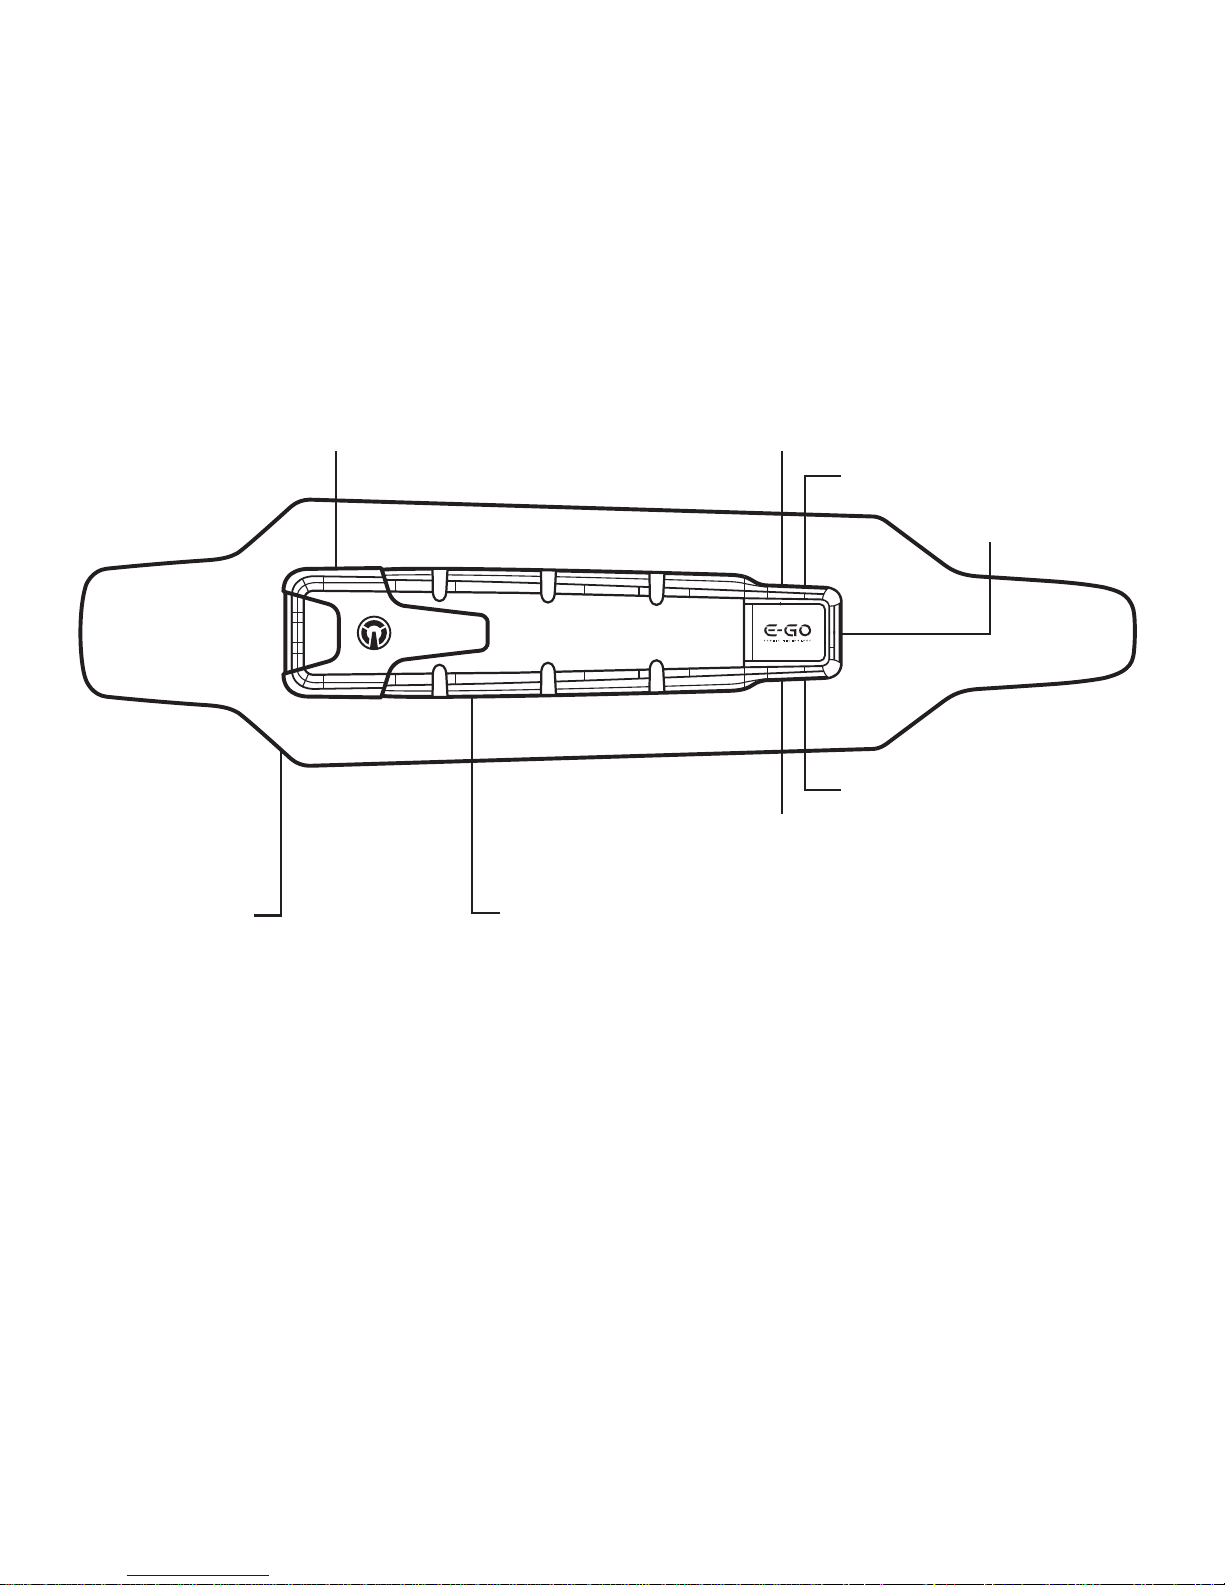
6
7
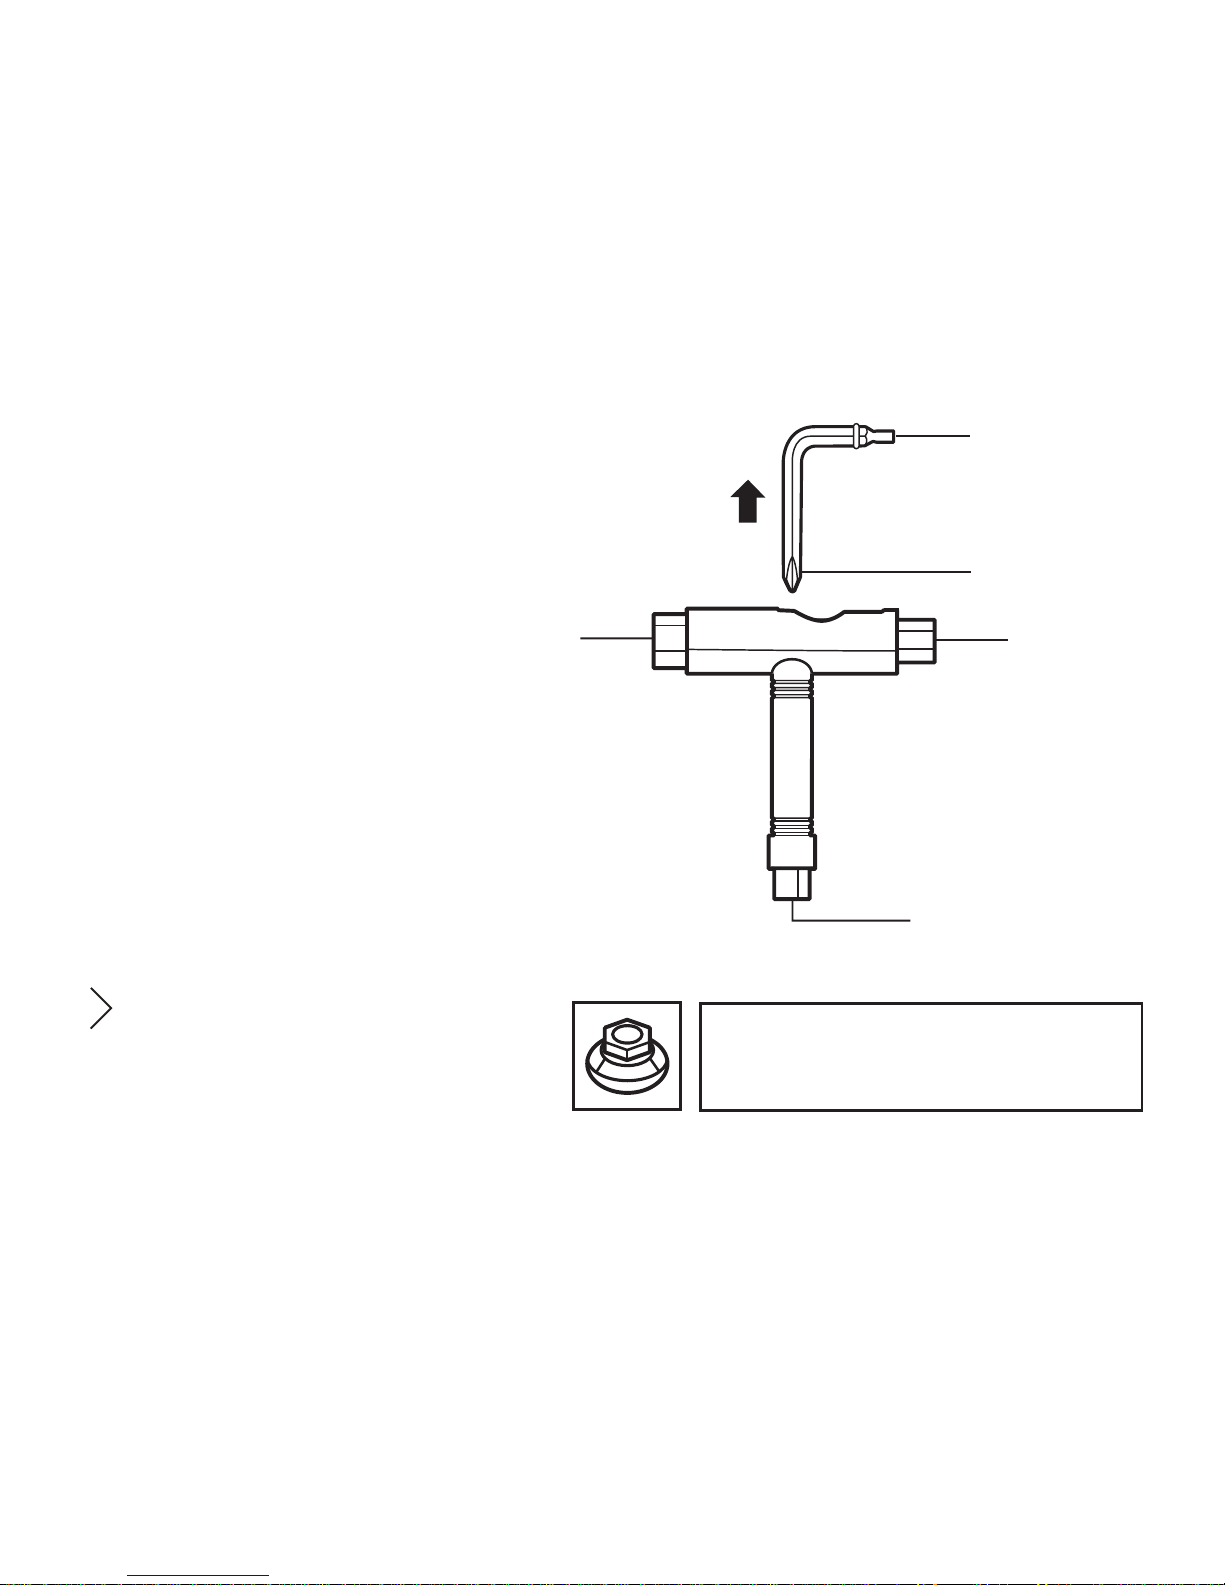
START
7
89*
10
11
12
13
6
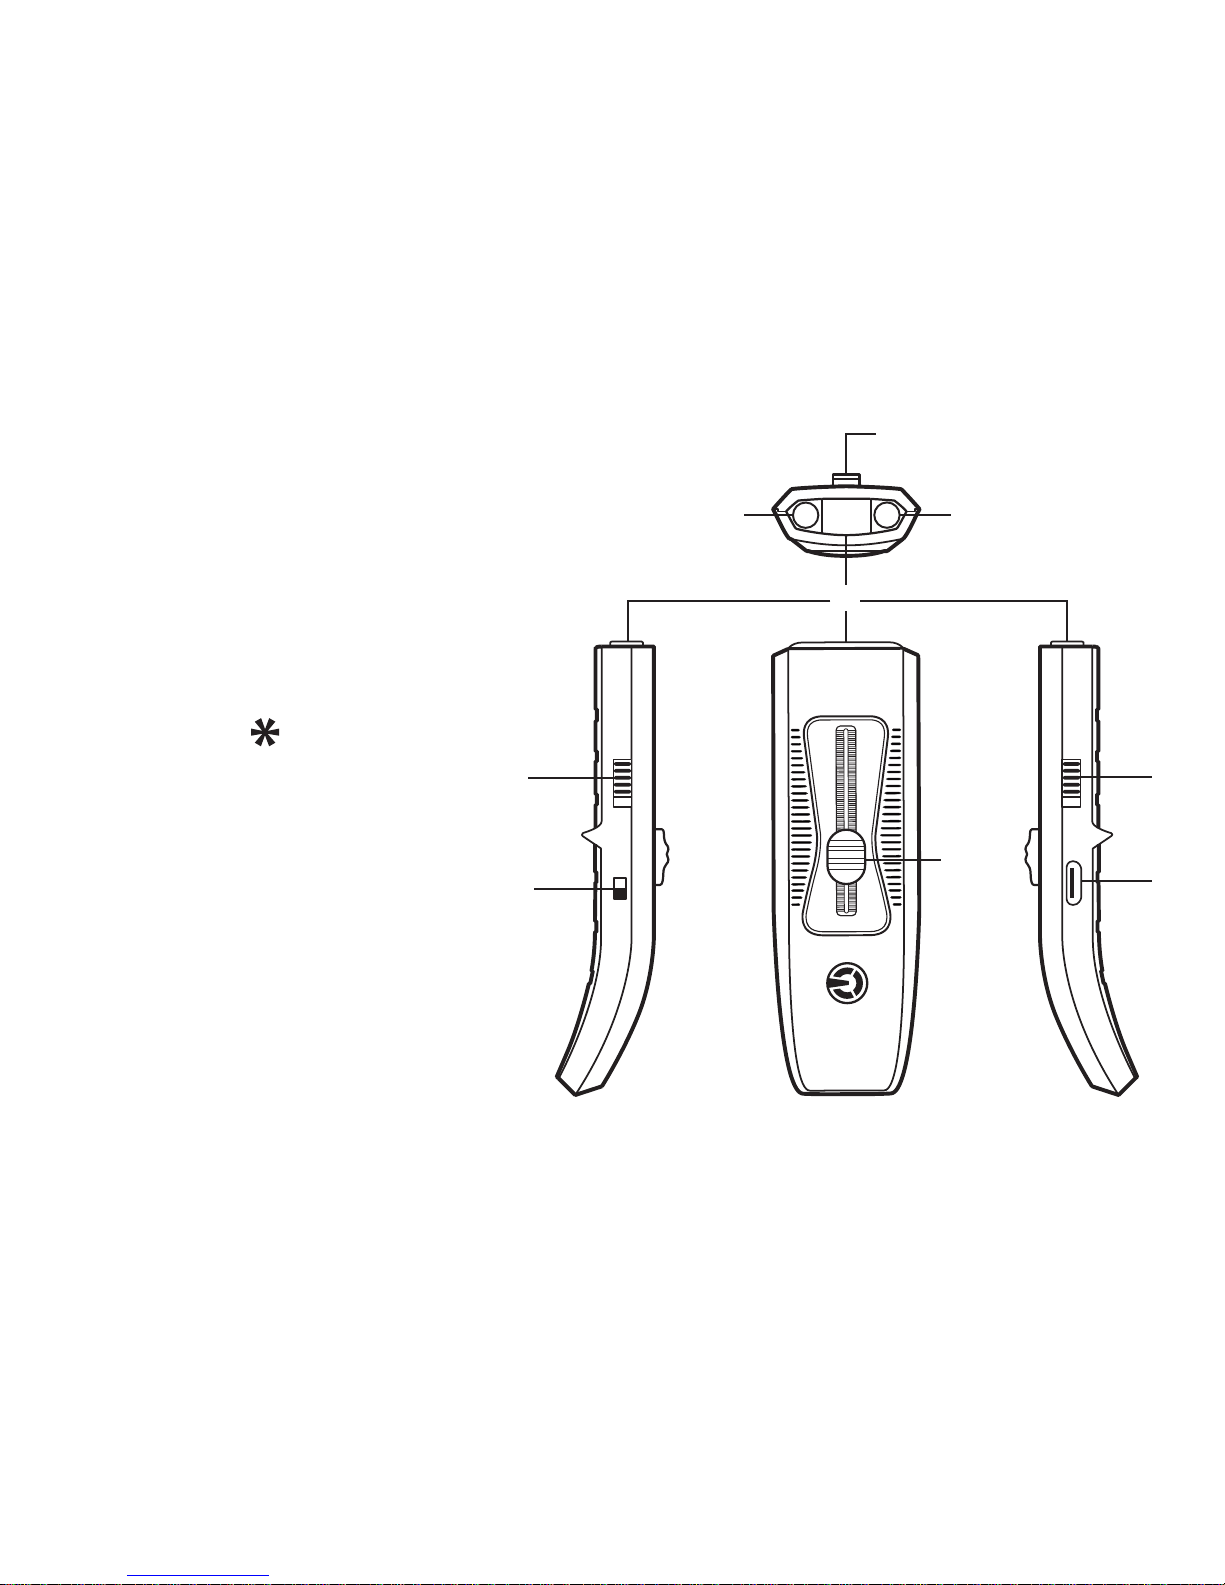
THE wireless
CONTROLLER
A KEY FEATURE OF THE E-GO IS WITHOUT
A DOUBT ITS WIRELESS CONTROLLER
WHICH ALLOWS YOU TO INTUITIVELY CON-
TROL ITS MOVEMENTS BY SIMPLY SLIDING
THE THROTTLE / DECELERATOR SLIDER
UP AND DOWN. WHEN NOT RIDING ITS
SLICK AND COMPACT DESIGN SLIPS RIGHT
INTO YOUR POCKET OR BAG, TAKING UP
LESS SPACE THAN MOST CELL PHONES.
THE BATTERY STATUS INDICATOR'S BLUE LIGHT
INDICATES THE WIRELESS CONTROLLER'S BAT-
TERY STATUS, ITS GREEN LIGHT INDICATES THE
BOARD'S BATTERY STATUS. WHEN ACTIVATED
THESE LIGHTS WILL BLINK IN A SERIES OF 1, 2,
3 OR 4.EACH BLINK OF LIGHT STANDS FOR 25%
OF THE TOTAL BATTERY CHARGE.
THE THIRD LIGHT IS RED AND INDICATES EITHER
BATTERY DEPLETION (WHEN ACTIVATED BUT NOT
CHARGING) OR BATTERY CHARGE STATUS TO BE
LESS THAN 100% (WHEN CHARGING).
EXAMPLE: (WHEN ACTIVATED BUT NOT CHARGING)
THE BOARD'S BATTERY IS COMPLETELY EMPTY
AND THE CONTROLLER'S BATTERY HAS LESS THAN
75% OF ITS FULL CHARGE CAPACITY LEFT 1 RED
BLINK WILL BE FOLLOWED BY 2 BLUE BLINKS.
FOR MORE INFORMATION ON THE YELLOW AND
PURPLE WARNING LIGHTS, REFERENCE TROUBL
ESHOOT PAGE 19).