manuals.online logo
Brands
  1. Home
  2. •
  3. Brands
  4. •
  5. Zamel
  6. •
  7. Timer
  8. •
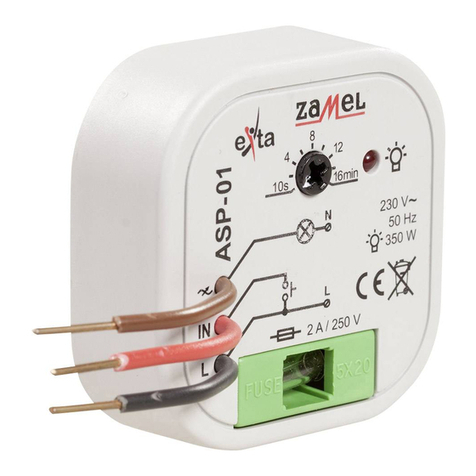
  9. Zamel exta ZCM-12 User manual

Zamel exta ZCM-12 User manual

ZCM-12, ZCM-12/U TIME PROGRAMMER
WEEK’S, DOUBLE CHANNEL INSTRUCTION MANUAL
Zakład Mechaniki i Elektroniki
ZAMEL sp.j.
J.W. Dzida, K. Łodzińska
ul. Zielona 27, 43-200 Pszczyna, Poland
Tel. +48 (32) 210 46 65, Fax +48 (32) 210 80 04
www.zamelcet.com, e-mail: [email protected]
APPEARANCE
FEATURES
TECHNICAL DATA
DESCRIPTION
ZCM-12
Power supply terminals: A1, A2
Input rated voltage: ZCM-12: 230 V AC~(-15 ÷ +10 %)
ZCM-12/U: 24 ÷ 250 V AC, 30 ÷ 300 V DC
Nominal frequency: 50 / 60 Hz
Rated power consumption: 2 W / 14 VA
Number of channels: 2
Program quantity: 400 (100 On/Off pairs per channel)
Program: daily, week’s
Operating modes: manual, automatic, random, impulse
Change of season summer/ winter: automatic, manual
Colour of LCD panel lighting: amber
Input: 2
Accuracy of time measurement: max ±1 s / 24 h at temp. 25 °C
Time of clock maintenance: 3 years
Time of programme maintenance: 10 years
Clamps of release system: IN1, IN1, IN2, IN2
Receiver input (supply) terminals: 11, 12, 14, 21, 22, 24
Output relay parameters: 2 NO/NC-16 A/250 V AC1 4000 VA
Number of terminal clamps: 12
Section of connecting cables: 0,2 ÷ 2,50 mm2
Ambient temperature range: -20 ÷ +60 oC
Operating position: freely
Mounting: rail TH 35 (PN-EN 60715)
Protection degree: IP20 (PN-EN 60529)
Protection level: II
Overvoltage category: II
Pollution degree: 2
Dimensions: double-modular (35 mm) 90x35x66 mm
Weight: 0,140 kg
Reference standards: PN-EN 60730-1; PN-EN 60730-2-7
PN-EN 61000-4-2,3,4,5,6,11
●Week’s cycle control in dependence
of the current hour,
●Double-module casing with a protec-
tion flap,
●Random op mode, additional IN con-
trol inputs,
●Double-channel version,
●Many programs,
●LCD display illumination,
●Mounted on TH 35 rail.
The ZCM-12 control timers are de-
signed for time functions execution in
automatics and control systems. The
week’s programmer controls the output
relay in dependence of program settings
(day, hour). The device is fitted with some
additional functions, among other things
the random function that is used for the
operating mode changing by means of
an external push button. It is possible to
mount the device on TH 35 rail and seal
it if needed. In case of power supply
malfunction the unit battery sustain
enables all settings saving and main-
taining.
CAUTION:
Before installing
the device in the
switchboard
or starting the
system operation
in order to pro-
gramme it, the bat-
tery security sepa-
rator should be
removed against
discharging.
The device is designed for sin-
gle-phase installation and must
be installed in accordance with
standards valid in a particular
country. The device should be
connected according to the de-
tails included in this operating
manual. Installation, connection and control
should be carried out by a qualified electrician
staff, who act in accordance with the service
manual and the device functions. Disassem-
bling of the device is equal with a loss of gu-
arantee and can cause electric shock. Before
installation make sure the connection cables
are not under voltage. The cruciform head
screwdriver 3,5 mm should be used to instal
the device. Improper transport, storage, and
use of the device influence its wrong functio-
ning. It is not advisable to instal the device in
the following cases: if any device part is mis-
sing or the device is damaged or deformed.
In case of improper functioning of the device
contact the producer.
CAUTION
Relay output terminals
(12, 11, 14, 24, 21, 22)
Control buttons
Trigger terminals
(IN1, IN1, IN2, IN2)
Display
Power terminals
(A1, A2)
VER. 001_21.09.2009
IN active input
Impulse mode active
Winter/summer time
Random mode
Manual mode
Automatic mode
Week’s day
Relay state
Info field
Current time (gg:mm:ss)
The symbol means selective collecting
of electrical and electronical equipment.
It is forbidden to put the used equipment
together with other waste
DESCRIPTION
MAIN MENU
DATE SETTING
- Current date setting; entry after pressing OK;
YEAR - choose adequate year with cursors confirm with OK, range of
years: 2000÷2099;
MONTH - choose month with cursors confirm with OK;
DAY - choose day with cursors confirm with OK; the system has a protec-
tion against introducing incorrect parameter of a day for a given month (it
takes into account leap years and it automatically calculates the day of the
week on the basis of an arranged date);
Confirmation causes movement to a date setting window and set-up of cur-
rent summer/ winter time - if the option is arranged.
It is possible to exit every submenu window in any moment without sav-
ing settings by pressing the button or .
Description of elements and messages displayed
- days of week - day, - year
- transmitter’s status - program setting
- automatic mode - current time setting and summer/winter time shift
- manual mode - current date setting
- random mode - random mode setting
- impulse mode - extenal input setting
- external input - impulse mode setting
- winter time - automatic, - user
- summer time
- channels - on/off
Button description
• in the main window – the automatic mode enter or relay state changeover, if the timer already in the automatic
mode;
• in the main window (3 seconds) – the random mode enter / exit;
• in the random mode – randomizing active/inactive manual toggle;
• the other windows – exit to a higher level without changes saving;
• in the main window – the manual mode enter or the relay state changeover, if the timer already in the manual mode;
• in the random mode – the relay state changeover and randomizing switch-OFF;
• the other windows - exit to a higher level without changes saving;
• in the main window – the main menu enter;
• the other windows – a submenu enter or setting acknowledgement;
• window/option toggle or set value increase/decrease.
Menu enter by pressing OK;
menu items scrolling by means of cursors .
Function Description
PROGRAM SETTING
CURRENT TIME SETTING
CURRENT DATE SETTING
WINTER / SUMMER TIME SETTING
EXTERNAL INPUT SETTING
IMPULSE MODE SETTING
RANDOM MODE SETTING
ZCM - 12
TIME SETTING
WINTER / SUMMER TIME SETTING
OPERATING MODE CHANGE (AUTOMATIC, MANUAL, RANDOM)
- setting the current clock time; entry after pressing
OK;
HOUR- choose adequate hour with cursor which you can
set in 1-24 or 1-12 (AM) and 1-12 (PM)format; confirm
with OK;
MINUTES - choose adequate parameter of minutes with cur-
sors confirm with OK;
Confirmation of the parameter of minutes causes simultane-
ous nullification of the parameter of seconds and movement
to the window of time setting.
It is possible to exit every submenu window in any moment
without saving settings by pressing the button or .
- winter/summer time toggle mode selection:
- automatic time changing on the last March Sunday, at 2:00
into summer time and on the last October Sunday, at 3:00
into winter time, - winter/summer timer toggle manual,
by user; option entering after pressing OK;
MODE SETTING - with select or acknowl-
edge with OK; after selecting , winter/summer time will
be toggled automatically; after selecting mode you will
enter the next window;
With select winter/summer, where is winter time, -
summer time; if the time icon is changed, the timer will cor-
rect the current time appropriately; acknowledge by pressing
OK;
After time mode selecting winter/summer time change win-
dow will be open.
Before the op mode changing it is necessary, in the
main window, to select with the cursors channel
or .
MANUAL OP MODE TOGGLE - if the main window is open
and the timer is in the automatic mode pressing the key
will force the unit to toggle into the manual mode and the
relay state changeover;
Successive key pressing will force the relay state
changeover without the op mode changing;
AUTOMATIC MODE TOGGLE – if the main window is open
and the timer is in the manual mode pressing the key will
force the unit to toggle into the auromatic mode and the relay
state changeover;
Successive key pressing will force the relay state
changeover without the op mode changing;
RANDOM MODE TOGGLE - in order to enter the random
mode it is necessary to press and hold key for 3 secs;
Pressing the key forces the relay state changeover; in
order to exit the random mode it is necessary to press the
key .
PROGRAM VIEWING
PROGRAM SETTING
PROGRAM CANCEL / RESTORE
- ddefining ON-times and OFF-times for the given week’s days, for the given pro-
grams running in the automatic mode; enter edition by pressing OK; the programs are
numbered as (ON / OFF) pair ( / ). Maximum number of / programs is 100 pairs
per channel;
With cursors select or ;
With cursors select the program (e.g. ) for its parameters editing and enter
edition by pressing OK;
HOUR - with cursors select an hour and acknowledge by pressing OK;
MINUTE - with cursors select minutes and acknowledge by pressing OK;
WEEK’S DAY - with ursors select the week’s day when the given program is to be active
(there are 16 week divinsion combinations available), acknowledge selection by pressing
OK - the program will be saved;
The next saved program will be displayed (e.g. ) - press OK to enter edition, in
order to select the other program use the cursors , in order to exit the mode press
or ;
The last available program is .
PROGRAM VIEWING - viewing settings for the switching programs ( / ) i.e. hours,
minutes and week’s days; enter viewing by pressing OK;
With cursors select or ;
In order to scroll programs press successively the cursors ; cursor increases program
number; cursor decreases program number;
The programs are numbered in the form of ( / ), pairs, where each program may be
treated independently; there are 400 programs (100 / pairs per channel).
It is possible to exit every submenu window in any moment without saving settings by
pressing the button or .
PROGRAM CANCEL / RESTORE - the option is used during program setting and viewing
for program cancelling (inactivation) and restoring; enter by pressing OK;
With cursors select or ;
With cursors select the program to be cancelled / restored;
Press and hold OK for 3 seconds – if the program is active, it will be canceled (inactivated)
and will not be checked during the timer operating in the automatic mode (however it will be
saved in the storage and it will be possible to restore the program); horizontal lines will be
displayed;
If the program is cancelled, it will be restored by pressing OK and its edition will be possible
, pressing and holding OK for 3 seconds will cause the program restoring without time
edition possibility .
Week division combinations
1
2
3
4
5
6
7
8
9
10
11
12
13
14
15
16
EXTERNAL INPUT SETTING
IMPULSE PROGRAM SETTING
RANDOM MODE SETTING
- the impulse generating mode and impulse duration time setting; the impulse mode current state is shown in the display ( - ON, - OFF); enter
edition by pressing OK;
With cursors select or ;
With the cursors select one of the following options - ON or - OFF for the impulse mode; acknowledge selection by pressing OK; in case of the
state selecting the impulse mode main window will be open;
After selecting option with cursors select impulse duration time in seconds; acknowledge selection by pressing OK;
After the selection acknowledgement the impulse mode setting window is open. In the impulse mode there are only ON programs.
- setting maximum ON and OFF time for the relay in the random mode which is
the same for both channels, but switched ON separately; enter the mode by pressing
OK; with the cursors select demanded window, where:
- the relay maximum ON-time setting in minutes - the time will be randomized for
the time range between 1 minute and minutes;
- the relay maximum OFF-time setting in minutes - the time will be randomized
for the time range between 1 minute and minutes;
Window : press OK to enter; with cursors set maximum ON-time (in minutes),
acknowledge by pressing OK; you will enter window .
Window : press OK to enter; with cursors set maximum OFF-time (in minutes),
acknowledge by pressing OK; you will enter window .
It is possible to exit every submenu window in any moment without saving settings
by pressing the button or .
- setting the unit mode after the IN external input triggering; the module remains
in the state until the triggering IN signal decays; enter edition by pressing OK;
With cursors select or ;
After the channel selection with cursors select an appropriate external input mode,
where:
- external input function is OFF;
- manual mode with the continuous relay OFF-state;
- manual mode with the continuous relay ON-state;
- automatic mode, the relay switching ON / OFF according to the set programs;
- random mode according to settings from the menu RANDOM MODE SETTING;
Acknowledge the given mode selection by pressing OK; after acknowledgement the external input setting window will be open.
It is possible to exit every submenu window in any moment without saving settings by pressing the button or .
5m 7m 3m 4m 8m 1m 2m
3m 3m1m 2m 1m 4m
t
11
14
11
14
MAIN RESET
CONNECTION
MOUNTING
ADVANTAGES
Intelligent calendar - the programmer is fitted with a built-in calendar which fits leap
years automatically, disables entering incorrect dates, calculates a week’s day on the
basis of the current date and fits the summer / winter time change.
General purpose external input - the programmer is fitted with an external input
that enables the operating mode change without operating a switchboard, e.g. by
means of a remote push button.
Programmable random mode - it is possible to set beginning and ending time, and
the day of the random mode activity. Additionally, it is possible to program maximum
ON and OFF times in dependence of user’s needs.
Additional impulse mode - it is possible to switch the timer into the impulse mode
which gives control units new capabilities.
DIMENSIONS
PRODUCT FAMILY
ZCM-12 Programmer belongs to ZCM
family of products.
1. Disconnect power supply by the phase
fuse, the circuit-breaker or the switch-
disconnector combined to the proper
circuit.
2. Check if there is no voltage on con-
nection cables by means of a special
measure equipment.
3. Install the ZCM-12 on the TH 35 DIN
rail in the switchboard.
4. Connect the cables with the terminals in
accordance with the installing diagram.
5. Switch on the power supply from the
mains.
WARRANTY CARD
INNER DIAGRAM
RELAY CAPACITY
A2
A1
IN
μC
KLAW. LCD
RTC
ZAS.
L(+)
L(+) / N(-)
N(-)
In order to cancel the clock sys-
tem (time, date, activity of given
functions etc.) you should hold
buttons ( and ) simultaneously
in the main menu for 3 sec;
All the display fields will light up;
After a while, the clock will auto-
matically set date and time.
Attention: In order to restore factory settings, you should additionally hold button OK
Salesman stamp and signature, date of sale
There is 24 months guarantee on the product
1. ZMIE ZAMEL SP. J. assures 24 months guarantee for the product.
2. The manufacturer’s guarantee does not cover any of the following actions:
a) mechanical damage during transport, loading / unloading or under other circumstances,
b) damage caused by incorrect product mounting or misuse,
c) damage caused by unauthorised modifications made by the PURCHASER or any third parties to the product or any other devices
needed for the product functioning,
d) damage caused by Act of God or any other incidents independent of the manufacturer.
3. The PURCHASER shall lay any claims in writing to the dealer or ZMIE ZAMEL SP. J.
4. ZMIE ZAMEL SP. J. is liable for processing any claim according to current Polish legislation.
5. ZMIE ZAMEL SP. J. shall process the claim at its own discretion: product repair, replacement or money return.
6. The manufacturer’s guarantee is valid in the Republic of Poland.
7. The PURCHASER’s statutory rights in any applicable legislation whether against the retailer arising from the purchase contract or
otherwise are not affected by this warranty.
Programmer type:
11 - week (1 channel)
12 - week (2 channel)
21 - year
31 - astronomical
Device type
Power supply:
ZCM-xx - 230 V AC
ZCM-xx/U - 24 ÷ 250 VAC
30 ÷ 300 V DC
X-ON Electronics
Largest Supplier of Electrical and Electronic Components
Click to view similar products for Timers category:
Click to view products by Zamel manufacturer:
Other Similar products are found below :
79237785 H3DS-GL AC24-230/DC24-48 H5AN-4DM DC12-24 H5CN-XDNM AC100-240 H5CN-YAN AC100-240 H5CX-L8S-N AC100-
240 H3AMNSCAC100240 H3AM-NSR-B AC100-240 H3CA-8 DC12 H3CR-A8-302 DC24 H3CR-F AC24-48/DC12-48 H3CR-G8EL
AC200-240 H5AN-4D DC12-24 81506944 88225029 H5S-YB4-X H3CR-A-301 AC100-240/DC100-125 H3CR-AS AC24-48/DC12-48
H3DK-GE AC240-440 H3RN-2 AC24 H3RN-21 AC24 H3CR-H8RL AC/DC24 M H3CR-H8RL AC100-120 S H3CR-G8EL-31 AC100-120
H3CR-H8RL AC100-120 M H3CR-HRL AC100-120 M H3CR-A8-301 AC24-48/DC12-48 H3CR-H8RL AC/DC24 S H7AN-2D DC12-24
H5CN-XANS DC12-48 H3CA-8 DC110 H7AN-W4DM DC12-24 H7AN-4DM DC12-24 H7AN-4D DC12-24 H7AN-RT6M AC100-240
H3CA-8H AC200/220/240 MTR17-BA-U240-116 PM4HSDM-S-AC240VS PM4HSDM-S-AC240VSW PO-405 600DT-CU H3Y-2-B DC24
30S PM4HF8-M-DC24V PM4HS-H-DC12VSW H3Y-2-B AC100-120 10S H3Y-2-B AC100-120 30S H3C-R H3CR-A8-301 24-48AC/12-
48DC H3CR-A8E 24-48AC/DC H3CR-F8 100-240AC/100-125DC

This manual suits for next models

1

Other Zamel Timer manuals

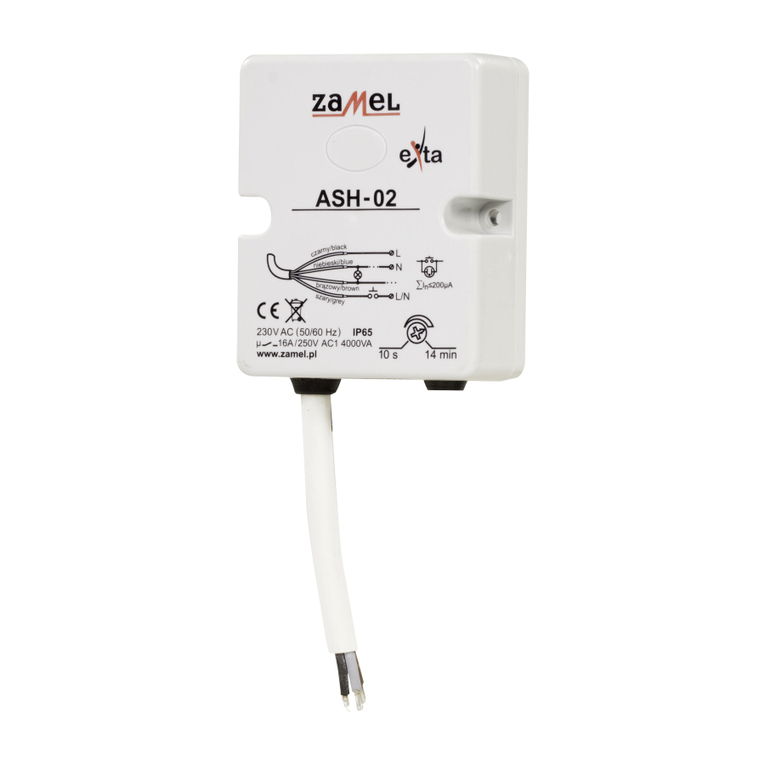
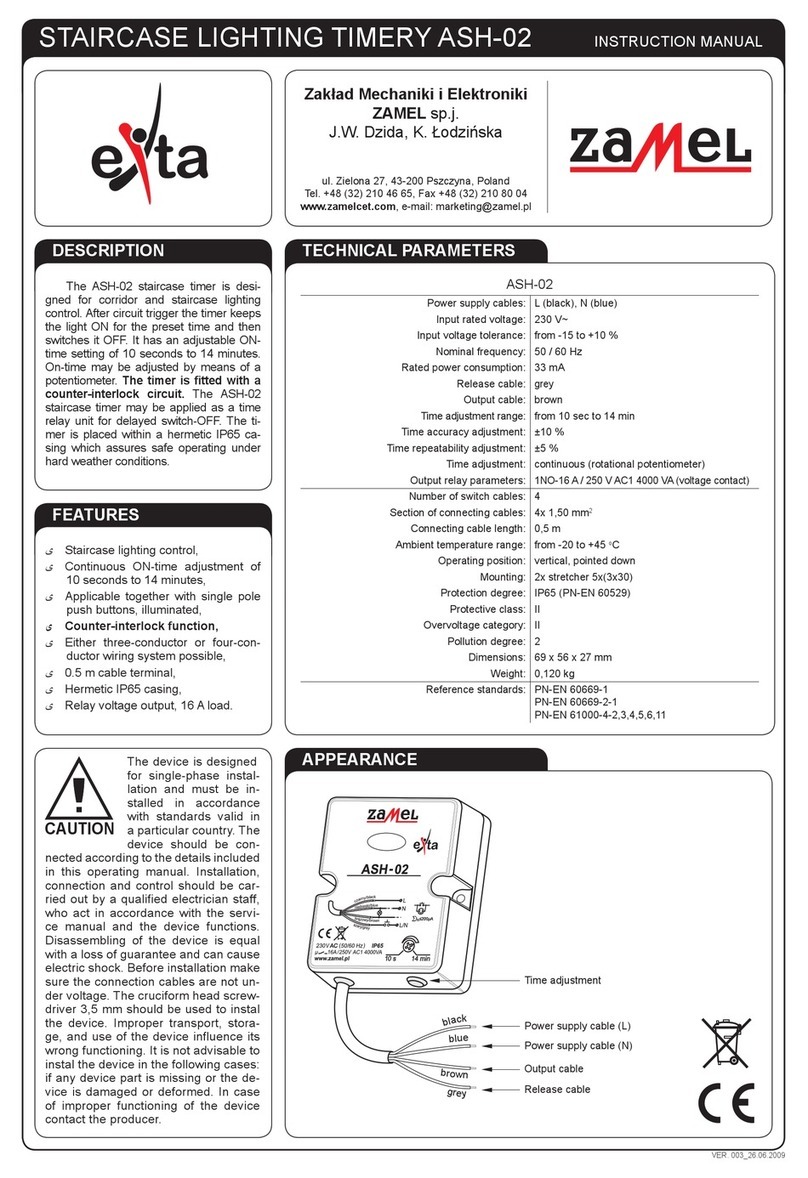
Zamel EXTA ASH-02 User manual

Zamel

Zamel EXTA ASH-02 User manual

Zamel exta ASP - 10 User manual

Zamel

Zamel exta ASP - 10 User manual

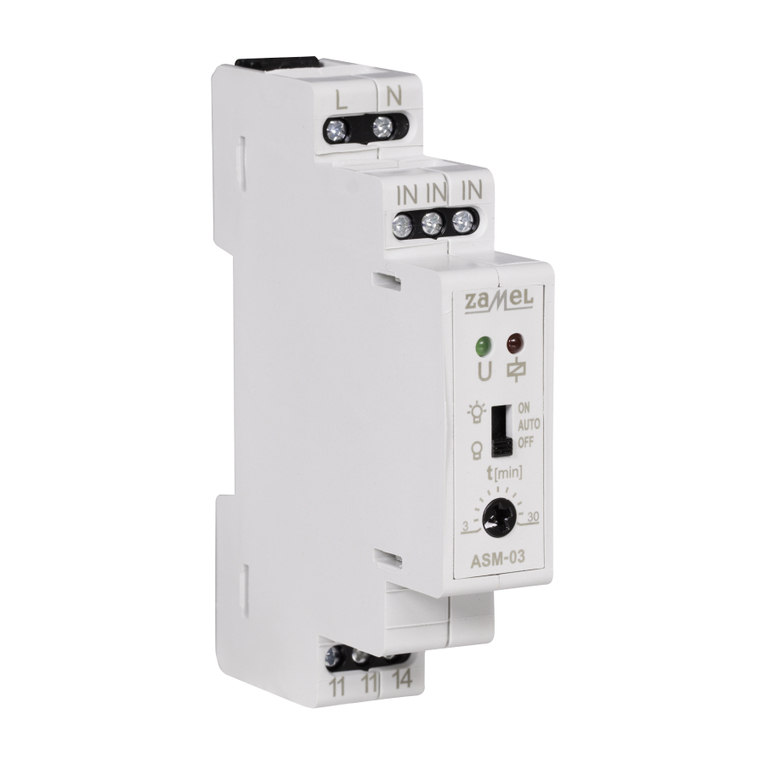
Zamel EXTA ASM-03 User manual

Zamel

Zamel EXTA ASM-03 User manual

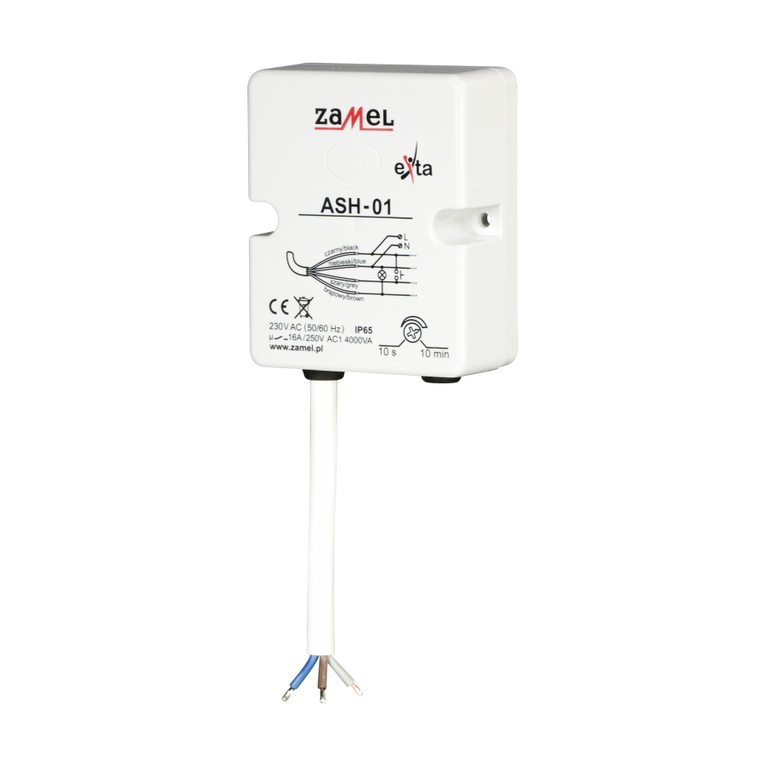
Zamel EXTA ASH-01 User manual

Zamel

Zamel EXTA ASH-01 User manual

Zamel EXTA ASH-02 User manual

Zamel

Zamel EXTA ASH-02 User manual

Zamel exta ZCM-32 User manual

Zamel

Zamel exta ZCM-32 User manual

Zamel EXTA ASH-01 User manual

Zamel

Zamel EXTA ASH-01 User manual

Zamel ASM-04 User manual

Zamel

Zamel ASM-04 User manual

Zamel EXTA ASN-02 User manual

Zamel

Zamel EXTA ASN-02 User manual

Zamel EXTA ASP-01 User manual

Zamel

Zamel EXTA ASP-01 User manual

Zamel EXTA ASM-02 User manual

Zamel

Zamel EXTA ASM-02 User manual

Popular Timer manuals by other brands

Orbit 24713 user guide

Orbit

Orbit 24713 user guide

Kemo B133 quick start guide

Kemo

Kemo B133 quick start guide

Velleman Perel E305W2 user manual

Velleman

Velleman Perel E305W2 user manual

Busch-Jaeger Busch-Timer 6455 operating instructions

Busch-Jaeger

Busch-Jaeger Busch-Timer 6455 operating instructions

Webasto 1531 Quick reference card

Webasto

Webasto 1531 Quick reference card

GIZMO ENGINEERING T5 instructions

GIZMO ENGINEERING

GIZMO ENGINEERING T5 instructions

Intermatic EJ341C instructions

Intermatic

Intermatic EJ341C instructions

Lumo LU1800DT22065 instruction manual

Lumo

Lumo LU1800DT22065 instruction manual

Blueprint Controllers BTC-1 quick start guide

Blueprint Controllers

Blueprint Controllers BTC-1 quick start guide

Maxxima MEW-PT1850 installation instructions

Maxxima

Maxxima MEW-PT1850 installation instructions

Theben TR 644 S operating instructions

Theben

Theben TR 644 S operating instructions

Orbis DATA MICRO + operating instructions

Orbis

Orbis DATA MICRO + operating instructions

Wickes SKU 195053 operating instructions

Wickes

Wickes SKU 195053 operating instructions

Bibby Sterilin Techne FGT5 Instructions for use

Bibby Sterilin

Bibby Sterilin Techne FGT5 Instructions for use

Osaka TE 49 operating instructions

Osaka

Osaka TE 49 operating instructions

Anslut 006053 operating instructions

Anslut

Anslut 006053 operating instructions

Daktronics All Sport 5000 Operation manual

Daktronics

Daktronics All Sport 5000 Operation manual

Forge Electronics E-ZEE ECL mini quick start guide

Forge Electronics

Forge Electronics E-ZEE ECL mini quick start guide

manuals.online logo
manuals.online logoBrands
  • About & Mission
  • Contact us
  • Privacy Policy
  • Terms and Conditions

Copyright 2025 Manuals.Online. All Rights Reserved.