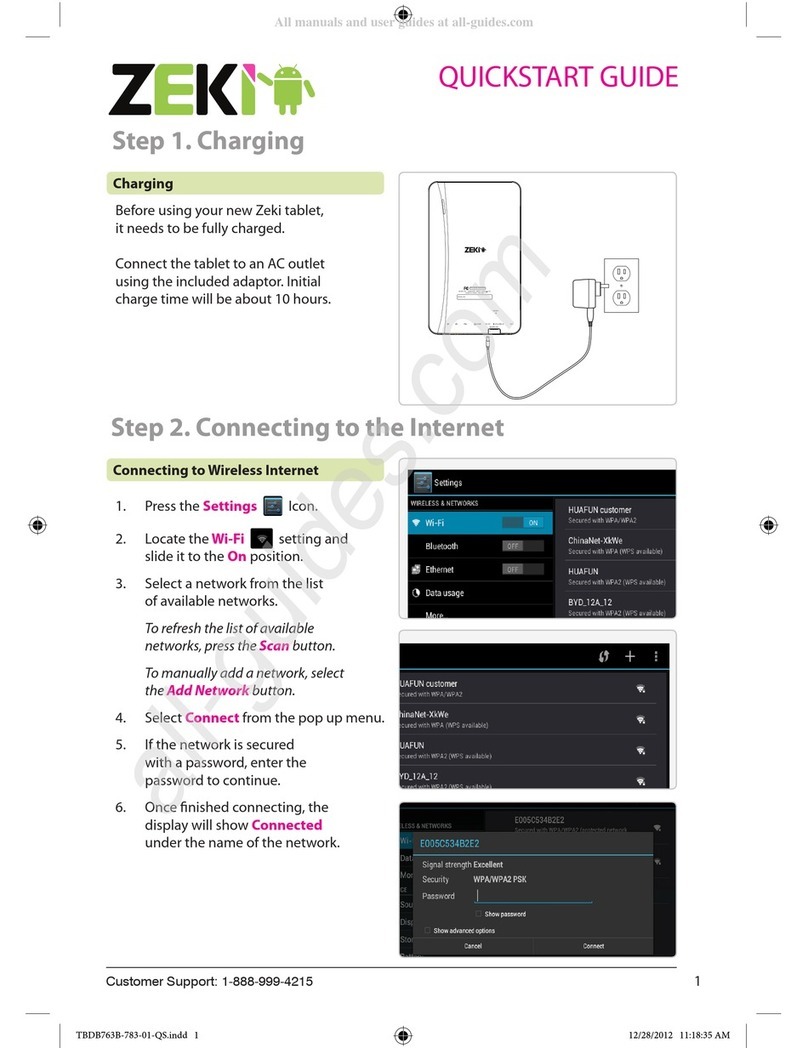
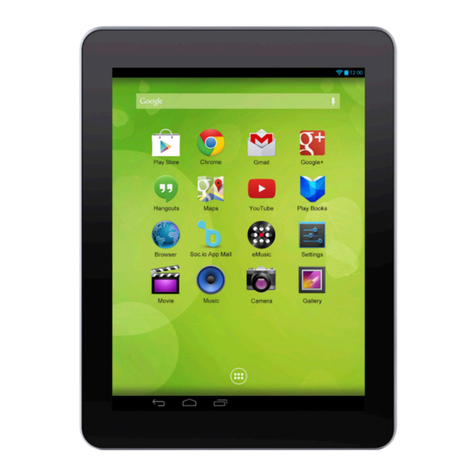
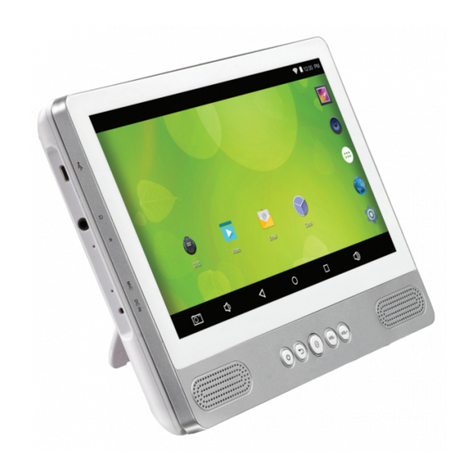
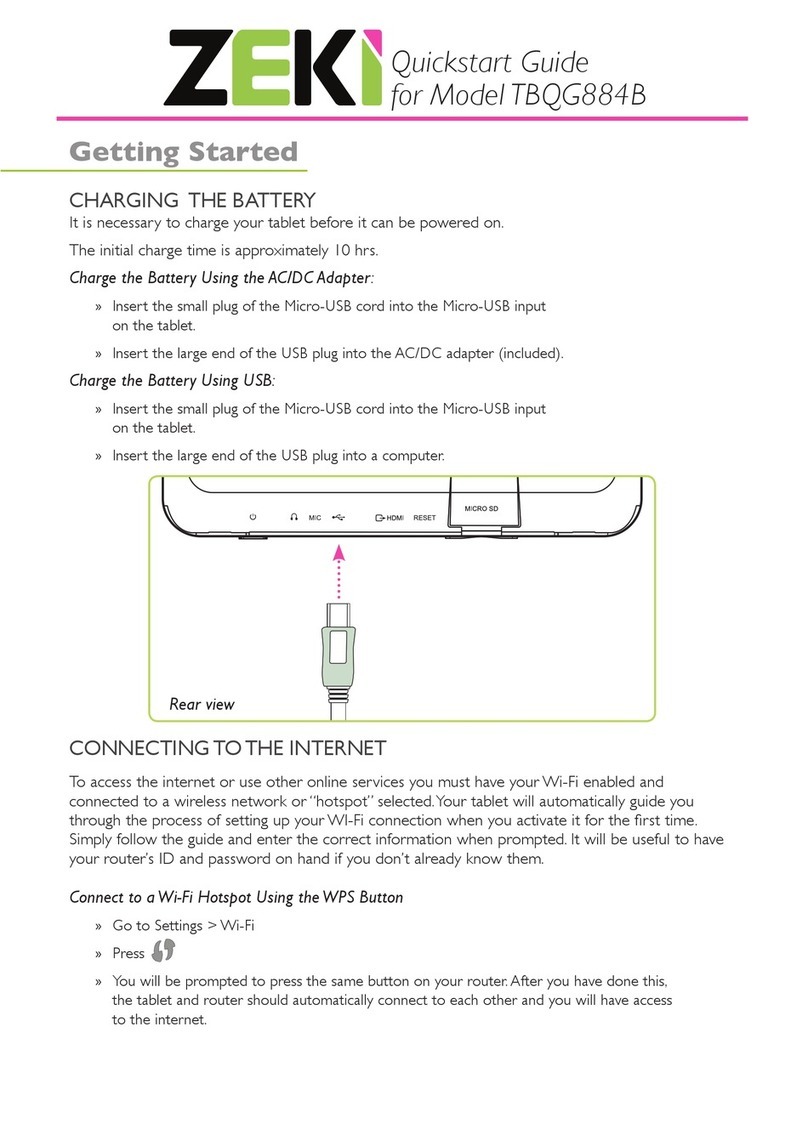
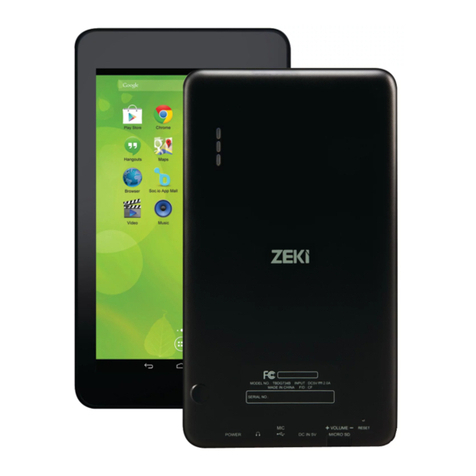
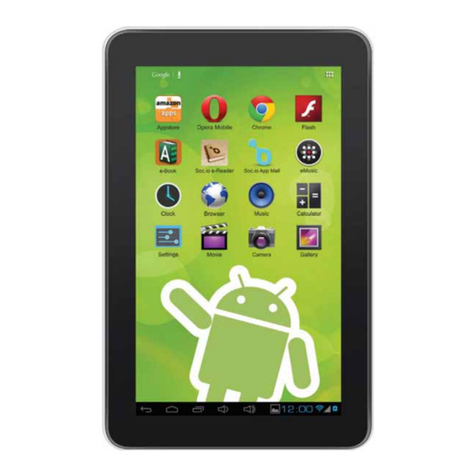
Zeki TBQG838B User manual

8” TABLET
User’s Guide for Model TBQG838B-2120-01

2
Warnings & Precautions
Important Safety Instructions
• Readtheseinstructions.
• Keeptheseinstructions.
• Heedallwarnings.
• Followallinstructions.
• Donotusethisapparatusnearwater.
• Cleanonlywithadrycloth.
• Donotblockanyventilationopenings.Installin
accordancewiththemanufacturer’sinstructions.
• Donotinstallnearanyheatsourcessuchas
radiators,heatregisters,stoves,orotherapparatus
(includingampliers)thatproduceheat.
• Donotdefeatthesafetypurposeofthepolarized
orgrounding-typeplug.Apolarizedplughastwo
bladeswithonewiderthantheother.Agrounding
typeplughastwobladesandathirdgrounding
prong.ewidebladeorthethirdprongis
providedforyoursafety.Whentheprovidedplug
doesnottintoyouroutlet,consultanelectrician
forreplacementoftheobsoleteoutlet.
• Protectthepowercordfrombeingwalkedon
orpinchedparticularlyatplugs,convenience
receptacles,andthepointwheretheyexitfrom
theapparatus.
• Onlyuseattachments/accessoriesspeciedbythe
manufacturer.
• Unplugthisapparatusduringlightningstormsor
whenunusedforlongperiodsoftime.
• Referallservicingtoqualiedservicepersonnel.
Servicingisrequiredwhentheapparatushasbeen
damagedinanyway,suchaspower-supplycordor
plugisdamaged,liquidhasbeenspilledorobjects
havefallenintotheapparatus,theapparatushas
beenexposedtorainormoisture,doesnotoperate
normally,orhasbeendropped.
FCC Warnings
WARNING: Changes or modications to this unit
not expressly approved by the party responsible
for compliance could void the user’s authority to
operate the equipment.
NOTE: This equipment has been tested and found
to comply with the limits for a Class B digital
device, pursuant to Part 15 of the FCC Rules. These
limits are designed to provide reasonable protection
against harmful interference in a residential
installation. This equipment generates, uses, and can
radiate radio frequency energy and, if not installed
and used in accordance with the instructions, may
cause harmful interference to radio communications.
However, there is no guarantee that interference
will not occur in a particular installation. If this
equipment does cause harmful interference to radio
or television reception, which can be determined
by turning the equipment off and on, the user is
encouraged to try to correct the interference by one
or more of the following measures:
• Reorientorrelocatethereceivingantenna.
• Increasetheseparationbetweentheequipment
andreceiver.
• Connecttheequipmentintoanoutletona
circuitdierentfromthattowhichthereceiver
isconnected.
• Consultthedealeroranexperiencedradio/TV
technicianforhelp.
Additional Warnings
• CAUTION: TO PREVENT ELECTRIC SHOCK,
MATCH WIDE BLADE OF PLUG TO WIDE
SLOT, FULLY INSERT.
• Mains plug is used as disconnect device and it
should remain readily operable during intended
use. In order to disconnect the apparatus from
the mains completely, the mains plug should
be disconnected form the mains socket outlet
completely.
• WARNING: To reduce the risk of re or electric
shock, do not expose this apparatus to rain,
moisture, dripping, or splashing.
• WARNING: Changes or modications to this unit
not expressly approved by the party responsible
for compliance could void the user’s authority to
operate the equipment.
• Lithium batteries, like all rechargeable batteries,
are recyclable and should be recycled or disposed
of according to state and local guidelines. They
should never be disposed of in normal household
waste, and they should never be incinerated,
as they might explode. Contact your local
government for disposal or recycling practices in
your area.
• Battery shall not be exposed to excessive heat
such as sunshine, re or the like.
• Batteries should be recycled or disposed of as per
state and local guidelines.
WARNING : This product can expose you
to chemicals including lead, which is known
to the State of California to cause cancer
and birth defects or other reproductive harm. For
more information go to www.P65Warnings.ca.gov.
This product meets and complies with all Federal
regulations.
3
Table of Contents
Specications
Hardware & Features–5
Includes–5
Supported File Types–5
Using the Tablet
Charging the Battery–6
Power Button–7
Gestures–8
Front View–10
Rear View–11
Included Accessories–12
Screen Orientation–13
Lock Screen & Security–13
Apps–14
Android™ OS Updates–14
Wi-Fi & Internet
Wireless Connections–16
Google™ Search–16
Camera
Pictures,Video & Gallery–17
The Tablet & Other Devices
USB Connections–18
Micro SD Cards–19
Customer Support
Contact Information–20
International Support–20
Warranty Information–20

4
Specications
Specications and software are subject to change without prior notice.
HARDWARE & FEATURES
»Android OS 8
»Quad core 1.2 GHz processor
»Built-in 1GB RAM
»8GB installed ash memory
»8˝ TFT LCD display: 1280x800 resolution
»Expandable memory and Micro-SD card
reader (up to 256 GB)
»Built-in 802.11b/g/n Wi-Fi
»0.3M pixel front camera & 2.0M pixel rear
camera
»G-Sensor for screen rotation
»Built-in microphone
»Micro-USB port
»3.5mm headphone jack
»Built-in speakers
»Built-in rechargeable battery lasts approx.
2.5 hrs
INCLUDES
»Micro-USB to USB cable
»One pair of earbuds
»AC/DC power adapter
»User’s guide
SUPPORTED FILE TYPES
»Video: MOV, MKV, AVI, RM, RMVB, FLV, WMV, MP4, VOB
»Audio: MP3, WAV
»Photo: FPEG, BMP, GIF, PNG
»eBook: PDF, PDF DRM, EPUB, EPUB DRM

5
CHARGING THE BATTERY
It is necessary to charge your tablet before it can be powered on. The initial charge time is
approximately 5 hrs. It is normal for the body of the tablet to become warm during charging and
after extended periods of use.
Charge the Battery with the AC/DC Power Adapter:
»Connect the AC/DC power adapter to a standard power outlet and the Micro-USB port on
the tablet.
Charge the Battery with the Micro USB charging cable and a PC:
»Connect the charging cable to the USB port of a powered on PC and the Micro-USB port
on the tablet. A window will appear asking how you want to use the USB connection, select
“Charge this device” (for additional information on USB connections see pg. 18).
Using the Tablet

6
POWER BUTTON
The Power Button will power the tablet on, off, or put the tablet into Sleep Mode. Sleep Mode
is a power saving mode that disables certain functions, namely, the screen. Your tablet will still do
things like play music, and remain ready to use at a moments’ notice.
Power Your Tablet ON
»Press and hold the power button and wait for the screen to activate.
Put Your Tablet in Sleep Mode
»Press the power button once to put the tablet to Sleep.
Power Your Tablet OFF
»Press and hold the power button to turn the tablet OFF completely.

7
Swipe
Touch and drag your nger in any
direction on the screen.
GESTURES
The screen on your ZEKI tablet is capable of accepting up to ve points of contact at once, and
by using these simple hand gestures you can interact with the tablet and its various functions.
Tap / Hold / Rotate
Briey tap the screen to select an icon,
item, or app. Press and hold to bring up
menus or other options.
Hold and turn two ngers to rotate things
like pictures and games.
Using the Tablet

8
Hold & Drag
Touch and hold any item on the screen,
such as an app, to move it.
Zoom In / Zoom Out
Touch the screen with two ngers and
pinch in or out. In some cases, you can
also zoom in and out by quickly tapping
the screen twice.

9
2
3
5
4
FRONT VIEW
1
Using the Tablet
1. Rear Facing Camera
2. Notications Bar
3. Touch Screen
4. Apps
5. Navigation Bar
Back
Home
View Open Apps
Volume
Take Screenshot

10
5
6
7
REAR VIEW
1. Forward Facing Camera
2. Headphone Jack
(3.5mm)
3. Micro SD Card Slot
4. Micro USB Port
5. Volume
6. Power/Sleep button
7. Speaker
21 3 4

11
INCLUDED ACCESSORIES
AC/DC Power Adapter
Use the Power Adapter to charge from a
standard power outlet.
Micro-USB to USB Cable
Use the Micro-USB to USB cable to
connect to a computer and transfer
les or charge the tablet.
Stereo Earbuds
To avoid hearing damage, make sure that the volume on
the tablet is turned down before connecting the earbuds.
After placing earbuds in your ears, gradually increase the
volume until a comfortable listening level is reached.
Using the Tablet

12
SCREEN ORIENTATION
Your tablet will automatically adjust from portrait to landscape mode as you rotate it.
You can disable this feature by dragging the Quick Settings tab down from the top right of the
screen and tapping Auto-Rotate.
PortraitLandscape
LOCK SCREEN & SECURITY
Disable the Lock Screen by dragging upwards anywhere on the screen. If you want to make
your tablet more secure you can choose from several different options by going to
Settings > Security > Screen Lock.

13
APPS
Downloading Apps
»Press the Google Play Store app icon to search for and download new apps to your tablet.
App Information & Options
»Press and hold an app icon, a y out menu will appear to view app options, add widgets (if
available), and information.
Adding Apps to Your Home Screen
»Swipe upwards on any part of the screen, this will open the Apps Screen, which contains all
of the apps installed on the tablet.
»Press and hold an app, then drag it away from its current position. The screen will change
back to the Home Screen and you can place it there.
Moving Apps on the Home Screen
»Press and hold any app on the screen, then drag it to a new location.
Grouping Apps Together
»Press and hold any app on the screen, then drag it on top of another app.
Removing an App or Widget from the Home Screen
»Press and hold the app or widget and drag it to “X Remove” at the top of the screen.
Deleting Apps from Your Tablet
»Press and hold the app icon of the app want to delete. When the y-out menu appears,
press Additional Info and press the button marked “Uninstall” to delete it from your tablet.
ANDROID OS UPDATES
The Android operating system may periodically be improved and updated. New versions of the
OS may include bug xes, security enhancements, and other new features. It is recommended to
check for updates regularly and run the most current version of the software.
Check for Updates
»Go to Settings > System > System Update
Using the Tablet
Press and hold to view app info

14
Swipe upwards anywhere on the Home Screen
This will open the App Screen and Menu

15
Wi-Fi & Internet
WIRELESS CONNECTIONS
To access the internet or use other online services you must have the tablet’s Wi-Fi enabled and
connected to a wireless network or “hotspot”. Your tablet will automatically guide you through
the process of setting up your Wi-Fi connection when you activate it for the rst time. Follow
the guide and enter the correct information when prompted. It will be useful to have your
router’s ID and password on hand if you don’t already know them.
Connect to a Wi-Fi Hotspot Manually
»Swipe downwards from the top of the screen and press the icon. Go to Network &
Internet > Wi-Fi.
»Be sure the Wi-Fi indicator is in the ON position, select the desired network from the list,
and tap Connect. If the network is secured with a password you will be prompted to enter it
using the keyboard.
»Once completed, the display will show “Connected” under the name of the network, as well
as the Wi-Fi signal strength.
GOOGLE SEARCH
»Use the Google Search Bar for web searches. Use the keyboard to enter your search term
and begin searching the web.

16
Camera
PICTURES, VIDEO & GALLERY
Your tablet is equipped with front and rear facing cameras for capturing images and video.
Taking Snapshots
»Press the icon from the apps menu or screen.
»When you are ready, press to capture the image.
»After taking a photo, a small thumbnail of the image will appear in the corner of the camera
view. Press the thumbnail to view the image and the gallery.
Taking Video
The camera takes still images by default, and must switch modes to take video.
»While in camera mode, swipe right from the left part of the screen and select Video.
»When you are ready, press to begin recording video. Press again to stop recording.
Camera Functions & Options
»Press to switch between Auto and Night Mode light balance.
»After swiping right to select Camera or Video, press to adjust resolution camera
resolution and other settings.
Swipe to the right for the
Camera or Video option.
Front/Rear camera
Grid Overlay
Timer

17
The Tablet & Other Devices
USB CONNECTIONS
Transferring les with a PC/Mac
»Using a Micro-USB to USB cable (included), connect to the Micro-USB port on the tablet
and a USB port on a computer.
»A notication will appear on the screen asking how you want to use the connection (see
image below).
»Using the connected computer’s le browser, you can now access and transfer les, photos
and other media to or from the tablet.
Closing a connection to a PC/Mac
»Select the tablet in the connected computer’s le browser and Eject it to safely close the
connection. This will reduce the risk of losing any data on both the computer and the tablet.
»Unplug the Micro-USB to USB cable from the PC/Mac and the tablet.

18
MICRO SD CARDS
The tablet will read Micro SD cards up to 256GB.
Connecting a Micro SD card
»Insert a Micro SD Card into the Micro SD Card Slot on the top of the tablet.
»The SD card will be detected automatically and a notication will appear at
the top of the screen in the notication area indicating that it is ready to use.
Accessing a Micro SD card
»To view les on a Micro SD card, swipe downwards from the top of the screen and press
Explore. This will open the le browser and the contents of the cards.
Unmount a Micro SD card
»To safely unmount a Micro SD card, swipe downwards from the top of the screen and press
Eject. It is now safe to manually remove the Micro SD card from its slot.
»When the card has been unmounted it is safe to remove the card from the tablet.

19
CONTACT INFORMATION
Website: www.zekitablet.com
Email Support: [email protected]
Email Parts: partsinfo@dpiinc.com
Phone Support: 1-888-999-4215
Protect for Today
Sustain for Tomorrow
Made
Green
WARRANTY INFORMATION
For Warranty Information and the most
up-to-date version of this User’s Guide,
go to: www.zekitablet.com
INTERNATIONAL SUPPORT
To download this User’s Guide in English, Spanish, or French, or to get answers to frequently
asked questions, visit the support section at: www.zekitablet.com
Para descargar este Manual del Usuario en inglés, español y francés, o para obtener respuestas a
preguntas frecuentes, visite la sección de apoyo en: www.zekitablet.com
Pour télécharger ce guide de l’utilisateur en anglais, espagnol ou français, ou pour obtenir des
réponses à des questions fréquemment posées, consultez la rubrique d’assistance sur:
www.zekitablet.com
Customer Support
Google, Android, Google Play and other marks are trademarks of Google LLC.
Copyright © 2018 Digital Products International (DPI, Inc.) All other trademarks appearing herein are the
property of their respective owners. Specications are subject to change without notice.

Product Name: Tablet
Model No.: TBQG838B
FCC ID: 2ALY7-TBQG838B
This device complies with Part 15 of the FCC Rules. Operation is
subject to the following two conditions:
(1) This device may not cause harmful interference, and
(2) This device must accept any interference received, including
interference that may cause undesired operation.
Table of contents
Other Zeki Tablet manuals

Zeki
Zeki TBDC1093B User manual

Zeki
Zeki TBDG774B User manual

Zeki
Zeki TBQW895NB-1424-01 User manual

Zeki
Zeki TBDV986 User manual

Zeki
Zeki TB1082B User manual

Zeki
Zeki TBDV986-1576-01 User manual

Zeki
Zeki TBDG773B User manual

Zeki
Zeki TBQG884B User manual

Zeki
Zeki Denon DRA-100 User manual

Zeki
Zeki TBDG773B User manual