manuals.online logo
Brands
  1. Home
  2. •
  3. Brands
  4. •
  5. Zonestar
  6. •
  7. 3D Printer
  8. •
  9. Zonestar Z5 Series User manual

Zonestar Z5 Series User manual

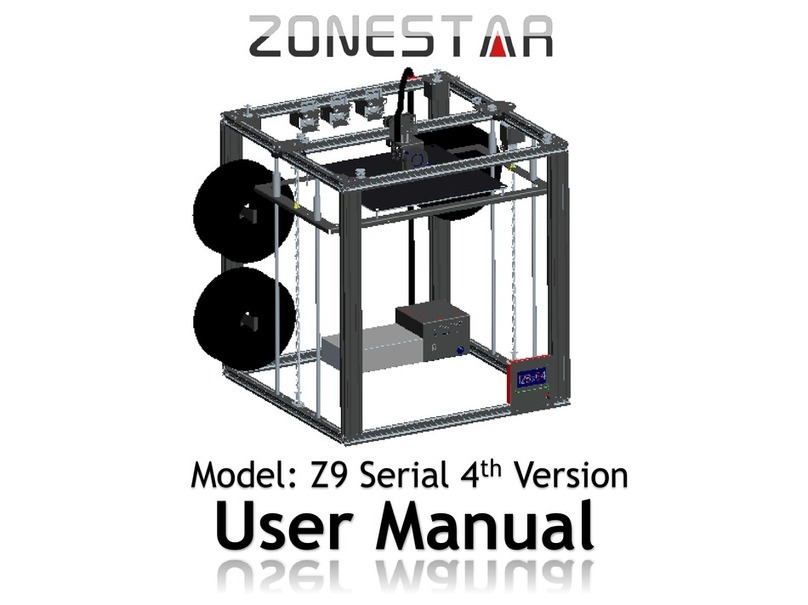
Model: Z5 Serial (2nd Edition))
User Manual
ZONESTAR product line and naming rules
2
Z5 S M2
Produce Serial
P802Q: Metal Prusa i3, Stainless Steel Frame
M8: Metal Prusa i3, black metal Frame
Z5: Full Metal Aluminum Frame, 220x220x220mm
Z6: Full Metal Aluminum Frame, 150x150x150mm
Z9: Closed Full Metal Aluminum Frame, 300x300x400mm
Z10: Full Metal Aluminum Frame, 300x300x400mm
Hotend & Extruder
NULL : Singel extruder
R2: Dual extruder and dual nozzle
M2: 2-IN-1-OUT Mixing Color
M3: 3-IN-1-OUT Mixing Color
Hardware Edition
NULL: The First Edition
S: The Second Upgrade Edition
T: The Third Upgrade Edition
3
Specifications and configuration
SKU
Extruder Qty.
Nozzle Qty.
Mix color
Z5S
1
1
○
Z5S-M2
2
1
●
Building mode
FFF/FDM
Build volume
220mm x 220mm x 230mm (LxWxH)
Nozzle diameter
0.4mm default
Layer height
0.1~0.36mm
Extruder number
1 or 2
Print speed
Max. 150mm/s (Recommand is 40~50mm/s)
Printing precision
±0.1mm
Support file format
stl, obj, gcode
Hotbed power
12V 140W +-10%
Hotbed temperature
110 degree max
Printing material
PLA,ABS,PETG,HIPS,PVA, etc. (recommand material is PLA for Z5M2)
Host software
Repetier-host, Cura, etc. (recommand is Repetier-host)
Host software system
Linux,Windows and OSX
Specifications:
Configuration:
Remark:
●: Default equipped with this feature.
○: This function is not available by default and can be upgraded.
!! ATTENTION !!
Please put the printer away from the reach of kids.
Must be guided by adults when children are installed or used.
Take care when installation, to avoid electrical shock hazards.
Please keep well-ventilated condition! May produce toxic gases when
printer working.
Caution: Hot!
Hotend has high temperature even the printer stop working.
Caution: Hot!
Hotbed has high temperature even the printer stop working.
Please strictly follow the standard operation when installation.
Please make sure you have set the AC power select switch to the
correct position before power on.
For mixing color printer, must load filament to both of the extruders,
even if you print single color 3D object.
4
1
Base
9
Aluminum profile (5 PCS)
2
Control box
10
Lead Screw
3
Control Panel
B1
Tools
4
Z carrier left
B2
Lead screw Fix module/Z Endstop/Screws/Base
Junction/Rubber pads
5
Z carrier right
B3
Timing Belt/PTFE tube(1 or 2)/Cable tie/End cover
6
Z-axis driver
11
Hotend(for Z5S/Z5S-R2/Z5S-M2 Extruder )
7
USB cable
12
SD Card
8
Power cord
13
2nd Extrudsion feeder(Only For Z5S-M2 or Z5S-R2)
2 3 4 5 7
Parts
1 8
10
9
6
12 13
11
B1 B2 B3
Loosen these screws and move the ider
to the front to tighten the belt
6
Y Axis Belt adjust
1
7
Assemble Aluminum profile
Z5-ZL
Z5-ZR
Z5-B
M5x20 *3
9
B2 Pay attention to the direction of these
holes, big is on the front.
8
Assemble Best and rubber pads
Base
HM5x20 *4M5 spring
washer*4
Base Junction Rubber pad *4
M4 Square
nut
Rubber
pad
Shim
PM4x8
B2
9
Assemble Z carrier
Z carrier
left
Z carrier
Right
Z5-T
M5x20 *3
4 5 9
B2
10
Debug
MUST rotate the eccentric cloumn and let the Z carrier left and hotbed bracket can
hold the profile and move smoothly.
It is recommended to loosen these screws first, and then let the Z carrier right hold
the profile well and move smoothly, and then tighten them again.
11
Assemble Z-axis driver
Lead Screw
T8 copper
nut
Lead screw fix
module
Tighten the
screw*2
Tigthen these two
screws to install the Z-
axis driver to the right
side of framework
Rotate the lead screw from the
top and tigthen these two
jbckscrews to fix the lead screw
on the Coupling
10
6
B2
Debug: adjust Z lead screw
Loose these two screws to release the lead screw
fix module.
Add lubricant to the copper nut
Loosen these two screws to release the Z motor.
Loosen these four screws to release the copper
nut.
Steps:
1. Add lubricant to the copper nut.
2. Loosen all of these parts, and rotate the lead
screw to move the carrier from bottom to top
and then from top to bottom, watch if the lead
screw can be parallel to the profile, if not , move
the Z motor back and forth carefully, once done,
then tighten the Z motor.
3. Move the carrier to the ¼ height position, and
then tigten the lead screw fix module.
4. Move the carrier to the ½ height position, and
then tigten the copper nut.
13
Assemble X-axis profile
Z5-X
M5x16 *4
9
B2
14
Assemble Hotend
Hottend
Slide in along
track
11
15
Tips: Move the X motor to left and fixed it to tighten the belt.
Install hotend belt
Hotend
X inert wheel
Timing
pulley
B3
16
Hotend
Tips: Test if it can move smoothly, and gap is very small. If not please adjust the
position of the wheels.
Check hotend wheels smoothly
17
Install Control box
Control box
M5x20 *2
2
B2
18
Install 2nd extrusion feeder(only for Z5M2)
Extrusion Feeder
M5x20 *2
B2
13
M5 nut*2
PS: The newer
version don’t need
these nuts
Back
view
19
Install Control Panel
Control Panel
Tigthen these two
screws to install theo
control Panel to the
right side of framework
3
20
Install Z ENDSTOP
B2
Tigthen this screws to
install Z Endstop to
the right side of
framework

This manual suits for next models

2

Other Zonestar 3D Printer manuals

Zonestar P802-STS User manual

Zonestar

Zonestar P802-STS User manual

Zonestar P802QS User manual

Zonestar

Zonestar P802QS User manual

Zonestar Z8PM4 Pro User manual

Zonestar

Zonestar Z8PM4 Pro User manual

Zonestar Z6 User manual

Zonestar

Zonestar Z6 User manual

Zonestar P802CR2 User manual

Zonestar

Zonestar P802CR2 User manual
Zonestar Z9 Series User manual

Zonestar

Zonestar Z9 Series User manual

Zonestar Z8X User manual

Zonestar

Zonestar Z8X User manual
Zonestar P802QS User manual

Zonestar

Zonestar P802QS User manual

Zonestar P802QS User manual

Zonestar

Zonestar P802QS User manual

Popular 3D Printer manuals by other brands

Gembird 3D Printer Filament Dryer Box user guide

Gembird

Gembird 3D Printer Filament Dryer Box user guide

Ultimaker Ultimaker S5 Pro Bundle Installation and user manual

Ultimaker

Ultimaker Ultimaker S5 Pro Bundle Installation and user manual

Monoprice 30525 user manual

Monoprice

Monoprice 30525 user manual

WANHAO Duplicator 3/4 user manual

WANHAO

WANHAO Duplicator 3/4 user manual

zortrax Inkspire 2 user guide

zortrax

zortrax Inkspire 2 user guide

Stratasys Fortus 360mc Quick reference card

Stratasys

Stratasys Fortus 360mc Quick reference card

Dremel DigiLab 3D45 Operating and safety instructions

Dremel

Dremel DigiLab 3D45 Operating and safety instructions

Geeetech Prusa I3 X manual

Geeetech

Geeetech Prusa I3 X manual

Flashforge Creator 3 Pro quick start guide

Flashforge

Flashforge Creator 3 Pro quick start guide

Creality Laser Module quick start guide

Creality

Creality Laser Module quick start guide

Omni M-505 Install manual

Omni

Omni M-505 Install manual

SINTERIT Lisa X Translation of the original user manual

SINTERIT

SINTERIT Lisa X Translation of the original user manual

3D Systems ProJet 1200 Quick setup guide

3D Systems

3D Systems ProJet 1200 Quick setup guide

copymaster3D Voron Assembly manual

copymaster3D

copymaster3D Voron Assembly manual

Ultimaker S5 Material Station quick start guide

Ultimaker

Ultimaker S5 Material Station quick start guide

Geeetech Prusa I3 X Building instructions

Geeetech

Geeetech Prusa I3 X Building instructions

LONGER LK4 X user manual

LONGER

LONGER LK4 X user manual

3D Systems ProX 500 Original instructions

3D Systems

3D Systems ProX 500 Original instructions

manuals.online logo
manuals.online logoBrands
  • About & Mission
  • Contact us
  • Privacy Policy
  • Terms and Conditions

Copyright 2025 Manuals.Online. All Rights Reserved.