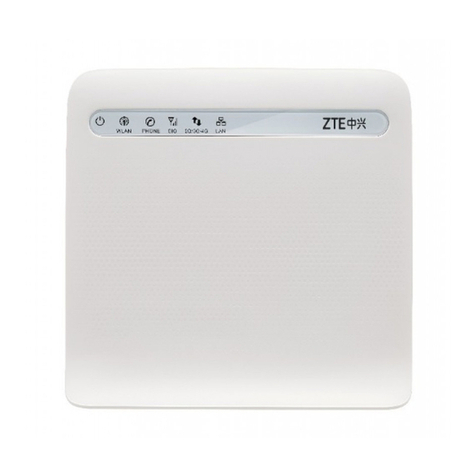
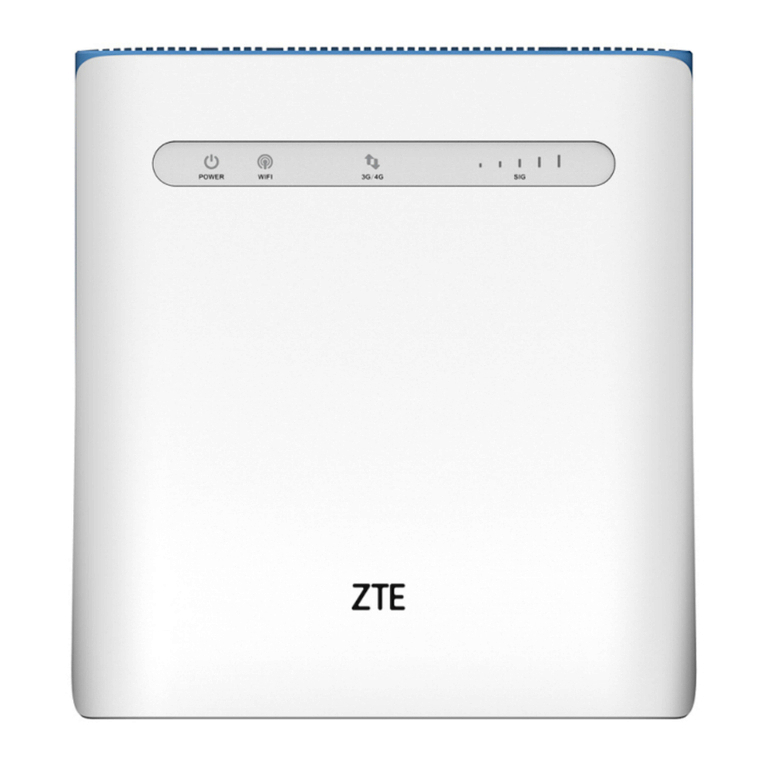
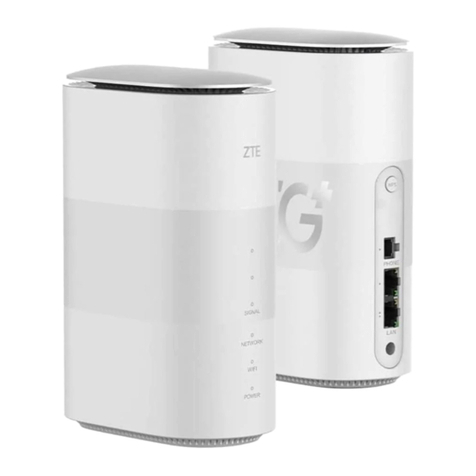
Zte MC801A1 User manual

MC801A1
Let’s go
Getting started with your device.

2
1. Prepare
A valid nano-SIM card.
View the label on your device to get the default information. The

3
2. Insert the nano-SIM Card
Open the slot cover at the bottom of the device and insert the nano-SIM
card.

4
3. Power on Your Device
Connect the power adapter to your device and then your device will be
powered on and connect to the Internet automatically.

5
4. Access the Internet
Wi-Fi: Get the default SSID and password on the label and connect
to the Wi-Fi network with your mobile device, and then access the
Internet.

6
Network cable(RJ45): Connect with the computer via LAN ports
and then access the Internet.

7
5. Change Your Device Settings
You can change the device settings by logging in to the 5G CPE
1. View the label on your device to get the default Device Manager
Website IP address and Password.
2. Launch the Internet browser and enter the Device Manager Website
IP address in the address bar.
3. Input the password and then click Login.
change the Wi-Fi SSID, password or other settings.

8
Internet Wi-Fi Function
Your device supports the Internet Wi-Fi function and you can use this
function to extend your existing Wi-Fi network.
2. Select Wi-Fi Settings > Internet Wi-Fi.
3. Set the Internet Wi-Fi Switch to Enable, and click Apply.
4. Connect to the Wi-Fi hotspot.
Select a Wi-Fi hotspot listed in the Wi-Fi Hotspot area and click
Connect. Enter a password in the Password text box and click
Yes.
Add Network, enter the Wi-Fi hotspot information in
the Add Wi-Fi Hotspot area, and click Apply. Click the Wi-Fi
hotspot you have added and then click Connect.
5. After the device is connected to the Wi-Fi hotspot successfully, you
can access the Internet.

9
Bridge Mode
Your device supports the bridge mode and you can use this service from
your service provider to access the Internet.
3. Change the operation mode to Bridge Mode and select the WAN
connection network port. The device will be restarted automatically.
NOTE:
mode.
4. Connect the computer or other cable-connected client to the LAN
port you selected and the client can obtain the IP address from the
WAN DHCP host and connect to the Internet directly.
NOTE:
The cable-connected client connected to the other LAN port or the Wi-
Fi connected clients cannot visit the Internet, but they can communicate
with each other. If you want to change the operation mode, you can use
10
Cable Broadband Mode
Your device supports the cable broadband mode and you can use this
service from your service provider to access the Internet.
1. Connect either of the two LAN ports and the broadband service
network port with a network cable.
3. Change the operation mode to Cable Broadband Mode.
NOTE:
mode.
4. Set the detailed parameters given by your service provider.
5. Use your clients to access the Internet.

11
Telephone
Your device supports the telephone function. Before using the telephone
function, connect the telephone and insert the nano-SIM card.
To make a call:
1. Pick up the handset.
2. Dial the telephone number.
3. Wait for the call to be connected.

12
WPS
Your device supports the WPS function. You can use this function to
connect a client to your device.
1. Press the WPS button on your device to activate the WPS function.
The WIFI indicator is blinking.
2. Enable the WPS function on your client.
3. Follow the system prompts on your client to establish the
connection.

13
Indicator Lights and Interfaces
1. SIGNAL
(Three lights)
On: Three lights show the signal strength. More
lights on means better signals.

14
2. NETWORK Red: The device is powered on but not registered to
the mobile network.
Blue solid: The device is registered or connected to
the 3G/4G mobile network.
White solid: The device is registered or connected to
the 5G network.
3. WIFI On: WLAN(Wi-Fi) works normally.
Blinking: WPS is activating.
4. POWER On: The device is powered on.
5. WPS key Press this key to activate the WPS function.
6. External
antenna port
Connect to external antennas.
7. PHONE port Connect to a telephone.
8. LAN ports LAN1 port: Connect to the WAN in the Cable
Broadband Mode.
LAN2 port: Connect to a PC.
9. Power port Connect to the power adapter.
10. nano-SIM
card slot and
reset hole
Insert your nano-SIM card.
Reset hole: Press and hold for about 3 seconds
to restore your device to the factory settings.

15
Troubleshooting
Internet Related Problems
Symptoms Possible Problems / Solutions
I cannot access the
Internet at all.
initialize.
The download or
upload speed is very
slow.
The speed is dependent on signal strength.
Check your signal strength and network type.
I cannot visit the 5G
web page.
the label on your device to get the default
IP address.
I cannot establish
the Wi-Fi connection
between my device
and the client.
SSID.
your client can obtain an IP address
automatically in the Internet protocol (TCP/
IP) properties.
password) when you connect to the device.

16
Voice Related Problems
Symptoms Possible Problems / Solutions
There is no dial tone.
turned on.
If the SIG indicator is weak, you have no good
RF reception. Change the location of the router.
There is a prompt
/ phone alert /
announcement as
soon as I lift the
Make sure your nano-SIM card is inserted
correctly and the PIN number has been entered.
If the PIN number has been entered incorrectly
then you will need to enter the PUK code when
prompted.
The line is noisy/
distorted when I lift the
too close to the phone or your device.
I hear a rapid engaged
tone as soon as I
hook.
After dialing the last
digit I hear nothing/
silence.
call.

17
Others
Symptoms Possible Problems / Solutions
The signal indicator
does not light.
This indicates poor reception. Try moving the
device to another location near the window.
Problems with the
passwords.
and the default password of the 5G CPE
label on the device.
them, you need to restore the device to the
factory default settings.
Getting More Help
You can get help by:
[email protected]
https://www.ztedevices.com

18
LEGAL INFORMATION
Copyright © 2022 ZTE CORPORATION.
All rights reserved.
No part of this publication may be quoted, reproduced, translated or
used in any form or by any means, electronic or mechanical, including
Corporation.
Notice
Disclaimer
software.
Trademarks
Other trademarks and trade names are those of their respective owners.
Version No.: R1.0

19
Warning and Notice
Safety Precautions
interference. Locate the device away from TV set, radio and other
electronic equipment to avoid electromagnetic interference.
and pacemakers. Consult a physician or the manufacturer of the
medical device before using it.
device.
terminals or chemical factories where there are explosive gases or
explosive products being processed.
performance, damage the device or cause danger to you.
serviceable parts.
liquid or moisture at any time. Do not immerse the device in any
liquid.
overheating of the device.

20
High temperature can shorten the life of electronic devices.
the equipment and shall be easily accessible.
Cleaning and Maintaining
your device before you clean it.
power pack from the wall socket.
Limited Warranty
This warranty does not apply to defects or errors in the product caused
by:
i. Reasonable abrasion.
maintenance instructions or procedures.
iii. End users’ mishandling, misuse, negligence, or improper
installation, disassembly, storage, servicing or operation of the
product.
Table of contents
Languages:
Other Zte Network Router manuals
Popular Network Router manuals by other brands

MLis
MLis MLB-E42**-P Series Quick installation guide

Westell Technologies
Westell Technologies Wirespeed 2100 user guide

Johnson Controls
Johnson Controls IQ WiFi 6 Quick install guide

Allied Telesis
Allied Telesis AT-8000GS/48 datasheet

SMC Networks
SMC Networks 7401BRA V.2 Quick installation guide

Cabletron Systems
Cabletron Systems SmartSwitch 2200 Installation & user guide

D-Link
D-Link DSL-2540B - ADSL2/2+ Modem With EN Router Quick install guide

Tenda
Tenda G3 user guide

Otai
Otai Pluto Fisheye user manual

Viessmann
Viessmann VITOTRONIC 300 GW2 Installation and service instructions

HP
HP StorageWorks MPX200 Quick start instructions

SMC Networks
SMC Networks EZ1026DT user guide