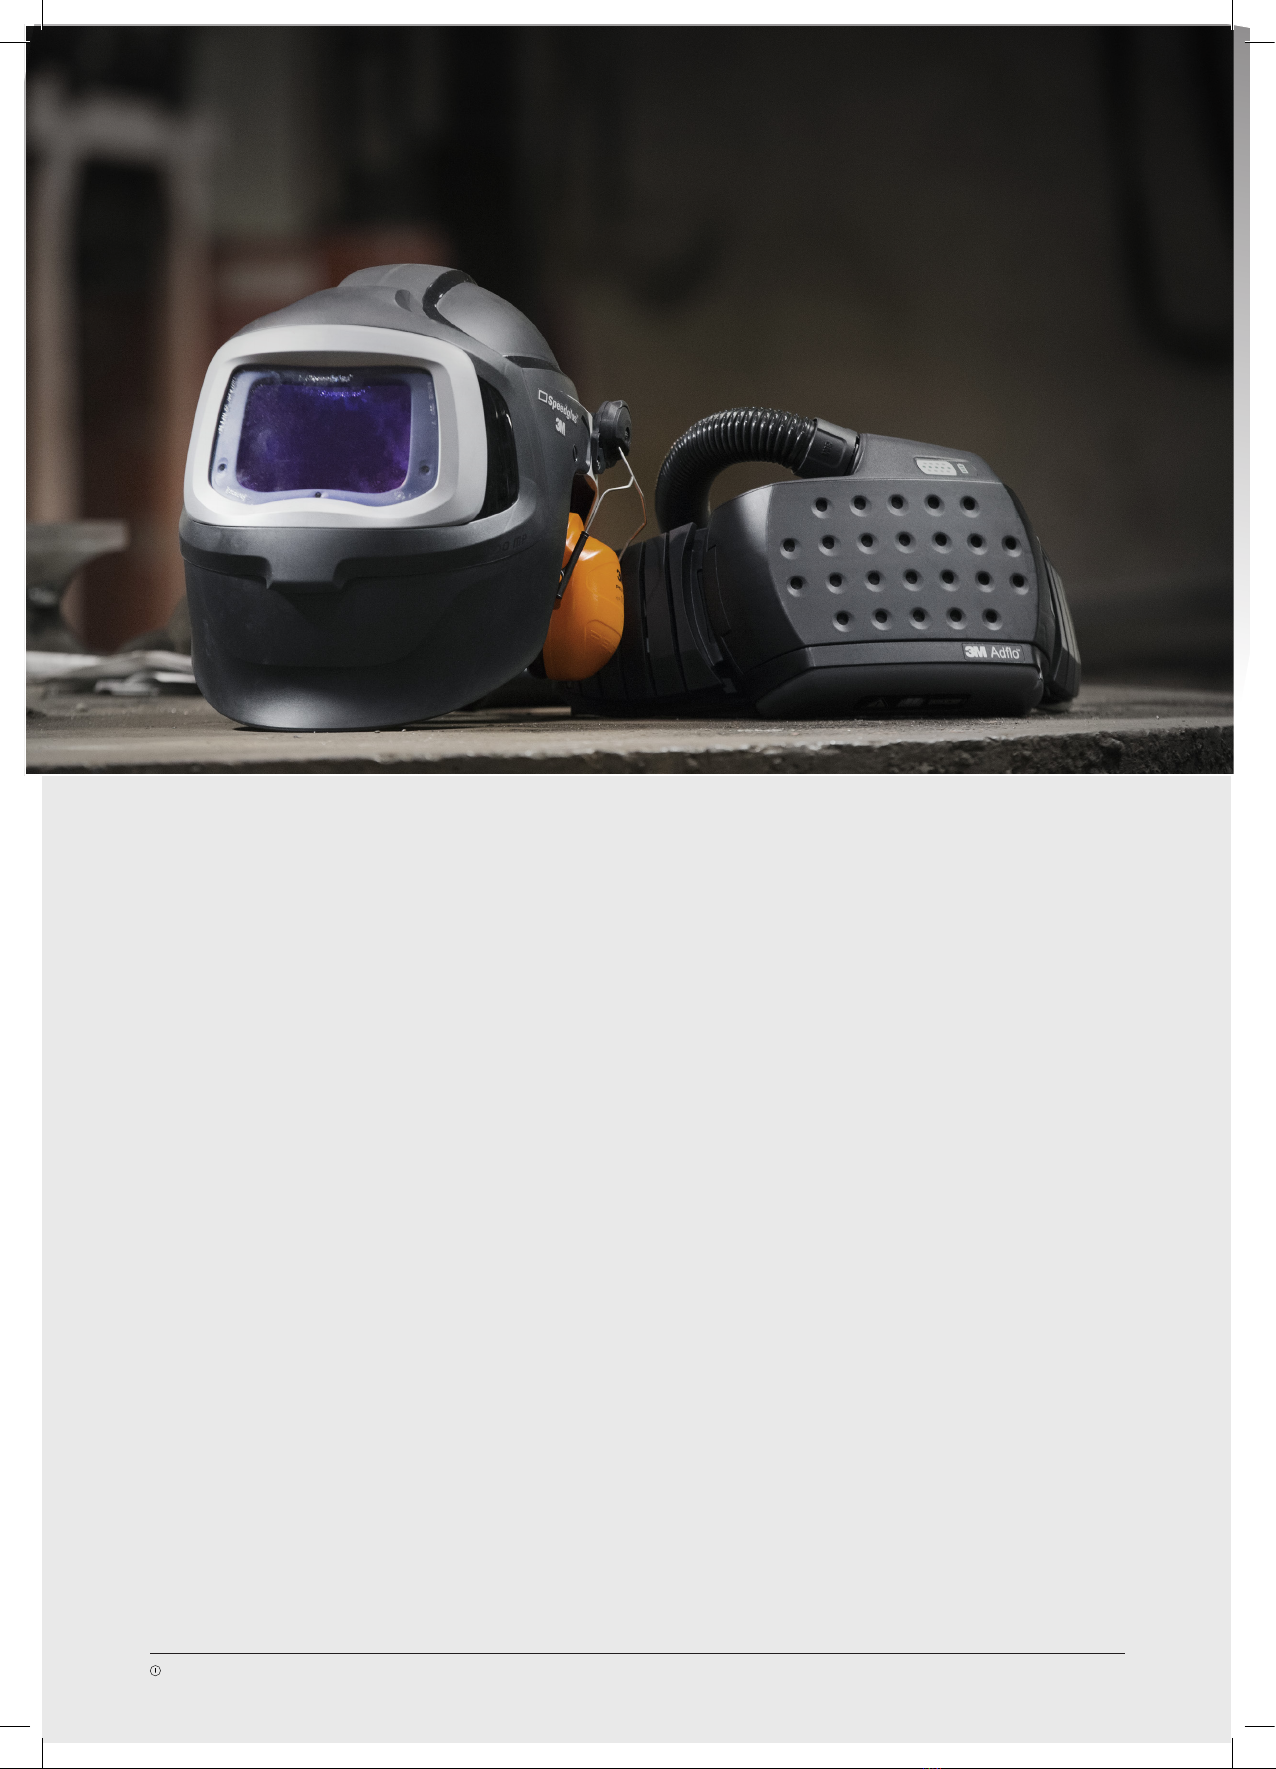
3M Adflo Maintenance manual
Other 3M Safety Equipment manuals

3M
3M 1113000 User manual

3M
3M 306S1043 User manual

3M
3M DBI SALA 2104700 Operator's manual

3M
3M DBI SALA Sealed-Blok 3400803 User manual

3M
3M 5551 User manual

3M
3M JUPITER Installation instructions

3M
3M Mesh Face 5B User manual

3M
3M Protecta AC202C-SA2 User manual

3M
3M Peltor Optime H510A User manual

3M
3M DBI SALA 1246010C Operator's manual

3M
3M SmartClip SL3 Operating manual

3M
3M Scotchcast 3817 User manual

3M
3M DBI SALA Rollgliss 115 Ft Operator's manual

3M
3M ULTRA-LOK Series User manual

3M
3M Peltor TEP-300 User manual

3M
3M PROTECTA COBRA AC202/01 Operator's manual

3M
3M DBI SALA NANO-LOK 3101580 User manual

3M
3M PROTECTA AF725 Operator's manual

3M
3M PROTECTA 2 VIPER AC405 User manual

3M
3M SCOTT AIR-PAK X3 PRO Installation and operation manual


Popular Safety Equipment manuals by other brands

Innova
Innova Xtirpa Instruction and safety manual

bolle SAFETY
bolle SAFETY B810 quick start guide

SHENZHEN FANHAI SANJIANG ELECTRONICS
SHENZHEN FANHAI SANJIANG ELECTRONICS A9060T instruction manual

Hiltron security
Hiltron security POWER8E Installation and use manual

Hatco
Hatco B-950P installation guide

Sitec
Sitec TX MATIC operating manual