manuals.online logo
Brands
  1. Home
  2. •
  3. Brands
  4. •
  5. 3One data
  6. •
  7. Media Converter
  8. •
  9. 3One data CAN485 User manual

3One data CAN485 User manual

CAN485 Interface Converter
Quick Installation Guide
3onedata Co., Ltd.
Address:
3/B, Zone 1, Baiwangxin High Technology
Industrial Park, Song Bai Road, Nanshan
District, Shenzhen, 518108, China
Website:
www.3onedata.com
Tel:
+86 0755-26702688
Fax:
+86 0755-26703485
【Package Checklist】
Please check the integrity of package and accessories while
first using the CAN interface converter.
1.
CAN interface converter
X 1
2.
Quick installation
guide
3.
CD
4
Warranty card
5.
Certification
If any of these items are damaged or lost, please contact our
company or dealers, we will solve it ASAP.
【Product Overview】
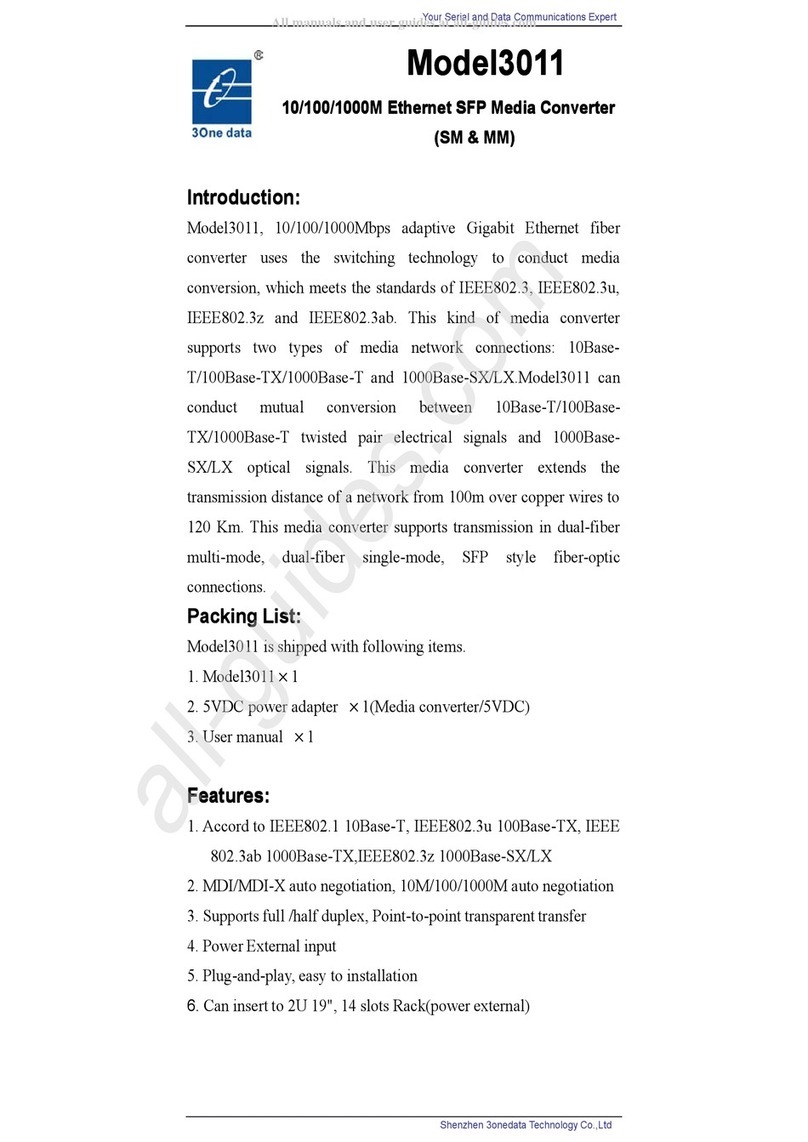
The product is the interface converter for the data exchange
between CAN-bus profibus and RS-485 bus. The model is
CAN485 (1 RS-485 serial port + 1 CAN port).
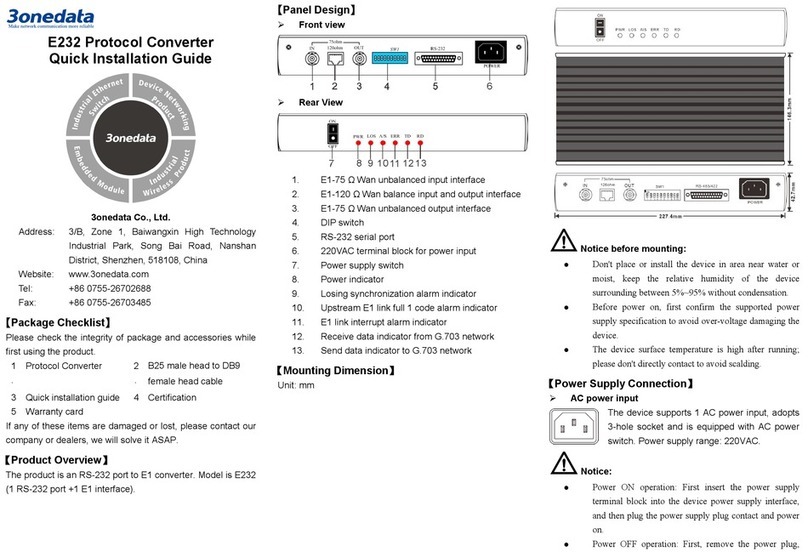
【Panel Design】
Top view
Front view
Rear view
Left view and right view
1. DC IN power supply input (2-pin terminal blocks)
2. CAN port running status indicator
3. RS-485 serial port running status indicator
4. Power supply (POWER) indicator
5. Wall-mounting
6. CAN port (5-pin terminal blocks)
7. DIP switch
8. RS-485 serial port
【Mounting Dimension】
Unit: mm
Note:
Don't place or install the device in area near water or moist,
keep the relative humidity of the device surrounding between
5%~95% without condensation.
Before power on, first confirm the supported power supply
specification to avoid over-voltage damaging the device.
The device surface temperature is high after running; please
don't directly contact to avoid scalding.
【Wall-mounting】
Step 1 Place the device on the wall of device mounting as
reference or refer to the installation dimension to
mark the position of the two screws.
Step 2 Fix the M4 screw in the wall and reserve 2mm
interspace
Step 3 Hang the device on the two screws and slide
downward, and then tighten the screws, mounting
ends.
【Disassembling Wall-mounting Device】
Power off the device.Step 1
Unscrew the screws in the wall about 2mm.Step 2
Lift upward the device lightly to remove the device,Step 3 disassembling ends.
Note:
Power ON operation: First insert the power supply terminal
block into the device power supply interface, and then plug the
power supply socket and power on.
Power OFF operation: First, unpin the power supply plug. And
then remove the connector of the terminal block. Please notice
the operation order above.
【Power Supply Connection】
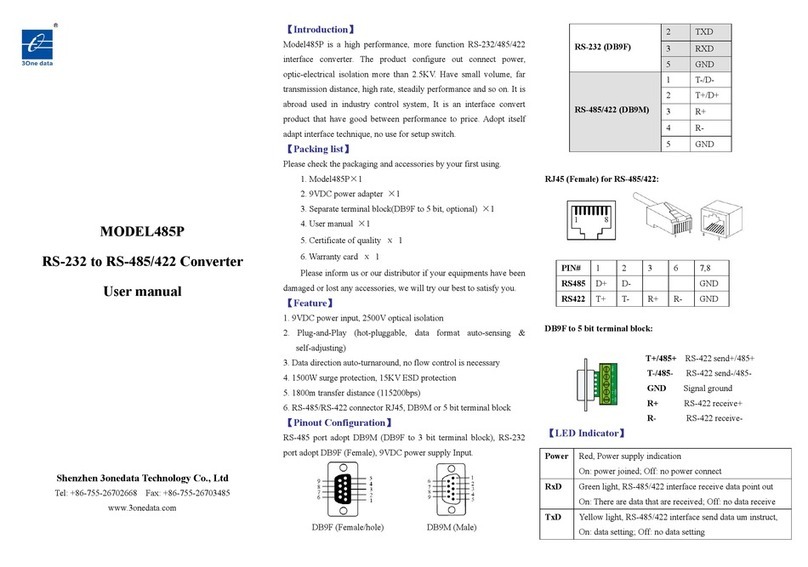
The top panel of CAN485 interface converter
provides 2-pin industrial terminal blocks (DC IN),
thereinto, DC IN is 9~48VDC power supply
input. Power supply supports nonpolarity.
【DIP Switch Settings】
4-pin DIP switches are provided for function
settings, among which “ON”is enabling valid
end.
DIP switches definition as follows:
DIP
Definition
Operation
1
Reserved
-
2
Configuration
mode settings
Dial the DIP to ON, the
converter enters into
“configuration”mode after being
powered on;
Dial down the DIP, the
converter enters into “normal
operation”mode after being
powered on.
3
Restore factory
defaults
Dial the DIP to ON, the device
will automatically reboot and
restore factory defaults, dial
back the DIP.
4
Reserved
-
【CAN Port】CAN port of CAN485 adopts 5-pin 5.08mm
pitch terminal blocks.
Pin NO.
Pin Name
Pin Definition
1
GND
Ground wire
2
CANL
Connecting end of CANL
signal line
3
CANH
Connecting end of CANH
signal line
4
RES+
CAN network matching
resistor end 1
5
RES-
CAN network matching
resistor end 2
Pin 4 is marked with “Res+”and pin 5 is marked with “Res-”,
which are connected to the terminal resistance of CAN
network. When CAN485 converter serves as CAN-bus
network terminal, two pins are connected by 120 ohms
resistor; otherwise it’s useless to install 120 ohms resistor.
【RS-485 Serial Port】As for the CAN485, RS-485 ports
adopt standard DB9 male, pin
definition conforms to RS-485
norm. Here three-wire connection
is adopted.
Pin NO.
Pin Name
Pin Definition
1
D-
RS-485 differential
negative level
2
D+
RS-485 differential
positive level
3
—
Without connection
4
—
Without connection
5
GND
Ground wire
6
—
Without connection
7
—
Without connection
8
—
Without connection
9
—
Without connection
【Checking LED Indicator】
CAN485 interface converter provides LED indicators to
monitor the device working status with a comprehensive
simplified troubleshooting; the function of each LED is
described in the table as below:
LED
Status
Description
POWER
ON
Power supply is connected or
running normally
OFF
Power supply is disconnected or
running abnormally
RS-485
ON
Serial port is connected
normally
Blinking
Serial port is connected
normally and is
receiving/sending data
OFF
Serial port is receiving/sending
data abnormally or the device
isn’t powered on
CAN
ON
CAN port is connected normally
Blinking
CAN port is connected normally
and is receiving/sending data
OFF
CAN port is receiving/sending
data abnormally or the device
isn’t powered on
【Specification】
Panel
Serial port
1 RS-485 serial port, the
interface adopts DB9 Male
CAN port
1 CAN port, it adopts 5-pin
5.08mm pitch terminal blocks
Indicator
Serial port indicator, power
supply indicator, CAN indicator
Power supply
Input power supply
9~48VDC
Access terminal block
2-pin 5.08mm pitch terminal
blocks
Support nonpolarity connection
Power consumption
No-load consumption
1.58W@24VDC
Full-load consumption
1.59W@24VDC
Working environment
Working temperature
-40℃~75℃
Storage temperature
-40℃~85℃
Working humidity
5%~95% (no condensation)
Protection grade
IP40 (metal shell)

Other manuals for CAN485

1

Other 3One data Media Converter manuals

3One data 1100 Series User manual

3One data

3One data 1100 Series User manual

3One data 1100 User manual

3One data

3One data 1100 User manual

3One data 485P User manual

3One data

3One data 485P User manual

3One data 3012 Series User manual

3One data

3One data 3012 Series User manual

3One data USB8232I User manual

3One data

3One data USB8232I User manual

3One data USB8485I User manual

3One data

3One data USB8485I User manual

3One data 1100SS User manual

3One data

3One data 1100SS User manual

3One data SW 485GI User manual

3One data

3One data SW 485GI User manual

3One data TLC422 User manual

3One data

3One data TLC422 User manual

3One data E485 User manual

3One data

3One data E485 User manual
3One data 3010 User manual

3One data

3One data 3010 User manual

3One data TTL-485-5P User manual

3One data

3One data TTL-485-5P User manual

3One data 277/A User manual

3One data

3One data 277/A User manual

3One data IMC100M Series User manual

3One data

3One data IMC100M Series User manual

3One data IMC101B Series User manual

3One data

3One data IMC101B Series User manual

3One data 3012SS User manual

3One data

3One data 3012SS User manual

3One data 1200 User manual

3One data

3One data 1200 User manual

3One data 1100SS User manual

3One data

3One data 1100SS User manual

3One data USB485 Series User manual

3One data

3One data USB485 Series User manual

3One data IMC100-2T1F-1D User manual

3One data

3One data IMC100-2T1F-1D User manual
3One data USB4485 User manual

3One data

3One data USB4485 User manual

3One data IPMC101 Series User manual

3One data

3One data IPMC101 Series User manual
3One data 277/B User manual

3One data

3One data 277/B User manual

3One data IMC101GT Series User manual

3One data

3One data IMC101GT Series User manual

Popular Media Converter manuals by other brands

Polytron PolySelect TSM 1000 operating manual

Polytron

Polytron PolySelect TSM 1000 operating manual

Linear Technology LTC2668 Demo Manual

Linear Technology

Linear Technology LTC2668 Demo Manual

UTEK UT-2204 instruction manual

UTEK

UTEK UT-2204 instruction manual

Next Network NEXT-124HSDC user manual

Next Network

Next Network NEXT-124HSDC user manual

Harman Kardon EZ Link DAL 150 brochure

Harman Kardon

Harman Kardon EZ Link DAL 150 brochure

MuxLab 3G-SDI ST2110 Operation manual

MuxLab

MuxLab 3G-SDI ST2110 Operation manual

LevelOne Infinity IEC-1240 Quick installation guide

LevelOne

LevelOne Infinity IEC-1240 Quick installation guide

StarTech.com AA2SPDIF Operation manual

StarTech.com

StarTech.com AA2SPDIF Operation manual

Linnenberg SATIE owner's manual

Linnenberg

Linnenberg SATIE owner's manual

DEVA Broadcast DB90-RX instruction manual

DEVA Broadcast

DEVA Broadcast DB90-RX instruction manual

Patton electronics 2036P user manual

Patton electronics

Patton electronics 2036P user manual

SIERRA VIDEO SYSTEMS ADC-142 owner's manual

SIERRA VIDEO SYSTEMS

SIERRA VIDEO SYSTEMS ADC-142 owner's manual

TNT 193-FX-ST quick start guide

TNT

TNT 193-FX-ST quick start guide

CEL-MAR ADA-13110 user manual

CEL-MAR

CEL-MAR ADA-13110 user manual

TELES VoIP Box DSL Series Reference manual

TELES

TELES VoIP Box DSL Series Reference manual

FMUser FBE200-H.264-LAN user manual

FMUser

FMUser FBE200-H.264-LAN user manual

SMAR FI303 Owner's operation and maintenance manual

SMAR

SMAR FI303 Owner's operation and maintenance manual

Extron electronics QGE 100 Setup guide

Extron electronics

Extron electronics QGE 100 Setup guide

manuals.online logo
manuals.online logoBrands
  • About & Mission
  • Contact us
  • Privacy Policy
  • Terms and Conditions

Copyright 2025 Manuals.Online. All Rights Reserved.