manuals.online logo
Brands
  1. Home
  2. •
  3. Brands
  4. •
  5. ABB
  6. •
  7. Accessories
  8. •
  9. ABB CMS-12xLA User manual

ABB CMS-12xLA User manual

D
Gewährleistung
Sichere Funktion ist dann gewährleistet, wenn die in
dieser Installationsanleitung beschriebenen
Montagearbeiten korrekt ausgeführt worden sind
und die Funktionskontrolle vor und während dem Be-
trieb gemäss Beschreibung in dieser Installations-
anleitung durchgeführt wird. Ausserdem sind die
Hinweise in der Bedienungsanleitung zu beachten.
Sicherheit
An den Geräten dürfen keine Reparaturen oder Modi-
fikationen vorgenommen werden.
Autorisierte Personen
Montage-, Anschluss- und Demontagearbeiten dür-
fen ausschliesslich von elektrotechnisch unterwiese-
nen Personen ausgeführt werden.
Entsorgung
Defekte Geräte sind als Sondermüll an entsprechend
eingerichteten Sammelstellen zu entsorgen. Natio-
nale oder regionale Vorschriften über die Entsorgung
von Sondermüll sind zu befolgen.
F
Garantie
Le fonctionnement est garanti seulement si le mon-
tage décrit dans les instructions d’installation a été
correctement réalisé et un contrôle de fonctionne-
ment effectué avant et pendant l’utilisation, confor-
mément à la description donnée ci-dessous. En
conséquent, il est impératif de respecter les instruc-
tions d’utilisation et d’installation.
Sécurité
Il est interdit d’effectuer des réparations ou des mo-
difications sur les appareils.
Personnes autorisées
Les travaux de montage, de raccordement et de dé-
montage doivent être effectués exclusivement par
du personnel qualifié en électricité.
Elimination
Les appareils défectueux doivent être recyclés
comme des déchets spéciaux aux points de collecte
prévus à cet effet. Il est impératif de respecter les
règles nationales ou régionales en matière de recy-
clage des déchets spéciaux.
EN
Guarantee
The safe operation is assured if the assembly work
has been carried out according to these user
instruc-tions. Furthermore, the instructions in the
manual must be observed.
Safety
Any repair or modification measures to the devices
are not permitted.
Authorised persons
Assembly, connection and removal work should only
be carried out by authorized and qualified persons.
Disposal
Faulty products should be treated as hazardous
waste and disposed of in an appropriate manner.
National or regional regulations regarding the dis-
posal of hazardous waste should be adhered to.
—
INSTALLATION MANUAL
Open-Core Sensor I Capteur ouvert
CMS-12xLA | CMS-12xFH | CMS-12xPS |
CMS-12xCA | CMS-12xDR
Umgebungstemperatur von maximal 65 °C
Température ambiante maximale de 65 °C
Surrounding air temperature rating of 65 °C
Umgebungstemperatur von maximal 70 °C
Température ambiante maximale de 70 °C
Surrounding air temperature rating of 70 °C
D
F
EN
D
F
EN
2OPEN-CORE SENSOR I CAPTEUR OUVERT INSTALLATION MANUAL
Document number 2CCC481010M1003 (4700713-D)(05.2018)
—
© Copyright 2018 ABB. All rights reserved.
Due to possible changes in design and
materials, the features and sizes cont-
ained in this catalog are to be considered
as binding only after confirmation by ABB.
—
ABB Switzerland Ltd
Low Voltage Products
Fulachstrasse 150
CH-8201 Schaffhausen
Telefon: +41 58 586 41 11
Telefax: +49 58 586 42 22
www.abb.com/lowvoltage
D
Produktübersicht
Fig. 1a
Komponente Beschreibung
1Öffnung für den elektrischen Leiter
2CMS-Bus Schnittstelle
3
LED
• Ein: Sensor betriebsbereit
• Langsames Blinken: Sensor nicht
an Control Unit angemeldet
• Schnelles Blinken: Sensor ist ausgewählt
4Drucktaster
Positionierung des elektrischen Leiters
Fig. 1b
Montage der unterschiedlichen Sensorvarianten
Fig. 2a/2b/2c/2d
Für die Installation sind nur isolierte Leiter zulässig.
F
Vue d‘ensemble du produit
Fig. 1a
Composant Description
1Passage pour le conducteur électrique
2Interface de bus CMS
3
LED
• Allumée: capteur prêt à fonctionner
• Clignotement lent: capteur pas inscrit
sur l’unité de contrôle
• Clignotement rapide: capteur sélectionné
4Bouton-poussoir
Positionnement du conducteur électrique
Fig. 1b
Montage des différentes variantes de capteur
Fig. 2a/2b/2c/2d
Seuls des conducteurs isolés sont admis pour
l’installation.
Product overview
Fig. 1a
Part Description
1Opening for the electrical conductor
2CMS-bus interface
3LED
• on: sensor online and in measurement
mode
• flashing slowly: sensor is not connected
to the control unit
• flashing fast: sensor selected
4Push button
Positioning of the electrical conductor
Fig. 1b
Mounting of the different sensor types
Fig. 2a/2b/2c/2d
Only for use with suitable isolated conductors.
Fig. 1a
Fig. 1b
Fig. 2c Fig. 2dFig. 2a
Fig. 2b
✔
Fig. 3 Fig. 5Fig. 4
2
D
Achtung
• Steckverbinder nur einmal verwenden
• Maximal 32 Sensoren je CMS-Bus-Schnittstelle an
der Control Unit anschliessen
• Maximale Länge des Flachbandkabels beachten,
siehe Bedienungsanleitung CMS-700
(2CCC481011M0101)
• Flachbandkabel darf keine Zugkräfte auf Sensoren
ausüben, sonst sind Messabweichungen möglich
• Luftdistanz von min. 5,5 mm vom Flachbandkabel
zu blanken spannungsführenden Teilen einhalten
Platzierung der Steckverbinder mit Stift markieren
Fig. 3
Montieren der Steckverbinder mit Parallelzange
Fig. 4
Steckverbinder an Control Unit und Sensoren an-
schließen
Fig. 5
F
Avertissement
• N’utiliser les connecteurs qu’une seule fois
• Raccorder au maximum 32 capteurs par interface
de bus CMS à l’unité de contrôle
• Notez la longueur maximale du câble plat, voir
Mode d’emploi CMS-700 (2CCC481011M0201)
• Le bus de communication CMS ne doit exercer au-
cune force de traction sur les capteurs, sinon des
écarts de mesure sont possibles
• Une distance minimale de 5,5 mm entre le câble
plat et des pièces sous tension non isolées doit
être respectée
Marquer l’emplacement des connecteurs avec un
crayon
Fig. 3
Montage des connecteurs avec une pince parallèle
Fig. 4
Raccordement des connecteurs à l’unité de contrôle
et aux capteurs
Fig. 5
Warning
• Use connectors only once
• Connect a max. number of 32 sensors to each Con-
trol Unit CMS-Bus interface
• Consider the maximum flat cable length, see User
Manual CMS-700 (2CCC481011M0201)
• Flat cable should not exert force to the sensor, oth-
erwise measuring errors are possible
• Keep a distance of min. 5.5 mm from the flat cable
to uninsulated live parts
Mark desired placement of connectors with a pen
Fig. 3
Press connector set with a parallel pliers together
Fig. 4
Plug connectors to Control Unit and sensors
Fig. 5
EN
EN

This manual suits for next models

4

Other ABB Accessories manuals

ABB 3120EUCKS-214 User manual

ABB

ABB 3120EUCKS-214 User manual

ABB Ability User manual

ABB

ABB Ability User manual

ABB CoreSense User manual

ABB

ABB CoreSense User manual

ABB ADS420 User manual

ABB

ABB ADS420 User manual

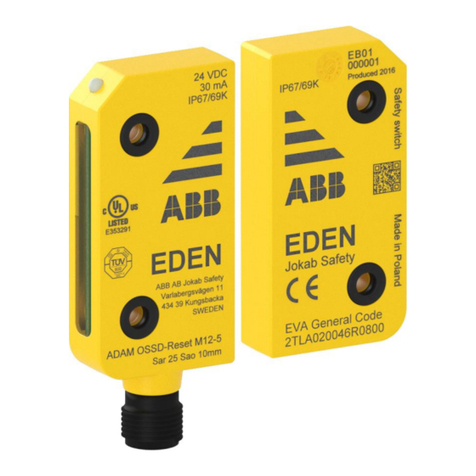
ABB Eden OSSD User manual

ABB

ABB Eden OSSD User manual

ABB ClimaECO SBS/Ux.0.1 Series User manual

ABB

ABB ClimaECO SBS/Ux.0.1 Series User manual

ABB NIESSEN 8131 User manual

ABB

ABB NIESSEN 8131 User manual

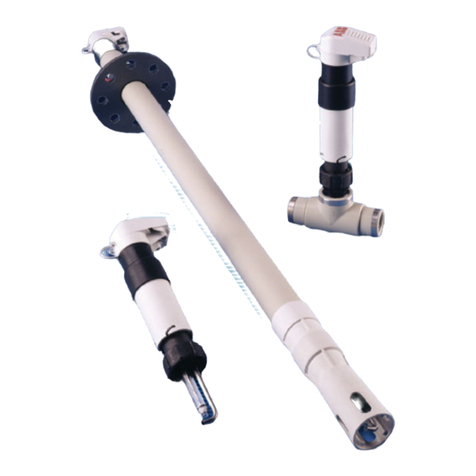
ABB LevelMaster 7100 User manual

ABB

ABB LevelMaster 7100 User manual

ABB LevelMaster 7100 User guide

ABB

ABB LevelMaster 7100 User guide

ABB CS500 User manual

ABB

ABB CS500 User manual

ABB AP200 Series User manual

ABB

ABB AP200 Series User manual

ABB AP300 User manual

ABB

ABB AP300 User manual

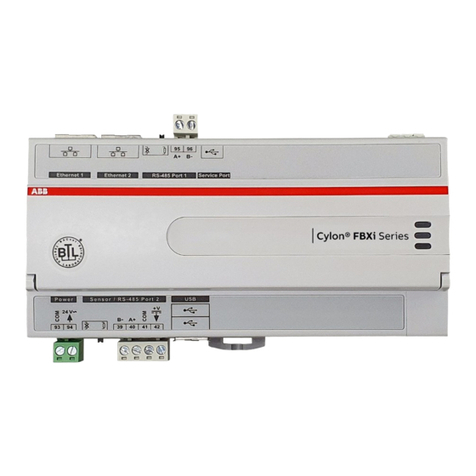
ABB Cylon FBXi User manual

ABB

ABB Cylon FBXi User manual

ABB Aztec ATS430 User manual

ABB

ABB Aztec ATS430 User manual

ABB Ability Smart Sensor User manual

ABB

ABB Ability Smart Sensor User manual

ABB Ability User manual

ABB

ABB Ability User manual

ABB Ability User manual

ABB

ABB Ability User manual

ABB KEVA 36 G2 Series Parts list manual

ABB

ABB KEVA 36 G2 Series Parts list manual

ABB TOTALFLOW LevelMaster Series User guide

ABB

ABB TOTALFLOW LevelMaster Series User guide

ABB AP201 User manual

ABB

ABB AP201 User manual

ABB AquaProbe FEA100 User manual

ABB

ABB AquaProbe FEA100 User manual

ABB Ability Smart Sensor User manual

ABB

ABB Ability Smart Sensor User manual

ABB CMS-12xPS User manual

ABB

ABB CMS-12xPS User manual

ABB SmarTac Instructions for use

ABB

ABB SmarTac Instructions for use

Popular Accessories manuals by other brands

Quincy lab 140AE-1 operating manual

Quincy lab

Quincy lab 140AE-1 operating manual

HomePro ZIR000 user manual

HomePro

HomePro ZIR000 user manual

DOL 20SCR Technical user guide

DOL

DOL 20SCR Technical user guide

RAB Smart Task installation manual

RAB

RAB Smart Task installation manual

Kemppi KMS 300 quick guide

Kemppi

Kemppi KMS 300 quick guide

Stearns 57,500 Series Installation and service instructions

Stearns

Stearns 57,500 Series Installation and service instructions

iGuzzini TWILIGHT COPENAGHEN manual

iGuzzini

iGuzzini TWILIGHT COPENAGHEN manual

Adelaide Annexe & Canvas Avan Deluxe installation guide

Adelaide Annexe & Canvas

Adelaide Annexe & Canvas Avan Deluxe installation guide

OHAUS 5000 instruction manual

OHAUS

OHAUS 5000 instruction manual

HOME8 WLS1300 quick start guide

HOME8

HOME8 WLS1300 quick start guide

MAXBOTIX MaxSonar quick start guide

MAXBOTIX

MAXBOTIX MaxSonar quick start guide

ioSmart iSmart56 Installation and user guide

ioSmart

ioSmart iSmart56 Installation and user guide

Focusrite Scarlett 18i8 user guide

Focusrite

Focusrite Scarlett 18i8 user guide

Velleman ED38105 user manual

Velleman

Velleman ED38105 user manual

JumpSport SkyBounce user manual

JumpSport

JumpSport SkyBounce user manual

Prima-Temp PRIYA Instructions for use

Prima-Temp

Prima-Temp PRIYA Instructions for use

Tefcold BC85I-BC85I W user manual

Tefcold

Tefcold BC85I-BC85I W user manual

Vaisala WMS302 user guide

Vaisala

Vaisala WMS302 user guide

manuals.online logo
manuals.online logoBrands
  • About & Mission
  • Contact us
  • Privacy Policy
  • Terms and Conditions

Copyright 2025 Manuals.Online. All Rights Reserved.