manuals.online logo
Brands
  1. Home
  2. •
  3. Brands
  4. •
  5. ABB
  6. •
  7. Control Unit
  8. •
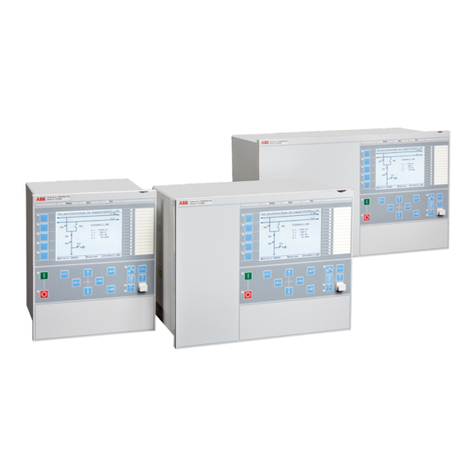
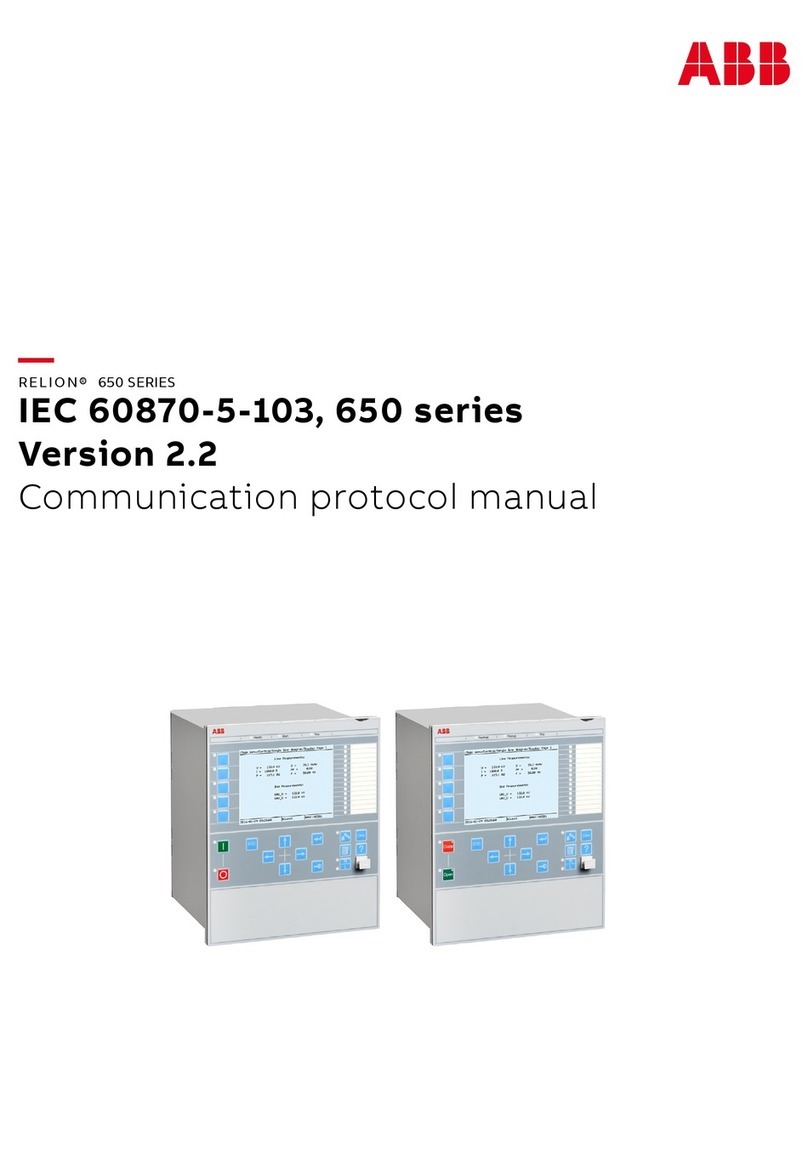
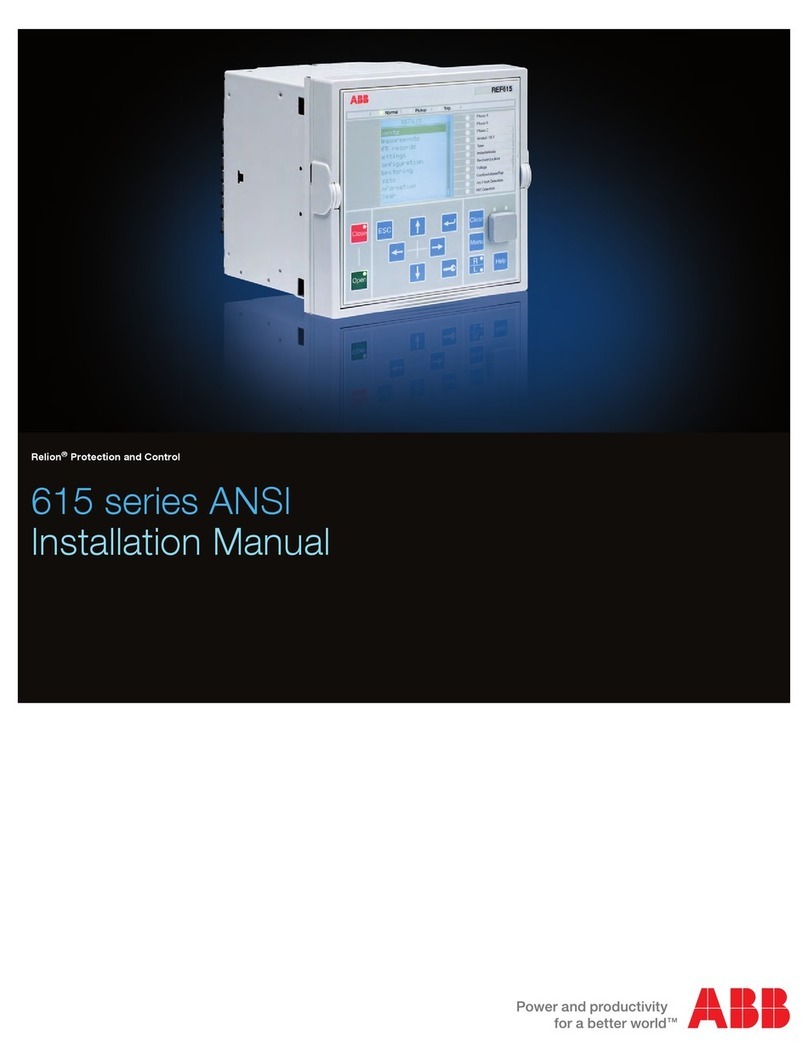
  9. ABB Relion 630 Series User manual

ABB Relion 630 Series User manual

Quick Start Guide
Relion®630 series
1
11
2
3
5
68
9
10
12
4
7
13
14
15
1Display Default view can be selected from e.g. single line diagram (SLD), measurement, events
2Self-supervision and
protection indicator LEDs
Ready-LED steady: OK, Ready-LED flashing: Internal Relay Fault (IRF), Start-LED steady: protection started,
Start-LED flashing: protection function blocked, Trip-LED: protection operated
3Programmable LEDs Can be programmed for alarming and indication with latching and/or flashing features in 3 colors
4Function buttons Can be configured either as menu shortcuts or control buttons
5Object control buttons Press open/close and confirm by pressing enter. If there is more than one controllable object select the object
first with navigation buttons. Note: R/L button has to be in Local mode
6Escape / Cancel Used for canceling actions and leaving setting mode without saving the values. Returns back to menu.
7Navigation buttons Left = go back, Right = go further, Up = scroll up, Down = scroll down. Up/down can also be used when
selecting controllable objects like breakers and switches in single line diagram.
8Enter Entering to parameter setting mode and confirming new values or selection in dialogs
9Authorization If authorization is used you can log in or log out using this button
10 Clear Clearing events and indications, see next page for further details
11 LED text view Multipage programmable LED text view. Press to see the 3 sets of 15 LED texts
12 Menu Switch views in between the main menu and default view
13 Remote / Lemote Changes the control between Local/Remote
14 Help View help menu
15 Front communication port RJ-45 connection
2 Quick start guide | Relion®630 series
Accessing main menu
Press to navigate between main menu and default screen.
Controlling circuit breakers and disconnectors
The primary equipment can be controlled via the LHMI with
the Open and Close buttons when the IED is set to local
control mode and the user is authorized to access control
operations. Select Main menu →Control and the SLD
will display all controllable objects. Select the object with
or . Currently selected object is indicated with a square
border. Press to open or to close the object.
Changing the display contrast
Hold and press or to change the display contrast.
To store a selected contrast, change the ContrastLevel
parameter via Main menu → Conguration → HMI →
LHMI.
Changing the language
Main menu → Language and press . Change the
language using or . Press to confirm the selection.
Commit the changes. All languages that are available in
the firmware version loaded are visible. Most of the IED‘s
parameters can be changed in the same way as language.
Changing the default view
The default view of the display is Main menu unless set
otherwise.
Select Main menu → Conguration →HMI →LHMI
→DefaultScreen and press to confirm the selection.
Change the default view with or and press to
confirm the selection.
Clearing events and indications
Go to clear menu by pressing or selecting Clear from the
main menu. Then select what you want to clear with and
keys. Press , select OK to confirm the selection or
Cancel to cancel the selection and press .
Changing the overcurrent start value
The IED contains only one setting group by default. The
number of setting groups can be selected from 1 to 4.
Main menu → Settings → Settings →select
setting group, 1 and press → Current Protection
→PHLPTOC1(51P-1;3I>):1 →Start value.
Press and change the value by using or or
or keys. Press when the setting value is correct. You
can change all settings in the same way. The most common
function block names are described at the end of this
document.
Saving settings
After making changes to parameters they have to be saved
to get them into use. Save the settings by going back to main
menu by pressing or using the key. When IED asks
confirmation to save setting, answer “Yes“. Settings will be
effective as soon as you accept the “yes“ except from some
parameters marked with a ! require the IED to be rebooted
before the changes can be taken into use.
Monitoring alarm data
Active alarms are indicated by the alarm LEDs and the LED
in the Multipage button. The alarms are configured with
PCM600. The alarm type and information depend on the
application configuration. Press to open the alarm view.
Press or to move between the active alarms in the
current page, or press to switch between the three alarm
pages. Press to open a dialog box that shows more
detailed information about the selected alarm.
Checking the value of currents and voltages of the last
fault
Main menu → Disturbance records →Select the
Record → Trip values
Checking IED order code, serial number, production date
and product version
Main menu →Information → Product Identiers
Checking IED status
The IED self-supervision handles internal run-time fault
situations. The main indication of an internal fault is a flashing
green Ready LED. More detailed information can be found
from Menu → Monitoring → IED Status
Rebooting the IED
Reboot the IED by switching the auxiliary power off and then
back on.
Using the function buttons
The function buttons can be configured either as menu
shortcuts or control buttons. Configurations can be made with
PCM600. The buttons are functional only when the function
button panel is visible.
Press any function button to open the function button panel,
no other actions will happen on the first press. After the panel
is open press the wanted button to either jump to a certain
menu item or hold it for at least half a second to initiate a
control signal. Press to close the function button panel.
Using the local HMI
Complete customer documentation is available in the product
pages that can be accessed through www.abb.com/relion.
Relion®630 series | Quick start guide 3
Function IEC 61850 IEC 60617
Protection
Three-phase non-directional overcurrent, low stage PHLPTOC 3I>
Three-phase non-directional overcurrent, high stage PHHPTOC 3I>>
Three-phase non-directional overcurrent, instantaneous stage PHIPTOC 3I>>>
Three-phase directional overcurrent, low stage DPHLPDOC 3I> →
Three-phase directional overcurrent, high stage DPHHPDOC 3I>> →
Automatic switch-onto-fault logic CVRSOF CVRSOF
Autoreclosing DARREC O →I
Non-directional earth-fault, low stage EFLPTOC Io>
Non-directional earth-fault, high stage EFHPTOC Io>>
Non-directional earth-fault, instantaneous EFIPTOC Io>>>
Directional earth-fault, low stage DEFLPDEF Io> →
Directional earth-fault, high stage DEFHPDEF Io>> →
Transient/intermittent earth-fault INTRPTEF Io> →IEF
Admittance-based earth-fault protection EFPADM Yo> →
Wattmetric earth-fault protection WPWDE Po> →
Rotor earth-fault protection MREFPTOC Io>R
Motor stall protection JAMPTOC Ist>
Three-phase thermal overload protection for motors MPTTR 3Ith>M
Loss of load protection LOFLPTUC 3I<
Three-phase thermal overload protection for feeder T1PTTR 3lth>
Phase discontinuity PDNSPTOC I2/I1>
Three-phase current inrush detection INRPHAR 3I2f>
Three-phase overvoltage PHPTOV 3U>
Three-phase undervoltage PHPTUV 3U<
Positive-sequence overvoltage PSPTOV U1>
Positive-sequence undervoltage PSPTUV U1<
Negative-sequence overvoltage NSPTOV U2>
Residual overvoltage ROVPTOV Uo>
Frequency gradient DAPFRC df/dt>
Overfrequency DAPTOF f >
Underfrequency DAPTUF f <
Load shedding LSHDPFRQ f<, df/dt<
Circuit-breaker failure CCBRBRF 3I>/Io>BF
Tripping logic TRPPTRC I →O
Multipurpose analog protection MAPGAPC MAP
Transformer differential protection for two-winding transformers TR2PTDF 3dI>T
Optional functions
Tap changer control with voltage regulator OLATCC COLTC
Distance protection DSTPDIS Z<
Fault Location SCEFRFLO FLOC
Synchrocheck SYNCRSYN SYNC
Most common function blocks
The most common function blocks are listed below, please refer to the 630 series Technical Reference manual for the full list.
The available function blocks varies depending on the selected IED and configuration used.
1MRS757577 A © Copyright 2012 ABB. All rights reserved.
ABB Oy, Medium Voltage Products
Distribution Automation
P.O. Box 699
FI-65101 VAASA, Finland
Phone: +358 10 22 11
Fax: +358 10 22 41094
www.abb.com/substationautomation
Contact us

Other manuals for Relion 630 Series

15

Other ABB Control Unit manuals

ABB ACS880-1604LC User manual

ABB

ABB ACS880-1604LC User manual

ABB i-bus KNX User manual

ABB

ABB i-bus KNX User manual

ABB Relion 670 series User manual

ABB

ABB Relion 670 series User manual

ABB jokab safety Smile Tina Series User manual

ABB

ABB jokab safety Smile Tina Series User manual

ABB Relion REC670 Instructions for use

ABB

ABB Relion REC670 Instructions for use

ABB FAIO-01 User manual

ABB

ABB FAIO-01 User manual

ABB REC650 ANSI Instructions for use

ABB

ABB REC650 ANSI Instructions for use

ABB NMBP-01 Installation manual

ABB

ABB NMBP-01 Installation manual

ABB REF542plus User manual

ABB

ABB REF542plus User manual

ABB CP-A RU User manual

ABB

ABB CP-A RU User manual

ABB AC500 PLC User manual

ABB

ABB AC500 PLC User manual

ABB BCU-02 User manual

ABB

ABB BCU-02 User manual

ABB REC650 ANSI Quick start guide

ABB

ABB REC650 ANSI Quick start guide

ABB RDCO-04 User manual

ABB

ABB RDCO-04 User manual

ABB ACS880-204LC User manual

ABB

ABB ACS880-204LC User manual

ABB AI111.0 User manual

ABB

ABB AI111.0 User manual

ABB RDIO-01 User manual

ABB

ABB RDIO-01 User manual

ABB Relion 630 Series Quick start guide

ABB

ABB Relion 630 Series Quick start guide

ABB Busch-ComfortTouch 9 User manual

ABB

ABB Busch-ComfortTouch 9 User manual

ABB OMD800 User guide

ABB

ABB OMD800 User guide

ABB Relion SAM600 Instructions for use

ABB

ABB Relion SAM600 Instructions for use

ABB COM600 series 5.0 Product manual

ABB

ABB COM600 series 5.0 Product manual

ABB Relion 630 Series User manual

ABB

ABB Relion 630 Series User manual

ABB BCU-02 User manual

ABB

ABB BCU-02 User manual

Popular Control Unit manuals by other brands

Dimplex WPM 2006 plus Operating instructions for users

Dimplex

Dimplex WPM 2006 plus Operating instructions for users

Tyco Security Products HSM2955 installation guide

Tyco Security Products

Tyco Security Products HSM2955 installation guide

Paradox APR3-ZX4 Programming guide

Paradox

Paradox APR3-ZX4 Programming guide

Azbil ACTIVAL VY516XJ Series Specifications & instructions

Azbil

Azbil ACTIVAL VY516XJ Series Specifications & instructions

Exhausto MCCW Product Instruction

Exhausto

Exhausto MCCW Product Instruction

Advantech Qseven SOM-3567 user manual

Advantech

Advantech Qseven SOM-3567 user manual

Siko MA523/1-S installation instructions

Siko

Siko MA523/1-S installation instructions

Motorola MVME761EXT Installation and use

Motorola

Motorola MVME761EXT Installation and use

JARDIBRIC WF-IS6 Quick installation guide

JARDIBRIC

JARDIBRIC WF-IS6 Quick installation guide

HKA TR-707 installation instructions

HKA

HKA TR-707 installation instructions

PCS PulseWorx LM2 Installation guide and owner's manual

PCS

PCS PulseWorx LM2 Installation guide and owner's manual

Waves GTR Ground user manual

Waves

Waves GTR Ground user manual

Aprilaire 1700 installation manual

Aprilaire

Aprilaire 1700 installation manual

Prozeda SOLAREG II VISION plus Installation and operating instructions

Prozeda

Prozeda SOLAREG II VISION plus Installation and operating instructions

Ehong EH-MA41 user manual

Ehong

Ehong EH-MA41 user manual

Smartgen HGM150 user manual

Smartgen

Smartgen HGM150 user manual

Allmatic AV manual

Allmatic

Allmatic AV manual

CEBEK FM-2 quick guide

CEBEK

CEBEK FM-2 quick guide

manuals.online logo
manuals.online logoBrands
  • About & Mission
  • Contact us
  • Privacy Policy
  • Terms and Conditions

Copyright 2025 Manuals.Online. All Rights Reserved.