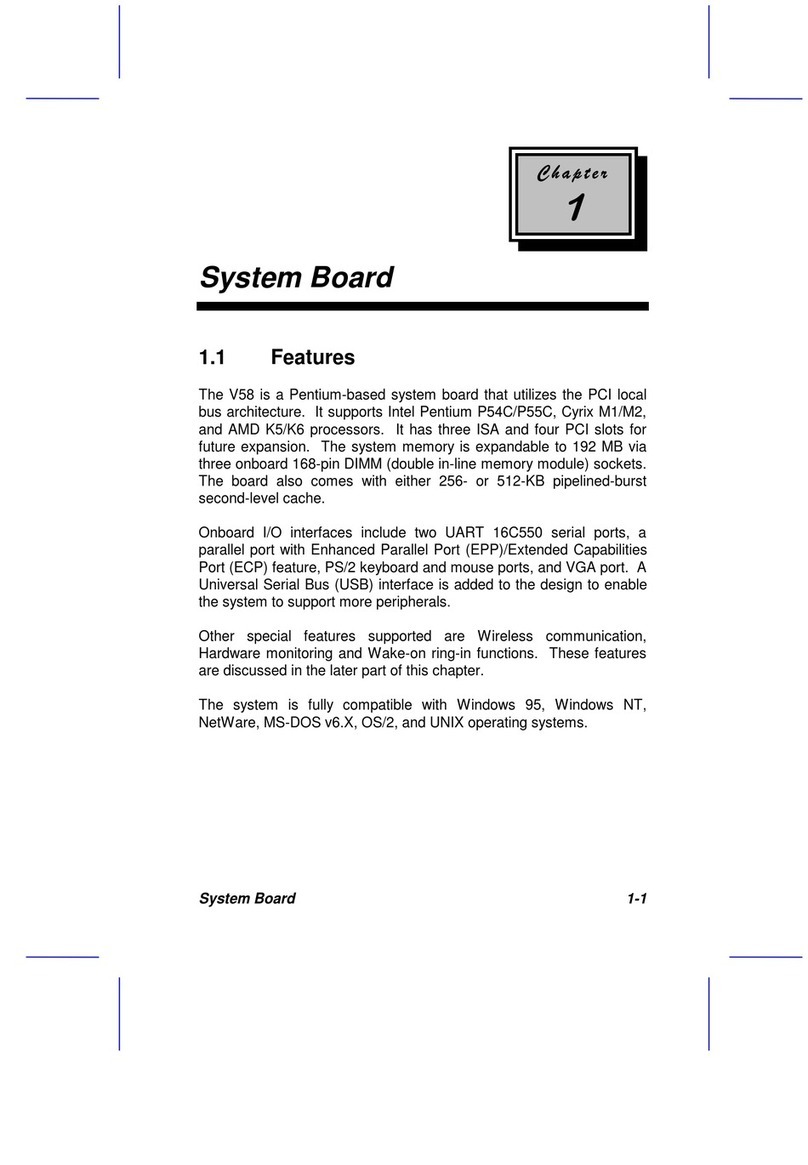
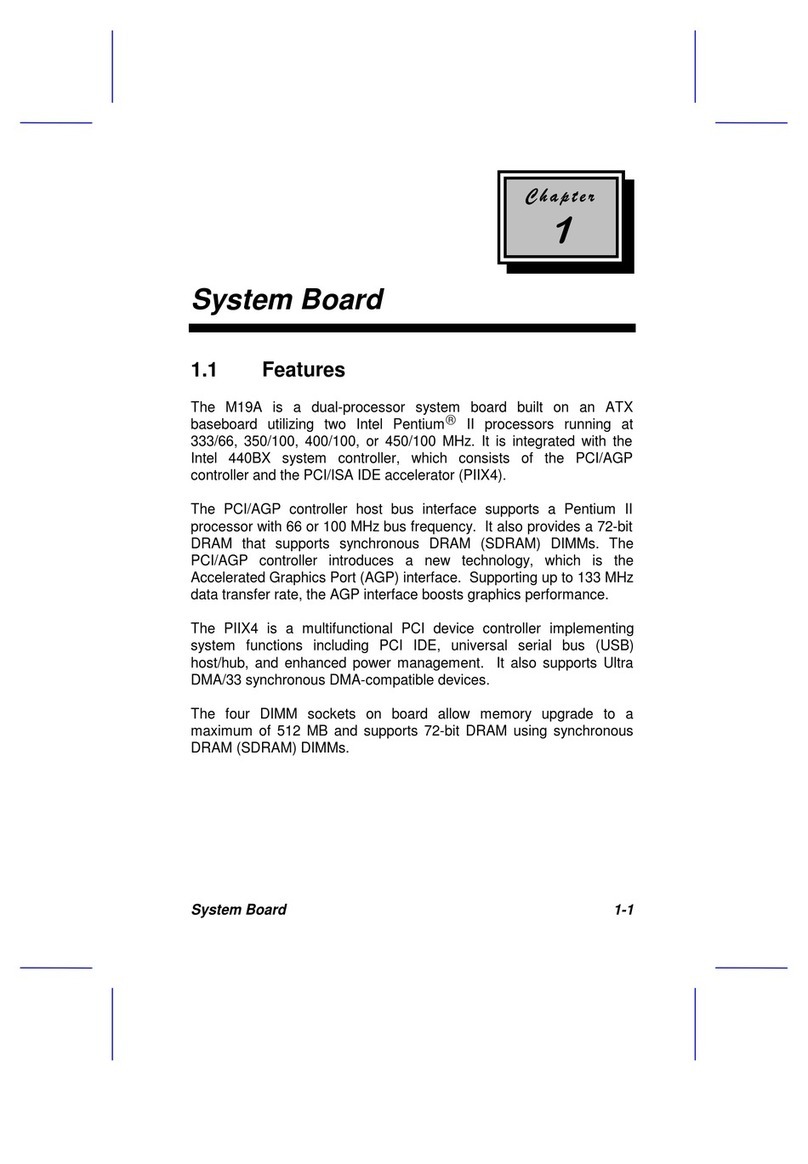
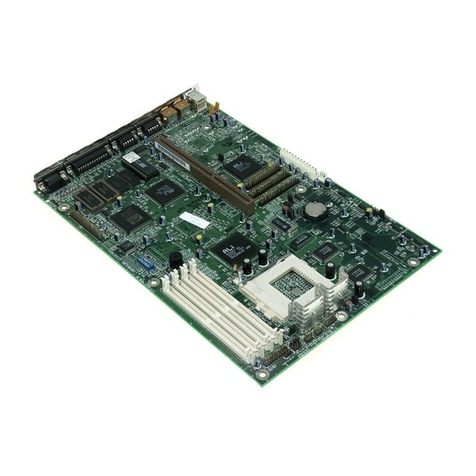
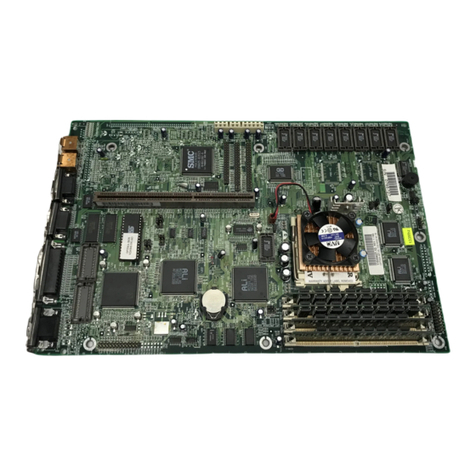
Acer AcerPower Flex4000 Series User manual

Index
1
AcerPower
User’s Guide
Flex4000 Series
(V59LA/IDB3-C)

AcerPower Flex4000 Series (V59LA/IDB3-C) User’s Guide
2
Document EDITION PART NUMBER DATE
History First Edition 49.AB565.003 February 1998
Copyright
Notice Copyright ©1997 by Acer America Corporation. All rights reserved. No part of this publication may be
reproduced, transmitted, transcribed, stored in a retrieval system, or translated into any language or computer language, in any form or by any means,
electronic, mechanical, magnetic, optical, chemical, manual or otherwise, without the prior written permission of Acer America Corporation.
Programs Copyright ©1997 Acer America Corporation.
All rights reserved.
Printed in U.S.A
Trademarks Acer and the Acer logo are registered trademarks of Acer Incorporated.
Windows, Windows 95, Windows NT, and DOS are registered trademarks of Microsoft Corporation.
Intel, Pentium, and LANDesk are registered trademarks of Intel Corporation.
MMX is a trademark of Intel Corporation.
McAfee and VirusScan are registered trademarks of McAfee Associates, Inc.
Other brand and product names are registered trademarks or trademarks of their respective holders.
Disclaimer Acer and its suppliers make no representations or warranties, either expressed or implied, with respect to the
contents hereof and specifically disclaim any warranties of merchantability or fitness for a particular purpose.
Further, Acer reserves the right to revise this publication and to make changes from time to time in the contents hereof
without obligation to notify any person of such revisions or changes. Acer reserves the right to make changes to the products described in
this manual at any time and without notice.

Index
3
Warranty/Limitation of Liability
Any software described in this manual is licensed “as is” and Acer and its suppliers disclaim any and all warranties,
express or implied, including but not limited to any warranty of non-infringement of third party rights, merchantability
or fitness for a particular purpose. Acer does not warrant that the operation of the software will be uninterrupted or
error free. Should the programs prove defective, the buyer (and not Acer, its distributor, or its dealer) assumes the
entire cost of all necessary service, repair, and any incidental or consequential damages resulting from any defect in
the software. Please see the Acer Limited Product Warranty for details of Acer’s limited warranty on hardware
products. IN NO EVENT SHALL ACER BE LIABLE FOR ANY INDIRECT OR CONSEQUENTIAL
DAMAGES, INCLUDING LOSS OF PROFITS OR DATA, EVEN IF ACER HAS BEEN ADVISED OF THE
POSSIBILITY OF SUCH DAMAGES.
Software License
Acer grants you a personal, non-transferable, non-exclusive license to use the software that accompanies your
computer system only on a single computer. You may not (a) make copies of the software except for making one (1)
backup copy of the software which will also be subject to this license, (b) reverse engineer, decompile, disassemble,
translate or create derivative works based upon the software, (c) export or re-export the software to any person or
destination which is not authorized to receive them under the export control laws and regulations of the United States,
(d) remove or alter in any way the copyright notices, or other proprietary legends that were on the software as
delivered to you or (e) sublicense or otherwise make the software available to third parties. The software is the
property of Acer or Acer’s supplier and you do not have and shall not gain any proprietary interest in the software
(including any modifications or copies made by or for you) or any related intellectual property rights. Additional
restrictions may apply to certain software titles. Please refer to any software licenses that accompany such software
for details.
Join Us to Fight Against Piracy
The Acer Group has been implementing a policy to respect and protect legitimate intellectual property rights. Acer
firmly believes that only when each and every one of us abides by such policy, can this industry provide quality
service to the general public.
Acer has become a member of the Technology Committee of the Pacific Basin Economic Council which is
encouraging the protection and enforcement of legitimate intellectual property rights worldwide. Moreover, in order
to ensure quality service to all of our customers, Acer includes an operating system in Acer computer systems which is
duly licensed by the legitimate proprietors and produced with quality.
Acer commits itself and urges all of its customers to join the fight against intellectual property piracy wherever it may
occur. Acer will pursue the enforcement of intellectual property rights and will strive to fight against piracy.
AcerPower Flex4000 Series (V59LA/IDB3-C) User’s Guide
4
IMPORTANT SAFETY INSTRUCTIONS
1. Read these instructions carefully. Save them for future reference.
2. Follow all warnings and instructions marked on the product.
3. Unplug this product from the wall outlet before cleaning. Do not use liquid cleaners
or aerosol cleaners. Use a damp cloth for cleaning.
4. Do not use this product near water.
5. Do not place this product on an unstable cart, stand, or table. The product may fall,
causing serious damage to the product.
6. Slots and openings in the cabinet and the back or bottom are provided for ventilation;
to ensure reliable operation of the product and to protect it from overheating, these
openings must not be blocked or covered. This product should never be placed near or
over a radiator or heat register, or in a built-in installation unless proper ventilation is
provided.
7. This product should be operated from the type of power indicated on the marking
label. If you are not sure of the type of power available, consult your dealer or local
power company.
8. This product is equipped with a 3-wire grounding-type plug, a plug having a third
(grounding) pin. This plug will only fit into a grounding-type power outlet. This is a
safety feature. If you are unable to insert the plug into the outlet, contact your
electrician to replace the outlet. Do not defeat the purpose of the grounding-type
plug.
9. Do not allow anything to rest on the power cord. Do not locate this product where
persons will walk on the cord.
10. If an extension cord is used with this product, make sure that the total ampere rating
of the equipment plugged into the extension cord does not exceed the extension cord
ampere rating. Also, make sure that the total rating of all products plugged into the
wall outlet does not exceed 15 amperes.
11. Never push objects of any kind into this product through cabinet slots as they may
touch dangerous voltage points or short out parts that could result in a fire or electric
shock. Never spill liquid of any kind on the product.
12. Do not attempt to service this product yourself, as opening or removing covers may
expose you to dangerous voltage points or other risks. Refer all servicing to qualified
service personnel.

Index
5
13. Unplug this product from the wall outlet and refer servicing to qualified service
personnel under the following conditions:
a. When the power cord or plug is damaged or frayed
b. If liquid has been spilled into the product
c. If the product has been exposed to rain or water
d. If the product does not operate normally when the operating instructions are
followed. Adjust only those controls that are covered by the operating
instructions since improper adjustment of other controls may result in damage
and will often require extensive work by a qualified technician to restore the
product to normal condition.
e. If the product has been dropped or the cabinet has been damaged
f. If the product exhibits a distinct change in performance, indicating a need for
service
14. Use only the proper type of power supply cord (provided in your keyboard/manual
accessories box) for this unit. It should be a detachable type: UL listed/CSA certified,
type SVT/SJT, rated 8A 125V minimum. Maximum length is 15 feet (4.6 meters).

AcerPower Flex4000 Series (V59LA/IDB3-C) User’s Guide
6
FCC Class B Radio Frequency
Interference Statement
Note:
This equipment has been tested and found to comply with the limits for a Class B digital
device, pursuant to Part 15 of FCC Rules. These limits are designed to provide reasonable
protection against harmful interference in a residential installation. This equipment
generates, uses, and can radiate radio frequency energy and, if not installed and used in
accordance with the instructions, may cause harmful interference to radio
communications. However, there is no guarantee that interference will not occur in a
particular installation. If this equipment does cause harmful interference to radio or
television reception, which can be determined by turning the equipment off and on, the
user is encouraged to try to correct the interference by one or more of the following
measures:
1. Reorient or relocate the receiving antenna.
2. Increase the separation between the equipment and receiver.
3. Connect the equipment into an outlet on a circuit different from that to which the
receiver is connected.
4. Consult the dealer or an experienced radio/television technician for help.
Notice 1:
The changes or modifications not expressly approved by the party responsible for
compliance could void the user's authority to operate the equipment.
Notice 2:
Shielded interface cables, if any, must be used in order to comply with the emission limits.

Index
7
Conventions
The following are the conventions used in this manual:
, , , etc. Represent the actual keys that you
have to press on the keyboard.
NOTE
Gives bits and pieces of additional
information related to the current
topic.
WARNING
Alerts you to any damage that might
result from performing or not
performing specific actions.
CAUTION
Gives precautionary measures to avoid
possible hardware or software
problems.
IMPORTANT
Reminds you to take specific actions
relevant to the accomplishment of
procedures.
TIP
Tells how to accomplish a procedure
with minimum steps through little
shortcuts.

AcerPower Flex4000 Series (V59LA/IDB3-C) User’s Guide
8
Table of Contents
Chapter 1 System Board
1.1 System Board Layout....................................................................................1-2
1.2 Jumpers and Connectors...............................................................................1-4
1.2.1 LED/Switch Locations.....................................................................1-10
1.3 Installing Components on the System Board...............................................1-11
1.3.1 ESD Precautions..............................................................................1-11
1.3.2 Pre-installation Instructions.............................................................1-12
1.3.3 Post-installation Instructions............................................................1-12
1.4 Installing a CPU.........................................................................................1-13
1.4.1 Installation Procedures ....................................................................1-13
1.5 Installing Memory......................................................................................1-15
1.5.1 Installing a DIMM...........................................................................1-17
1.5.2 Removing a DIMM..........................................................................1-18
1.5.3 Reconfiguring the System................................................................1-18
1.6 Second-level Cache ....................................................................................1-19
1.7 Video Function...........................................................................................1-19
1.7.1 Supported Video Resolutions...........................................................1-20
1.8 Audio Function...........................................................................................1-21
1.9 Error Messages...........................................................................................1-21
1.9.1 Software Error Messages .................................................................1-22
1.9.2 System Error Messages....................................................................1-22
1.9.3 Correcting Error Conditions............................................................1-25

Index
9
Chapter 2 BIOS Utility
2.1 Entering Setup..............................................................................................2-1
2.2 System Information ......................................................................................2-3
2.2.1 Processor...........................................................................................2-4
2.2.2 Processor Speed.................................................................................2-4
2.2.3 Internal Cache...................................................................................2-4
2.2.4 External Cache..................................................................................2-5
2.2.5 Floppy Drive A..................................................................................2-5
2.2.6 Floppy Drive B..................................................................................2-5
2.2.7 IDE Primary Channel Master ............................................................2-5
2.2.8 IDE Primary Channel Slave...............................................................2-5
2.2.9 IDE Secondary Channel Master.........................................................2-6
2.2.10 IDE Secondary Channel Slave...........................................................2-6
2.2.11 Total Memory....................................................................................2-6
2.2.12 Serial Port 1 ......................................................................................2-6
2.2.13 Serial Port 2 ......................................................................................2-6
2.2.14 Parallel Port.......................................................................................2-7
2.2.15 PS/2 Mouse .......................................................................................2-7
2.2.16 Memory Parity Mode.........................................................................2-7
2.2.17 USB Host Controller..........................................................................2-7
2.2.18 Product Information...........................................................................2-8
2.3 Basic System Configuration..........................................................................2-9
2.3.1 Date and Time...................................................................................2-9
2.3.2 Diskette Drives................................................................................2-11
2.3.3 LS-120 Drive (Non-Standard Feature).............................................2-12
2.3.4 IDE Drives ......................................................................................2-13
2.3.5 Boot Options ...................................................................................2-16
2.4 System Security..........................................................................................2-19
2.4.1 Disk Drive Control..........................................................................2-19
2.4.2 Setup Password................................................................................2-20
2.4.3 Power-on Password..........................................................................2-24

AcerPower Flex4000 Series (V59LA/IDB3-C) User’s Guide
10
2.5 Power Management....................................................................................2-25
2.5.1 Power Management Mode ...............................................................2-25
2.5.2 Power Switch < 4 sec.......................................................................2-26
2.5.3 System Wake-up Event....................................................................2-26
2.6 Exit Setup Utility........................................................................................2-27
2.6.1 Save CMOS Settings and Exit .........................................................2-27
2.6.2 Load Previous Settings and Exit ......................................................2-27
2.6.3 Load Default Settings ......................................................................2-28
2.6.4 Save CMOS Settings .......................................................................2-28
2.6.5 Abort Settings Change.....................................................................2-28
Chapter 3 System Housing
3.1 Getting Started.............................................................................................3-2
3.2 Positioning the Removable Feet....................................................................3-2
3.3 Features........................................................................................................3-5
3.3.1 Front Panel........................................................................................3-5
3.3.2 Rear Panel.........................................................................................3-6
3.4 Opening the Housing....................................................................................3-7
3.5 ESD Precautions...........................................................................................3-8
3.6 Component Installation ................................................................................3-9
3.6.1 Removing the Disk Drive Metal Frame..............................................3-9
3.6.2 Installing a Hard Disk Drive............................................................3-11
3.6.3 Installing a 3.5-inch Diskette Drive.................................................3-12
3.6.4 Installing a CD-ROM Drive.............................................................3-13
3.6.5 Reinstalling the Disk Drive Metal Frame.........................................3-14
3.6.6 Installing a System Board................................................................3-15
3.6.7 Installing the Power Supply.............................................................3-17
3.6.8 Installing Expansion Boards............................................................3-18
3.6.9 Installing the Cover.........................................................................3-20
Chapter 4 Acer Manageability Software
4.1 The Acer Resource CD.................................................................................4-2

Index
11
4.2 Acer Software Installer.................................................................................4-4
4.3 Acer Software Library ..................................................................................4-5
4.4 Acer Online Documentation.........................................................................4-6
4.5 Using Acer CPR to Rebuild Your Hard Drive...............................................4-6
4.6 McAfeeVirusScan.....................................................................................4-9
4.6.1 Installing VirusScan .....................................................................4-10
4.6.2 Updating VirusScan Data Files.....................................................4-10
4.7 Intel LANDeskClient Manager .................................................................4-13
4.7.1 Setting Up LANDesk Client Manager...........................................4-14
4.7.2 Using LANDesk Client Manager ..................................................4-16
4.7.3 LANDesk Client Manager, Administrator Version........................4-17
Appendix A CD-ROM Drive
A.1 Introduction................................................................................................. A-1
A.2 Precautions.................................................................................................. A-2
A.2.1 During Operation ............................................................................. A-2
A.2.2 When Handling a Disc...................................................................... A-3
A.3 CD-ROM Drive Description........................................................................ A-4
A.3.1 Front View ....................................................................................... A-4
A.3.2 Rear View ........................................................................................ A-5
A.4 Operating the CD-ROM Drive..................................................................... A-6
A.4.1 Starting the Drive............................................................................. A-6
A.4.2 Emergency Eject............................................................................... A-7
Appendix B Advanced BIOS Options
B.1 Entering Setup..............................................................................................B-1
B.1.1 Advanced Configuration Level ..........................................................B-2
B.2 Basic Configuration......................................................................................B-3
B.2.1 Enhanced IDE Features.....................................................................B-5
B.3 Advanced Configuration...............................................................................B-6
B.3.1 Internal Cache...................................................................................B-7
B.3.2 External Cache..................................................................................B-7

AcerPower Flex4000 Series (V59LA/IDB3-C) User’s Guide
12
B.3.3 Memory at 15MB-16MB Reserved For ..............................................B-7
B.3.4 Memory Parity Mode.........................................................................B-7
B.3.5 C8000h – DFFFFh Shadow ...............................................................B-8
B.3.6 Onboard Peripheral Configuration.....................................................B-8
B.3.7 PnP/PCI System Configuration........................................................B-13
B.4 Power Management....................................................................................B-16
B.4.1 ACPI BIOS......................................................................................B-17
B.5 Exit Setup Utility........................................................................................B-17
Index

Index
13
List of Figures
1-1 System Board Layout ................................................................................1-3
1-2 Jumper and Connector Locations ..............................................................1-4
1-3 Installing a CPU .....................................................................................1-14
1-4 Attaching the Heatsink and Fan to the CPU ............................................1-14
1-5 Installing a DIMM..................................................................................1-17
1-6 Removing a DIMM.................................................................................1-18
4-1 Acer Resource CD.....................................................................................4-2
4-2 Acer Software Installer..............................................................................4-4
A-1 Front Panel .............................................................................................. A-4
A-2 Rear Panel ............................................................................................... A-5
List of Tables
1-1 Chip Select Frequency...............................................................................1-5
1-2 S1 Bus Frequency Selection ......................................................................1-5
1-3 S1 CPU Frequency for Pentium CPUs.......................................................1-5
1-3A S1 Onboard Audio Function......................................................................1-5
1-4 System Board Jumper Settings ..................................................................1-6
1-5 Onboard Connectors .................................................................................1-8
1-6 CN15 Voltage Connector..........................................................................1-9
1-7 Memory Configurations ..........................................................................1-15
1-8 Second-level Cache Configuration ..........................................................1-19
1-9 Video Resolutions...................................................................................1-20
1-10 System Error Messages ...........................................................................1-23
2-1 Drive Control Settings ............................................................................2-20
B-1 Parallel Port Operation Mode Settings.....................................................B-12

AcerPower Flex4000 Series (V59LA/IDB3-C) User’s Guide
14
Introduction
Acer is on the leading edge of microcomputer systems development for both corporate and
home computing needs, as the OEM of choice for many of the world’s leading computer
companies. Acer is committed to meeting the world’s demand for state-of-the-art
computers at the best prices.
The AcerPowerfamily of personal computers provides the sheer power and speed to run
demanding business, graphics and multimedia applications, and the reliability that makes
your life easier. Each system is engineered with an eye to the next generation of more
demanding applications, making the AcerPower a sound investment now and for the
future.
The AcerPower Flex4000 Series provides advanced manageability features ideal for
networked environments. There are two different model types available:
Net PC – Fully functional PC systems with no CD-ROM or floppy drive
Managed PC – Fully functional PC systems that include both a CD-ROM and floppy
drive
The AcerPower Flex4000 is a convertible platform. Acer Option Kits are available to
transform a Net PC model into a Managed PC model, or vice-versa. Three kits are
available to accomplish this:
•Flex4000 Net PC Bezel Kit – bezel covers to convert a Managed PC to a Net PC
version
•Flex4000 CD-ROM Kit – CD-ROM drive (supporting vertical orientation), cable
and Flex4000 bezel
•Flex4000 Floppy Kit – 1.44MB floppy drive, cable and Flex4000 bezel
Each kit includes easy-to-follow instructions. Please contact your dealer for ordering
information and availability.

Index
15
About this Manual
This manual is divided into four chapters. A brief description of these chapters is
provided below.
Chapter 1 System Board
Describes the system board and all its major components. It contains information about
the system board layout, jumper and connector locations and functions, jumper settings,
and memory configuration. It also describes how to install a Pentium processor. At the
end of the chapter, you will find an explanation of error messages and corresponding
corrective measures.
Chapter 2 BIOS Utility
Describes the features and options of the system BIOS. Also, explains how to configure
the system by setting the BIOS parameters.
Chapter 3 System Housing
Describes the system housing and tells how to install basic system components into the
housing. It gives brief instructions accompanied by illustrations showing how to perform
the described procedure.

AcerPower Flex4000 Series (V59LA/IDB3-C) User’s Guide
16
Chapter 4 Acer Manageability Software
Discusses the Acer manageability software bundled with your system: The Acer Resource
CD, McAfeeVirusScanand Intel LANDeskClient Manager.
The Acer Resource CD contains the Acer CPR utility, the Acer Software Installer, the
Acer software library and Acer online documentation. Use Acer CPR to restore your
computer to its original factory settings. Use the Acer Software Installer to install the
bundled software that resides on the Acer Resource CD. The Acer online documentation
provides answers to commonly asked questions.
McAfee VirusScan’s main features are described, as well as how to update VirusScan data
files. Information about installing VirusScan is also included.
The Intel LANDesk Client Manager section describes how to install/remove and use
LANDesk Client Manager.
Appendix A CD-ROM Drive
This appendix shows how to use your CD-ROM drive. Also included are illustrations of
the front and rear panels, describing each feature.
Appendix B Advanced BIOS Options
This appendix details the advanced settings available in the system BIOS.

Index
17
System Board
The all-in-one Pentium®-based system board features the common functions offered by a
high-performance board, as well as multimedia functions. It supports Pentium processors
with or without MMX™ technology. It has slots on a riser card for future expansion.
Two 168-pin DIMM sockets can accommodate 16, 32, 64, and 128 MB memory modules
for a maximum memory upgrade of 256 MB. In addition, the board contains 512KB L2
pipelined burst SRAM. The onboard video controller and audio controller enable the
system to offer both video and audio functions.
Onboard I/O interfaces are comprised of UART NS16C550-compatible serial ports, a
parallel port with Enhanced Parallel Port (EPP)/Extended Capabilities Port (ECP) feature,
PS/2 keyboard and mouse ports, and two Universal Serial Bus (USB) ports. The USB
ports allow the system to support additional peripherals. The board also includes a built-in
100BASE-TX/10 base-T Ethernet interface that supports Wake-On-LAN (WOL).
The system supports H/W monitoring and power-management functionality that conforms
to the power-saving standards of the U.S. Environmental Protection Agency (EPA)
Energy Star program. It also offers Plug-and-Play features. These features save the user
configuration troubles, making the system easier to use.
The system is fully compatible with Windows NT and Windows 95 operating systems.

AcerPower Flex4000 Series (V59LA/IDB3-C) User’s Guide
18
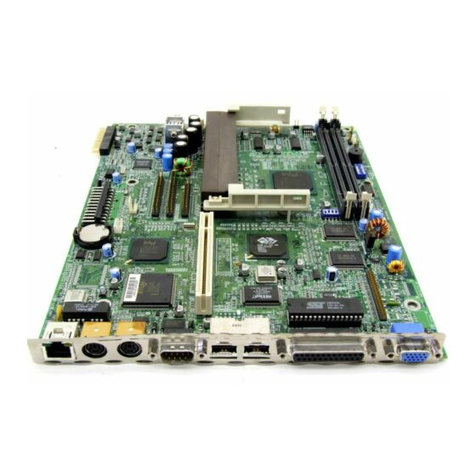
1.1 System Board Layout
The system board has the following features and components:
•Supports Intel P54C or P55C with MMX Processors
•256-MB maximum system memory
•Two 168-pin DIMM sockets that accept 16, 32, 64, and 128 MB SDRAM DIMMs
•512-KB pipelined-burst L2 cache (SRAM)
•Integrated Ultra DMA/33 controller
•Onboard ATI 3D Rage II+ DVD PCI VGA controller with 2 MB SGRAM
•Integrated Sound Blaster compatible audio, Microsoft Sound, MPU-401, and CD-
Audio
•Onboard 100BASE-TX/10 base-T Ethernet with Wake-on-LAN function
•256 KB Flash ROM for system BIOS
•Two PCI expansion slots
•One 9-pin UART 16C550 compatible serial port and one SPP/ECP/EPP parallel port
•Two USB ports
•PS/2 mouse and keyboard ports
•Plug-and-Play (PnP) functionality
•Power-management functionality
•Software shutdown
•Hardware Monitoring function that supports CPU thermal, voltage, and fan stop
indicators

Index
19
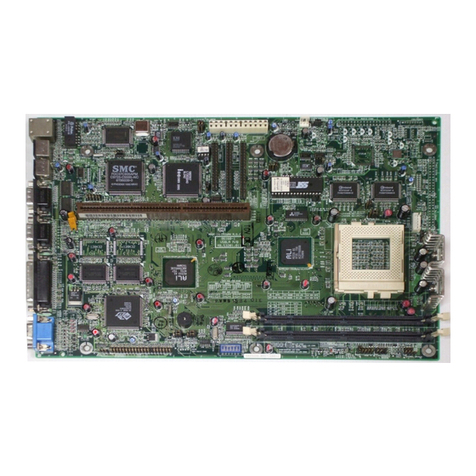
Figure 1-1 shows the board layout and the locations of the important components.
1 RJ45 port 17 5-pin Fan connector
(for Hardware Monitoring)
2 PS/2 keyboard port 18 2-pin Fan connector
3 PS/2 mouse port 19 Power, LED connector
4COM1 port 20 Voltage regulator with heatsink
5USB ports 21 Game port
6Parallel port 22 Buzzer
7UVGA port 23 Battery
82-MB SGRAM 24 Crystal CS4237B Audio chipset
9PnP BIOS chip 25 System chipset
10 Video chipset 26 Riser card slot
11 AMC connector 27 Audio I/O connector
12 DIMM sockets 28 FDD connector
13 System chipset 29 IDE 1 connector
14 Video-in connector 30 IDE 2 connector
15 L2 pipelined-burst SRAM 31 Power connector
16 CPU socket 32 Intel 82558 LAN controller
Figure 1-1 System Board Layout
12345678910 11 12 13 1415 16
17
18
19
21
22
2324
25
26
27
28
29
30
31
32
20

AcerPower Flex4000 Series (V59LA/IDB3-C) User’s Guide
20
1.2 Jumpers and Connectors
Figure 1-2 shows the jumper and connector locations on the system board.
Figure 1-2 Jumper and Connector Locations
The shaded pin indicates pin 1.
Table of contents
Other Acer Motherboard manuals
Popular Motherboard manuals by other brands

ASROCK
ASROCK A75M-DGS Quick installation guide

Quectel
Quectel SC20 user guide

mikroElektronika
mikroElektronika mikromedia PIC32 manual

Chassis Plans
Chassis Plans ATXR-QZ45Q Technical reference

ADLINK Technology
ADLINK Technology MI-220 user manual

Fujitsu Siemens Computers
Fujitsu Siemens Computers D1132 Technical manual