manuals.online logo
Brands
  1. Home
  2. •
  3. Brands
  4. •
  5. ADTRAN
  6. •
  7. Network Hardware
  8. •
  9. ADTRAN TRACER 4305 User manual

ADTRAN TRACER 4305 User manual

612804305L1-18A © 2004 ADTRAN, Inc. 1
Converting the Frequency Plan of a TRACER 4305 System
Introduction
TRACER 4305 systems are shipped from the factory with the frequency plan programmed as Plan A or Plan B.
Each wireless link must contain a Plan A radio on one end and a Plan B on the other. A frequency plan
conversion may be performed in the field, but should only be attempted if absolutely necessary and must
always be performed by qualified personnel. This document outlines the procedure for changing the frequency
plan of a TRACER 4305 system.
Prerequisite Procedures
The current frequency plan configuration is listed on a label located on the rear panel of the unit (near the
Antenna connector). Record the current configuration before beginning this procedure.
Tools and Materials Required
• 5/16” Torque wrench (8 in-lbs)
• 3/16” nut driver
• Phillips-head screw driver
Disconnect all cables attached to the TRACER 4305 system (including power, data,
terminal RS-232, etc.) before performing this procedure.
Do not attempt to perform the conversion without the proper tools (see list below). Using
improper tools will damage the unit.
Electronic equipment can be damaged by static electrical discharge. Before handling
equipment, put on an antistatic discharge wrist strap to prevent damage to components.
Place equipment in antistatic packing material when transporting or storing. When
working on equipment, always place it on an approved antistatic mat that is electrically
grounded.
TRACER 4305 Frequency Conversion Document
2 © 2004 ADTRAN, Inc. 612804305L1-18A
1. Remove the screws from the chassis cover using a Phillips-head screwdriver (see Figure 1).
Figure 1. Removing the Cover Screws (TRACER 4305)
2. Remove the nuts on either side of the RS-232 connector (on the rear panel of the unit) using the 3/16”
nut driver (see Figure 2).
Figure 2. Removing the RS-232 Nuts
3. Carefully slide the cover toward the back of the unit until the front edge of the cover is disconnected
from the front of the unit. Lift the cover off and set aside.
Perform the steps below in the order listed.
Remove all connected mounting brackets before attempting to remove the unit cover.
TRACER 4305 Frequency Conversion Document
612804305L1-18A © 2004 ADTRAN, Inc. 3
4. Verify the current frequency plan configuration. To verify the plan, check the connections between the
J connectors (located on the board and labeled J1 and J2) and the Chan connectors (located on the
diplexer). The Chan connectors are labeled CH1 and CH2 for most TRACER 4305 systems. The
following table outlines the connections for Plan A and B.
Click to see a digital image of the J connectors or the Chan connectors.
5. Using the torque wrench, disconnect both cables from the Chan connectors on the diplexer. Do not
attempt to disconnect the J connectors (located on the board) as this will cause damage. Click here for
a digital picture of this step.
6. Carefully flex the cables to swap the connections. Be careful with the RF cables, making sure that the
minimum bend radius of the cable is greater than 0.75"; bends and loops smaller than a quarter will
cause the RF cable to break. Use the wiring guidelines in Figure 3 for help with wire placement. Click
here for a digital picture of this step.
Figure 3. TRACER 4305 Cable Routing Diagrams
TRACER 4305
PLAN CHAN 1 CHAN 2
AJ2 J1
BJ1 J2
Allowing the RF cables to sit on the processor and radio boards (green) could cause
damage to the boards; keep the RF cables off the boards while re-routing them. Click here
for a digital picture of this mistake.
TRACER 4305 Frequency Conversion Document
4 © 2004 ADTRAN, Inc. 612804305L1-18A
7. Use the torque wrench to reconnect the RF cables to the Chan connectors. Tighten the cables by
turning clockwise until you hear a click from the wrench. DO NOT overtighten connectors as this will
cause the RF cable to break. The TRACER 4305 system will not operate properly with broken RF
cables.
8. Reinstall the cover and carefully tighten all screws.
9. Change label on back of the unit to reflect the Plan change.
>> BACK
>> BACK
>> BACK
>> BACK
>> BACK

Other ADTRAN Network Hardware manuals

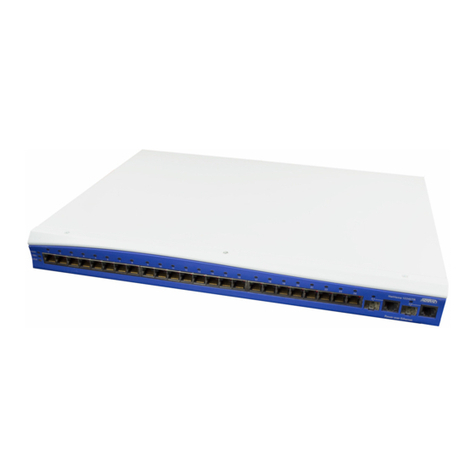
ADTRAN NetVanta 1000 Series Manual

ADTRAN

ADTRAN NetVanta 1000 Series Manual

ADTRAN TR OCU DP Instruction Manual

ADTRAN

ADTRAN TR OCU DP Instruction Manual

ADTRAN Total Access 1500 Total Reach DDS-DP Product manual

ADTRAN

ADTRAN Total Access 1500 Total Reach DDS-DP Product manual

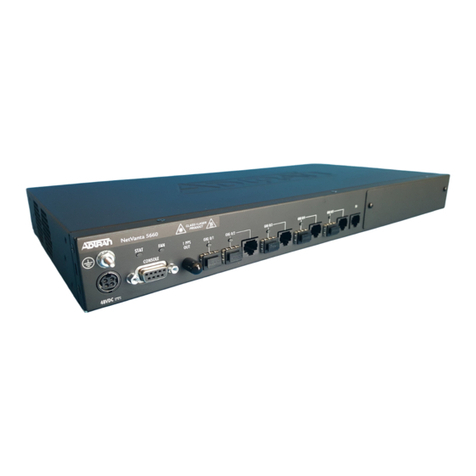
ADTRAN NetVanta 5660 User manual

ADTRAN

ADTRAN NetVanta 5660 User manual

ADTRAN FXO+ DUAL VOICE User manual

ADTRAN

ADTRAN FXO+ DUAL VOICE User manual

ADTRAN 424 ONT User manual

ADTRAN

ADTRAN 424 ONT User manual
ADTRAN NetVantaE1/FE1 User manual

ADTRAN

ADTRAN NetVantaE1/FE1 User manual

ADTRAN Total Access Octal ADSL User manual

ADTRAN

ADTRAN Total Access Octal ADSL User manual

ADTRAN Total Access 850 Instruction Manual

ADTRAN

ADTRAN Total Access 850 Instruction Manual

ADTRAN NetVanta 900 Series Manual

ADTRAN

ADTRAN NetVanta 900 Series Manual

ADTRAN 1200221L1 User manual

ADTRAN

ADTRAN 1200221L1 User manual

ADTRAN BR1/10 PAU Instruction Manual

ADTRAN

ADTRAN BR1/10 PAU Instruction Manual

ADTRAN NetVanta 873 User manual

ADTRAN

ADTRAN NetVanta 873 User manual

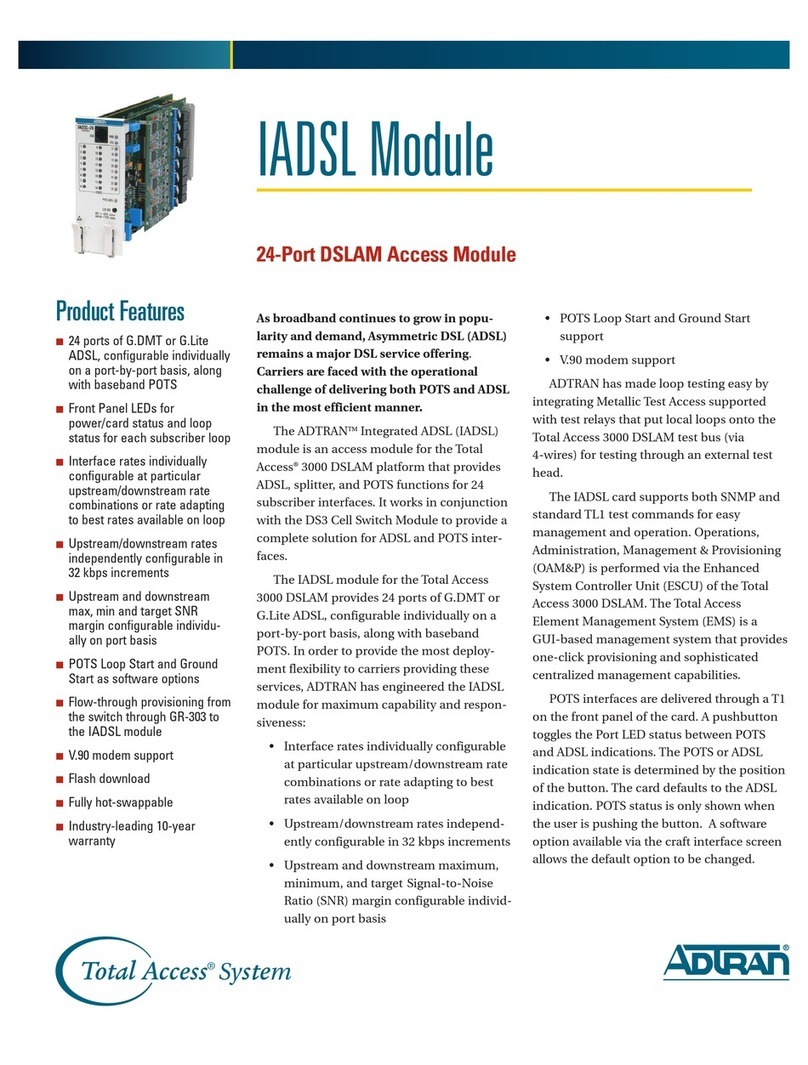
ADTRAN 24-Port DSLAM Access Module IADSL Module User manual

ADTRAN

ADTRAN 24-Port DSLAM Access Module IADSL Module User manual

ADTRAN DSU 5600 User manual

ADTRAN

ADTRAN DSU 5600 User manual

ADTRAN 1203060L1 User manual

ADTRAN

ADTRAN 1203060L1 User manual

ADTRAN ESU LT User manual

ADTRAN

ADTRAN ESU LT User manual

ADTRAN Total Access 1500 Total Reach DDS-DP User manual

ADTRAN

ADTRAN Total Access 1500 Total Reach DDS-DP User manual

ADTRAN Smart 16e Shelf User manual

ADTRAN

ADTRAN Smart 16e Shelf User manual

ADTRAN DSU III TDM User manual

ADTRAN

ADTRAN DSU III TDM User manual

ADTRAN DS3 MX User manual

ADTRAN

ADTRAN DS3 MX User manual

ADTRAN EXPRESS 6503 User manual

ADTRAN

ADTRAN EXPRESS 6503 User manual

ADTRAN D4 TRI-C DP User manual

ADTRAN

ADTRAN D4 TRI-C DP User manual

ADTRAN BR10 User manual

ADTRAN

ADTRAN BR10 User manual

Popular Network Hardware manuals by other brands

Autonics ARIO Series instruction manual

Autonics

Autonics ARIO Series instruction manual

Aruba 501 Configuration and administration guide

Aruba

Aruba 501 Configuration and administration guide

Draytek Vigor2927 Series quick start guide

Draytek

Draytek Vigor2927 Series quick start guide

Ruckus Wireless ZoneFlex7731 802.11n installation guide

Ruckus Wireless

Ruckus Wireless ZoneFlex7731 802.11n installation guide

Schwarzbeck NTFM 8158 manual

Schwarzbeck

Schwarzbeck NTFM 8158 manual

Ubiquiti UF-Instant quick start guide

Ubiquiti

Ubiquiti UF-Instant quick start guide

FALCOM LUMINA 17 installation manual

FALCOM

FALCOM LUMINA 17 installation manual

Cisco Versatile Interface Processor (VIP6-80)... Installation and configuration guide

Cisco

Cisco Versatile Interface Processor (VIP6-80)... Installation and configuration guide

COBHAM OMU I user manual

COBHAM

COBHAM OMU I user manual

Milesight UF31 user guide

Milesight

Milesight UF31 user guide

Huawei RRU3942 installation guide

Huawei

Huawei RRU3942 installation guide

HP FlexNetwork 6616 installation guide

HP

HP FlexNetwork 6616 installation guide

Paradyne COMSPHERE 6700 Series user guide

Paradyne

Paradyne COMSPHERE 6700 Series user guide

Lenovo Iomega®Iomega ix2-300d Product specifications

Lenovo

Lenovo Iomega®Iomega ix2-300d Product specifications

Bosch VIP X2 Installation and operating manual

Bosch

Bosch VIP X2 Installation and operating manual

Texas Instruments TPA6132A2 EVM user guide

Texas Instruments

Texas Instruments TPA6132A2 EVM user guide

DBM ACE9600 operating manual

DBM

DBM ACE9600 operating manual

Dell DD6300 manual

Dell

Dell DD6300 manual

manuals.online logo
manuals.online logoBrands
  • About & Mission
  • Contact us
  • Privacy Policy
  • Terms and Conditions

Copyright 2025 Manuals.Online. All Rights Reserved.