manuals.online logo
Brands
  1. Home
  2. •
  3. Brands
  4. •
  5. Agora Models
  6. •
  7. Motorized Toy Car
  8. •
  9. Agora Models Corvette Sting Ray Z06 N03 1963 Pack 03 Manual

Agora Models Corvette Sting Ray Z06 N03 1963 Pack 03 Manual

General Motors Trademarks used under license by Premium & Collectibles Trading Co. Ltd on behalf of Agora Models.
STAGE 16: PREPARING THE FRONT CHASSIS
STAGE 17: FITTING THE LOWER
CONTROL ARMS
STAGE 18: ASSEMBLING THE FRONT
RIGHT WHEEL
STAGE 19: MOUNTING THE ANTIROLL BAR
AND THE FRONT RIGHT WHEEL
STAGE 20: ATTACHING THE STEERING LINKAGE
STAGE 21: CONNECTING THE CHASSIS FRAME
STAGE 22: FITTING THE COCKPIT FLOOR
AND HANDBRAKE CABLE
STAGE 23: INSTALLING THE HEAT
ISOLATION SHIELD
STAGE 24: ATTACHING THE EXHAUST PIPES
Pack 03
BUILD INSTRUCTIONS
AGORAMODELS CORVETTE STING RAY
2
Spare screws are included with each part. Occasionally, you may be instructed to keep spare or
unused screws for a later stage. Keep these spares in a safe place and label them correctly.
Please make sure you don’t mix up the screws. They look quite similar, but the threads do vary
slightly. Using the wrong screws may damage the parts.
When securing parts together using multiple screws, fit each screw loosely to ensure all the
parts are correctly aligned before gently tightening them firmly, but not overtight, in the order
in which you placed them.
The screwdriver can be magnetized by stroking it with a magnet (fridge magnet, etc.) enabling
it to hold the screws and make assembly easier.
If a screw is tight going into a metal part, do not force it as you may shear the head off. Remove
it and put a tiny smear of Vaseline, soap or light oil on the thread. That will lubricate it and make
it easier to drive home.
During the course of this build, you will receive many pieces that you will assemble immediately
– following the instructions in the corresponding stage – and other pieces that you should store
safely to one side, for use in future assembly stages.
Left and Right! When building your Corvette, the left- or right-hand side refers to that side as if
you are sitting in the car.
Advice from the experts
WARNING: Some parts are assembled using magnets. These magnets can cause serious injury
if they are swallowed. Keep away from children. If you suspect a magnet has been swallowed,
seek medical help straight away.
!
AGORAMODELS CORVETTE STING RAY
3
XXX
Name
Front chassis
Bracket x2
Bypass
Brake hose 1
Brake hose 2
AM screw x3
STAGE 16 PARTS LIST
In this stage you’ll prepare the front
chassis by fitting the brackets and
installing the front brake hoses.
Front chassis
Bypass
AM x3
Bracket x2
Stage 16: Preparing the Front Chassis
Brake hose 1
Brake hose 2
AGORAMODELS CORVETTE STING RAY
4
1
3b
2
4
The two brackets are marked with “L” and “R” to distinguish left from
right (inset, circled). Fit the right bracket onto the front chassis (arrow).
Fit one end of the longer brake hose onto the bypass as shown (3a) –
note the orientation of the bypass (inset). Fit the shorter hose onto the
bypass (3b and inset).
Fit the left bracket in the same way (arrow) then use 2x AM screws to
secure the brackets.
Press the bypass into the hole in the front chassis (circled).
Stage 16: Preparing the Front Chassis
AMAM
“R”
3a
AGORAMODELS CORVETTE STING RAY
5
STAGE COMPLETE
Stage 16: Preparing the Front Chassis
AGORAMODELS CORVETTE STING RAY
6
XXX
Name
Front chassis cover
Spring x2
Lower control arm (L)
Lower control arm (R)
Cylinder x2
Lower control arm shaft (L and R)
Cylinder rod x2
Bracket x2
CM screw x8
DM screw x8
FM screw x10
KM screw x5
LM screw x2
STAGE 17 PARTS LIST
After building the lower control
arms, you’ll fit them to the front
chassis and then attach the front
left wheel assembled in Stage 4.
Front chassis cover
Lower control arm (L)
CM x8
Spring x2
Stage 17: Fitting the Lower Control Arms
Cylinder x2
Lower control arm (R)
Lower control arm
shaft (L and R)
Cylinder rod x2
Bracket x2
DM x8 FM x10 KM x5 LM x2
AGORAMODELS CORVETTE STING RAY
7
Stage 17: Fitting the Lower Control Arms
1 2
Lay out the lower control arms and the brackets. The control arms are
marked with “L” and “R” to distinguish left from right (circled).
Place the brackets onto the control arms as shown then secure in
place using 4x FM screws.
Turn the control arms over and fit the cylinders through the large
holes (arrows).
Align the shafts (marked “L” and “R”, circled) with the control arms as
shown, then prepare 4x KM screws which will secure the shafts from
the outside of the arms.
Secure the cylinders using 4x FM screws.
Fit the shafts in place then secure using the KM screws.
34
5 6
FM FM
FM FM
KM KM
AGORAMODELS CORVETTE STING RAY
8
7 8
Fit the cylinder rods into the D-shaped holes inside the recesses of the
front chassis (circled) as shown.
Turn the assembly over and secure the rods using 2x DM screws.
Stage 17: Fitting the Lower Control Arms
9
Turn the assembly back over and position the springs in the recesses (insets). The cylinders of the left and
right control arms will fit into the springs and over the rods inside (arrows). The raised screw holes of the
shafts will fit into the corresponding holes on the chassis (circled).
DM DM
“L” “R”
AGORAMODELS CORVETTE STING RAY
9
10 11
Flip the control arms over and fit them in position as shown. Turn the assembly over and secure the shafts to the chassis using
4x DM screws.
Stage 17: Fitting the Lower Control Arms
12
Place the front chassis cover on your work surface in the orientation shown, then fit the control arms
(marked “L” and “R”) from Stage 15 and secure them to the cover using 4x CM screws. The shafts of the
control arms are recessed to fit the cover (inset, arrow).
DM DM
CMCM
“L” “R”
AGORAMODELS CORVETTE STING RAY
10
13
15
Align the assembly with the front chassis. The left suspension upright
has an opening which fits over the raised screw post of the left lower
control arm (arrow).
Carefully turn the assembly over then lower the front chassis cover as
shown by the arrow.
Stage 17: Fitting the Lower Control Arms
16
Check the cover is aligned correctly then secure with 2x CM screws.
CM CM
14
Fit the opening onto the post and secure using an LM screw.
LM
AGORAMODELS CORVETTE STING RAY
11
STAGE COMPLETE
Stage 17: Fitting the Lower Control Arms
AGORAMODELS CORVETTE STING RAY
12
XXX
Name
Tyre
Outer wheel rim
Inner wheel rim
Six-spoke wheel cover
Three-bar spinner
CM screw x3
DP screw x3
STAGE 18 PARTS LIST
Next you’ll build the front right
wheel, ready for it to be attached in
the next stage.
Note: the first set of wheels
supplied are the original ‘63
production wheels. The ‘64 knock-
offs (shown in the image on the
right) will be supplied in a later
stage allowing you to choose the
final look of your model.
Tyre
Inner wheel rim
CM x3
Outer wheel rim
Stage 18: Assembling the Front Right Wheel
Six-spoke wheel cover
Three-bar spinner
DP x3
AGORAMODELS CORVETTE STING RAY
13
1
3
2
4
Press the outer wheel rim into the tyre until the parts are flush.
Turn the assembly back over and press the six-spoke wheel cover in
position, aligning the indent of the cover (inset, arrow) with the air
valve (circled).
Turn over and fit the inner wheel rim through from the inner side as
shown. Align the outer holes then secure using 2x CM screws.
Secure the wheel cover by driving 2x DP screws through the inner
wheel rim.
Stage 18: Assembling the Front Right Wheel
CM
DP
AGORAMODELS CORVETTE STING RAY
14
5
Push the three-bar spinner into the wheel cover. Alternatively, you may
wish to wait until the wheel has been mounted in the next stage.
STAGE COMPLETE
Stage 18: Assembling the Front Right Wheel
AGORAMODELS CORVETTE STING RAY
15
XXX
Name
Brake drum (R)
Brake drum cover
Air scoop (R1 and R2)
Right suspension upright
Anti-roll bar
Bracket x2
Washer
Adhesive tape x3
CM screw x2
DP screw x3
DM screw x10
JM screw x2
LM screw x2
STAGE 19 PARTS LIST
In this stage you’ll fit the brake
drum to the right wheel then
mount it onto the front chassis.
You’ll also fit the anti-roll bar.
Brake drum (R) Right suspension upright
CM x2
Air scoop (R1 and R2)
Stage 19: Mounting the Anti-roll Bar and the
Front Right Wheel
Bracket x2
Brake drum cover
Anti-roll bar
Washer
Adhesive tape x3
DP x3 DM x10 JM x2 LM x2
AGORAMODELS CORVETTE STING RAY
16
1
3
2
4
Place the anti-roll bar between the holes located on the front chassis
(circled). Ensure the curved ends of the bar are oriented towards the
suspension as shown in the inset image.
Lift the ends of the anti-roll bar up to the holes in the lower control
arms (inset, arrow). Press down on the lower control arms and carefully
secure the bar using 2x DP screws – do not overtighten as this could
damage the bar.
Fit the brackets over the holes and the bar then secure using
4x DM screws.
Orient the brake drum cover as shown then press the air scoops
(marked “R1” and “R2”, circled) into place (arrows).
Stage 19: Mounting the Anti-roll Bar and the
Front Right Wheel
DM DM
DP DP
AGORAMODELS CORVETTE STING RAY
17
5b
7
6b
8
Remove the longer brake hose from the bypass (5a, arrow) then fit it
onto the pin of the brake drum cover (5b, circled).
Align the upright with the chassis as shown. Fit the screw posts into
their fixing points (arrows).
Fit the cover onto the right suspension upright as shown (6a) then
secure using 2x DM screws (6b).
Secure the top control arm using a JM screw.
Stage 19: Mounting the Anti-roll Bar and the
Front Right Wheel
5a
DM
JM
6a
AGORAMODELS CORVETTE STING RAY
18
9
11
10
12
Turn the assembly over and secure the lower control arm using an
LM screw.
Remove the spinner then position the wheel onto the upright as
shown. Check the outer wheel is facing away from the upright.
Place the washer inside the wheel cover (arrow).
Fit the brake drum into the front right wheel from Stage 18 and secure
with 2x DM screws.
Secure the wheel using a CM screw. Press the spinner into the wheel
cover (inset).
Stage 19: Mounting the Anti-roll Bar and the
Front Right Wheel
LM
DM
CM
AGORAMODELS CORVETTE STING RAY
19
13
14
Fit the loose end of the longer brake hose back onto the bypass (arrow).
Press the hose into the clips (circled) then run it along the recessed track as shown. Secure in place using
the three pieces of adhesive tape (arrows).
Stage 19: Mounting the Anti-roll Bar and the
Front Right Wheel
AGORAMODELS CORVETTE STING RAY
20
15
Take the loose end of the left wheel’s brake hose and pass it behind the upright (dashed line) then feed it
through to attach to the bypass (arrow) as shown.
STAGE COMPLETE
Stage 19: Mounting the Anti-roll Bar and the
Front Right Wheel

Other Agora Models Motorized Toy Car manuals

Agora Models STEVE MCQUEEN'S ICONIC PORSCHE 917 KH Pack... Manual

Agora Models

Agora Models STEVE MCQUEEN'S ICONIC PORSCHE 917 KH Pack... Manual

Agora Models Shelby GT500 1967 Super Snake Manual

Agora Models

Agora Models Shelby GT500 1967 Super Snake Manual

Agora Models SHELBY COBRA 427 S/C User manual

Agora Models

Agora Models SHELBY COBRA 427 S/C User manual

Agora Models FDNY Fire Truck Manual

Agora Models

Agora Models FDNY Fire Truck Manual

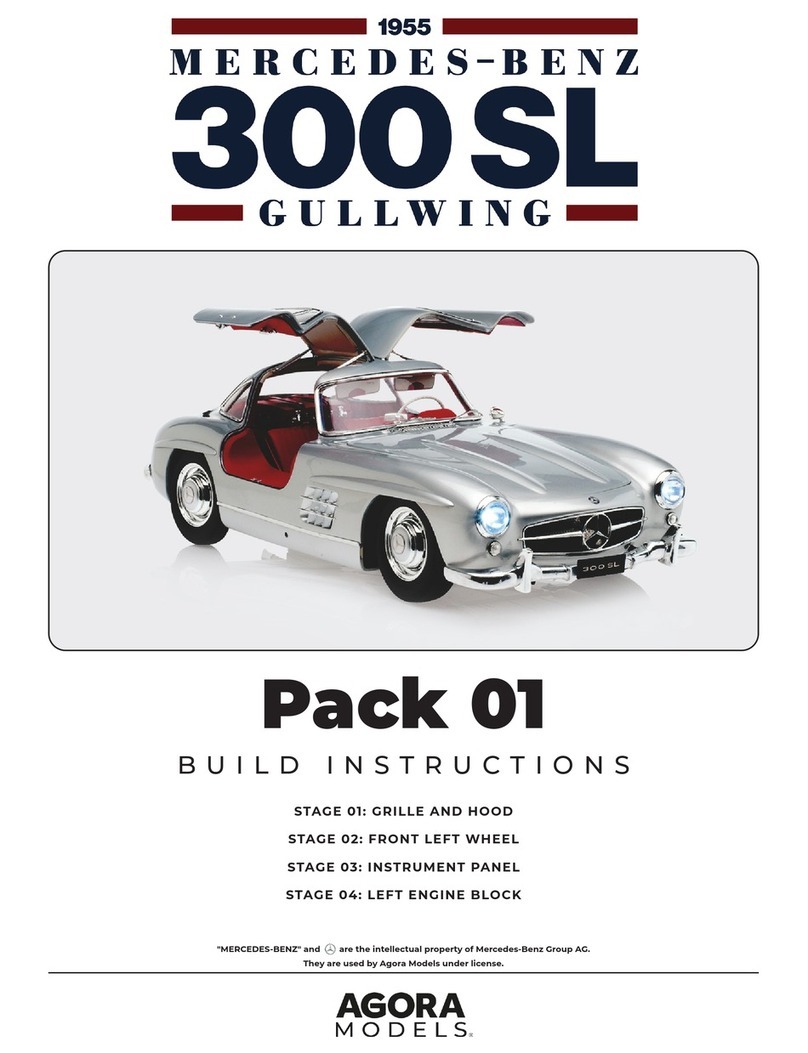
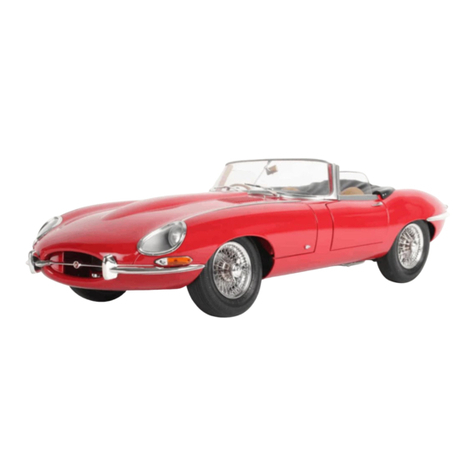
Agora Models JAGUAR E-TYPE Pack 01 Manual

Agora Models

Agora Models JAGUAR E-TYPE Pack 01 Manual

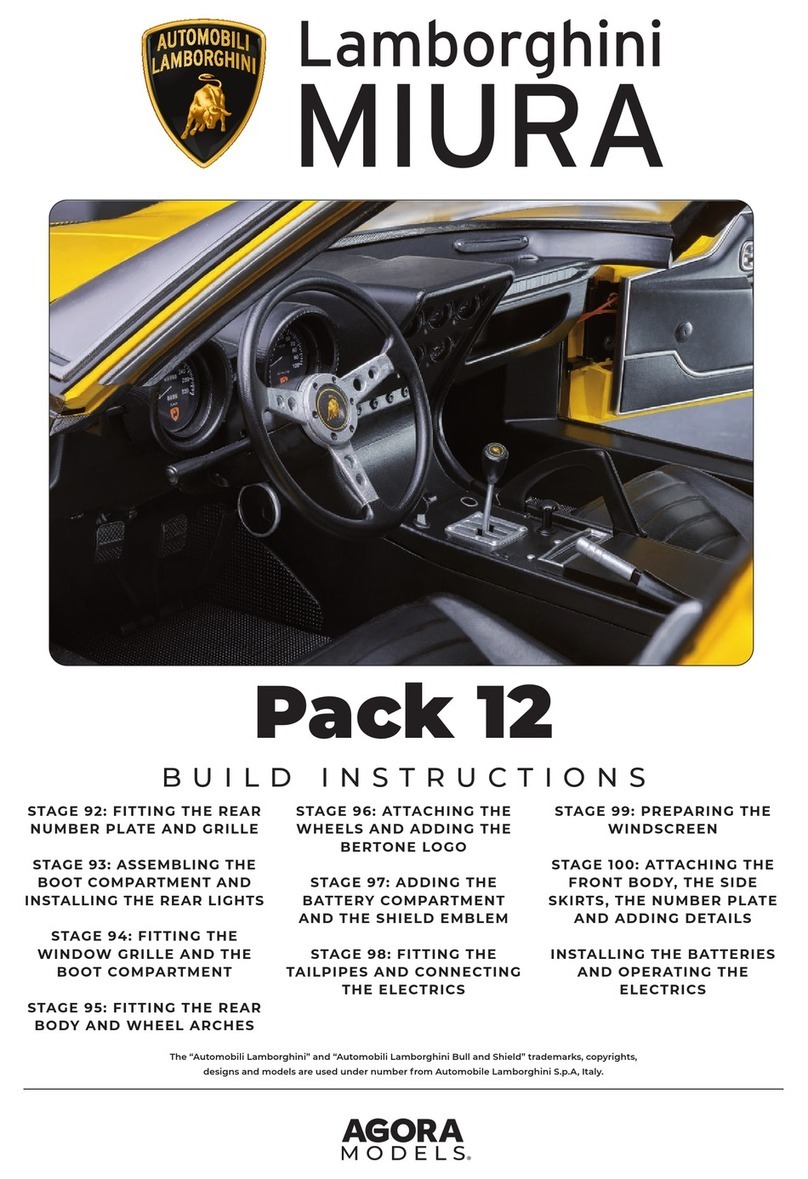
Agora Models LAMBORGHINI MIURA Pack 01 Manual

Agora Models

Agora Models LAMBORGHINI MIURA Pack 01 Manual

Agora Models STEVE MCQUEEN'S ICONIC PORSCHE 917KH Pack 10 Manual

Agora Models

Agora Models STEVE MCQUEEN'S ICONIC PORSCHE 917KH Pack 10 Manual

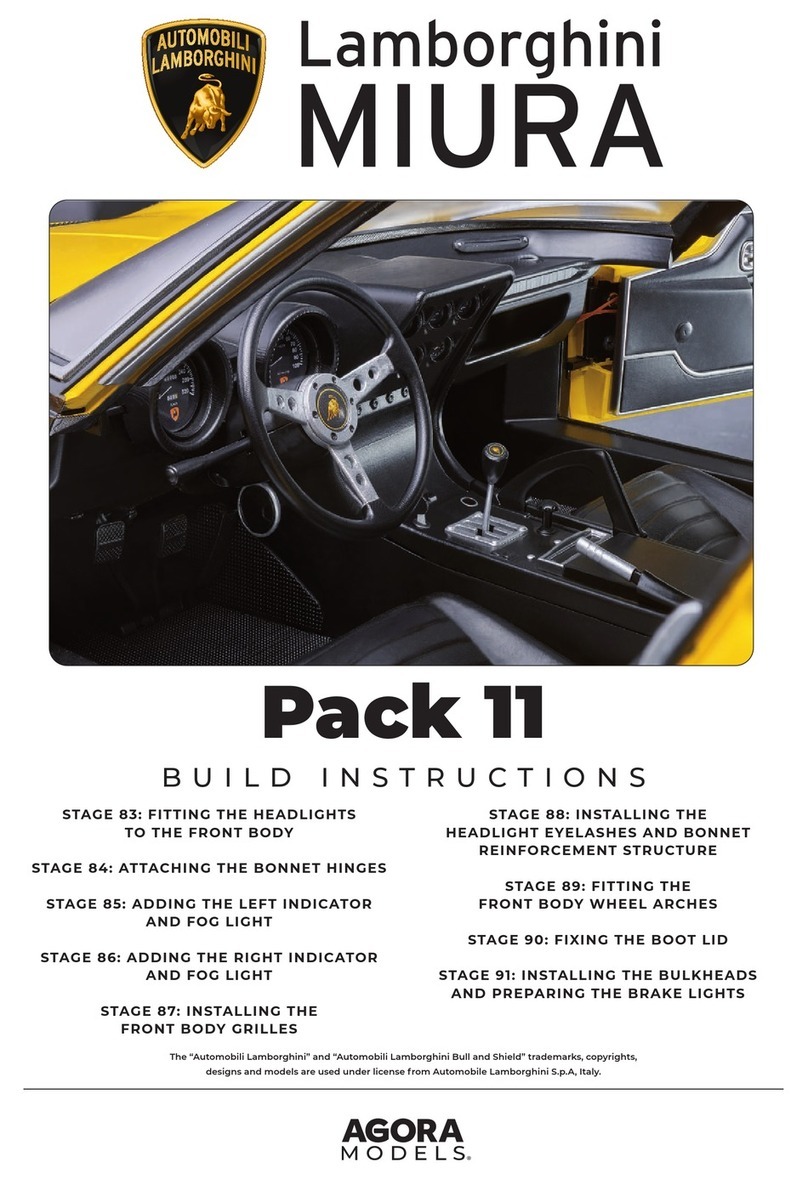
Agora Models Lamborghini MIURA Pack 11 Manual

Agora Models

Agora Models Lamborghini MIURA Pack 11 Manual

Agora Models MERCEDES-BENZ W196R Manual

Agora Models

Agora Models MERCEDES-BENZ W196R Manual

Agora Models MERCEDES-BENZ 300SL GULLWING 1955 Pack 02 Manual

Agora Models

Agora Models MERCEDES-BENZ 300SL GULLWING 1955 Pack 02 Manual

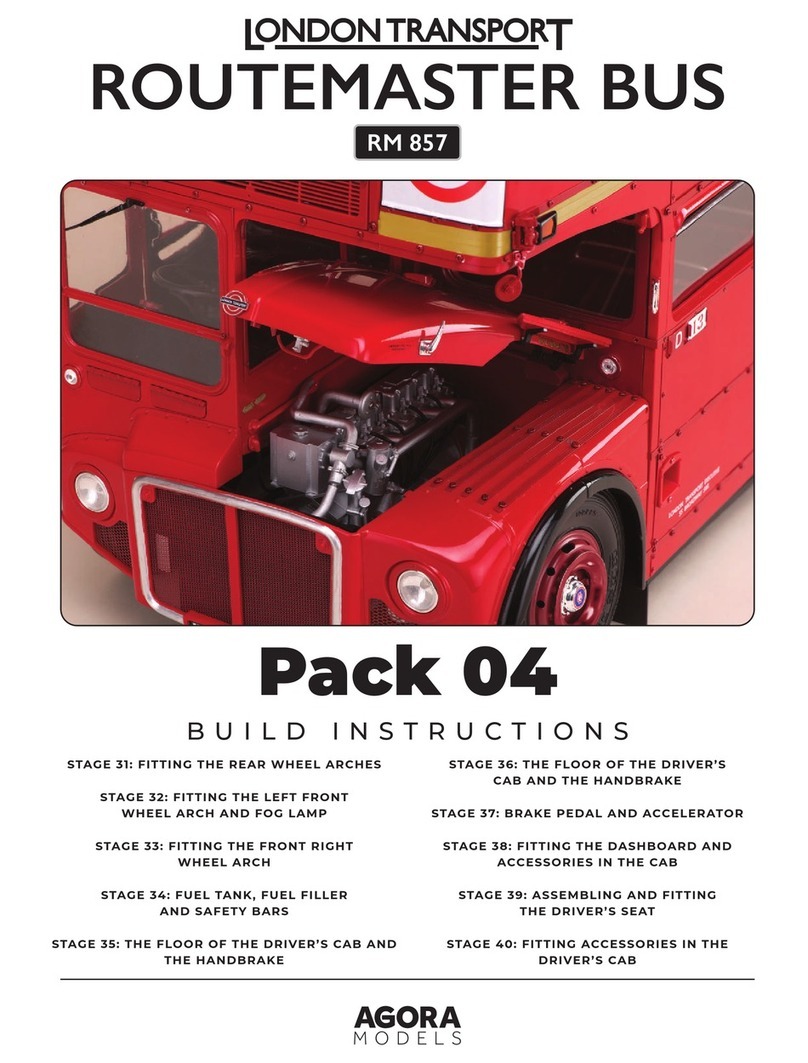
Agora Models RM 857 Manual

Agora Models

Agora Models RM 857 Manual

Agora Models Pack 07 Manual

Agora Models

Agora Models Pack 07 Manual

Agora Models JAGUAR E-TYPE Manual

Agora Models

Agora Models JAGUAR E-TYPE Manual

Agora Models JAGUAR E-TYPE Manual

Agora Models

Agora Models JAGUAR E-TYPE Manual

Agora Models Steve McQueen's Iconic Porsche 917KH Pack 01 Manual

Agora Models

Agora Models Steve McQueen's Iconic Porsche 917KH Pack 01 Manual

Agora Models MERSEDES-BENZ 300SL GULLWING 1955 Pack 03 Manual

Agora Models

Agora Models MERSEDES-BENZ 300SL GULLWING 1955 Pack 03 Manual

Agora Models 1965 SHELBY COBRA 427 S/C Manual

Agora Models

Agora Models 1965 SHELBY COBRA 427 S/C Manual

Agora Models SHELBY COBRA 427 SEMI-COMPETITION 1965 Manual
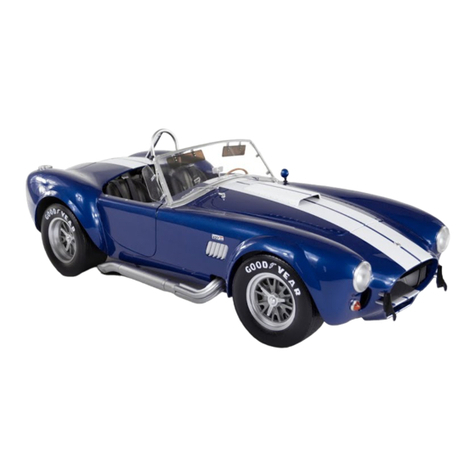
Agora Models

Agora Models SHELBY COBRA 427 SEMI-COMPETITION 1965 Manual

Agora Models SHELBY COBRA 427 SEMI-COMPETITION 1965 Manual

Agora Models

Agora Models SHELBY COBRA 427 SEMI-COMPETITION 1965 Manual

Agora Models LONDON TRANSPORT ROUTEMASTER BUS Manual

Agora Models

Agora Models LONDON TRANSPORT ROUTEMASTER BUS Manual

Agora Models STEVE MCQUEEN'S ICONIC PORSCHE 917KH Pack 02 Manual

Agora Models

Agora Models STEVE MCQUEEN'S ICONIC PORSCHE 917KH Pack 02 Manual

Agora Models Jaguar E-Type Pack 10 Manual

Agora Models

Agora Models Jaguar E-Type Pack 10 Manual

Agora Models JAGUAR E-TYPE Manual

Agora Models

Agora Models JAGUAR E-TYPE Manual

Agora Models SHELBY COBRA 1965 Manual

Agora Models

Agora Models SHELBY COBRA 1965 Manual
Popular Motorized Toy Car manuals by other brands

Power Wheels CRAFTSMAN F-150 Owner's manual with assembly instructions

Power Wheels

Power Wheels CRAFTSMAN F-150 Owner's manual with assembly instructions

Tamiya M-05 instructions

Tamiya

Tamiya M-05 instructions

Jamara Porsche GT3 RS 2,4GHz instructions

Jamara

Jamara Porsche GT3 RS 2,4GHz instructions

HOMCOM 370-108 Assembly instruction

HOMCOM

HOMCOM 370-108 Assembly instruction

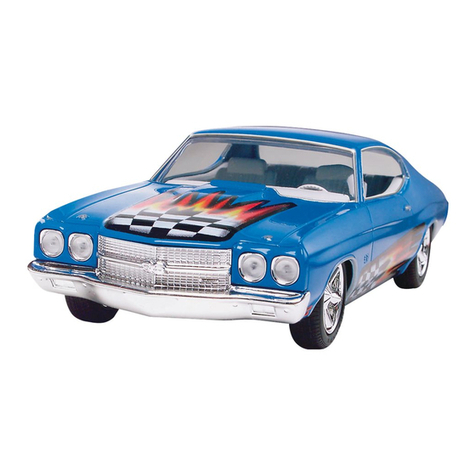
REVELL KIT 4241 Assembly manual

REVELL

REVELL KIT 4241 Assembly manual

Peg-Perego CASE IH Agriculture IGED1112 Use and care

Peg-Perego

Peg-Perego CASE IH Agriculture IGED1112 Use and care

Rollplay W461P-01 Owner's manual and assembly instructions

Rollplay

Rollplay W461P-01 Owner's manual and assembly instructions

Amewi Mini Racing 22153 quick start guide

Amewi

Amewi Mini Racing 22153 quick start guide

RK RKO3500-02 instruction manual

RK

RK RKO3500-02 instruction manual

Himoto Monster Truck E10MT operating instructions

Himoto

Himoto Monster Truck E10MT operating instructions

Kyosho TF7 instruction manual

Kyosho

Kyosho TF7 instruction manual

SHIBATA GRK GSII EVO manual

SHIBATA

SHIBATA GRK GSII EVO manual

GMP 1932 FORD user manual

GMP

GMP 1932 FORD user manual

Team Losi Triple-XT Sport owner's manual

Team Losi

Team Losi Triple-XT Sport owner's manual

Traxxas Slayer pro 4x4 owner's manual

Traxxas

Traxxas Slayer pro 4x4 owner's manual

Carson 1:20 Muldenkipper Volvo / Dump Truck Volvo 2.4... instruction manual

Carson

Carson 1:20 Muldenkipper Volvo / Dump Truck Volvo 2.4... instruction manual

Moni AUDI R8 SPYDER instruction manual

Moni

Moni AUDI R8 SPYDER instruction manual

WRC STX instruction manual

WRC

WRC STX instruction manual

manuals.online logo
manuals.online logoBrands
  • About & Mission
  • Contact us
  • Privacy Policy
  • Terms and Conditions

Copyright 2025 Manuals.Online. All Rights Reserved.