manuals.online logo
Brands
  1. Home
  2. •
  3. Brands
  4. •
  5. Agora Models
  6. •
  7. Toy
  8. •
  9. Agora Models JAGUAR E-TYPE Manual

Agora Models JAGUAR E-TYPE Manual

STAGE 91: ATTACHING THE DRIVER'S DOOR
AND TRIM
STAGE 92: ATTACHING THE PASSENGER'S
DOOR, THE ENGINE AND THE DASHBOARD
STAGE 93: FITTING THE FLOOR WITH THE
ELECTRICAL CIRCUIT BOARD
STAGE 94: SECURING THE TARPAULIN
STAGE 95: INSTALLING THE GEAR SHAFT
AND LEFT REAR LIGHT
STAGE 96: CONNECTING THE WIRING, RIGHT
REAR LIGHT, FUEL TANK AND BONNET
STAGE 97: ATTACHING THE FRONT BUMPER
AND UNDERSIDE
STAGE 98: REAR END PANEL
STAGE 99: FITTING THE REAR END PANEL
STAGE 100: INSTALLING THE EXHAUST PIPES
Pack 12
BUILD INSTRUCTIONS
AGORAMODELS JAGUAR E-TYPE
2
Spare screws are included with each part. Occasionally, you may be instructed to keep spare or
unused screws for a later stage. Keep these spares in a safe place and label them correctly.
Please make sure you don’t mix up the screws. They look quite similar, but the threads do vary
slightly. Using the wrong screws may damage the parts.
When securing parts together using multiple screws, fit each screw loosely to ensure all the
parts are correctly aligned before gently tightening them firmly, but not overtight, in the order
in which you placed them.
The screwdriver can be magnetized by stroking it with a magnet (fridge magnet, etc.) enabling
it to hold the screws and make assembly easier.
If a screw is tight going into a metal part, do not force it as you may shear the head off. Remove
it and put a tiny smear of Vaseline, soap or light oil on the thread. That will lubricate it and make
it easier to drive home.
During the course of this build, you will receive many pieces that you will assemble immediately
– following the instructions in the corresponding stage – and other pieces that you should store
safely to one side, for use in future assembly stages.
Left and Right! When building your Jaguar, the left or right hand side refers to each side as you
are sitting in the car.
WARNING: Some parts are assembled using magnets. These magnets can cause serious injury
if they are swallowed. Keep away from children. If you suspect a magnet has been swallowed,
seek medical help straight away.
Advice from the experts
!
AGORAMODELS JAGUAR E-TYPE
3
Name
Right body door frame trim
Screws type AM08 x3
STAGE 91 PARTS LIST
In this first stage, you’ll fit the trim
for the right door frame to the body
before attaching the driver’s side
door onto your model.
Stage 91: Attaching the Driver’s Door and Trim
AM08 x3
Right body door frame trim
AGORAMODELS JAGUAR E-TYPE
4
1
3
2
4
Take the body assembly from Stage 89 and the driver’s door from
Stage 1.
Fit the two screw holes and rectangular notch over the corresponding
parts of the body and press firmly into place. Note that the screws
(circled, inset) can get in the way, so take care when fitting the trim.
Lay the body assembly on a protective surface, then align the right
body door frame trim with it as shown, noting the two screw holes and
rectangular notch in the trim.
Next take the driver’s door and locate the screw hole lugs on the
hinge. Align the lugs with the corresponding holes on the outside of
the body as shown.
Stage 91: Attaching the Driver’s Door and Trim
AGORAMODELS JAGUAR E-TYPE
5
5 6
Press the door firmly into place so that the lugs are visible through the
trim from inside the car (circled).
Secure both the door and the trim in place with 2x AM08 screws. Make
sure these screws are tight – try using a drop of oil over the threads if
needed.
Stage 91: Attaching the Driver’s Door and Trim
STAGE COMPLETE
AM08
AGORAMODELS JAGUAR E-TYPE
6
Name
Left body door frame trim
Bush x3
Screws type AM01 x 11
Screws type AM05 x3
Screws type AM08 x3
STAGE 92 PARTS LIST
Now it’s time to fit the passenger’s
door. With both doors fitted, you’ll
then begin to bring everything
together by installing the engine
subframe and the dashboard.
Stage 92: Attaching the Passenger’s Door, the
Engine and the Dashboard
AM08 x3
Left body door frame trim
AM05 x3AM01 x11
Bush x3
AGORAMODELS JAGUAR E-TYPE
7
1
3
2
4
For this stage you’ll need the body assembly and the engine assembly.
You’ll also need the left passenger door from Stage 13 and the
dashboard from Stage 64. Place the body on a soft cloth or similar to
protect the paintwork during assembly.
Fit the two screw holes and rectangular notch over the corresponding
parts of the body and press firmly into place. Note that the screws
(circled, inset) can get in the way, so take care when fitting the trim.
Align the screw holes and notch as you did with the door frame trim
from the previous stage.
Next take the passenger’s door and locate the screw hole lugs on the
hinge. Align the lugs with the corresponding holes on the outside of
the body as shown.
Stage 92: Attaching the Passenger’s Door, the
Engine and the Dashboard
AGORAMODELS JAGUAR E-TYPE
8
5
7
6
Secure both the door and the trim in place with 2x AM08 screws. Make
sure these screws are tight – try using a drop of oil over the threads if
needed.
Place the engine assembly onto the body so that all the corresponding screw holes fit together (circled).
Turn the car body upside down and take the engine assembly. Align
the engine in place as shown.
Stage 92: Attaching the Passenger’s Door, the
Engine and the Dashboard
AM08
AGORAMODELS JAGUAR E-TYPE
9
8
9 10
Attach the engine to the body using 6x AM01 screws.
Next detach two of the bushes from their sprue using sprue cutters. Push an AM05 screw through each of the two bushes. The screw
should protrude from the flat face of the bush as shown.
Stage 92: Attaching the Passenger’s Door, the
Engine and the Dashboard
AM01
AGORAMODELS JAGUAR E-TYPE
10
11
13
12
14
Drive the AM05 screws with the bushes into the two central holes of
the windshield frame.
As you fit the dashboard, push the steering wheel and steering
column shaft together as shown. You may need to adjust the
alignment as you push to connect the column and shaft completely.
Make sure the wire from the dashboard leads through the opening
(inset, circled).
Next, take the dashboard and locate the two holes for securing it to
the body. The column from the steering wheel needs to align with the
column that controls the front wheels – ensure the D-shaped plug and
hole are oriented the same way before fitting (inset).
With the dashboard fitted in place, secure it with 2x AM01 screws.
Stage 92: Attaching the Passenger’s Door, the
Engine and the Dashboard
AM05 with bush
AM01
AGORAMODELS JAGUAR E-TYPE
11
Stage 92: Attaching the Passenger’s Door, the
Engine and the Dashboard
STAGE COMPLETE
AGORAMODELS JAGUAR E-TYPE
12
Name
Electrical wiring x7
Circuit board
Screws type AG02 x3
Screws type AM15 x11
STAGE 93 PARTS LIST
Next you’ll work on the electrics by
installing the main circuit board
that controls all the LEDs and
switches for your model, followed by
fitting the floor into the car.
Stage 93: Fitting the Floor with the Electrical
Circuit Board
AM15 x11
Electrical wiring x7
AG02 x3Circuit board
AGORAMODELS JAGUAR E-TYPE
13
1
3
2
4
You’ll need the body assembly from the previous stage along with the
floor assembly from Stage 90.
Plae the circuit board on your work surface as shown, then take the
electrical wire labelled ‘01’ and plug it into the socket marked ‘1.
Make sure to handle the circuit board carefully as you install it, holding
by the edges when necessary.
Note that the sockets on the board are numbered from 1 to 10 (circled).
Plug wire ‘02’ into socket ‘2’, and wire ‘03’ into socket ‘3’ as shown.
Stage 93: Fitting the Floor with the Electrical
Circuit Board
AGORAMODELS JAGUAR E-TYPE
14
5
7
6
8
Plug wires ‘04, ‘05’, ‘06, and ‘07’ into the respective sockets as shown.
Carefully bend the wires ‘01’, ‘02’, ‘03’ and ‘04’ up against the floor
assembly as you fit the board in place. Secure with 2x AG02 screws.
Locate the two screw holes for the circuit board on the underside of
the floor (behind the driver’s seat). Align the circuit board as shown.
Place the body assembly upside down on a protective surface, then
begin to slide the floor assembly into the body as shown.
Stage 93: Fitting the Floor with the Electrical
Circuit Board
AG02
AGORAMODELS JAGUAR E-TYPE
15
9
11
10
Slide the floor until the two screw holes (arrows) at the front of the car
are aligned with the mounting plates below them.
Holding the floor assembly as shown, apply some pressure with your thumb (circled, red) while supporting
the floor with your finger (circled, blue). The screw hole indicated with the blue arrow fits into the recess of
the body work (see photo 12).
Note the four indicated areas at the rear of the car in the pictures
above (circled) located around the boot. You’ll need to bend the floor
assembly slightly to fit these in place.
Stage 93: Fitting the Floor with the Electrical
Circuit Board
AGORAMODELS JAGUAR E-TYPE
16
12
13
Repeat on the other side of the car to push all four connections into place (arrows).
Secure the rear of the floor assembly in place using 8x AM15 screws.
Stage 93: Fitting the Floor with the Electrical
Circuit Board
14
Secure the front of the floor assembly with 2x AM15 screws.
AM15
AM15
AM15
AM15
AGORAMODELS JAGUAR E-TYPE
17
Stage 93: Fitting the Floor with the Electrical
Circuit Board
STAGE COMPLETE
AGORAMODELS JAGUAR E-TYPE
18
Name
Rolled tarpaulin
Screws type AG03 x3
STAGE 94 PARTS LIST
The rolled-down tarpaulin roof fits
in behind the seats. This is fixed in
place, so hopefully the sun is out
today!
Stage 94: Securing the Tarpaulin
AG03 x3Rolled tarpaulin
AGORAMODELS JAGUAR E-TYPE
19
1
3
2
4
Take the body assembly and locate the three holes for the tarpaulin
behind the seats (arrows).
Push the tarpaulin in place.
Align the tarpaulin (circled) with the body as shown.
Fix the tarpaulin using 2x AG03 screws.
Stage 94: Securing the Tarpaulin
AG03
AGORAMODELS JAGUAR E-TYPE
20
Stage 94: Securing the Tarpaulin
STAGE COMPLETE

Other manuals for JAGUAR E-TYPE

3

Other Agora Models Toy manuals

Agora Models FDNY FIRE TRUCK TOWER LADDER 9 Manual

Agora Models

Agora Models FDNY FIRE TRUCK TOWER LADDER 9 Manual

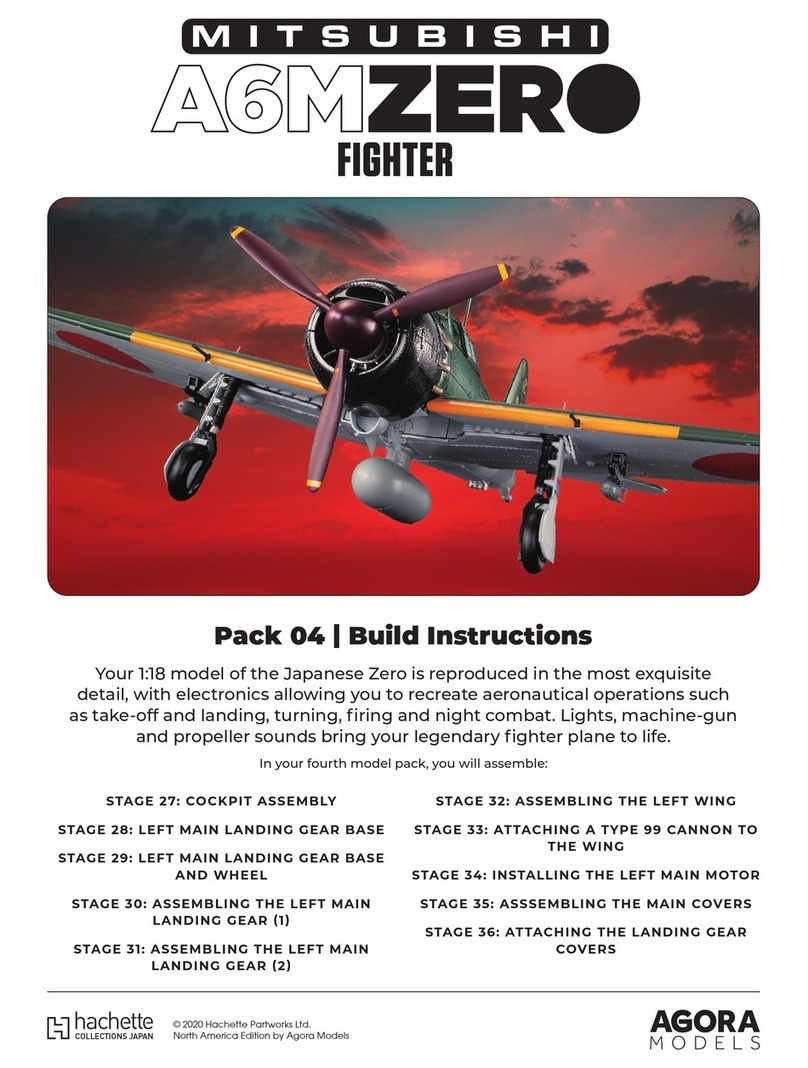
Agora Models Hachette Mitsubishi A6MZERO FIGHTER Manual

Agora Models

Agora Models Hachette Mitsubishi A6MZERO FIGHTER Manual

Agora Models Mitsubishi A6M ZERO Fighter Manual

Agora Models

Agora Models Mitsubishi A6M ZERO Fighter Manual

Agora Models Bismarck 08 Manual

Agora Models

Agora Models Bismarck 08 Manual

Agora Models LONDON TRANSPORT ROUTEMASTER RM 857 Manual

Agora Models

Agora Models LONDON TRANSPORT ROUTEMASTER RM 857 Manual

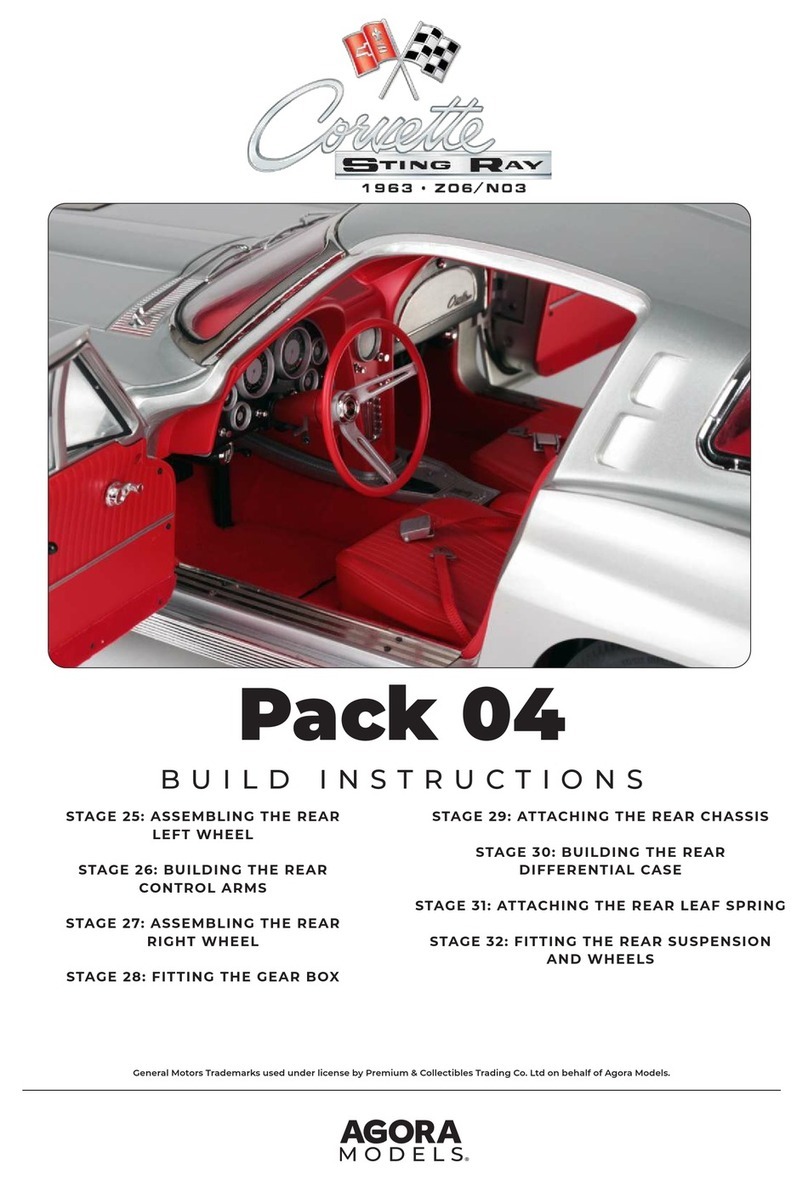
Agora Models CORVETTE STING RAY 1963-Z06/N03 Manual

Agora Models

Agora Models CORVETTE STING RAY 1963-Z06/N03 Manual

Agora Models Mitsubishi A6M ZERO Fighter Manual

Agora Models

Agora Models Mitsubishi A6M ZERO Fighter Manual

Agora Models Mitsubishi A6M ZERO Fighter Manual

Agora Models

Agora Models Mitsubishi A6M ZERO Fighter Manual

Agora Models OPTIMUS PRIME Pack 04 Manual

Agora Models

Agora Models OPTIMUS PRIME Pack 04 Manual

Agora Models FERRARI 312 T4 User manual

Agora Models

Agora Models FERRARI 312 T4 User manual

Agora Models Hachette Mitsubishi A6MZERO FIGHTER Manual

Agora Models

Agora Models Hachette Mitsubishi A6MZERO FIGHTER Manual

Agora Models FERRARI 312 T4 User manual

Agora Models

Agora Models FERRARI 312 T4 User manual

Agora Models OPTIMUS PRIME Manual

Agora Models

Agora Models OPTIMUS PRIME Manual

Agora Models Mitsubishi A6M ZERO Fighter Manual

Agora Models

Agora Models Mitsubishi A6M ZERO Fighter Manual

Agora Models OPTIMUS PRIME Pack 03 Manual

Agora Models

Agora Models OPTIMUS PRIME Pack 03 Manual

Agora Models OPTIMUS PRIME Pack 01 Manual

Agora Models

Agora Models OPTIMUS PRIME Pack 01 Manual

Agora Models Bismarck Manual

Agora Models

Agora Models Bismarck Manual
Agora Models Mitsubishi A6M ZERO Fighter Manual

Agora Models

Agora Models Mitsubishi A6M ZERO Fighter Manual

Agora Models Mitsubishi A6M ZERO Fighter Manual

Agora Models

Agora Models Mitsubishi A6M ZERO Fighter Manual

Agora Models Hachette Mitsubishi A6MZERO FIGHTER Manual

Agora Models

Agora Models Hachette Mitsubishi A6MZERO FIGHTER Manual

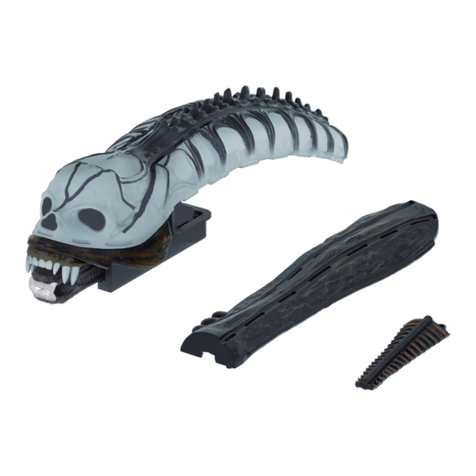
Agora Models ALIEN Pack 04 Manual

Agora Models

Agora Models ALIEN Pack 04 Manual

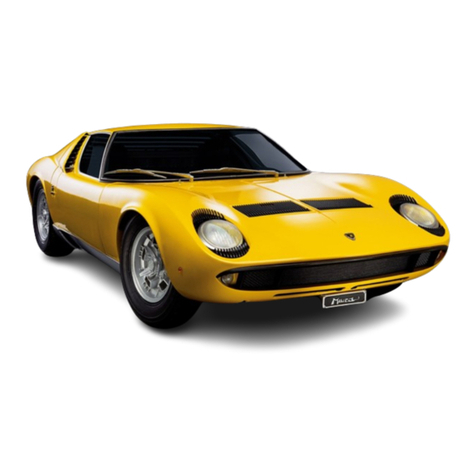
Agora Models Lamborghini MIURA Manual

Agora Models

Agora Models Lamborghini MIURA Manual

Agora Models OPTIMUS PRIME Pack 02 Manual

Agora Models

Agora Models OPTIMUS PRIME Pack 02 Manual

Agora Models ALIEN Pack 03 Manual

Agora Models

Agora Models ALIEN Pack 03 Manual

Popular Toy manuals by other brands

M. K. Bengtson Sopwith Pup 40 Model instructions

M. K. Bengtson

M. K. Bengtson Sopwith Pup 40 Model instructions

MegaTech Hopper fly manual

MegaTech

MegaTech Hopper fly manual

Eduard F4U-1 quick start guide

Eduard

Eduard F4U-1 quick start guide

Faller Kyllburg Tunnel Portals Assembly instructions

Faller

Faller Kyllburg Tunnel Portals Assembly instructions

REVELL LMC 3 50ft Landing Craft & 4x4 Off-Road... Assembly manual

REVELL

REVELL LMC 3 50ft Landing Craft & 4x4 Off-Road... Assembly manual

Mattel HOTWEELS CITY instructions

Mattel

Mattel HOTWEELS CITY instructions

Airfield 95A251 Assembly manual

Airfield

Airfield 95A251 Assembly manual

marklin 28802 manual

marklin

marklin 28802 manual

Hasbro Transformers 80402 Asst. manual

Hasbro

Hasbro Transformers 80402 Asst. manual

THE WORLD MODELS LA Racer-40 instruction manual

THE WORLD MODELS

THE WORLD MODELS LA Racer-40 instruction manual

Polydron GIANT Series Assembly instructions

Polydron

Polydron GIANT Series Assembly instructions

Kyosho Fazer VE-X Maintenance manual

Kyosho

Kyosho Fazer VE-X Maintenance manual

Combrig LORD NELSON quick start guide

Combrig

Combrig LORD NELSON quick start guide

Multiplex Antaris Carbotec manual

Multiplex

Multiplex Antaris Carbotec manual

marklin 36422 manual

marklin

marklin 36422 manual

BigPlanes CY8027 Assembly instruction

BigPlanes

BigPlanes CY8027 Assembly instruction

marklin mini-club BR 50 manual

marklin

marklin mini-club BR 50 manual

Faller Maize Silo 130531 Assembly instructions

Faller

Faller Maize Silo 130531 Assembly instructions

manuals.online logo
manuals.online logoBrands
  • About & Mission
  • Contact us
  • Privacy Policy
  • Terms and Conditions

Copyright 2025 Manuals.Online. All Rights Reserved.