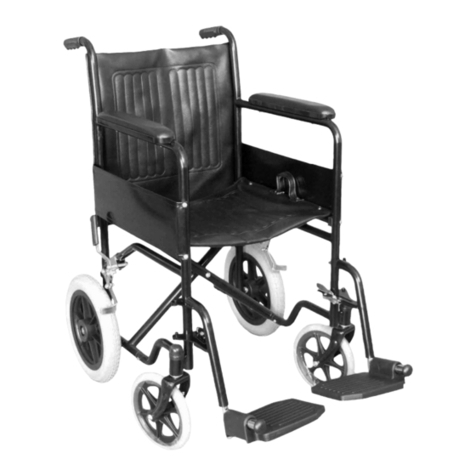
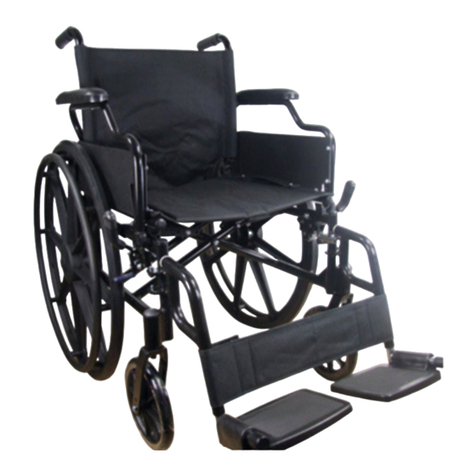
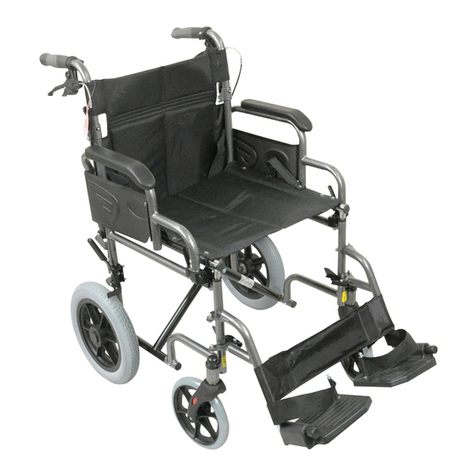
aidapt VA166SILVER User manual

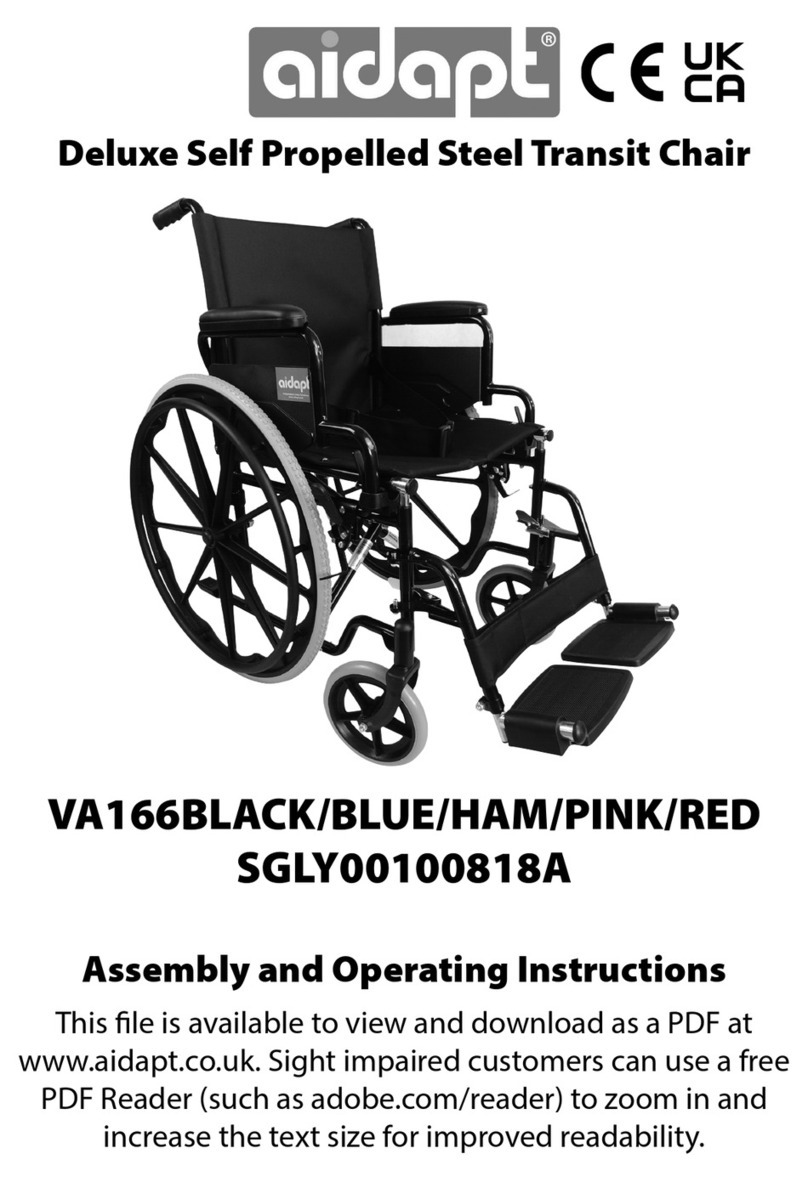
Deluxe Self Propelled
Aluminium Transit Chair
VA166SILVER
Assembly and Operating Instructions
This le is available to view and download as a PDF at
www.aidapt.co.uk. Sight impaired customers can use a free
PDF Reader (such as adobe.com/reader) to zoom in and
increase the text size for improved readability.

READ BEFORE USE
Before using your new transit chair, you and each person that may assist you in its
use should take time to read this manual and follow all instructions.
INTRODUCTION
Thank you for purchasing your transit chair from Aidapt. This model has been
designed to help you gain independence and meet your particular requirements.
Throughout the manufacturing process, great care has been taken; the
components have been selected by quality and inspections carried out to ensure
you get full satisfaction from our product.
CONTENTS
Safety Summary Page 3
Assembly and Use Page 4-7
General Description Page 8-10
Routine checks and Maintenance Page 11
Specications Page 12
Guarantee Page 12
PLEASE NOTE:
Your transit chair has a unique identication serial number. This is located on the main cross
brace below the seat canvas and should be used in all correspondence. Write your serial
number here for future ref:. . . . . . . . . . . . . . . . . . . . . . . . . . . . . . . . . . . . . . Model VA166SILVER
Can be wheeled by the person sitting in the transit chair, and also features handles for
assistance pushing.
The maximum load is 180 kg;
under no circumstances should this be exceeded
Before each use please take the time to check your transit chair for any loose parts. Any
modication to this product without the express permission from Aidapt will invalidate
your guarantee.
2

SAFETY SUMMARY
The following recommendations are made for the safe use of the transit chair.
NOTE: Do not assemble or use this equipment without rst reading and understanding
this instruction manual.
If you cannot understand the instructions, please contact Aidapt, a Healthcare Professional
or a Dealer before installing this equipment.
• Before using this product, care must be taken to ensure that tments are secure,
the castors/wheels are in good working order, the transit chair is properly balanced
and all wheels must be in contact with the oor at all times during use.
• For safe operation, the following points must be remembered:
1. Always observe the limits regarding reaching objects, leaning back, tilting and
use of manual brakes, tyres and weights limits. These are dealt with under the
section headed Assembly and Use.
ii. The footplates are designed only to support the feet while in the seated
position. DO NOT STAND ON THE FOOT PLATES.
iii. DO NOT USE YOUR TRANSIT CHAIR AS A TRANSPORT SEAT IN A VEHICLE.
iv WARNING: Surface areas of your transit chair can increase when the transit
chair is exposed to external sources of heat (eg. sunlight).
• Please now refer to the section on Assembly and use.
3

ASSEMBLY
1. First remove all contents from the box.
2. To open the transit chair, push seat rails and press downwards until the
chair is fully opened taking care to keep ngers clear of moving parts
(Fig.1).
Note: The seat rails must be fully engaged in the seat frame support brackets
before sitting down.
3. To close the transit chair, take the centre of the seat fabric at the front and
back edges and lift (Fig. 2).
(Fig.1). (Fig.2).
Note: When opening and closing your transit chair please keep ngers well away from any
possible entrapment areas.
The only part of the transit chair that can be adjusted are the foot rests. Ideally your knees
should be at 90 degrees with the seat. If you are not sure please contact a healthcare
professional or your local transit chair dealer for advice.
4

CORRECT USAGE
WARNING: The centre of balance is aected by a change in posture body position or
weight distribution.
Many activities require the transit chair owner to reach, bend and transfer into and out of
the transit chair. These movements will cause a change to normal balance, centre of gravity
and weight distribution of the transit chair.
The design of your transit chair enables it to remain stable for normal everyday usage if
used correctly in accordance with the recommendations in this manual.
N.B. Do not stand on the transit chair.
1. Reaching/bendingforward
Move the transit chair as close as possible to the object you wish to reach. Position the front
castors so that they are extended as far forward as possible. Fully engage the wheel locks
on the rear wheels. Only reach out to take what is within arm’s length in normal sitting
position. Only the arms should extend beyond the seat of the transit chair.
2. Reaching/bendingbackwards
Move the transit chair as close as possible to the object you wish to reach. Reach back only
as far as your arm will extend without changing your seating position. Do not lean over the
top of the back upholstery as this could change your centre of gravity and may cause you
to tip over.
3. Reaching/leaningsideways
Move the transit chair as close as possible to the object you wish to reach. Rotate the
front castors to a line in the direction you will be reaching. Fully engage the wheel locks
on the rear wheels. Do not shift your weight or sitting position towards the object you are
reaching as it may cause the transit chair to tip over.
4. Transferring
Before attempting to transfer in and out of the transit chair, every precaution should be
taken to ensure the gap between the two seats is as small as possible. Be certain that the
wheel locks are on to prevent the wheels moving. Turn both castors in the direction of the
seat to which you wish to move. Lift up the footplates and fold back the supports to the
side. Do not stand on the footplates. It is imperative that the actual transfer procedure be
supervised by a certied health care professional until the transit chair owner is familiar
with the procedure.
5

5. Negotiating Obstacles
5.1 Forwards
The transit chair should be tilted by the helper until the front castors have passed
over the kerbs. Move the transit chair forward until the rear wheels touch the kerb
and gently lower the front castors over the pavement. Push the lift until the
rear wheels have mounted the kerb. The transit chair should not be lifted by the
handles alone.
5.2 Backwards
The transit chair should be positioned so that the rear wheels are against the kerb.
The helper should then tilt the transit chair backwards and then pull the chair until the
rear wheels mount the kerb. The front castors should only be lowered to the ground
when the transit chair has been pulled suciently away from the kerb.
5.3 Upward and Dowmard slopes
Always go straight up and down slopes to avoid the possibility of the transit chair
overturning. Avoid steep slopes, which may cause instability.
Stable on slope Beginning of instability
(slope too steep)
Stable on slope Unstable (slope too steep)
Fig. 4
6

GENERAL DESCRIPTION
The following diagram shows details of the transit chair terminology used in this
manual.
PU Armrest Pad
Detachable
footrest
Plastic Footplate
175x45PU
Front Castor
Brake Set
Quick
Release
pin
Fold back
Mechanism
United
Handbrake
Push
Handle
Seat
Cushion
Luxury
auxiliary
wheel
Back Cushion
VA166SILVER Deluxe Self Propelled Steel Transit chair
7

GENERAL DESCRIPTION ctd.
1. Backrest
The adjustable backrest can be folded down by means of a locking mechanism tted to
both sides of the lower part of the backrest pillars. To fold the backrest down, push on
both of the black plastic levers, then pull back and down on the top part of the backrest.
To return to the original, reverse the procedure, making sure the mechanisms are locked
securely. You will hear a click when the backrest is locked back into position correctly.
2. Handles
The handles are designed for the helper to propel the transit chair and to
stop the transit chair with the hand brakes. They must not be used solely for lifting the
transit chair over obstructions or kerbs (see negotiating obstacles).
3. Armrest
PU pads are xed onto the armrest for comfort and can be replaced as spare parts.
4. Footplates
The footplates are intended as a foot support only when you are sitting in the transit chair.
On no account should you stand on the footplates. The calf straps (if tted) can be used
to secure the position of the feet. The footplate assemblies can be adjusted in height by
loosening the nut of the base of the adjustment tube, positioning the plate at the required
height and tightening the nut to secure the assembly. The footplate supports cannot be
adjusted but are moveable from the transit chair. They can be swung away to the outside of
the transit chair. To carry out this procedure, press the release lever and swing the support
to the outside of the transit chair. If the support is to be removed, lift it upwards. To re-t
and return to the original position, reverse the above procedure
5. Castor and bearing
The front wheels have solid puncture proof tyres. These should be checked at regular
intervals to monitor any wear. Transit chairs become dicult to steer and propel when
surfaces have worn at. It is recommended that both front tyres are replaced at the same
time to avoid one side of the transit chair from being higher than the other.
The front wheels are secured to the castor fork by an axle bolt and axle nut. Periodically,
this bolt and nut should be checked and tightened if necessary to allow a snug but free
spinning t. The castor fork swivel allows the transit chair to be steered. An adjustment
locknut is located under the castor cap. If the locknut is too tight, the transit chair will be
dicult to steer.
8
6. Wheel lock assembly
These are used to hold the transit chair in a stationary position, and are tted on either side
of the transit chair. They should not be used when the transit chair is moving or to slow it
down. They should always be applied together.
To operate, push the brake lever forward towards the front of the transit chair. This will
immobilize the transit chair. To release the brake, move the lever towards the rear of the
transit chair.
7. Cross Bar
Operation of the cross brace permits the transit chair to be opened and closed easily. It
should be inspected at regular intervals for signs of wear and bending.
8. Folding Backrest Device
Push down the hinge to fold down the backrest. Automatically lock when pull up the
backrest handle. This device is to enhance the storage feature.
9. Quick Release Wheels
To aid transportation, the rear wheels can be removed by pushing the middle section of the
wheel and pulling to release. To ret, reverse the procedure. Always make sure the wheels
are fully connected before use.
10. Tyre pressure and ination
For transit chairs that are tted with pneumatic tyres they should be inated with a manual
operated pump. Under no circumstances should a powered or compressed air pump be
used. The tyre pressure should be tailored for optimum user comfort and ease of transit
chair use. We recommend a tyre pressure of 35psi (241KpA) for comfort. However, do not
exceed the maximum tyre pressure stated on the side wall of the tyre. This may dier
slightly between tyres, but is typically:
• 65 psi (487 KpA) for24”self-propel wheels
• 40 psi (275 KpA) for 12½”wtransit wheels
9

ROUTINE CHECKS AND MAINTENANCE
1. Upholstery
Upholstery should be routinely cleaned with a mild soap and water solution. Never use
paint remover or thinners on upholstery.
2. Metal Parts
Clean all metal parts with a wax compound such as car wash to maintain nish. Do not use
any obtrusive cleanser that will scratch the nish on the chair.
3. Cross Brace
Periodically lubricate the centre bolt on the cross brace with light machine oil.
4. Tyres and Wheels
Examine tyres regularly for wear and replace as necessary. Solid tyres should be replaced
when they become loose on the rim or cracks appear which expose the mounting wire
groove. For pneumatic tyres, check tyre pressure is even and correct. Check that the wheels
run freely and that quick release axles are correctly locked.
If your transit chair is tted with pneumatic tires and you have a puncture please take your
transit chair to the nearest dealer or bicycle repair center
5. Castors
Check periodically that the bolt and nut securing the wheel to the castor fork is tight and
allows a snug but free spinning t.
6. Brakes
Regularly check for eective operation and there is no wear or signs of play.
7. General
Always check before use that the transit chair folds and unfolds correctly and that
movement both backwards and forwards is in a straight line.
8. Servicing
We recommend your transit chair is fully serviced every twelve months. For parts and
service information please contact Aidapt Bathrooms Limited (details on the back page).
Your transit chair has been made from the nest materials and tested to BS EN
12183:2014 for your complete piece of mind and the expected service life of your
transit chair is 5 years+.
9. Recycling of your transit chair
Once the transit chair has reached its expected service life you can contact Aidapt, which is
a WEEE registered company, for disposal.
10

SPECIFICATIONS
Model VA166SILVER
Overall Height (unfolded) (mm) 930
Net weight (kg) 20
Maximum Load (kg) 180
Maximum Load (stones) 28
Seat size (WxD) (mm) 510x400
Additional information Quick release rear wheels
GUARANTEE
This product is warranted to be free of defects in materials and workmanship
for a period of 5 years on the frame and 12 months on all other parts.
The warranty is subject to the following conditions:
1. The purchaser shall complete the registration form below and send it to
Aidapt Ltd within 14 days of purchase of the product, together with a copy
of the sales invoice/receipt.
2. If any defect or fault is discovered, the supplier and/or Aidapt Ltd should
be notied immediately.
3. Aidapt Ltd will not be responsible for damage caused by misuse, natural
wear and tear, defective assembly or installation by the purchaser or their
agent, defective treatments, unauthorised alteration to the equipment
or use of unsuitable spares.
4. The purchases statutory rights under the Consumer Protection Act are
not aected.
11

Aidapt Bathrooms Ltd,
Lancots Lane, Sutton Oak, St Helens, WA9 3EX
Telephone: +44 (0) 1744 745 020 • Fax: +44 (0) 1744 745 001
Table of contents
Other aidapt Wheelchair manuals

aidapt
aidapt VR130 Manual

aidapt
aidapt VA126SC Programming manual

aidapt
aidapt VA127C Programming manual

aidapt
aidapt VA160 Programming manual

aidapt
aidapt VA136SB Manual

aidapt
aidapt VG887K Programming manual

aidapt
aidapt VP179N Programming manual

aidapt
aidapt VA165SILVER User manual

aidapt
aidapt VB499 Manual

aidapt
aidapt Linton VR166 Manual