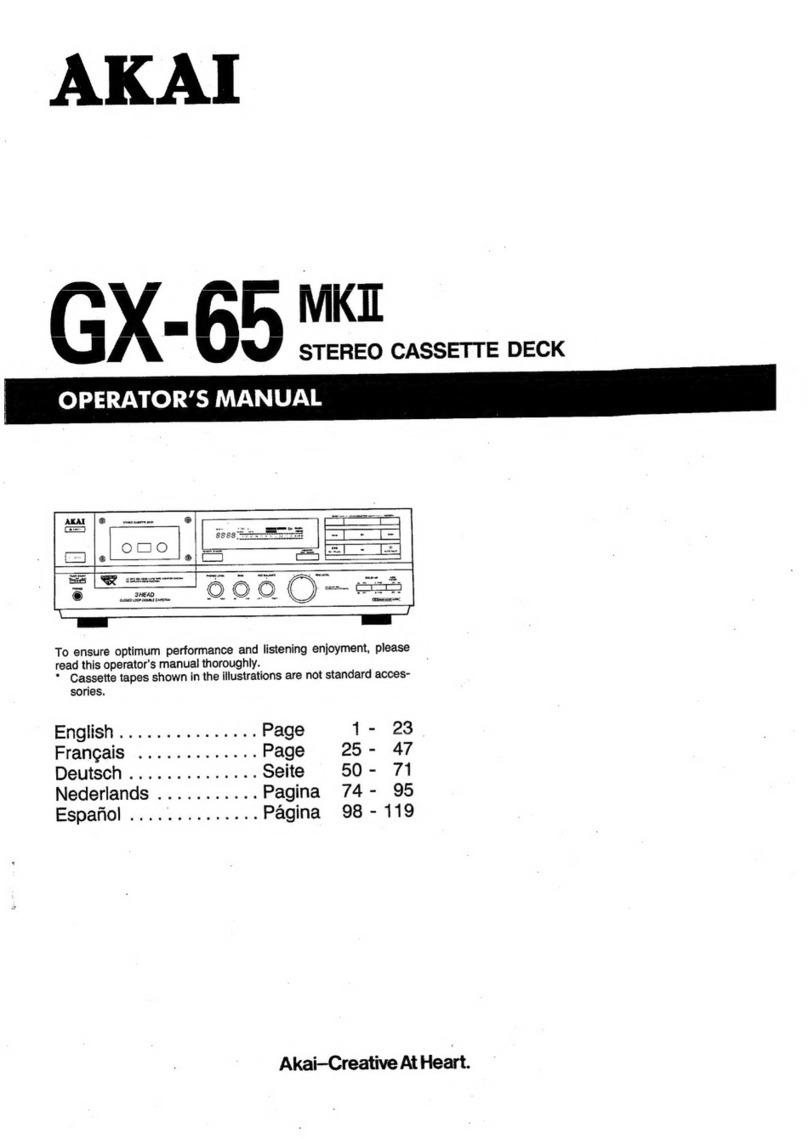
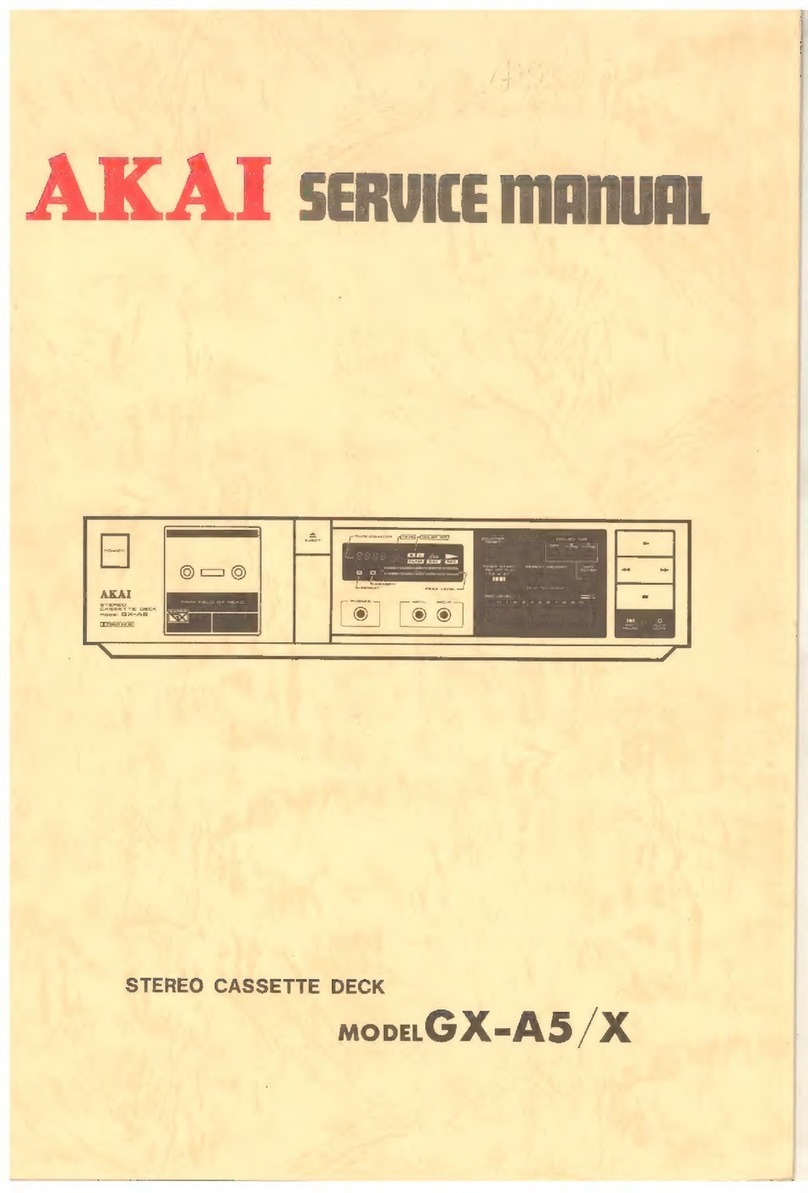
Akai AJ-C3300 User manual

Portable CD/CD-R/CD-RW/Radio/
Cassette Recorder
AJ-C3300
Operator’s manual (E) 1-13

PRECAUTIONS
• When the set is not going to be used for a long time, unplug the AC lead and remove the
batteries.
• Do not leave exhausted batteries in the compartment as they will leak and cause corrosion
and damage.
• Never open the covers, touch the inside of the unit or insert metal objects. Any of these
actions could cause an electric shock or a fault.
• If your hear thunder, unplug the power cord from the AC outlet. If the set is being used
outdoors, collapse the antenna and stop using the set.
• Collapse the antenna when carring the set. If the set is carried with the antenna extended,
it could break.
• Do not expose the unit to direct sunlight, extreme heat, and high humidity, or place it
near heat sources, the sea, or in a sandy or dusty place.
• Do not clean the cabinet of the set with strong detergents or solvents as these could
damage the surface finish.
• We discourage the use of C-120 cassette tapes as they tend to break or jam the dvice.
• The apparatus should not be exposed to liquid dripping or splashing.
• Discs which can be played on this player have the following mark on them:
• Do not move the set suddenly from a very cold room into a warm room. When a chilled
CD player is moved suddenly to a warm location., moisture condensation may from on
the pick-up lens, preventing proper operation. In this case, wait 1 to 2 hours before
resuming play.
• During playback, if the CD player is subjected to a sudden shock or joit, some noise
may be produced, this is not a malfunction.
• Do not place any objects in the disc compartment. It may cause damage to the
mechanism.
• Whenever moving the set, first, be sure to remove the disc from it, If the player is moved
with the disc loaded, the disc may be damaged.
• Do not store discs in high temperature, high-humidity locations. The discs may warp
and become unusable. Also, discs with moisture on them may be unplayable. Wipe any
moisture off with a soft, dry cloth, and be sure discs are fully dry before using.
• Handle the discs carefully so that fingerprints and dust do not adhere to the surface of
the discs. To clean off, use a soft cloth. Do not use a hard cloth since it may scrach the
disc.
• If you switch on or off a fluorescent lamp placed near the set, you may hear some
interference noise; this is not a malfunction.
• Please do not use compact discs with cellophane tapes or with labels attached, or those
CD with peeled off stains, such as rental CD. If such discs were used on a CD player,
they may gettrapped inside the unit and cause malfunction.
• Do not open the door while a disc is playing as this will damage the disc and the CD
player.
E1

KEY TO ILLUSTRATIONS
E2

KEY TO ILLUSTRATIONS
FUNCTIONS AND FEATURES
SET
1. Handle
2. FM Telescopic Antenna
3. CD Door
CASSETTE DECK
4. CASSETTE CONTROL COVER
5. RECORD Button ( )
6. PLAY Button ( )
7. REWIND Button ( )
8. F.FWD Button ( )
9. STOP/EJECT ( )
10. PAUSE Button ( )
11. VOLUME UP
12. VOLUME DOWN
13. POWER Button
14. BASS BOOST Button (DBBS)
CD CONTROL
15. STOP/BAND Button ( )
16. PLAY/PAUSE Button ( / )
17. DISPLAY
18. RANDOM Button
19. INTRO Button
20. DBBS Indicator
21. POWER Indicator
SOUND CONTROL SECTION
•Set BASS BOOST button (14) to ON to get the rich bass sound. To turn it OFF,
press BASS BOOST button again.
RADIO SECTION
RADIO ANTENNA
•For FM, lengthen the telescopic Antenna. To inprove FM-reception, incline and turn
the Antenna. Reduce its length if the FM-signal is too strong (very close to a transmitter).
• For AM, the set is provide with a built-in Antenna. Direct the Antenna by turning the
whole set.
22. SKIP SEARCH/TUNING DOWN Button
(SKIP /DOWN TUNING)
23. FUNCTION Button
24. SKIP SERACH/TUNING UP Button
(SKIP /UP TUNING)
25. CASSETTE Door
26. REPEAT/M-UP Button
27. MEMORY/CLOCK-ADJ Button
28. RESET Button
29. PHONES Jack
30. AC Socket
31. Battery Door
32. Beat Cut Switch
Mono/Stereo Selector
E3

STEREO/MONO (FM only)
When an FM stereo signal is too weak or noisy for stereo listening, turn the Mono/
Stereo Selector to MONO position to reduce the noise.
TUNER with 20 PRESET STATIONS
• Allows you to memorize 10 stations for FM and 10 stations AM.
TAPE RECORDER SECTION
Use only NORMAL tapes in the cassette deck of this sound system. The characteristics
of the cassette deck mechanisms do not other types of tape.
REWIND ( )and FAST FORWARD ( )Buttons
To rewind the tape, press the REWIND button (7). To rapidly advance the tape,
press the F.FWD button (8). to stop rewinding or fast forwarding, press the
STOP/EJECT (9).
PAUSE Button ( )
To halt the tape temporarily during recording or playback, press the PAUSE button
(10). To release the pause mode, press the PAUSE button again.
STOP/EJECT Button ( )
When this button is pressed with tape running, the tape stops. When it is pressed
in the stop mode, the cassette holder opens.
AUTO STOP MECHANISM
When a tape has completed playing back, recording. It stops automatically.
VARIABLE MONITOR
During recording, adjustment of volume is unnecessary. A program may be heard
at any desired volume, and the setting of the BASS BOOST Button (14) does not
affect the volume because of the “Variable Monitor” device.
CD PLAYER SECTION
SKIP /UP TUNING DOWN BUTTONS
Skip playback
By pressing briefly the SKIP (24) or (22) buttons, you can jump to a
next or previous title, or you can select a track before starting playback.
1. During PLAY
• You can jump to the next title by pressing the SKIP button once. If you
want to skip more than one track, press the SKIP button once until the
display shows the desired track number.
• If you want to repeat the running title from the beginning, press the SKIP
button once. If you want to repeat one of the previous titles, press the
SKIP button more than once until the display shows the required track number.
• Press and hold SKIP or SKIP button on the front panel during play,
and the CD player will start search. The player will start play when you release
the button.
2. In position STOP
• In position STOP with a CD Inserted you can select the desired title using the
SKIP or SKIP button until the display shows the required track
number. Press PLAY/PAUSE button (16) to start playback.
E4

Before you jump to the conclusion that it’s out of order !
When the set is not operating properly, one is apt to assume that the set is faulty. There are
however, many possible faults which are not directly attributable to the set itself. It is
recommended to check the following before taking the set to a dealer.
Symptom
No AC power
No DC power
Tape does not run when a button is pressed
Cassette cannot be inserted
No recording
Deteriorated sound or irregular tape speed
Slow tape speed or low volume
Disc is not played
Player does not operate correctly; sound is
interrupted, noise occurs and tracks cannot
be selected.
Player does not operate normally when
control buttons are pressed.
Cause
Is the power cord connected property?
Are the batteries property inserted in the
battery compartment?
Are the batteries exhausted?
Is the batteries upside down?
Is the Pause button pressed? If so, unlock and
release.
Are the accidental-erasure prevention tabs
punched out? If so, cover the holes with plastic
tape.
Clean heads, capstan ans pressure roller with
a cleaning stick.
Are the batteries exhausted?
Is the disc loaded upside down?
Is the disc scratched or warred?
Is the pick-up lens dirty? If so, clean it with a
cleaning stick.
Is the disc scratched or otherwise flawed?
Is the disc soiled?
First press the Stop button then play disc
again.
Power
Tape Recorder
CD Player
RESET:
The unit if Hang up, please press Reset button once, then turn on Power.
E5

SETTING THE CLOCK (AT POWER OFF)
CASSETTE PLAYBACK
REPEAT PLAY
1
3
2
4
1To repeat one track 2To repeat one disc
3Repeat cancelled
12
4
3
56
E6

PLAYING A CD
12
34
56
9
78. PAUSE
10
11
Printed side facing up
To resume play To SEARCH/SKIP
To Stop playback
E7

PROGRAMMING TRACK NUMBERS
You may store at most 20 tracks in the memory in the desired sequence. You
may store any track more than once. When playing, you will only hear the
stored titles in the selected sequence.
12
34
5
At stop mode
Select and store in this way all
desired titles.
Erasing a program
to Clear the program, press stop button while in program inpiut mode
or select other function.
RANDOM PLAY
12
E8

INTRO PLAY
Every track will play for 10 second.
LISTEN TO RADIO
12
34
5
6
For better reception
To switch off the radio
E9

RECORDING FROM TUNER
1 To turn Power On 2 To Select Radio Band
3 To Turn in station 4 Open Cassette Door
5 Put in Cassette Tape 6 Press Record key
7 To Stop Recording 8 Turn Power off
SEEKING TUNING
E10

RECORDING FROM THE CD-PLAYER
TAPE ERASING
TO LISTEN USING HEADPHONES
12
3 To start Recording 4 To Stop recording
12
345
67
You can connect stereo headphones
having 3.5mm plug will disconnect the
speaker.
E11

RECORDER-PREVENT DEVICE
MAINTENANCE (CASSETTE DECK)
E12

CARE AND MAINTENANCE
Compact Disc Care
• To remove a disc from its storage case, press down on the centre of the case
and lift the disc out, holding it carefully by the edges.
• Treat the disc carefully. Handle the disc only by its edges. Never allow your
fingers to come in contact with the shiny, unprinted side of the disc.
• Do not attach any tape, stickers, etc. to the disc label.
• Clean the disc periodically with a soft, lint-free, dry cloth. Never use detergents
or abrasive cleaners to clean the disc. If necessary, use a CD cleaning kit.
• If a disc skips or gets stuck on a section of the disc, it is probably dirty or
damaged (scratched).
• When cleaning the disc, wipe in straight lines from the center of the disc to
the outer edge of the disc. Never wipe in circular motions.
E13

Table of contents
Other Akai Cassette Player manuals