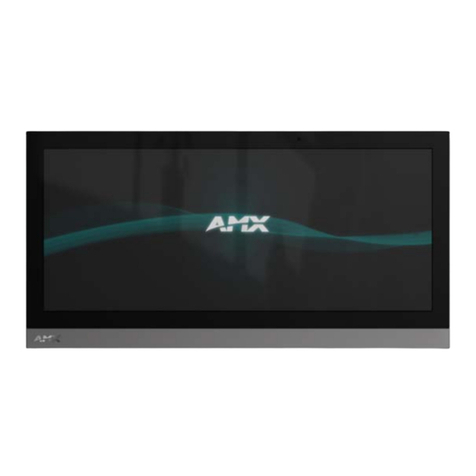
AMX Precis Original operating instructions


ESD Warning
To avoid ESD (Electrostatic Discharge) damage to sensitive components,
make sure you are properly grounded before touching any internal
materials.
When working with any equipment manufactured with electronic
devices, proper ESD grounding procedures must be followed to ensure
people, products, and tools are as free of static charges as possible.
Grounding straps, conductive smocks, and conductive work mats are
specifically designed for this purpose.
Anyone performing field maintenance on AutoPatch equipment should
use an appropriate ESD field service kit complete with at least a
dissipative work mat with a ground cord and a UL listed adjustable wrist
strap with another ground cord. These items should not be manufactured
locally, since they are generally composed of highly resistive conductive
materials to safely drain static charges, without increasing an
electrocution risk in the event of an accident. ESD protective equipment
can be obtained from 3M™, Desco®, Richmond Technology®, Plastic
Systems®, and other such vendors.
Precis Remote X/Y Control Panel I

Important Safety Information
and Instructions
When using and installing your AutoPatch product, adhere to the following basic safety
precautions. For more information about operating, installing, or servicing your
AutoPatch product see your product documentation.
äRead and understand all instructions before using and installing AutoPatch products.
äUse the correct voltage range for your AutoPatch product.
äThere are no user serviceable parts inside an AutoPatch product; service should only
be done by qualified personnel.
äIf you see smoke or smell a strange odor coming from your AutoPatch product, turn
it off immediately and call AutoAssist.
äTurn off and unplug an enclosure before adding or removing boards, unless
otherwise specified in that product’s documentation.
äTo avoid shock or potential ESD (Electrostatic Discharge) damage to equipment,
make sure you are properly grounded before touching components inside an
AutoPatch product.
äFor products with multiple power supplies in each unit, make sure all power supplies
are turned on simultaneously.
äUse surge protectors and/or AC line conditioners when powering AutoPatch
products.
äOnly use a fuse(s) with the correct fuse rating in your enclosure.
äMake sure the power outlet is close to the product and easily accessible.
äMake sure the product is on or attached to a stable surface.
äTurn off equipment before linking pieces together, unless otherwise specified in that
product’s documentation.
äFor safety and signal integrity, use a grounded external power source and a grounded
power connector.
Precis Remote X/Y Control Panel ii
Safety

Information et directives
de sécurité importantes
Veuillez vous conformer aux directives de sécurité ci-dessous lorsque vous installez et
utilisez votre appareil AutoPatch. Pour de plus amples renseignements au sujet de
l’installation, du fonctionnement ou de la réparation de votre appareil AutoPatch,
veuillez consulter la documentation accompagnant l’appareil.
äLisez attentivement toutes les directives avant d’installer et d’utiliser les appareils
AutoPatch.
äLe voltage doit être approprié à l’appareil AutoPatch.
äLes appareils AutoPatch ne contiennent aucune pièce réparable par l’usager; la
réparation ne doit être effectuée que par du personnel qualifié.
äSi de la fumée ou une odeur étrange se dégagent d’un appareil AutoPatch, fermez-le
immédiatement et appelez le Service de soutien technique (AutoAssist).
äFermez et débranchez le boîtier avant d’ajouter ou d’enlever des plaquettes, à moins
d’indication contraire fournie dans la documentation du appareil.
äPour éviter les chocs ou les dommages éventuels causés à l’équipement par une
décharge électrostatique, veillez à ce le dispositif oit bien relié à la terre avant de
toucher les composantes se trouvant à l’intérieur d’un appareil AutoPatch.
äVeillez à ce que tous les blocs d’alimentation des appareils dotés de blocs
d’alimentation multiples dans chaque unité soient allumés simultanément.
äServez-vous de protecteurs de surtension ou de conditionneurs de lignes à courant
alternatif lorsque vous mettez les appareils AutoPatch sous tension.
äPlacez uniquement des fusibles de calibre exact dans les boîtiers.
äVeillez à ce que la prise de courant soit proche de l’appareil et facile d’accès.
äVeillez à ce que votre appareil AutoPatch soit installé sur une surface stable ou qu’il
y soit fermement maintenu.
äFermez toutes les composantes de l’équipement avant de relier des pièces, à moins
d’indication contraire fournie dans la documentation de l’appareil.
äPar mesure de sécurité et pour la qualité des signaux, servez-vous d’une source
d’alimentation externe mise à la terre et d’un connect d’alimentation mis à la terre.
iii Precis Remote X/Y Control Panel
Safety

Notices
AutoPatch©2004, all rights reserved. No part of this publication may be reproduced,
stored in a retrieval system, or transmitted, in any form or by any means, electronic,
mechanical, photocopying, recording, or otherwise, without the prior written permission
of AutoPatch. Copyright protection claimed extends to AutoPatch hardware and
software and includes all forms and matters copyrightable material and information now
allowed by statutory or judicial law or here in after granted, including without limitation,
material generated from the software programs which are displayed on the screen such as
icons, screen display looks, etc. Reproduction or disassembly of embodied computer
programs or algorithms is expressly prohibited.
No patent liability is assumed with respect to the use of information contained herein.
While every precaution has been taken in the preparation of this publication, AutoPatch
assumes no responsibility for error or omissions. No liability is assumed for damages
resulting from the use of the information contained herein.
Further, this publication and features described herein are subject to change without
notice. The United States Federal Communications Commission (in 47CFR 15.838) has
specified that the following notice be brought to the attention of the users of this product.
Federal Communication Commission Radio Frequency Interference Statement:
“This equipment generates and uses radio frequency energy and if not installed and used
properly, that is, in strict accordance with the manufacturers instructions, may cause
interference to radio and television reception. It has been type-tested and found to
comply with the limits for a Class B computing device in accordance with the
specifications in Subpart J of Part 15 of FCC Rules, which are designed to provide
reasonable protection against such interference in a residential installation. However
there is no guarantee that interference will not occur in a particular installation. If this
equipment causes interference to radio or television reception, which can be determined
by turning the equipment off and on, the user is encouraged to try to correct the
interference by one or more of the following measures:
äReorient the receiving antenna
äRelocate the matrix with respect to the receiver
äMove the matrix away from the receiver
äPlug the matrix into a different outlet so that computer and receiver are on different
branch circuits
Precis Remote X/Y Control Panel iv
Notices
If necessary, the user should consult the dealer or an experienced radio/television
technician for additional suggestions. The user may find the booklet, How to Identify
and Resolve Radio-TV Interference Problems, prepared by the Federal Communications
Commission to be helpful.”
This booklet is available from the U.S. Government Printing Office, Washington, D.C.
20402, Stock N. 004-000-00345-4.
Use shielded cables. To comply with FCC Class B requirement, all external data
interface cables and adapters must be shielded.
AutoPatch®, AutoAssist®, Precis®,X
NNet™, and XNConnect®are registered trademarks
or trademarks of XNTechnologies, Inc.
MS-DOS®, Windows®, and Window NT®are registered trademarks of Microsoft
Corporation.
3M®, Desco®, Richmond Technology®, and Plastic Systems®are all registered
trademarks.
HyperTerminalÓis a copyright product of Hilgraeve Inc.
Ethernet®is a registered trademark of the Xerox Corporation.
Other products mentioned herein may be the trademarks of their respective owners.
v Precis Remote X/Y Control Panel
Notices

Contents
ESD Warning ...................................................... I
Important Safety Information and Instructions ........................ ii
Notices ...........................................................iv
Chapter 1 – Introducing the Precis Remote Panel
Front of Panel................................................1-2
Rear of Panel ................................................1-4
Technical Support ............................................1-4
Chapter 2 – Installing the Precis Remote Panel
Connecting to an AutoPatch Switcher ..........................2-2
Applying Power ..............................................2-3
Rack Installation .............................................2-4
Linking Multiple Panels........................................2-4
Chapter 3 – Operating the Precis Remote Panel
Executing and Disconnecting Switches .........................3-2
Verifying Signal Routing Status ................................3-3
Executing Local Presets (Macros)..............................3-4
Macro–to–Key Correspondence ..........................3-4
Executing a Local Preset (Macro) ..........................3-5
Chapter 4 – Locking the Precis Remote Panel
Chapter 5 – Adjusting Volume
Chapter 6 – Managing Configuration Files
X Connect ..................................................6-2
Opening and Downloading a Configuration File...................6-3
Modifying a Configuration File..................................6-4
Setting the Password.....................................6-4
Creating Local Presets to Execute as Macros...............6-5
Precis Remote X/Y Control Panel
N

Appendix A – AutoPatch Statement of Warranty
Terms and Conditions ....................................A-1
Appendix B – AutoPatch Service and Returns Policy
Service......................................................B-1
Return Authorizations ....................................B-1
Claims for Shipping Damages .............................B-1
Replacement Policies and Procedures .........................B-2
Special Notice ...............................................B-3
AutoPatch Glossary
Index
Precis Remote X/Y Control Panel
Contents

Introducing
the Precis Remote Panel
Welcome to the Precis Remote X/Y Control Panel Installation &
Operation Guide. This guide contains quick easy-to-follow instructions
for using the Precis Remote Panel to operate Precis Matrix Switchers and
other XNNet compliant switchers.
Like the Precis Front Control Panel, the Precis Remote Panel is available
in two configurations: 8x4 or 12x8, each with or without digital volume
control.
The Precis Remote works the same as the Precis Series Front Control
Panel. Operations are performed in three basic modes: Switch (default),
Status, and Macro. See Chapter 3 for details on using these modes.
See Chapter 4 for details on locking the Precis Remote Panel. If your
system was ordered with optional Volume Control, see Chapter 5 for
details on using the Volume Adjust mode.
This document does not include any detailed information about serial
control or SBCs (Single Bus Controllers). For more information about
these controller types, contact your authorized AutoPatch dealer or
AutoAssist (see Technical Support on page 1-4).
Precis Remote X/Y Control Panel 1-1
Introduction

1.1 Front of Panel
A Precis Remote Panel operates in three standard modes: Switch
(default), Status, and Macro. Use Switch mode to execute switches,
Status mode to verify signal status, and Macro mode to execute macros
(local presets). An additional mode, Lock mode, enables the panel to be
locked. An optional fifth mode, Volume Adjust, is also available on
some panels.
Switch mode is the default mode. It can be accessed at any time by
pressing the Cancel key.
Cancel Key
Returns the Remote Panel to Switch mode from any other mode.
Pressing the Cancel key also cancels an incomplete operation before
returning the system to Switch mode.
Macro Key
Places the Remote Panel in Macro mode, ready to execute macros (see
page 3-5).
Lock Key
Places the Remote Panel in Lock mode, ready to lock (or unlock). This
limits access to the system to prevent accidental switching. A password
number is required to lock and unlock the panel (see page 4-1).
Status Key
Places the Remote Panel in Status mode, ready to verify switching status
(see page 3-3).
1-2 Precis Remote X/Y Control Panel
Introducing the Precis Remote Panel
Introduction
Destination keys Source keys
Level keys
Cancel key
Macro key
(Up Arrow key)
Lock key
(Down Arrow key)
Status key
(Volume Adjust key)
Figure 1: Front view of a 12x8 Precis Remote (37-282) with Volume Control

Level Keys
Activate levels for switches, status inquiries, or macros. In addition,
while in Lock mode the Level keys are used for entering the password.
Source & Destination Keys
Select a source (input) or destination (output) on the specified level for
executing switches, verifying status, and other operations. In addition,
while in Macro mode these keys are used for entering macros. When
used for selecting macros, the destination keys continue the numbering
of the source keys. For example on an 8x4 panel, the Destination 1 key is
used as the Macro 9 key when in Macro mode. See page 3-4 for more
information on macro-to-key correspondence.
Volume Adjust Keys (Optional)
Change volume settings on systems equipped with the optional volume
feature while in Volume Adjust mode.
äVolume Adjust (Status key) – Places the Remote Panel in Volume
Adjust mode. (This key must be held down until it flashes to place
the system in Volume Adjust mode, see page 5-2.)
äDown Arrow (Lock key) – Decreases volume while in the Volume
Adjust mode.
äUp Arrow (Macro key) – Increases volume while in the Volume
Adjust mode.
Precis Remote X/Y Control Panel 1-3
Front of Panel
Introduction
Volume
Adjust
Figure 2: Volume Adjust keys
Up Arrow key
Down Arrow key
Volume Adjust key

1.2 Rear of Panel
On the rear of the panel you will find the following:
Power Links
Attachment points for a power cable. The left connector is rated for
7 to 12 volt DC with at least 500 mA. The middle and right connectors
are rated for 5 volt DC with at least 500 mA.
Comm Link Connectors
Two connection points which can be used for connecting to an
AutoPatch switcher or for connecting multiple Precis Remote Panels
using XNNet link cables.
1.3 Technical Support
AutoPatch provides technical support 24 hours a day, 7 days a week
(except for U.S. holidays). Before calling technical support with a
question, please review the information in this guide. If this guide cannot
fully answer your question, have your serial number ready (located on
the rear of the Precis Remote) and call your authorized AutoPatch dealer
or call AutoPatch AutoAssist at: U.S. and Canada 800-622-0246 (toll
free) or International 509-235-2636. You can also reach us through our
web site: www.autopatch.com, or e-mail our AutoPatch Technical
1-4 Precis Remote X/Y Control Panel
Introducing the Precis Remote Panel
Figure 3: Rear view of a Precis Remote
Comm Link connectors
Power Links
Introduction

Installing the
Precis Remote Panel
This chapter covers rack installation for the Precis Remote Panel, as well
as instructions for linking multiple panels. When the installation is
complete, a test switch should be executed (see page 3-2).
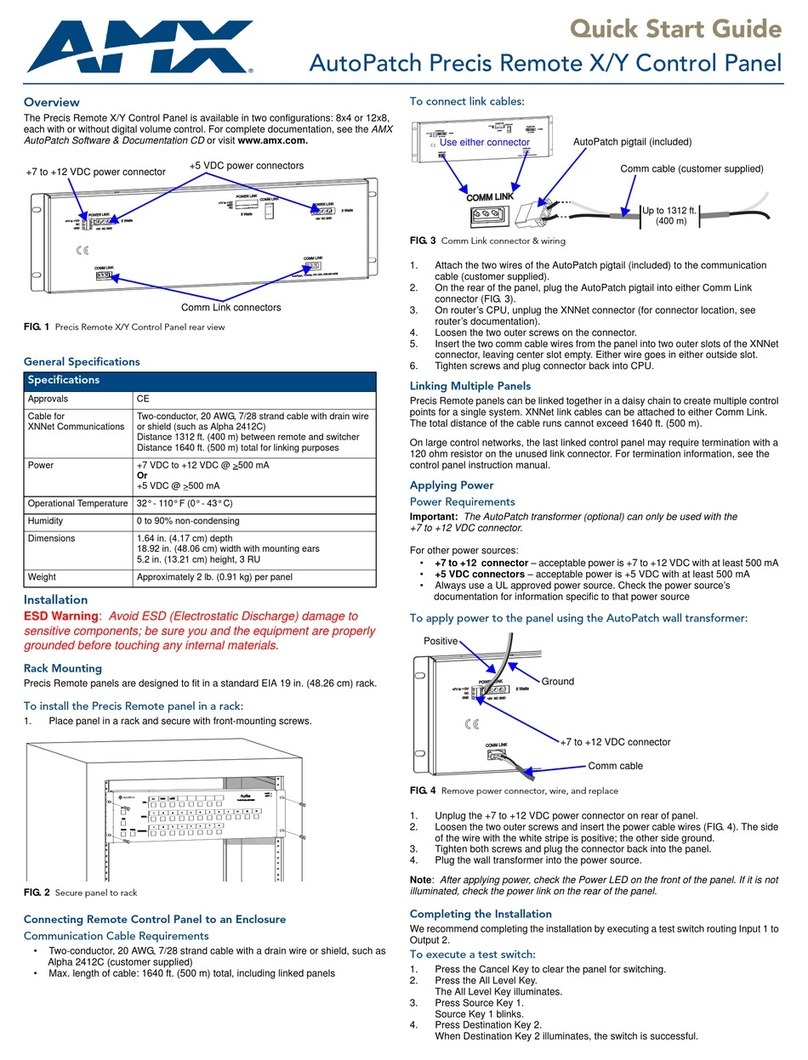
Each panel comes with the following items in the shipping box:
qPrecis Remote X/Y Control Panel
qPrecis Remote X/Y Control Panel Installation & Operation Guide
qXNNet link cable(s)
qWall transformer (optional)
General specifications that may be useful before installation include:
Approvals CE
Communications
Cable
General Purpose Grade / 16 AWG
Distance: 1312.34 ft. (400 m) between remote & switcher
Distance: 1640.42 ft. (500 m) total for linking purposes
Power 7 volt – 12 volt @ ³500 mA or 5 volt @ ³500 mA
Humidity 0 to 90% non-condensing
Dimensions
1.64 in. (4.17 cm) depth
18.92 in. (48.06 cm) width with mounting ears
5.2 in. (13.21 cm) height (3 RU)
Weight Approximately 2 lbs. (0.9 kg) per panel
Full specifications for all AutoPatch products are located on the
AutoPatch web site (www.autopatch.com).
Features and specifications described in this publication are subject to
change without notice.
Precis Remote X/Y Control Panel 2-1
Installing

Precis Remote X/Y Control Panels are designed to fit in a standard EIA
19 in. (48.26 cm.) rack. We recommend connecting the Remote Panel to the
switcher and power source before placing in the rack.
2.1 Connecting to an AutoPatch Switcher
To connect the Precis Remote to an AutoPatch switcher:
1. Plug the XNNet link cable into either Comm Link on the back of the
panel.
2. On the switcher's CPU, loosen the screws on the XNNet connector (for
XNNet connector location, see the switcher documentation).
3. Insert the wires of the XNNet link cable from the Remote Panel into the
XNNet connector (see Figure 5).
4. Tighten the screws.
The Remote Panel is ready to communicate with the switcher as soon as
power is applied.
2-2 Precis Remote X/Y Control Panel
Installing the Precis Remote Panel
Figure 4: Plug the X Net link cable into a Comm Link
X Net link cable to the CPU
N
N
PORT 2
LINK 2
X
N
Net Connector
Positive (+)
Negative (-)
Link Cable from Remote Panel
AutoPatch
Matri Switcher
X
N
Net
Figure 5: Insert the wires into the X Net connector on the CPU
N
Installing

2.2 Applying Power
Power can be applied to the Precis Remote using either of the two power
connectors, the 7 to 12 volt DC or the 5 volt DC. The AutoPatch wall
transformer can only be used with the 7 to 12 volt DC connector (see the
instructions below).
If using a transformer other than the AutoPatch wall transformer or a
centralized power source, the acceptable power for the Precis Remote
using the left connector is 7 to 12 volt DC with at least 500 mA.
Acceptable power for using the right connector is 5 volt DC with at least
500 mA. See the transformer or power source documentation for wiring
information.
To apply power to the Precis Remote using the AutoPatch wall
transformer:
1. Unplug the 7 to 12 V power connector from the back of the panel.
2. Connect power wires to the power connector by loosening the top
and bottom screws, inserting the wires as show in Figure 6, and
tightening the screws.
The side of the wire with the white stripe is positive, and the other
side is ground.
3. Plug the connector back into the panel (see Figure 6).
4. Plug the wall transformer into the power source.
Note: After applying power to the panel, make sure the Power LED in
the upper right-hand corner on the front of the panel is illuminated. If it
is not illuminated, check the power link on the back of the panel.
Precis Remote X/Y Control Panel 2-3
Applying Power
Installing
Figure 6: Plug the wired connector back into the panel
5 V connector
Positive Ground
7-12 V connector

2.3 Rack Installation
Once the Remote Panel is wired, place it into the rack.
To install the Precis Remote in a rack:
1. Insert the wired panel through the rear of the rack.
2. Align the Precis Remote with the rack screw holes and fasten firmly
with the mounting screws.
Make sure the Precis Remote is working properly by executing a test
switch (see Executing and Disconnecting Switches on page 3-2).
If the panel is not working properly, check all system connections and
retry the test switch before contacting AutoAssist (see Technical Support
on page 1-4).
2.4 Linking Multiple Panels
Precis Remote Panels can be linked together to control large systems.
See the XNConnect Help file for information on remapping keys and
adding control panels to an existing system's configuration.
To link Precis Remote Panels to each other, connect the panels in a
daisy chain using XNNet link cables. The connection can be made from
either Comm Link on a panel to either Comm Link on the next panel
(see Figure 8 on page 2-5).
2-4 Precis Remote X/Y Control Panel
Installing the Precis Remote Panel
Figure 7: Place in rack and fasten with mounting screws
Installing

To connect one of the Remote Panels to an AutoPatch Switcher, see
page 2-2.
Power must be applied to each panel separately.
To apply power to linked Remote Panels, use a transformer for each
panel or wire each panel separately into a centralized power source.
If using AutoPatch wall transformers, see the instructions on page 2-3.
If using a different transformer or a centralized power source, note that
the acceptable power for each controller using the left connector is
7 to 12 volt DC with at least 500 mA. Acceptable power for using the
right connector is 5 volt DC with at least 500 mA. See the transformer or
power source documentation for wiring information.
Note: If experiencing difficulties, insert a 120 ohm resistor in the
outer contacts of the Comm Link on the last remote of a large daisy
chain and tighten the screws. If problems persist, call AutoAssist (see
Technical Support on page 1-4.)
Precis Remote X/Y Control Panel 2-5
Linking Multiple Panels
Figure 8: Connect from Comm Link to Comm Link in a daisy chain
X Net link cable
N
X Net link cable to CPU
N
7-12 V connector 5 V connector
Installing

Operating the
Precis Remote Panel
A Precis Remote Panel operates in three standard modes: Switch
(default), Status, and Macro. This chapter covers the following
operations that can be performed in these modes:
äExecuting and Disconnecting Switches
äVerifying Signal Routing Status
äExecuting Macros
Operations involving additional modes are covered elsewhere. For
detailed information on Lock mode, see Chapter 4. For detailed
information on Volume Adjust mode, see Chapter 5.
Precis Remote X/Y Control Panel 3-1
Operating

3.1 Executing and Disconnecting
Switches
A switch is an active connection between a source signal and one or
more destination devices. Before executing or disconnecting a switch on
the Precis Remote, make sure the panel is in Switch mode. If you are
unsure which mode the Precis Remote is in, press the Cancel key — all
the lights on the panel turn off, and the panel reverts to Switch mode.
Follow the instructions below to execute and disconnect switches.
Note: When executing or disconnecting switches, make sure the
Comm LED in the upper right-hand corner of the panel blinks. If it
does not, check the Comm Link connection on the back of the panel
and the connection at the switcher.
To execute or disconnect a switch:
1. Press a Level key to select a level.
The Level key illuminates.
If you do not select a level, the system executes or disconnects the
switch on the level associated with the All Level key. (The default
level for that key is video and audio.)
2. Press a Source key to select a source.
The Source key flashes, and after a moment, any destinations that
signal is already routed to illuminate. The flashing key is the “hot”
key; all other commands center around that source until you select a
different source or change the mode or level.
3. Press a Destination key(s) to select a destination(s).
Selecting (illuminating) a disconnected (unlit) Destination key
executes a switch; deselecting a connected (illuminated) Destination
key disconnects a switch.
Note: Although our instructions direct you to select a source first, you
may execute and disconnect switches by selecting the destination first,
making that Destination key the “hot” key (see step 2 above). Only one
source signal at a time can be routed to a single destination.
3-2 Precis Remote X/Y Control Panel
Operating the Precis Remote Panel
Operating

3.2 Verifying Signal Routing Status
Signal status can be verified to confirm that a switch has executed
properly or to confirm correct routing to multiple destinations.
You can put the Precis Remote in Status mode by pressing the Status
key. The panel remains in Status mode (with the Status key illuminated)
until you press the Cancel key.
While in Status mode, you can select different levels, sources, and
destinations at any time without affecting signal routing.
To verify signal status:
1. Press the Status key to put the Precis Remote in Status mode.
The Status key illuminates and all other lights on the panel turn off.
2. Press a Level key to select a level.
The Level key illuminates.
If you do not select a level, the system uses the level associated with
the All Level key. (The default level for that key is video and audio.)
3. Press a Source or Destination key to select a source or destination.
If you press a Source key, that key illuminates and the Destination
key(s) receiving the source signal also illuminates to show the
routing status of the signal.
If no Destination keys illuminate, the signal is not routed or is not
available on that level.
If you press a Destination key, that key illuminates and the Source
key routed to it also illuminates, showing which source is currently
routed to that destination.
If no Source key illuminates, the signal is not routed or is not
available on that level.
Checking the status of a destination does not show other destinations
connected to the same source. To check the status of a signal routed to
multiple destinations, select the source first.
Precis Remote X/Y Control Panel 3-3
Verifying Signal Routing Status
Operating
Other manuals for Precis
3
This manual suits for next models
2
Table of contents
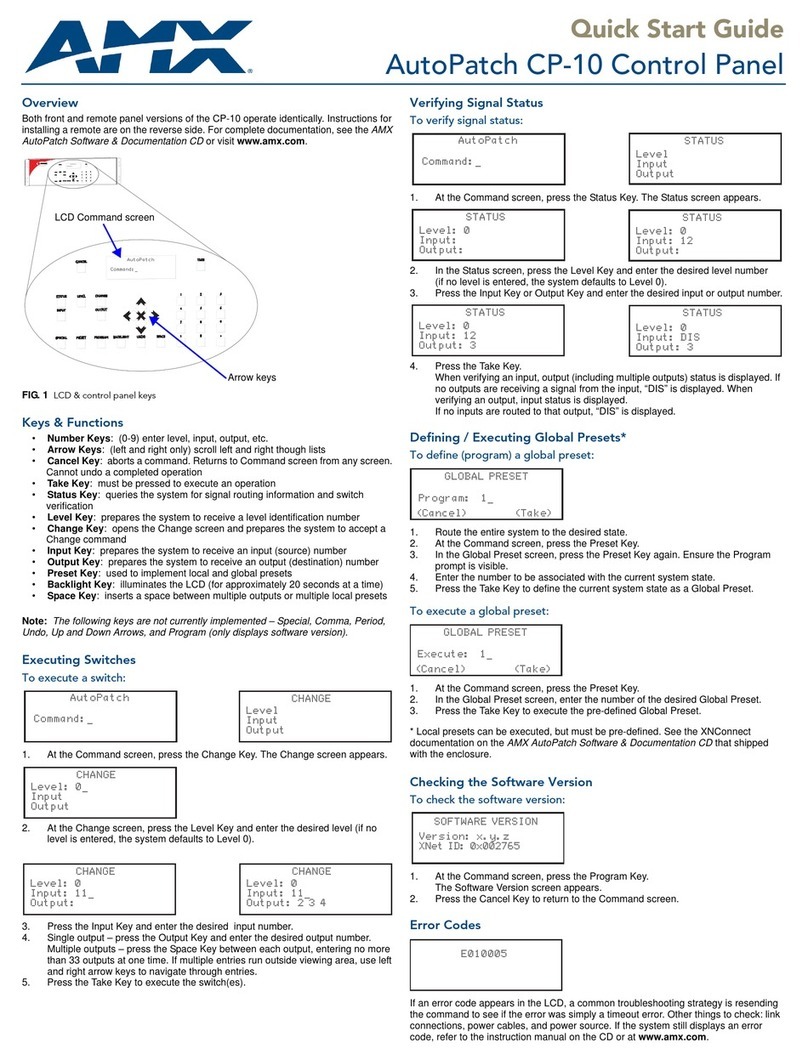
Other AMX Control Panel manuals

AMX
AMX AXU-SPPlus Guide

AMX
AMX AutoPatch CP-20A User manual

AMX
AMX AutoPatch CP-15 User manual

AMX
AMX AutoPatch CP-10 User manual

AMX
AMX CP-3017-TR-US User manual

AMX
AMX Modero X MXT-700 Parts list manual

AMX
AMX Modero Viewpoint MVP-5200i User manual

AMX
AMX AutoPatch CP-10 User manual

AMX
AMX Precis User manual

AMX
AMX AutoPatch CP-20A User manual