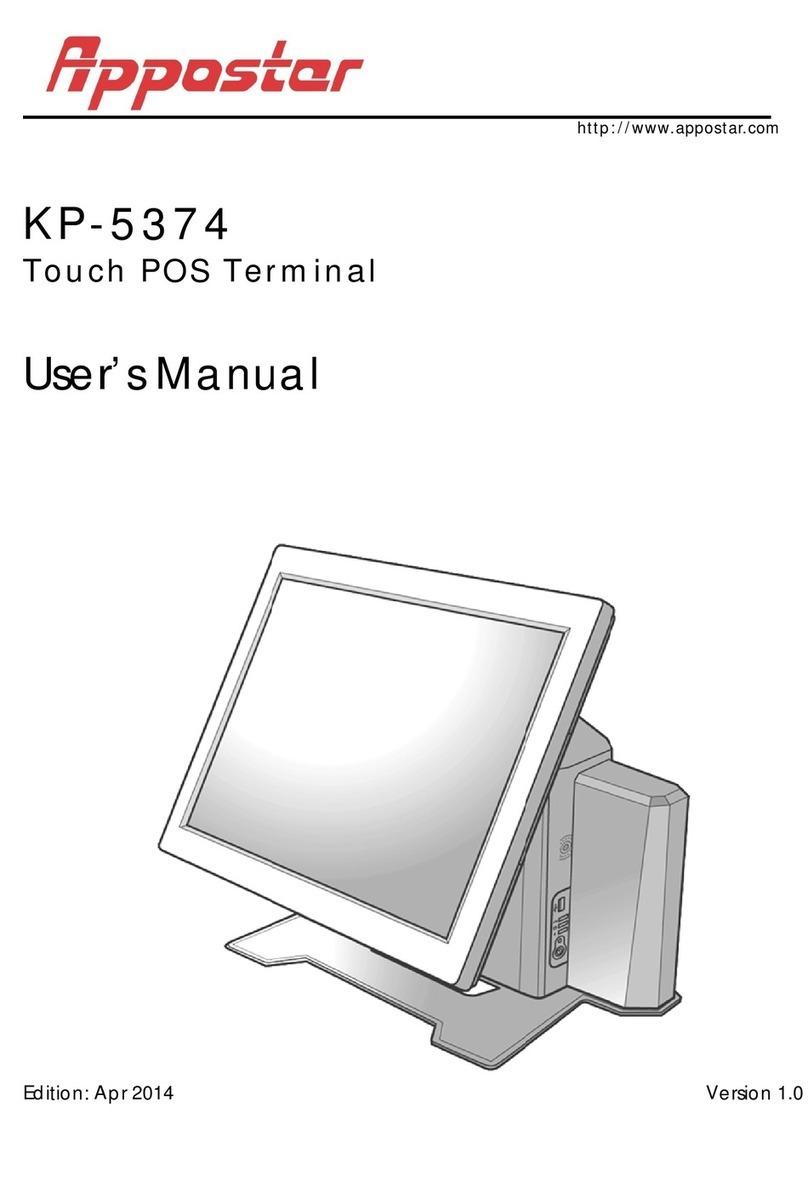
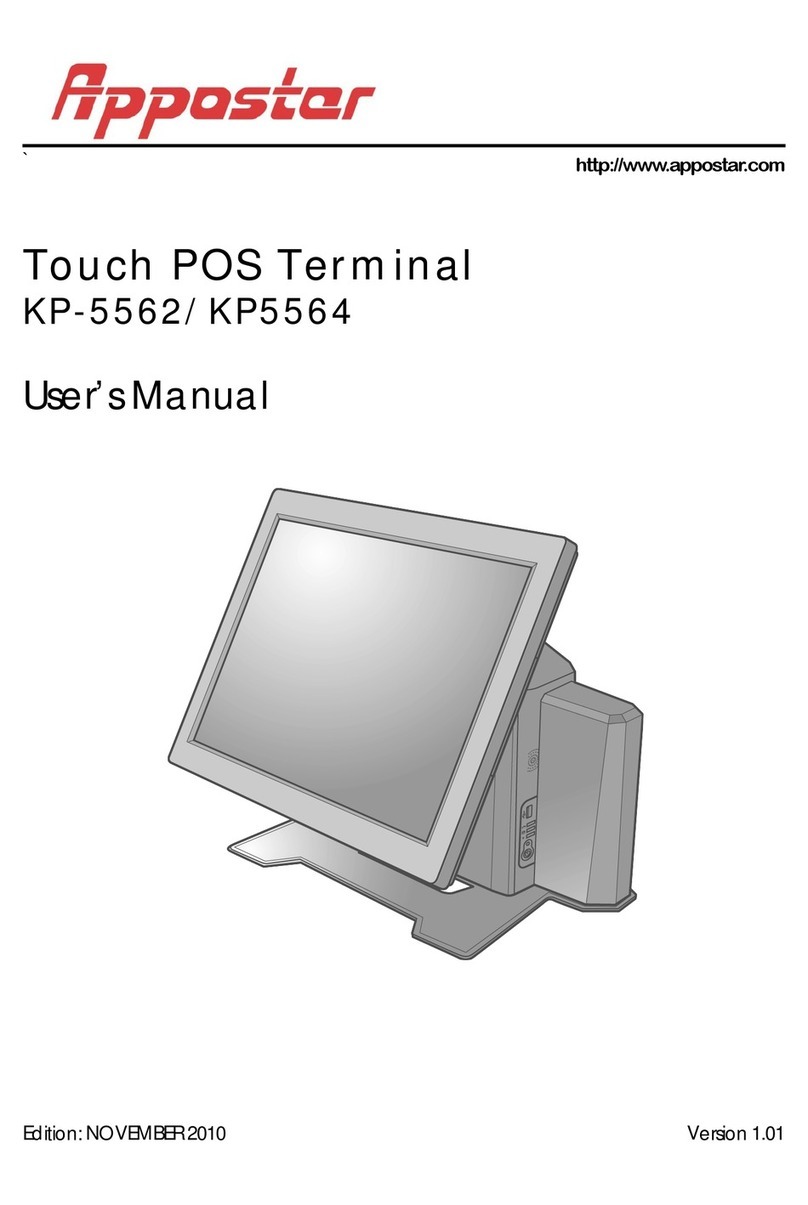
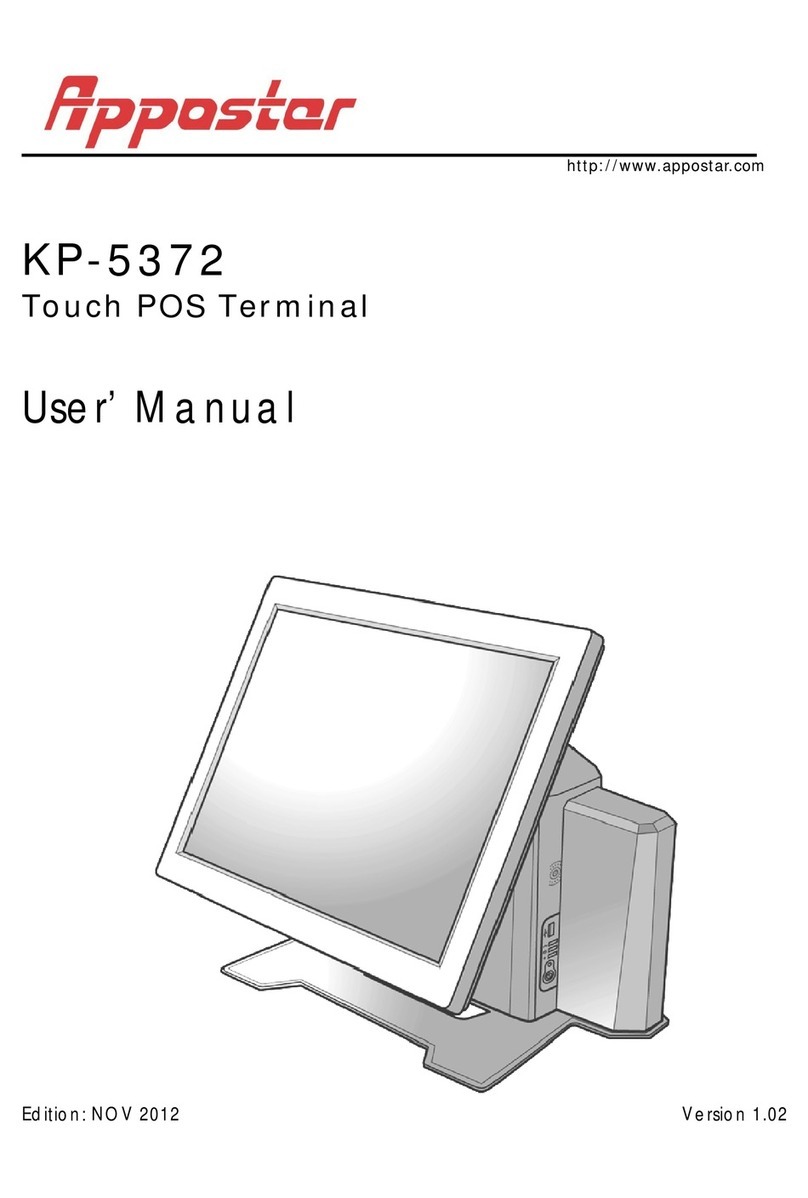
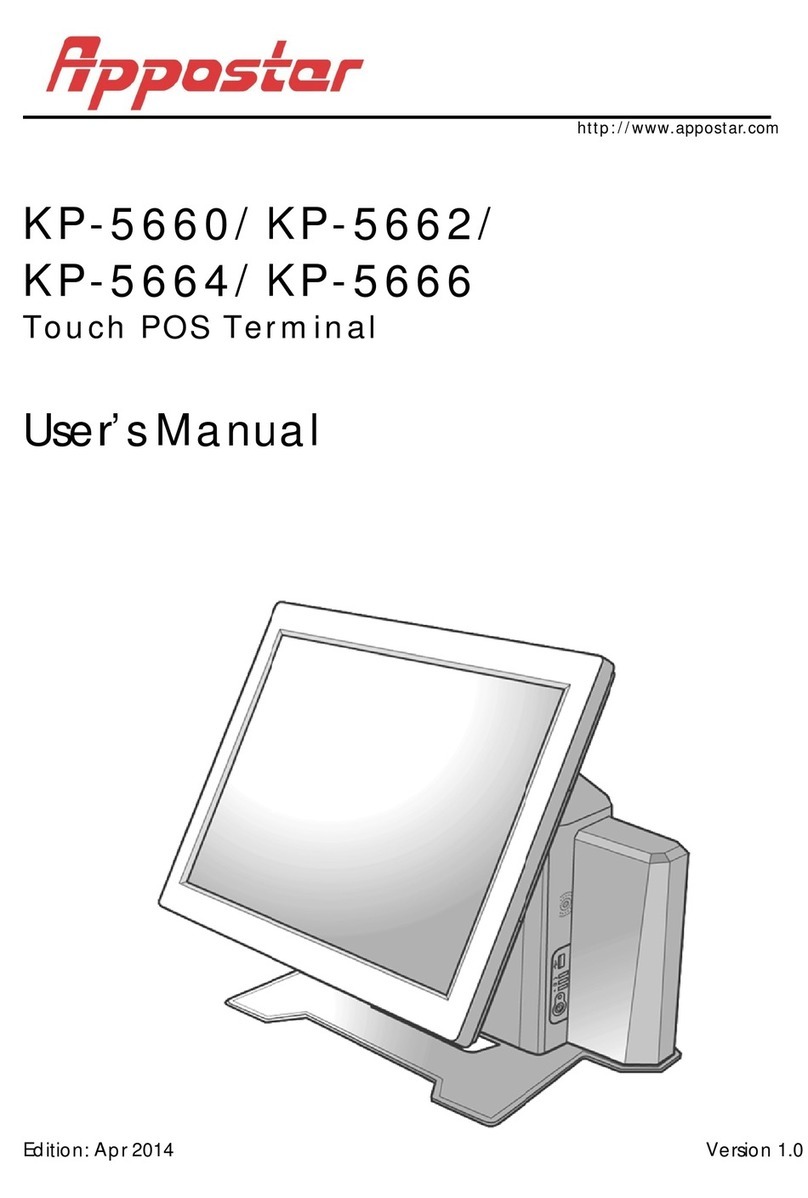
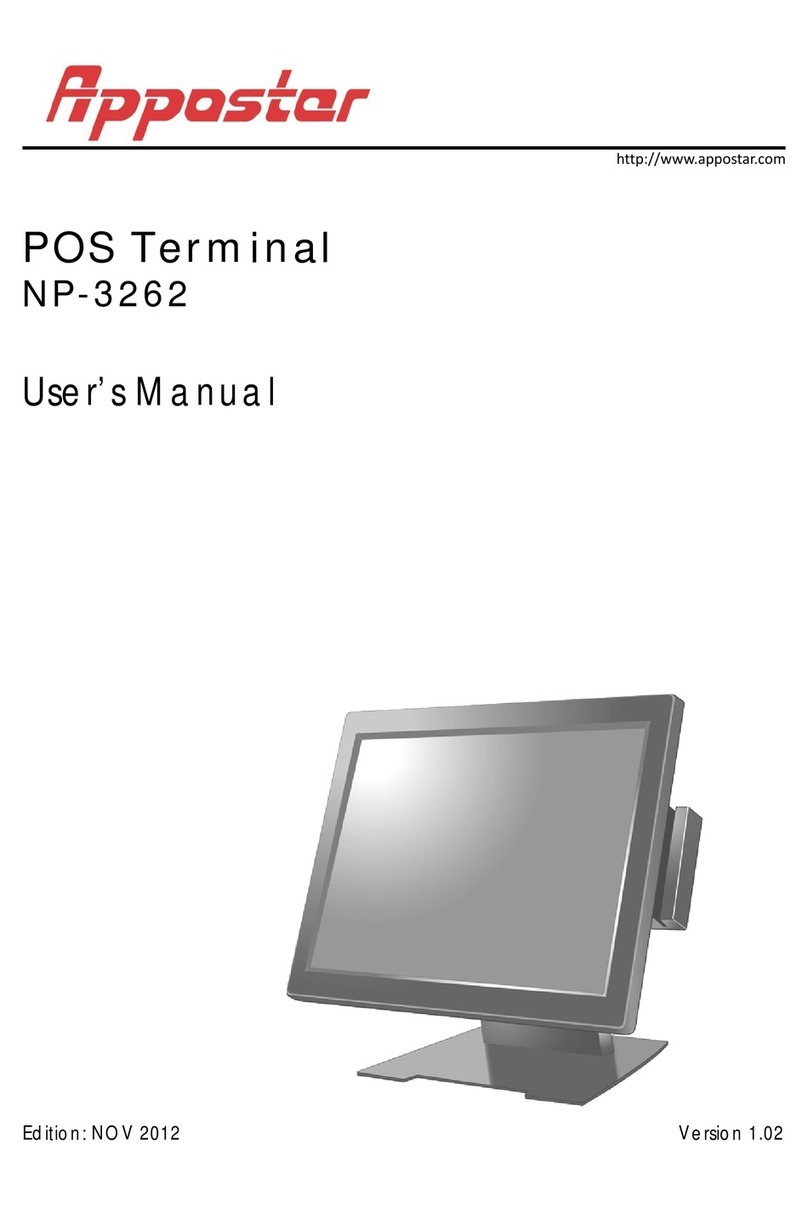
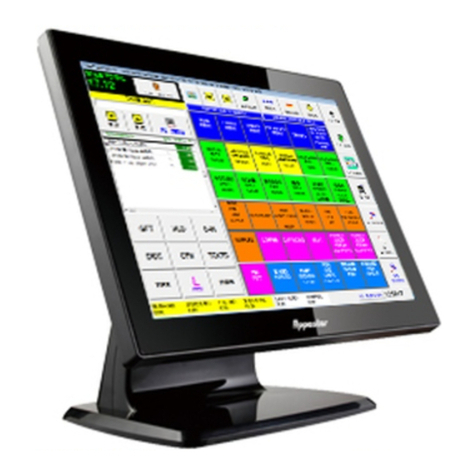
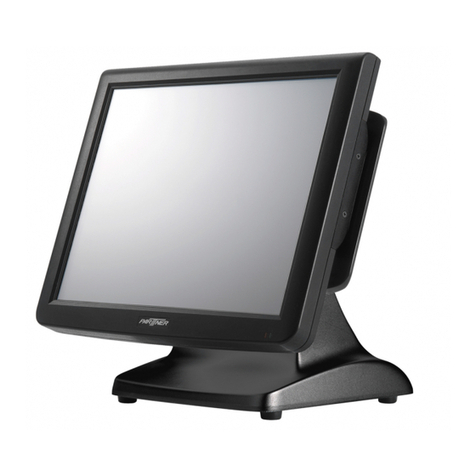
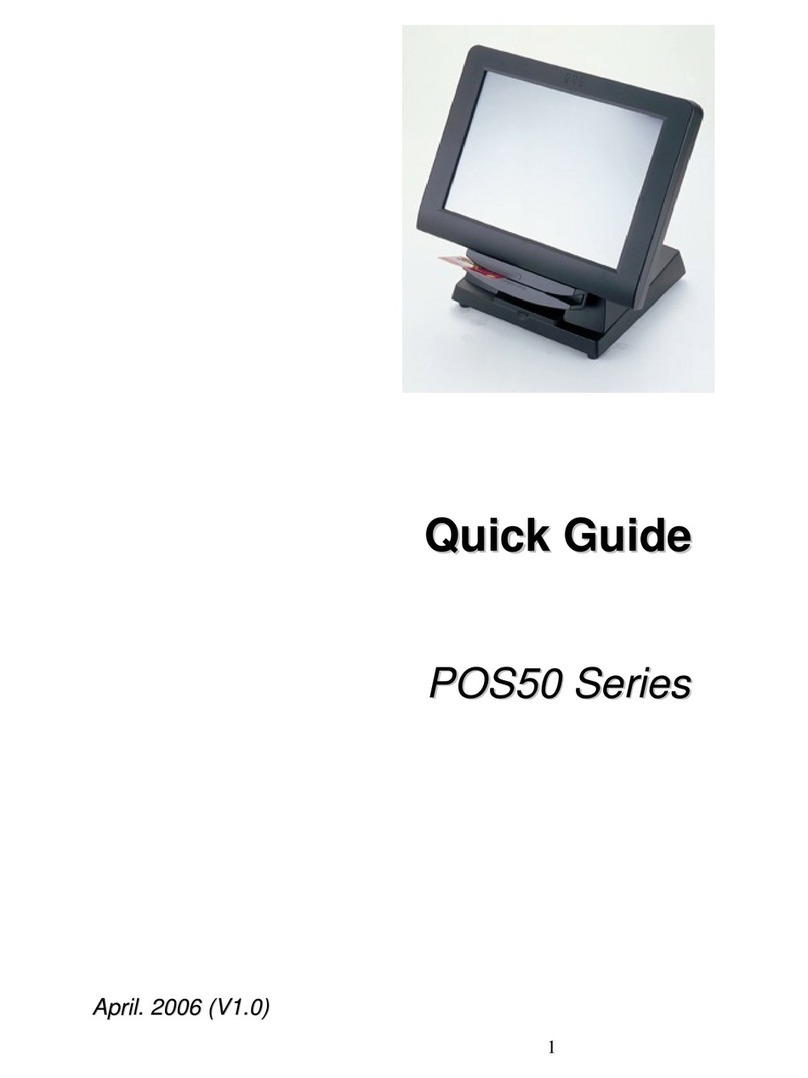
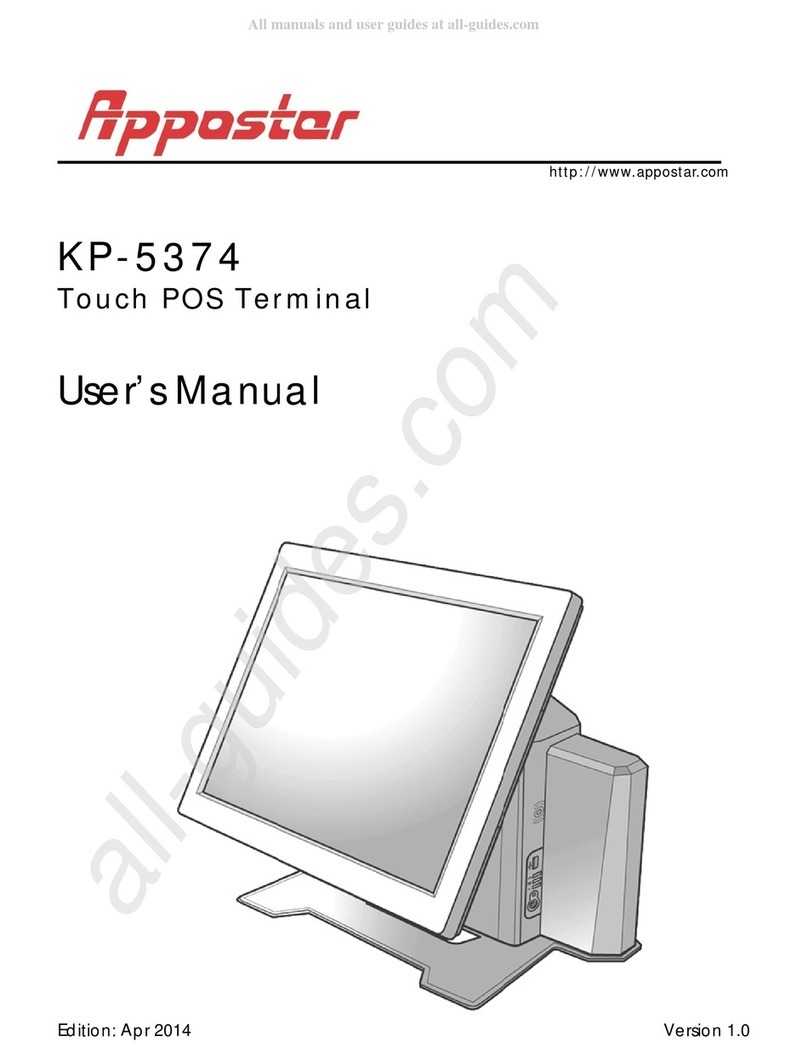
Appostar KP-5660 User manual

KP
-
KP
-
Tou
c
Use
r
Edition:
A
-
56
6
-
56
6
c
h P
O
r
’s
M
A
p
r
2014
6
0/
K
6
4/
K
O
S Te
r
M
an
u
K
P-
5
K
P-
5
r
min
a
u
al
56
6
56
6
a
l
6
2/
6
6
http://www.ap
postar.co
m
Version
m
1.0
All manuals and user guides at all-guides.com
all-guides.com

PREFACE
II
Feder
a
This e
q
A di
g
i
desi
gn
reside
frequ
e
instru
c
Howe
v
install
a
televi
s
and o
n
of the
Declar
a
These
follow
i
1.
2.
3.
Lithiu
m
To av
o
the li
recom
WEEE
(
The WE
E
the prod
responsi
approve
d
For mor
e
please c
o
where y
o
a
l Com
m
q
uipmen
t
tal devi
c
n
ed to pr
o
ntial inst
a
e
ncy ene
c
tions,
m
v
er, ther
e
a
tion. If
s
ion rece
p
n
, the us
e
followin
g
Reorient
Increas
e
Connect
which th
Consult
t
ation o
devices
c
i
n
g
two c
These d
e
These d
e
Interfer
e
m
Batt
e
o
id possi
b
thium b
m
mended
(
Wast
e
E
E wheel
e
d
uct mus
t
bility to
d
locatio
n
e
informa
o
ntact y
o
o
u purch
a
m
unica
t
t
has bee
n
c
e, pursu
o
vide re
a
a
llation.
T
r
g
y and,
m
ay cau
s
e
is no
g
u
this equ
p
tion, w
h
e
r is enco
u
g
measur
e
or reloc
a
e
the sep
a
the equi
p
e receiv
e
t
he deal
e
f Conf
o
c
omply w
i
ondition
s
e
vices m
a
e
vices m
u
e
nce that
e
ry Rep
b
le dan
g
e
attery.
R
by the m
e
from
E
e
d bin sy
m
t
not be
d
dispose
o
n
for the
r
tion abo
u
o
ur local
a
sed the
p
t
ions C
o
n
tested
a
ant to p
a
sonable
T
his equi
p
if not i
s
e harm
f
arantee
t
ipment
d
h
ich can
b
u
ra
g
ed to
e
s:
a
te the r
e
a
ration b
e
p
ment in
t
e
r is conn
e
e
r or an e
x
o
rmity
i
th part 1
5
s
:
a
y not ca
u
u
st accep
t
may cau
lacem
e
r of expl
o
R
eplace
anufactu
r
E
lectric
a
m
bol on t
d
isposed
o
f their
w
r
ecyclin
g
u
t where
city offic
e
p
roduct.
o
mmis
s
a
nd foun
d
art 15 o
protectio
p
ment
ge
nstalled
f
ul inter
f
t
hat inter
f
d
oes cau
s
b
e deter
m
try to co
r
e
ceivin
g
a
e
tween t
h
t
o an out
l
ected.
x
perienc
e
5 of the F
u
se har
m
t
any int
e
se undes
e
nt
o
sion, en
s
only wi
t
rer.
a
l and
E
he produ
of with
o
w
aste eq
of waste
to send
y
e
, your h
KP-5
6
s
ion (F
C
d
to comp
f the FC
n a
g
ains
t
e
nerates,
and use
d
f
erence
t
f
erence
w
s
e harmf
u
m
ined by
r
rect the i
a
ntenna.
h
e equip
m
l
et on a c
e
d radio/
T
CC Rules
ful interf
e
e
rference
ired ope
r
s
ure corr
e
t
h the
s
E
lectro
c
t or on i
t
o
ther was
uipment
electrical
y
our was
t
ousehold
6
00 Series
T
C
C)
l
y with th
C Rules.
t
harmfu
l
uses an
d
d
in acc
o
t
o radio
w
ill not o
c
u
l interfe
turnin
g
t
nterfere
n
m
ent and
ircuit dif
f
T
V techni
.
Operati
o
e
rence.
received
r
ation.
e
ct polari
s
ame or
n
ic Eq
u
t
s packa
g
te. It sh
o
by hand
and elec
t
e equip
m
waste d
T
ouch PO
S
e limits f
o
These l
l
interfer
e
d
can rad
i
ordance
commu
n
c
cur in a
p
e
rence to
t
he equi
p
n
ce by on
e
receiver.
f
erent fro
cian for
h
o
n is sub
je
, includi
n
i
ty when
equival
e
u
ipmen
t
g
in
g
indic
o
uld be t
h
in
g
it o
v
c
tronic eq
m
ent for
r
isposal s
S
Terminal
o
r a Clas
s
i
mits ar
e
e
nce in
a
i
ate radi
o
with th
e
n
ications.
p
articula
r
radio o
r
p
ment of
f
e
or mor
e
m
that t
o
h
elp.
e
ct to th
e
ng
chan
g
in
g
e
nt typ
e
t
)
ates that
h
e user’s
v
er to an
uipment.
r
ecyclin
g
,
e
rvice or
s
e
a
o
e
r
r
f
e
o
e
e
All manuals and user guides at all-guides.com

PREFACE
KP-5600 Series Touch POS Terminal III
Disclaimer
The material in this document is for information purpose and is subject to
change without prior notice. APPOSTAR has made every effort to ensure that
this user’s manual is accurate and complete. However, no liability is assumed
for any errors and omissions that may have occurred. Nor are any liability
assumed for any damages resulting from the use of this product and the
information contained in this document. APPOSTAR reserves the right to make
improvements to this publication from time to time in the contents hereof
without obligation of the manufacturer to notify any person of such revision or
changes.
Copyright
This work is copyrighted. Reproduction or retransmission of this
documentation , in whole or in part, without prior written permission from the
manufacture is a violation of copyright law.
© 2014 APPOSTAR Technology Co., Ltd. All rights reserved.
Trademark Recognition
1. Microsoft, MS-DOS and Windows are registered trademarks of Microsoft
Corp.
2. Other software or product names used in this manual are the properties of
their respective owners and are acknowledged.
All manuals and user guides at all-guides.com

PREFACE
IV KP-5600 Series Touch POS Terminal
Important Safety Instructions
Failure to observe these safety instructions may cause body injury, or damage to
the product. Read these instructions carefully and keep this user manual in an
accessible location for future reference.
The product may cause a fire or electric shock when it is used
improperly. Observe the above safety measures at all times.
If the product is damaged, immediately turn off the power and
disconnect the power cord. Contact your dealer for assistance.
1. Do not plug in or unplug the power cord with wet hands.
2. Do not plug the product into an AC outlet with the incorrect voltage
(The correct voltage should be between AC 100V~240V.)
3. Do not plug several products in one multi-outlet.
4. Do not apply pressure to the power cord or place heavy objects on it.
5. Immediately stop using the product if it emits strange noise, odor, or
smoke.
6. Do not use aerosol sprayers containing flammable gas inside or around
the product.
7. Do not allow foreign objects or liquids to enter the product, serious
damage may result.
8. Do not place the product on an unstable surface. The product may cause
a fire if it is dropped, damaged, or broken.
The following instructions will help you make better use of this product.
1. Keep the machine from locations subject to high humidity, dust, and
temperatures out of specification. (Refer to CH.1.4 Specification)
2. Clean the product by using a dry cloth or a cloth soaked with detergent.
Never use thinner or other volatile solvent for cleaning.
3. At the end of the day, clean and inspect the exterior of the machine after
turning OFF the product.
4. Use only specified accessories.
5. Do not store accessories where they might be exposed to direct sunlight,
high temperature, high humidity, dust level, or gas.
6. Do not place heavy objects on top of the product /or lean against the
product, these items may fall and cause injury.
7. Do not block the air vent of the product, this can cause heat to build up
inside the box machine and may lead to fire.
All manuals and user guides at all-guides.com

Table Of Contents
Chapter 1 Product Overview ................................................................ 2
1.1 Unpacking ..................................................................................2
1.2 Appearance.................................................................................3
1.3 I/O Interface...............................................................................5
1.4 Specification ...............................................................................7
Chapter 2 Hardware Installation.......................................................... 9
2.1 Peripheral Installation...................................................................9
2.2 Component Installation ..............................................................15
CHAPTER 3 Software Installation....................................................... 17
3.1 Mainboard Driver Installation.......................................................17
3.2 Peripheral Device Driver Installation.............................................19
CHAPTER 4 BOARD SETTING .............................................................. 21
4.1 Main Board Jumper Setting .........................................................21
CHAPTER 5 Troubleshooting............................................................... 23
All manuals and user guides at all-guides.com

PRODUC
T
2
Chap
t
Welcom
e
The HM
7
In order
the KP-
5
satisfact
o
distin
g
ui
function
conditio
n
panel to
1.1 Un
Confirm
missin
g
o
Check li
s
1. POS
T
4.
P
T
OVERVIE
W
ter 1
e
7
6 chipse
t
to meet
c
5
600 Seri
e
o
ry. The
v
shed for
prevent
s
n
. The KP
-
match w
packin
g
that all
t
o
r dama
g
s
t
T
erminal
M
P
ower Ada
p
W
Prod
u
t
based R
O
c
ustome
r
e
s is buil
t
v
ertical b
its uniqu
e
s
the sys
t
-
5600 Se
ith the t
o
g
t
he follo
w
g
ed, cont
a
M
ain Unit
p
te
r
u
ct O
v
O
CKPOS i
r
s’ dema
n
t
up in a
c
ase desi
g
e
appear
a
t
em fro
m
ries is als
o
ne of th
e
w
in
g
item
s
a
ct the d
e
2. Quic
k
5.
v
ervi
e
i
s the hi
gh
n
d to bala
c
ost effe
c
g
n and ro
c
a
nce but
m
data lo
s
o provid
e
e
operati
o
s
are co
n
e
aler fro
m
k
Referen
c
Power C
o
KP-5
6
e
w
h
perfor
m
nce both
c
tive way
c
k solid s
reasona
b
s
s under
e
d with fi
v
o
n enviro
n
n
tained i
n
m
whom
y
c
e Guide
o
rd
6
00 Series
T
m
ance for
the cost
but also
i
t
ructure
m
b
le price.
power f
a
v
e color o
p
n
ments.
the cart
y
ou purch
3
T
ouch PO
S
its KP-56
and perf
o
its perfor
m
ake thi
s
The opti
o
a
ilure or
p
tions on
t
on. If an
h
ased the
3
. Driver
C
S
Terminal
6x series
o
rmance,
mance is
s
product
o
nal UPS
unstable
the front
y
item is
product.
C
D
.
All manuals and user guides at all-guides.com
all-guides.com

KP-5600 S
e
1.2 Ap
Front
V
Rear
V
B
MSR
Cable
mana
g
cover
e
ries Touc
h
pearan
V
iew
V
iew
B
ase
cove
r
g
ement
h
POS Ter
m
ce
m
inal
P
P
RODUCT
O
15”
L
touc
Front
Cus
t
dis
p
MS
Rea
r
O
VERVIE
W
3
L
CD
h
panel
panel
t
omer
p
lay cove
r
R cover
r
cove
r
W
r
All manuals and user guides at all-guides.com

PRODUC
T
4
Side V
i
Left
Ri
gh
T
OVERVIE
W
i
ew
Side
h
t Side
(I/O wit
h
W
h
cover)
KP-5
6
6
00 Series
T
(I/O wit
h
T
ouch PO
S
h
out cove
S
Terminal
r)
All manuals and user guides at all-guides.com

PRODUCT OVERVIEW
KP-5600 Series Touch POS Terminal 5
1.3 I/O Interface
All manuals and user guides at all-guides.com

PRODUCT OVERVIEW
6 KP-5600 Series Touch POS Terminal
I/O Interface
No. Connector Description
Power (DC Output) 12V / 2A DC Jack
Power (DC Input) 12V / 2A DC Jack
Cash Drawer (DIO) Digital I/O with 12V RJ11 Connector (single / dual)
COM3 COM1
COM2 COM5
Serial port with DB9/M Connector
VGA DB15/F VGA for second display
USB USB 2.0 A-Type x 2
Keyboard PS / 2 Keyboard / Mouse
USB USB 3.0 A-Type x 2
LAN RJ45 LAN Connector
Audio Jack 1 x Line-out
Audio Jack 1 x Mic-in
USB USB 2.0 A-Type x 1
Speaker 1.5 W passive stereo speaker x 2
Control Interface
Power Button Press the Power Button to turn the POS system
ON/OFF. The Power LED Indicator will display the
current power status of the POS system.
Reset Button Press to restart your system.
Power LED
Indication
Indicates the power ON/OFF status.
Green – System is powered on.
Orange – standby mode.
Off - System is powered off.
HDD LED Indication Indicates the operational status of the Hard Disk
Drive (HDD) is being accessed.
All manuals and user guides at all-guides.com

PRODUCT OVERVIEW
KP-5600 Series Touch POS Terminal 7
1.4 Specification
Model Name KP-5660 KP-5662 KP-5664 KP-5666
System
Main board IVP-76HM IVP-76HM-2 IVP-76HM-3 IVP-76HM-4
CPU Pentium
B960 2.2GHz i3 3110M
2.4GHz i5 2540M
2.6GHz i7 3630QM
3.4GHz
Chipset Intel HM76 Express Chipset
Main Memory 1G DDRIII RAM
Display Size 15” TFT-LCD with touch panel
Display Resolution 1024 x 768
Touch Panel 5 wired resistive touch
HDD 2.5” SATA 320G
Expansion 1 x PCIe slot, 1 x Mini PCIe slot
Network 10M / 100M / 1G bps onboard Ethernet controller
OS Compatibility Windows XP/XPE, Windows 7, Windows 8, POS Ready, Linux
External I/O Interface
Serial Port 4 x External COM Ports with 5V/12V selectable (500mA)
Cash Drawer Port 1 x RJ11 with DC 12V (Default)/24V
Keyboard Port 1 x PS/2 (Keyboard or Mouse)
VGA Port 1 x DB15 VGA
Audio Jack 1 x Mic-in, 1 x Line-out
Speaker 2 x Integrated 1.5 W stereo speaker
Ethernet Port 1 x RJ45 10M/100M/1000M/1G Base-T
USB Port 3 x USB 2.0 Type A
2 x USB 3.0 Type A
DC Output 1 x 12V / 2.5A DC Jack
Optional Peripheral
Magnetic Card Reader ISO 7811 option 1 / 2 / 3 track
Finger Print 512dpi x 8bit gray scale, Capture area: 14.6 x 18.1 mm
i-button Dallas Key
Wireless LAN 802.11 b/g
Customer Display VFD / LCD customer display
Second Display 8” / 11.6” /15” TFT-LCD display / non-touch
Control / Indicator
Power Button 1
Reset Button 1
LED Indicators 2 (HDD / Power)
All manuals and user guides at all-guides.com
all-guides.com

PRODUCT OVERVIEW
8 KP-5600 Series Touch POS Terminal
Powering
Power Supply AC 100V~240V / 80W power adapter
Environment
EMC & Safety CE / FCC Class A
Operating
Temperature 5°C ~ 40°C
Storage Temperature -20°C ~ 60°C
Operating Humidity 15%~80% RH
Storage Humidity 20% ~90% RH
Mechanical
Housing Color Cool White, Dark Gray
Construction ABS + SECC
Dimension (W x D x H) 400 x 225 x 320 mm
Weight N.W. 8.5 kg
All manuals and user guides at all-guides.com

KP-5600 S
e
Chap
t
Before s
t
off and
product.
2.1 Pe
r
2.1.1
M
Step 1
R
extensi
o
Step 3
screws
.
e
ries Touc
h
ter 2
t
artin
g
a
n
the pow
e
r
ipher
a
M
a
g
net
i
R
emove t
o
n slot.
Fix the
M
.
h
POS Ter
m
Hard
w
n
y hardw
e
r cord i
a
l Insta
i
c Strip
he cover
M
SR mod
m
inal
w
are
I
a
re confi
g
s discon
n
llation
e Read
An o
ri
g
h
t
from the
Step
ule in p
o
I
nsta
l
g
uration,
nected t
o
er (MS
R
ptional
M
t
/left side
MSR
2 Conne
c
o
sition wi
t
l
latio
n
ensure t
o
preven
t
R
) Inst
M
SR can
b
of KP-5
6
c
t the M
S
t
h 2
HARDWA
n
hat the s
y
t
possibl
e
a
llatio
n
b
e install
e
6
00 Serie
s
R cable
c
RAE INS
T
ystem is
e
dama
g
n
e
d in bot
h
s
c
orrectly.
T
ALLATIO
N
9
powered
e to the
h
N
All manuals and user guides at all-guides.com

HARDWA
R
10
ATTEN
T
If the M
S
2.1.2
I
Step 1
R
Step 2
U
R
E INSTALL
A
T
ION
S
R doesn
I
nte
g
ra
t
R
emove t
h
U
nfasten
2
F
A
TION
’t work p
t
ed LC
D
h
e custo
m
2
thumb
s
F
igure 2-b
r
operly,
p
D
/VFD
C
m
er displ
a
s
crews o
f
p
lease re
f
C
usto
m
a
y cover
o
f
f the rea
Figure
2
KP-5
6
f
er to CH
.
m
er Dis
p
o
n the m
a
r
cove
r
b
y
2
-a
6
00 Series
T
.
5 Trou
b
p
lay In
s
a
in unit.
y
a coin.
Fig
u
T
ouch PO
S
b
leshoot
i
s
tallati
o
(Fi
g
ure
2
u
re 2-c
S
Terminal
i
n
g
o
n
2
-b, 2-c)
All manuals and user guides at all-guides.com

KP-5600 S
e
Step 3 F
i
u
o
Step 4
C
(
F
ATTEN
T
If the cu
Troubl
e
e
ries Touc
h
i
x the cu
s
nit with 2
n the I/
O
Fi
g
Fi
g
C
over the
F
i
g
ure 2-
h
Fi
g
T
ION
stomer d
e
shootin
g
h
POS Ter
m
s
tomer di
s
screws.
P
O
board a
s
g
ure 2-d
g
ure 2-f
screw h
o
h
, 2-i)
g
ure 2-h
isplay do
g
.
m
inal
s
play int
o
P
lu
g
the
w
s
shown i
o
les with
p
esn’t wo
r
o
the brac
w
afer con
n the pic
t
p
lastic li
d
r
k proper
ket and t
nector to
t
ure. (Fi
g
d
s and rei
ly, pleas
e
HARDWA
h
en fix t
h
the COM
ure 2-f)
Figure
2
Figure
2
nstall th
e
Figure
e
refer to
RAE INS
T
h
em onto
6 port w
i
2
-e
2
-g
e
rear co
v
2-i
CH.5
T
ALLATIO
N
11
the main
th DC 5V
v
er.
N
All manuals and user guides at all-guides.com

HARDWA
R
12
2.1.3
S
Step 1
T
Step 2
R
m
o
f
Step 3
R
R
E INSTALL
A
S
econd
T
ilt the m
a
R
emove t
h
m
ain unit.
f
the mai
n
Fi
g
R
emove t
h
Fi
g
A
TION
Displa
y
a
in LCD t
o
h
e cable
m
Unfasten
n
unit. (F
g
ure 3-b
h
e top hi
n
g
ure 3-d
y
Insta
l
o
its hori
z
m
ana
g
e
m
the 2 th
u
i
g
ure 3-
b
ng
e cove
r
l
lation
z
ontal po
m
ent and
u
mb scre
b
, 3-c)
r
usin
g
a
Figure
3
KP-5
6
sition. (F
the cust
o
ws off bo
screwdri
v
3
-a
6
00 Series
T
i
g
ure 3-a
o
mer dis
p
th the fr
o
Figure
3
v
er. (Fi
g
u
Figure
3
T
ouch PO
S
a
)
p
lay cove
r
o
nt and r
e
3-c
re 3-d, 3
3
-e
S
Terminal
r
s on the
e
ar cover
-
e)
All manuals and user guides at all-guides.com
all-guides.com

KP-5600 S
e
Step 4 I
(
F
p
r
Step 5
F
3-h)
Step 6 Fi
(
F
e
ries Touc
h
nstall th
e
F
i
g
ure 3-
r
operly. (
Fi
g
F
it the to
p
t the low
e
F
i
g
ure 3-
j
h
POS Ter
m
e
hin
g
e
w
f) Make
Fi
g
ure 3-
g
ure 3-f
p
hinge c
o
e
r hin
g
e
c
)
m
inal
w
ith 4 sc
r
sure th
a
g
)
o
ver and
c
over to t
h
r
ews. Fit
a
t the 4
the upp
e
h
e secon
d
Figure 3-j
Figure
3
the seco
n
connec
t
e
r hin
g
e
c
d
display
a
3
-h
HARDWA
n
d displa
y
ion poin
t
Figure
3
c
over of
t
a
nd fix wi
t
RAE INS
T
y onto t
h
t
s are c
o
3
-g
t
he panel
th 1 thu
m
T
ALLATIO
N
13
h
e hin
g
e.
o
nnected
. (Fi
g
ure
m
b screw.
N
All manuals and user guides at all-guides.com

HARDWA
R
14
Step 5 C
o
1
2
Step 6
R
(
F
ATTEN
T
If the se
Troubl
e
R
E INSTALL
A
o
nnect t
h
2
V powe
r
R
einstall t
F
i
g
ure 3-l
Fi
g
T
ION
cond dis
p
e
shootin
g
A
TION
h
e VGA ca
r
output (
he front,
, 3-m)
g
ure 3-l
p
lay does
g
.
ble to th
e
DC
j
ack)
.
the rear,
n’t work
e
VGA po
r
.
(Fi
g
ure
and the
properly,
Figure
3
KP-5
6
r
t (DB15)
3-k)
cable ma
please r
e
3
-k
6
00 Series
T
and the
p
na
g
eme
n
Figure
3
e
fer to C
H
T
ouch PO
S
p
ower ca
b
n
t cove
r
s.
3
-m
H
.6
S
Terminal
b
le to the
All manuals and user guides at all-guides.com

KP-5600 S
e
2.2 Co
m
2.2.1
R
Step 1
T
Step 2
U
(
F
Step 3
D
m
4
-
Step 4 U
w
e
ries Touc
h
m
pone
n
R
eplaci
n
T
ilt the m
a
U
nfasten
t
F
i
g
ure 4-
b
D
isconnec
t
m
ountin
g
t
-
d)
Fi
g
nfasten
4
ith a ne
w
h
POS Ter
m
n
t Inst
a
ng
the
H
a
in LCD
p
t
he 2 thu
m
b
)
t
the SA
TA
t
humb sc
g
ure 4-c
4
screws
f
w
one.
m
inal
a
llatio
n
H
DD
p
anel to i
t
m
b scre
w
TA
1 and
S
rew that
f
rom the
n
t
s horizo
n
w
s off the
S
ATA po
w
holds th
e
HDD bra
c
Figure
4
Figure
4
n
tal positi
front co
v
w
er cable
s
e
HDD br
a
c
ket to re
4
-a
4
-b
HARDWA
on. (Fi
g
u
v
er of the
from th
e
a
cket in
p
Figure
4
move th
e
RAE INS
T
u
re 4-a)
e
main un
e
HDD. U
n
p
lace. (Fi
g
4
-d
e
HDD an
d
T
ALLATIO
N
15
it.
n
fasten 1
g
ure 4-c,
d
replace
N
All manuals and user guides at all-guides.com

HARDWA
R
16
Step 5
R
o
f
2.2.2
M
Step 1
U
Step 2 L
o
Pl
R
E INSTALL
A
R
einstall t
h
f
the mai
n
Fi
g
M
ini PC
I
U
nfasten
2
Fi
g
o
cate th
e
u
g
the M
Fi
g
A
TION
h
e HDD
b
n
unit. (F
g
ure 4-e
I
Expr
e
2
thumb
s
g
ure 5-a
e
Mini PC
I
ini PCI E
x
g
ure 5-c
racket al
o
i
g
ure 4-
e
e
ss Car
d
s
crews o
f
Express
x
press ca
o
n
g
with
e
, 4-f)
d
Insta
l
f
f the rea
Card Slo
t
rd into t
h
KP-5
6
the cabl
e
l
lation
r
cove
r
b
y
t
on the
m
h
e slot.
6
00 Series
T
s, and th
e
Figure
y
a coin.
Figure
5
m
other b
o
Figure
5
T
ouch PO
S
en the fr
o
4-f
(Fi
g
ure
5
5
-b
o
ard. (Fi
g
5
-d
S
Terminal
o
nt cover
5
-a, 5-b)
g
ure 5-d)
All manuals and user guides at all-guides.com
Other manuals for KP-5660
1
This manual suits for next models
3
Table of contents
Other Appostar Touch Terminal manuals

Appostar
Appostar KP-5360 User manual

Appostar
Appostar KP-5374 User manual

Appostar
Appostar KP-5562 User manual

Appostar
Appostar FP-4266 User manual

Appostar
Appostar KP-5660 User manual

Appostar
Appostar KP-5360 User manual

Appostar
Appostar BS-6500 User manual

Appostar
Appostar Grand POS GP-3464 User manual

Appostar
Appostar GP-3472 User manual

Appostar
Appostar GP-3460 User manual