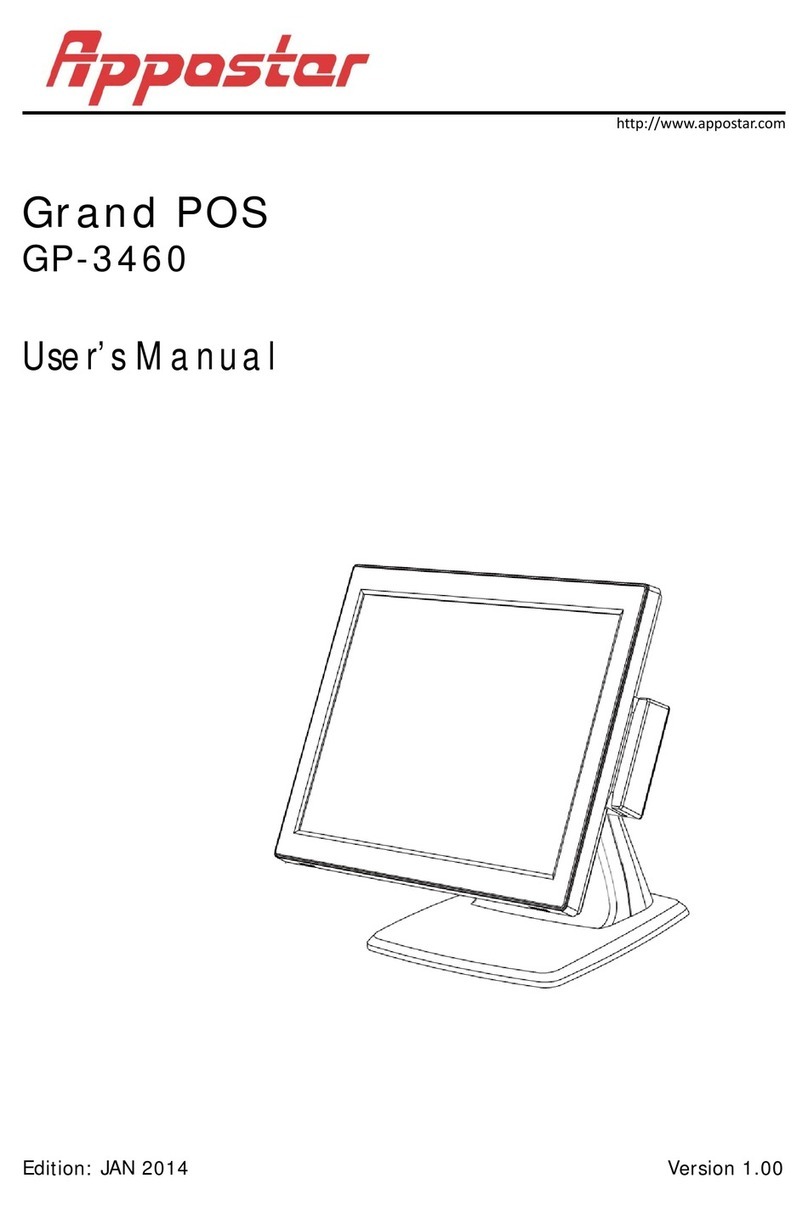
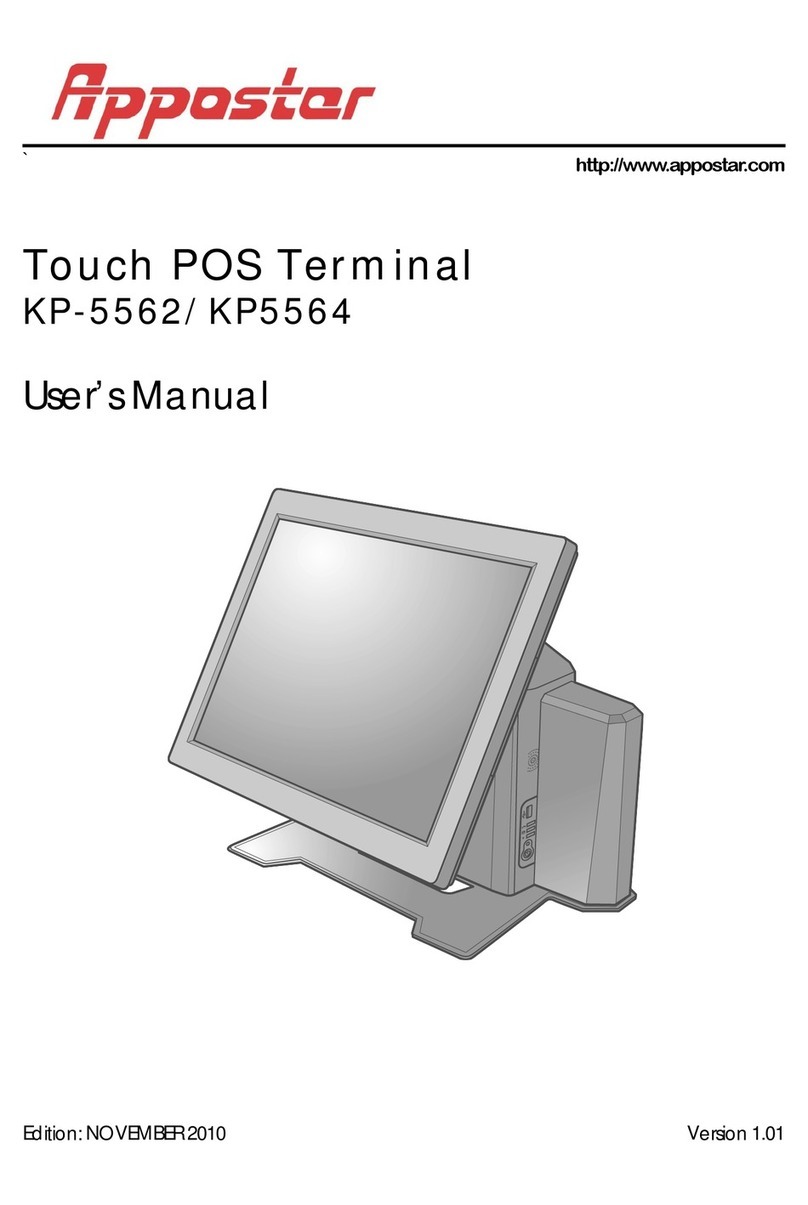
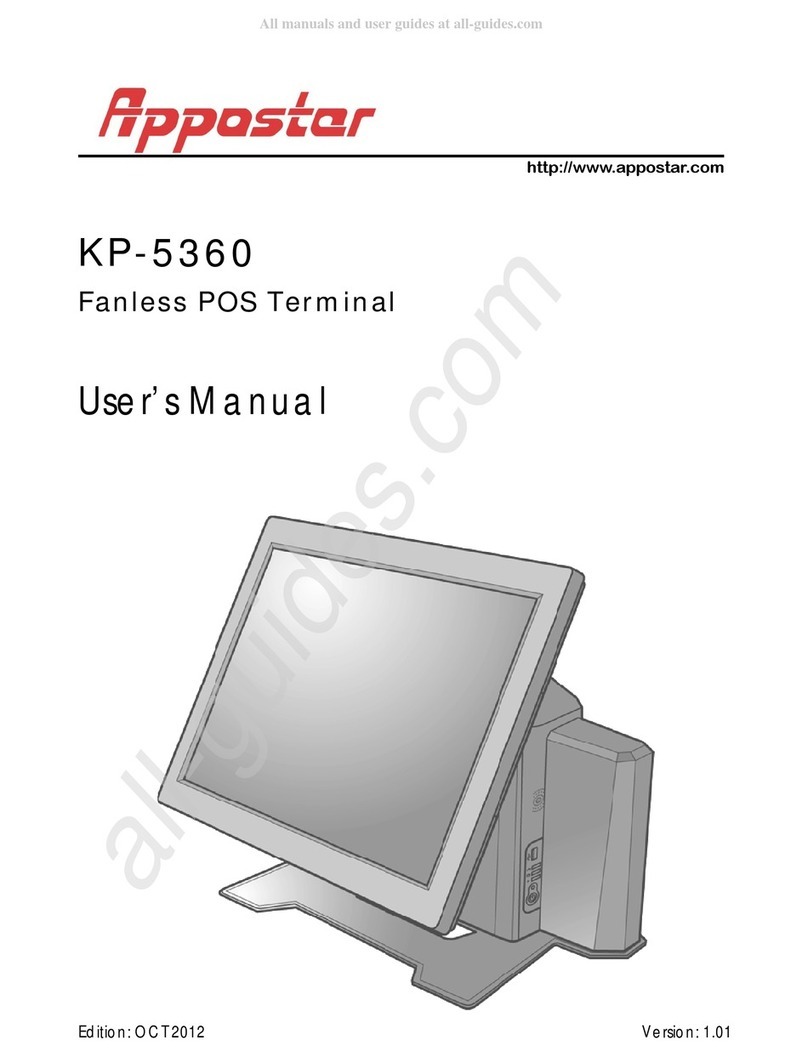
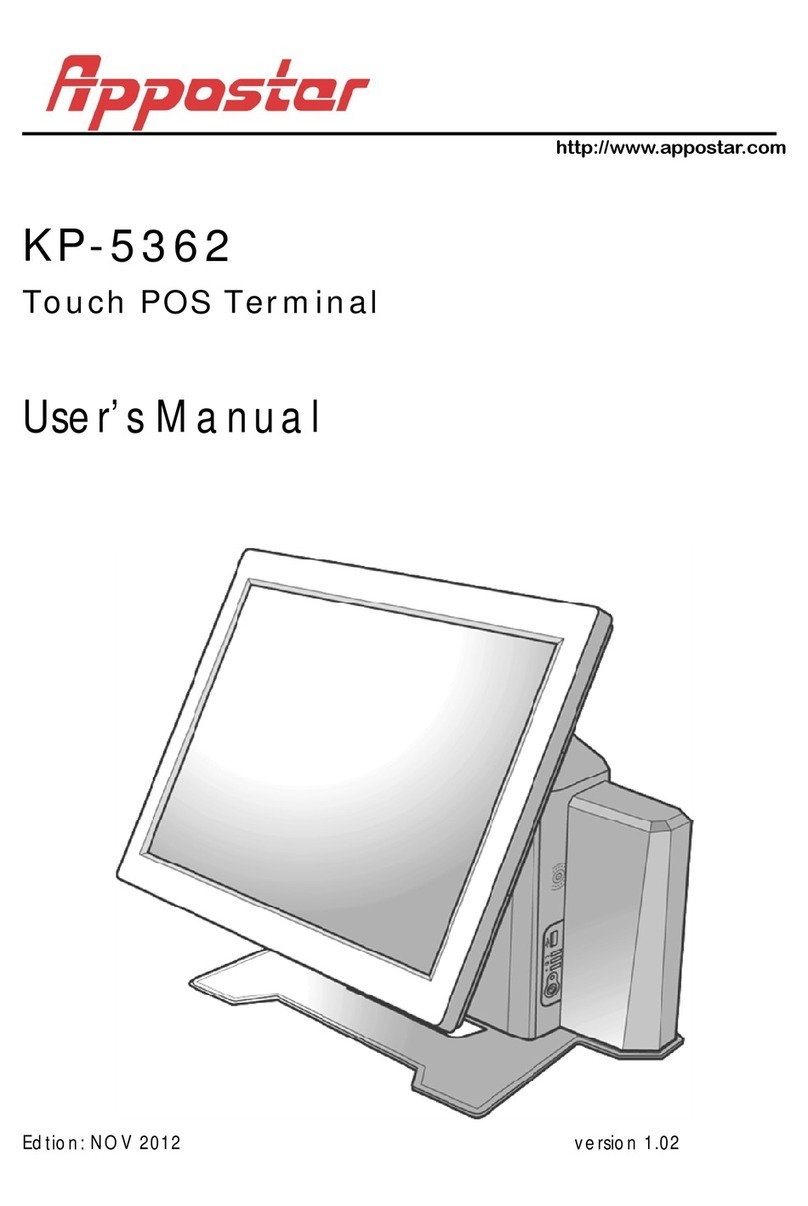
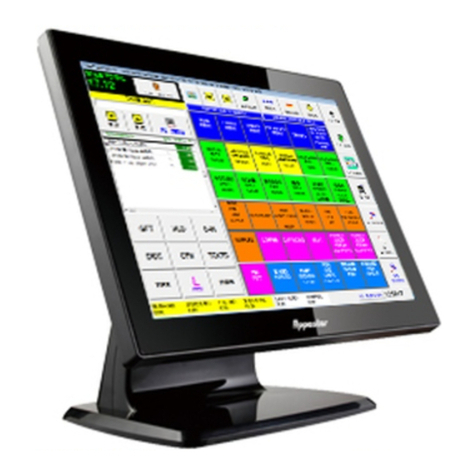
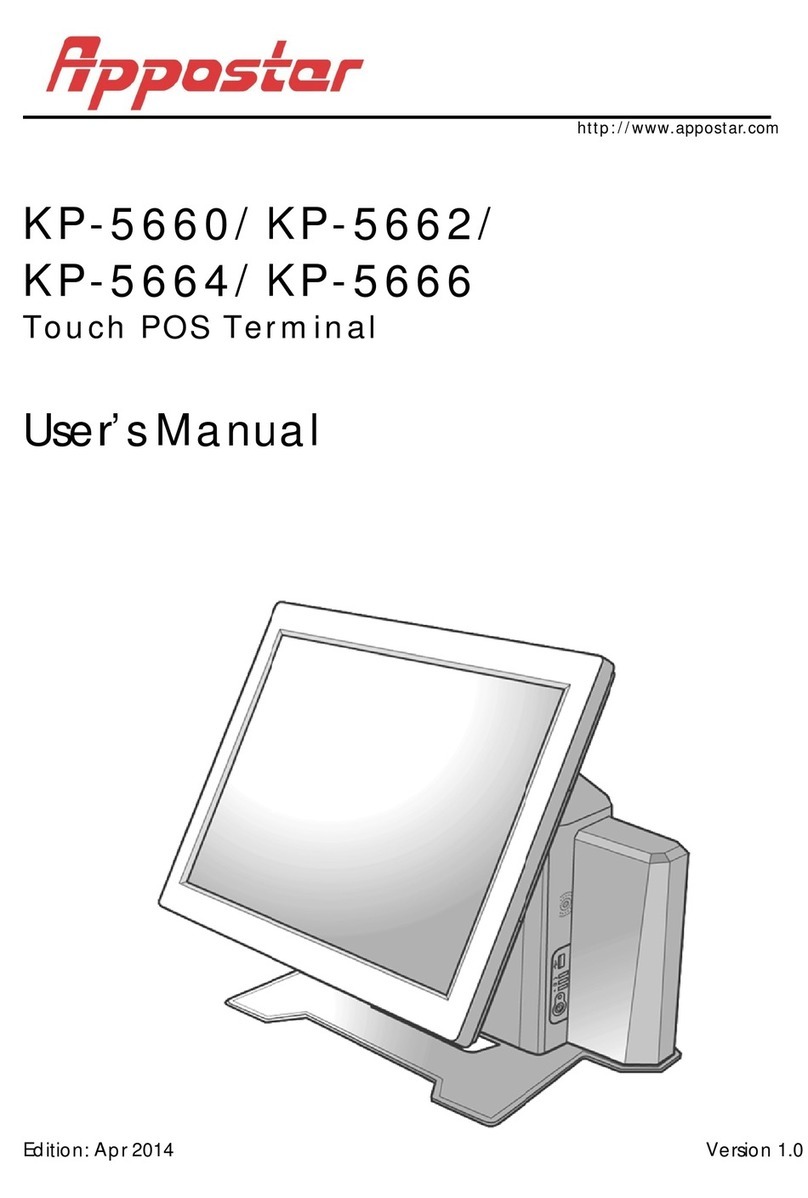
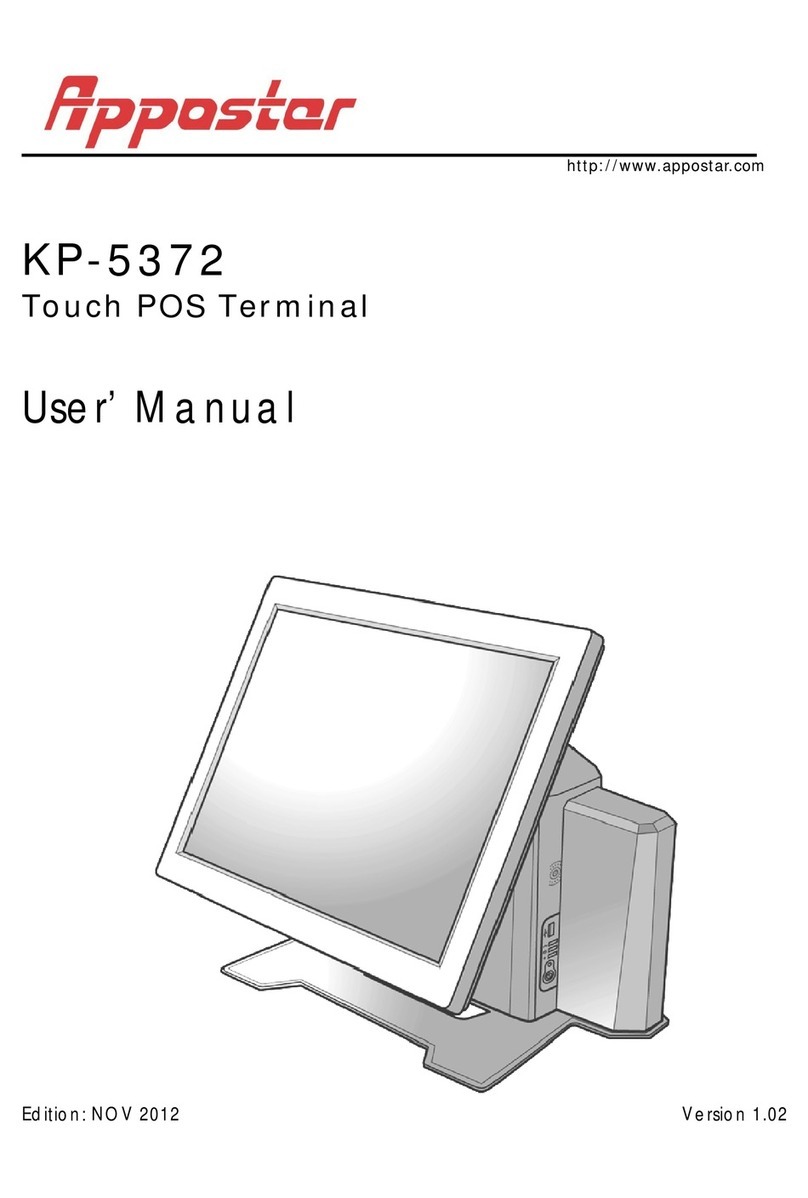
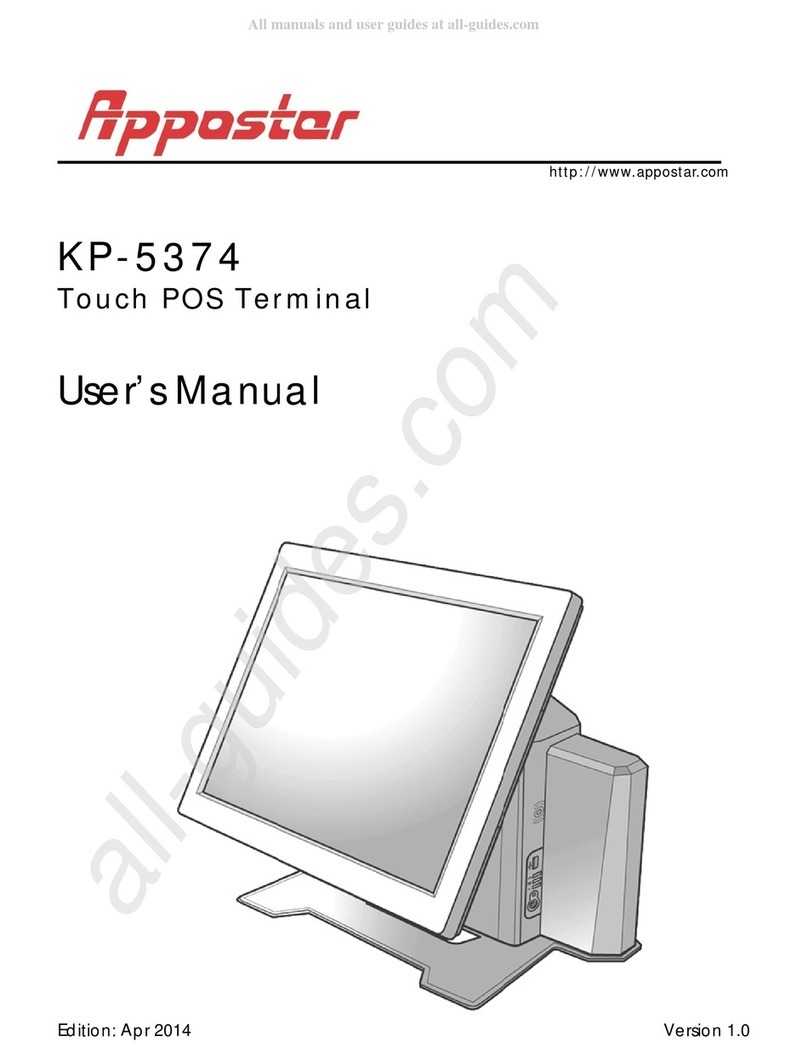
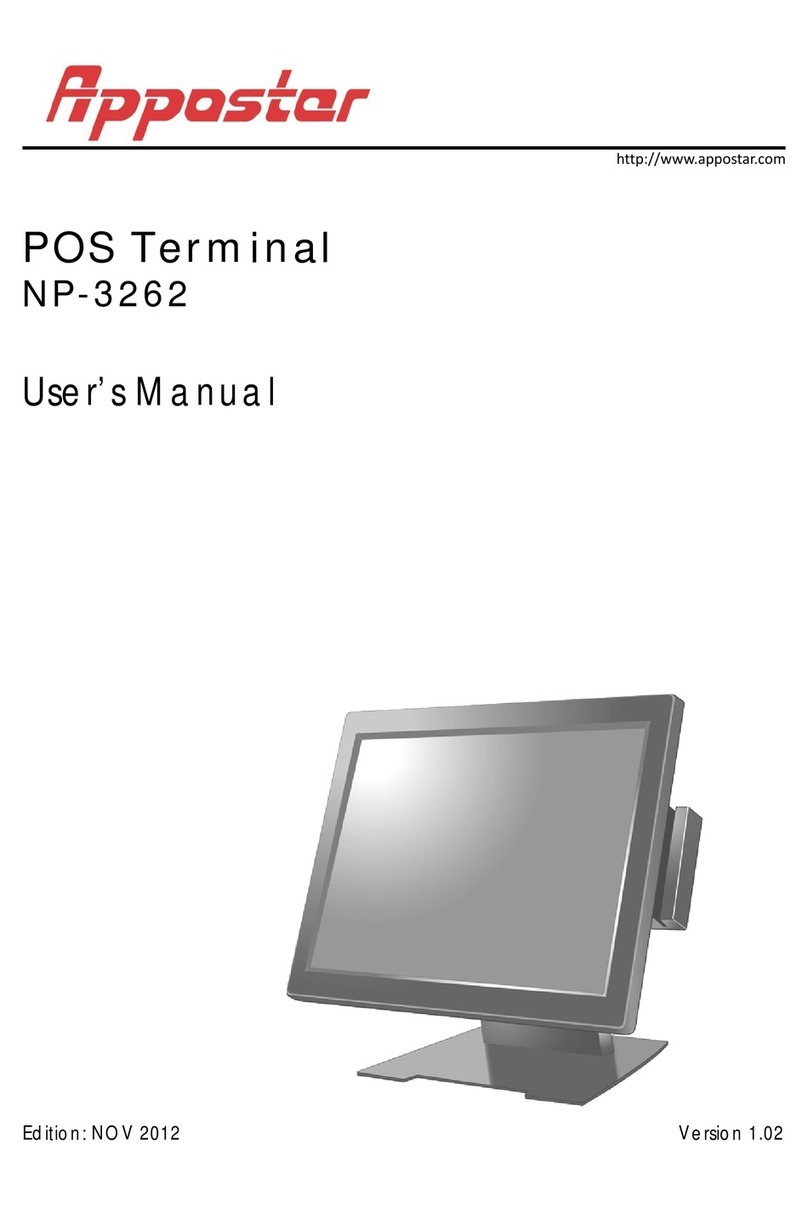
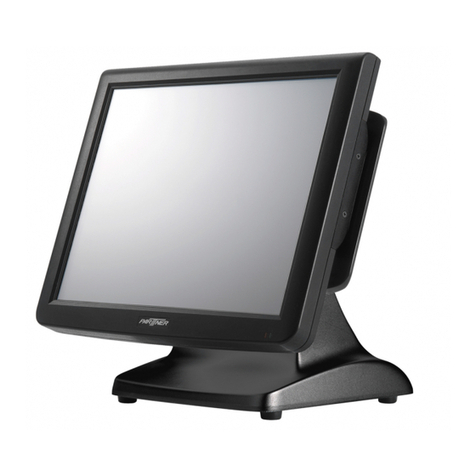
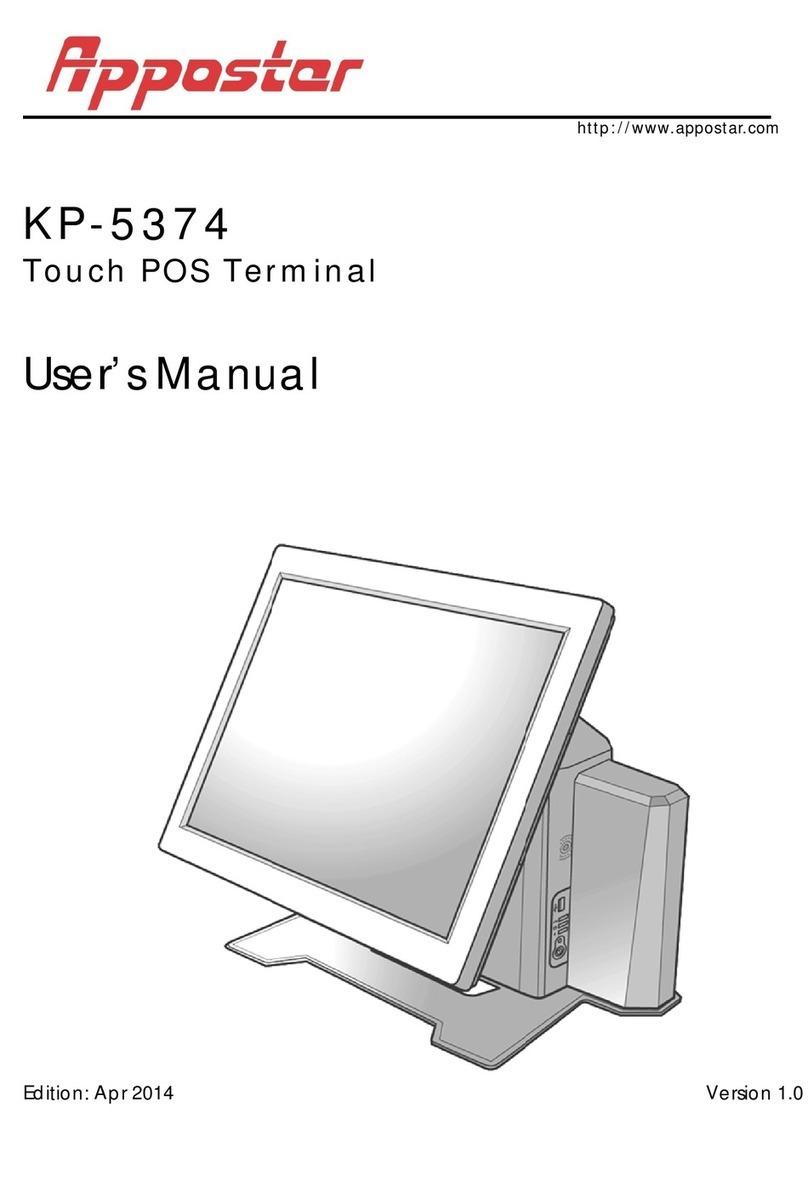
Appostar KP-5370 User manual

http://www.appostar.com
KP-5370
Touch POS Terminal
User’s Manual
Edition: NOV 2012 Version 1.01

PREFACE
II KP-5370 Touch POS Terminal
Federal Communications Commission (FCC)
This equipment has been tested and found to comply with the limits for a Class
A digital device, pursuant to part 15 of the FCC Rules. These limits are
designed to provide reasonable protection against harmful interference in a
residential installation. This equipment generates, uses and can radiate radio
frequency energy and, if not installed and used in accordance with the
instructions, may cause harmful interference to radio communications.
However, there is no guarantee that interference will not occur in a particular
installation. If this equipment does cause harmful interference to radio or
television reception, which can be determined by turning the equipment off
and on, the user is encouraged to try to correct the interference by one or
more of the following measures:
Reorient or relocate the receiving antenna.
Increase the separation between the equipment and receiver.
Connect the equipment into an outlet on a circuit different from that
to which the receiver is connected.
Consult the dealer or an experienced radio/TV technician for help.
Declaration of Conformity
These devices comply with part 15 of the FCC Rules. Operation is subject to
the following two conditions:
1. These devices may not cause harmful interference.
2. These devices must accept any interference received, including
interference that may cause undesired operation.
Lithium Battery Replacement
To avoid possible danger of explosion, ensure correct polarity when changing
the lithium battery. Replace only with the same or equivalent type
recommended by the manufacturer.
WEEE (Waste from Electrical and Electronic Equipment)
The WEEE wheeled bin symbol on the product or on its packaging indicates
that the product must not be disposed of with other waste. It should be the
user’s responsibility to dispose of their waste equipment by handing it over to
an approved location for the recycling of waste electrical and electronic
equipment. For more information about where to send your waste equipment
for recycling, please contact your local city office, your household waste
disposal service or where you purchased the product.
PREFACE
KP-5370 Fanless POS Terminal III
Disclaimer
The material in this document is for information purpose and is subject to
change without prior notice. APPOSTAR has made every effort to ensure that
this user’s manual is accurate and complete. However, no liability is assumed
for any errors and omissions that may have occurred. Nor are any liability
assumed for any damages resulting from the use of this product and the
information contained in this document. APPOSTAR reserves the right to make
improvements to this publication from time to time in the contents hereof
without obligation of the manufacturer to notify any person of such revision or
changes.
Copyright
This work is copyrighted. Reproduction or retransmission of this documentation,
in whole or in part, without prior written permission from the manufacture is a
violation of copyright law.
© 2012 APPOSTAR Technology Co., Ltd. All rights reserved.
Trademark Recognition
1. Microsoft, MS-DOS and Windows are registered trademarks of Microsoft
Corp.
2. Other software or product names used in this manual are the properties of
their respective owners and are acknowledged.

PREFACE
IV KP-5370 Touch POS Terminal
Important Safety Instructions
Failure to observe these safety instructions may cause body injury, or damage to the
product. Read these instructions carefully and keep this user manual in an accessible
location for future reference.
The product may cause a fire or electric shock when it is used
improperly. Observe the above safety measures at all times.
If the product is damaged, immediately turn off the power and
disconnect the power cord. Contact your dealer for assistance.
1. Do not plug in or unplug the power cord with wet hands.
2. Do not plug the product into an AC outlet with the incorrect voltage
(The correct voltage should be between AC 100V~240V.)
3. Do not plug several products in one multi-outlet.
4. Do not apply pressure to the power cord or place heavy objects on it.
5. Immediately stop using the product if it emits strange noise, odor, or smoke.
6. Do not use aerosol sprayers containing flammable gas inside or around the
product.
7. Do not allow foreign objects or liquids to enter the product, serious damage
may result.
8. Do not place the product on an unstable surface. The product may cause a fire
if it is dropped, damaged, or broken.
The following instructions will help you make better use of this product.
1. Keep the machine from locations subject to high humidity, dust, and
temperatures out of specification. (Refer to CH.1.4 Specification)
2. Clean the product by using a dry cloth or a cloth soaked with detergent. Never
use thinner or other volatile solvent for cleaning.
3. At the end of the day, clean and inspect the exterior of the machine after
turning OFF the product.
4. Use only specified accessories.
5. Do not store accessories where they might be exposed to direct sunlight, high
temperature, high humidity, dust level, or gas.
6. Do not place heavy objects on top of the product /or lean against the product,
these items may fall and cause injury.
7. Do not block the air vent of the product, this can cause heat to build up inside
the box machine and may lead to fire.

Table of Contents
Chapter 1 Product Overview ...............................................................2
1.1 Unpacking............................................................................................. 2
1.2 Front, Rear & Side View .......................................................................... 3
1.3 I/O Interface ......................................................................................... 5
1.4 Specification.......................................................................................... 7
Chapter 2 Hardware Installation.........................................................9
2.1 Peripheral Installation............................................................................. 9
2.2 Component Installation ......................................................................... 15
Chapter 3 Software Installation ........................................................17
3.1 Motherboard Driver Installation.............................................................. 17
3.2 Peripheral Device Driver Installation........................................................ 19
CHAPTER 4 Board Setting..................................................................22
4.1 Main Board Jumper Setting.................................................................... 22
4.2 External Connector Pin Assignments ....................................................... 29
4.3 Port Definition for Cash Drawer .............................................................. 32
CHAPTER 5 BIOS Setup .....................................................................33
5.1 The Main Menu .................................................................................... 36
5.2 Advanced Menu.................................................................................... 37
5.3Boot Menu....................................................................................... 48
5.4Security Menu.................................................................................. 51
5.5Chipset Menu................................................................................... 52
5.6Exit Menu........................................................................................ 57
CHAPTER 6 Troubleshooting..............................................................58

PRODUC
T
2
Chap
Welco
m
The ATO
series. I
n
perform
a
perform
a
make th
The opti
o
failure o
r
options
o
environ
m
1.1 Un
Confirm
missin
g
Check l
i
1. POS
T
4.
P
T
OVERVIE
W
ter 1
m
e
M based
n
order t
o
a
nce, the
a
nce is s
a
is produ
c
o
nal UPS
r
unstabl
e
o
n the fr
o
m
ents.
packin
g
that all t
h
or dama
g
i
st
T
erminal
M
P
ower Ada
p
W
Prod
u
ROCKPO
S
o
meet c
u
KP-537
0
a
tisfactor
y
c
t distin
gu
function
e
conditi
o
o
nt panel
g
h
e follow
i
g
ed, cont
a
M
ain Unit
p
te
r
u
ct O
v
S
KP537
0
u
stomers
’
0
is built
u
y
. The ve
u
ished fo
r
prevents
o
n. The
K
to matc
h
i
n
g
item
s
a
ct the d
e
2. Quic
k
5.
v
ervi
e
0
is the c
o
’
demand
u
p in a c
o
rtical ba
s
r
its uniq
u
the syst
e
K
P5370 is
h
with th
e
s
are con
t
e
aler fro
m
k
Referen
c
Power C
o
e
w
o
st effect
i
to balan
o
st effecti
s
e desi
g
n
u
e appea
e
m from
also pro
v
e
tone of
t
t
ained in
t
m
whom
y
c
e Guide
o
rd
KP-5370
T
i
ve alter
n
ce both t
ve way
b
and roc
k
rance bu
data los
s
v
ided wit
h
t
he oper
a
t
he carto
y
ou purc
h
3
6. PS/
2
T
ouch POS
n
ative for
he cost
a
b
ut also it
k
solid str
t reason
a
s
under p
o
h
five col
o
a
tion
n. If any
h
ased th
e
3
. Driver
C
2
Y-cable (
Terminal
its 5500
a
nd
s
u
cture
a
ble pric
e
o
wer
o
r
item is
e
produc
t
C
D
optional)
e
.
t
.

PRODUCT OVERVIEW
KP-5370 Touch POS Terminal 3
1.2 Front, Rear & Side View
Front View
Rear View
15” LCD
touch panel
Front panel
Base
MSR cover
Cable
management
cover
Customer
display
MSR cover
Rear cover

PRODUCT OVERVIEW
4 KP-5370 Touch POS Terminal
Side View
Left Side
Right Side
(I/O with cover) (I/O without cover)

PRODUCT OVERVIEW
KP-5370 Touch POS Terminal 5
1.3 I/O Interface
I/O Interface
No. Connector Description
COM1 COM2 Serial port with DB9/M Connector
COM4 Serial port with RJ45 Connector x 1
(See Note)
LAN RJ45 LAN Connector
PS/2 PS/2 Keyboard & Mouse Connector
Cash Drawer (DIO) Digital I/O with 12V RJ11 Connector
(single/dual)
Printer (LPT1) Parallel port with DB25/F Connector

PRODUC
T
6
Control
No.
N
U
L
H
I
P
I
R
P
NOTE:
T
OVERVIE
W
Audio-o
POWER
(
POWER
(
Built-in
S
USB
VGA-O
U
USB
Interfa
c
N
ame
U
SB
L
AN LED
H
DD LE
D
I
ndicato
P
ower L
E
I
ndicato
R
eset B
u
P
ower B
To
re
m
W
ut
(
DC Inpu
t
(
DC Outp
S
peaker
U
T
c
e
Indicat
o
D
r
E
D
r
u
tton
utton
avoid con
f
m
ove the
c
Lin
e
t
) 12
V
ut) 12
V
1.5
W
US
B
DB
US
B
Des
c
USB
o
r The
G
- Bli
n
Indic
Disk
whe
n
Indic
Gree
Oran
Off –
Pres
s
Pres
s
ON/
O
the
c
f
usion with
c
over befor
e
e
-out wit
V
/2.5A DC
V
/ 2.5A D
C
W
passiv
e
B
2.0
A
-t
y
15/F VG
A
B
2.0
A
-t
y
c
ription
2.0
A
-ty
p
G
reen LA
N
n
ks when
ates the
Drive (H
D
n
HDD is
b
ates the
n – Syst
e
g
e – Sta
n
System
s
to resta
s
the Po
w
O
FF. The
P
c
urrent p
o
LAN port,
t
e
use.
h Audio J
Jack
C
Jack
e
stereo s
p
y
pe Con
n
A
for sec
o
y
pe Con
n
p
e Conne
c
N
LED in
d
commu
n
operatio
n
D
D). The
b
ein
g
ac
c
power O
N
e
m is po
w
n
dby mo
d
is power
e
rt your s
y
w
er Butto
n
P
ower LE
D
o
wer stat
u
t
he COM 4
KP-5370
T
ack
p
eaker x 2
n
ecto
r
x
4
o
nd displ
a
n
ecto
r
c
to
r
d
icates L
A
n
icatin
g
w
n
al statu
s
Red LED
c
essed
N
/OFF st
a
w
ered on.
d
e
e
d off.
y
stem.
n
to turn
t
D
Indicat
u
s of the
is protect
e
T
ouch POS
4
a
y
A
N statu
s
w
ith the s
e
s
of the H
Indicato
r
a
tus.
t
he POS
s
or will di
s
POS sys
t
e
d with cov
e
Terminal
s
:
e
rver.
ard
r
li
g
hts
s
ystem
s
play
t
em.
e
r,

PRODUCT OVERVIEW
KP-5370 Touch POS Terminal 7
1.4 Specification
Model Name KP-5370
System Main board IAT0-0525
CPU Intel Atom D525 1.8GHz
Chipset Intel 82801HM
Main Memory 1G DDRIII RAM, up to 4GB
Display Size 15” TFT-LCD with touch panel
Display Resolution 1024 x 768
HDD 2.5” SATA 160G
Expansion 1 x Mini PCI Express
Network 10/100M/1G bps onboard Ethernet controller
OS Compatibility Windows 7, Windows XP/XPE, POS Ready, Linux
External I/O Interface
Serial Port COM1, COM2, COM4, all with 5V/12V selectable
Cash Drawer Port 1 x RJ 11 with DC 12V (single/dual)
Keyboard Port 1 x PS/2(Keyboard & Mouse)
VGA Port 1 x VGA (DB15)
Audio Jack 1 x Line-out
Speaker 2 x Integrated 1.5 W stereo speaker
Ethernet Port 1 x RJ45 10/100 M/1G Base-T
Parallel Port 1 x Bi-directional Parallel
USB Port 5 x USB 2.0 Type A
DC output
1 x DC Jack 12V/ 2.5A
Optional Peripheral
Magnetic Card Reader ISO 7811 option 1/2/3 track
Finger Print 512dpi x 8bit gray scale
Capture area: 14.6 x 18.1 mm
i-button Dallas Key
Wireless LAN 802.11 b/g
Customer Display VFD/LCD customer display
Second Display 8”/15”TFT-LCD display/non-touch
Control / Indicator
Power Button 1
Reset Button 1
LED Indicators 3 (HDD / Power / LAN)
Powering
Power Supply AC 100V~240V/90W power adapter

PRODUCT OVERVIEW
8 KP-5370 Touch POS Terminal
Model Name KP-5370
Environment
EMC & Safety CE/FCC Class A
Operating
Temperature 5°C ~ 40°C
Storage Temperature -20°C ~ 60°C
Operating Humidity 15%~80% RH
Storage Humidity 20% ~90% RH
Mechanical
Housing Color Cool White, Dark Gray
Construction ABS + SECC
Dimension (W x D x H) 390 x 235 x 320 mm
Weight N.W. 8.5 kg

KP-5370 T
o
Chap
Before s
t
off and
t
product.
2.1 Pe
r
2.1.1
M
An optio
Step 1
R
Step 2
C
(Default
a
o
uch POS
T
ter 2
t
artin
g
a
n
t
he powe
r
r
ipher
a
M
a
g
net
i
nal MSR
c
R
emove t
h
C
onnect t
h
a
t ri
g
ht
T
erminal
Hard
w
n
y hardw
a
r
cord is
d
a
l Insta
i
c Strip
c
an be in
h
e cover
f
h
e MSR c
a
w
are
I
a
re confi
g
d
isconne
c
llation
e Read
stalled in
f
rom the
a
ble corr
e
I
nsta
l
g
uration,
c
ted to p
r
er (MS
R
both ri
gh
Figure 1-a
MSR ext
e
Figure 1-b
e
ctly.
Figure 1-c
l
latio
n
ensure t
h
r
event po
R
) Inst
h
t/left si
d
e
nsion sl
o
HAR
D
n
h
at the s
y
ssible da
m
allatio
n
d
e of KP-
5
o
t.
D
WARE INS
T
y
stem is
m
a
g
e to
t
n
5
370
.
T
ALLATIO
N
9
powered
t
he
N

HARDWA
R
10
Step 3 F
ATTEN
T
If the M
S
2.1.2
I
Step 1
R
Step 2
U
R
E INSTALL
A
ix the M
S
T
ION
S
R doesn
I
nte
g
ra
t
R
emove t
h
U
nfasten
2
A
TION
S
R modul
e
’t work p
t
ed LC
D
h
e custo
m
2
thumb
s
e
in posi
t
roperly,
p
D
/VFD
C
m
er displ
a
s
crews o
f
Figure 2-b
t
ion with
2
Figure 1-d
p
lease re
f
C
usto
m
a
y cover
o
Figure 2-a
f
f the rea
r
2
screws
.
f
er to CH
.
m
er Dis
p
o
n the m
a
r
cove
r
b
y
KP-5370
T
.
.
6 Trou
b
p
lay In
s
a
in unit.
y
a coin.
Figure
2
T
ouch POS
b
leshoot
i
s
tallati
o
(Fi
g
ure
2
2
-c
Terminal
i
n
g
.
o
n
2
-b, 2-c)

HARDWARE INSTALLATION
KP-5370 Touch POS Terminal 11
Step 3 Fix the customer display into the bracket and then fix them onto the
main unit with 2 screws. Plug the wafer connector to the COM 6 port
with DC 5V on the I/O board as shown in the picture. (Figure 2-f)
Figure 2-d Figure 2-e
Figure 2-f Figure 2-g
Step 4 Cover the screw holes with plastic lids and reinstall the rear cover.
(Figure 2-h, 2-i)
Figure 2-h Figure 2-i
ATTENTION
If the customer display doesn’t work properly, please refer to CH.6
Troubleshooting.

HARDWARE INSTALLATION
12 KP-5370 Touch POS Terminal
2.1.3 Second Display Installation
Step 1 Tilt the main LCD to its horizontal position. (Figure 3-a)
Figure 3-a
Step 2 Remove the cable management and the customer display covers on the
main unit. Unfasten the 2 thumb screws off both the front and rear
cover of the main unit. (Figure 3-b, 3-c)
Figure 3-b Figure 3-c
Step 3 Remove the top hinge cover using a screwdriver. (Figure 3-d, 3-e)
Figure 3-d Figure 3-e

KP-5370 T
o
Step 4 I
n
(
F
p
r
Step 5 F
3-h)
Step 6 F
s
c
(
F
o
uch POS
T
n
stall the
F
i
g
ure 3-
f
r
operly. (
it the to
p
it the lo
w
c
rew.
F
i
g
ure 3-i
T
erminal
hin
g
e w
i
f
) Make s
u
Fi
g
ure 3-
Fi
g
p
hinge c
o
w
er hin
g
e
, 3-j)
i
th 4 scre
u
re that
t
g)
g
ure 3-f
o
ver and
t
cover to
Figure 3-i
ws. Fit t
h
t
he 4 con
t
he uppe
r
Figure 3-h
the seco
n
h
e secon
d
nection
p
r
hin
g
e c
o
n
d displa
y
HAR
D
d
display
o
p
oints ar
e
F
o
ver of t
h
y
and fix
Figure
3
D
WARE INS
T
o
nto the
e
connect
e
F
igure 3-g
h
e panel.
with 1 t
h
3
-j
T
ALLATIO
N
13
hin
g
e.
e
d
(Fi
g
ure
h
umb
N

HARDWA
R
14
Step 5
C
t
h
Step 6
R
(
F
ATTEN
T
If the se
Troubl
e
R
E INSTALL
A
C
onnect t
h
h
e 12V p
o
R
einstall t
F
i
g
ure 3-l
T
ION
cond dis
p
e
shootin
g
A
TION
h
e VGA c
a
o
wer out
p
he front,
, 3-m)
p
lay does
g
.
a
ble to t
h
p
ut (DC
ja
the rear,
Figure 3-l
n’t work
h
e VGA p
o
a
ck). (Fi
g
Figure 3-k
and the
properly,
o
rt (DB1
5
ure 3-k)
c
able ma
please r
e
KP-5370
T
5
) and th
e
na
g
eme
n
Figure
3
e
fer to C
H
T
ouch POS
e
power
c
n
t cove
r
s.
3
-m
H
.6
Terminal
c
able to

HARDWARE INSTALLATION
KP-5370 Touch POS Terminal 15
2.2 Component Installation
2.2.1 Replacing the HDD
Step 1 Tilt the main LCD panel to its horizontal position. (Figure 4-a)
Figure 4-a
Step 2 Unfasten the 2 thumb screws off the front cover of the main unit.
(Figure 4-b)
Figure 4-b
Step 3 Disconnect the SATA 1 and SATA power cables from the HDD. Unfasten
1 mounting thumb screw that holds the HDD bracket in place. (Figure 4-
c, 4-d)
Figure 4-c Figure 4-d
Step 4 Unfasten 4 screws from the HDD bracket to remove the HDD and
replace with a new one.

HARDWARE INSTALLATION
16 KP-5370 Touch POS Terminal
Step 5 Reinstall the HDD bracket along with the cables, and then the front
cover of the main unit. (Figure 4-e, 4-f)
Figure 4-e Figure 4-f
2.2.2 Mini PCI Express Card Installation
Step 1 Unfasten 2 thumb screws off the rear cover by a coin. (Figure 5-a, 5-b)
Figure 5-a Figure 5-b
Step 2 Locate the Mini PCI Express Card Slot on the mother board. (Figure 5-d)
Plug the Mini PCI Express card into the slot.
Figure 5-c Figure 5-d
Table of contents
Other Appostar Touch Terminal manuals

Appostar
Appostar GP-3460 User manual

Appostar
Appostar KP-5374 User manual

Appostar
Appostar KP-5660 User manual

Appostar
Appostar KP-5372 User manual

Appostar
Appostar GP-3472 User manual

Appostar
Appostar KP-5360 User manual

Appostar
Appostar KP-5660 User manual

Appostar
Appostar Grand POS GP-3464 User manual

Appostar
Appostar FP-4266 User manual

Appostar
Appostar SP-7260 User manual